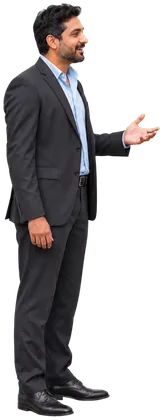
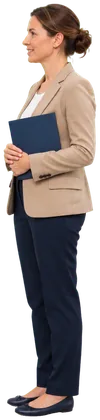
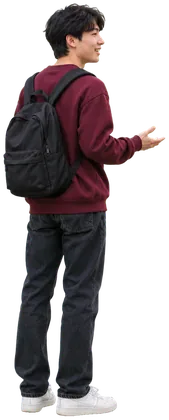
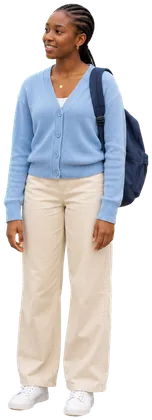
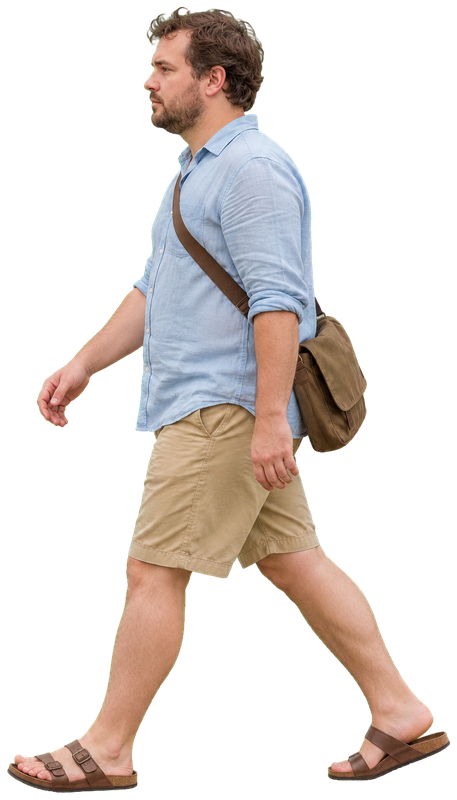
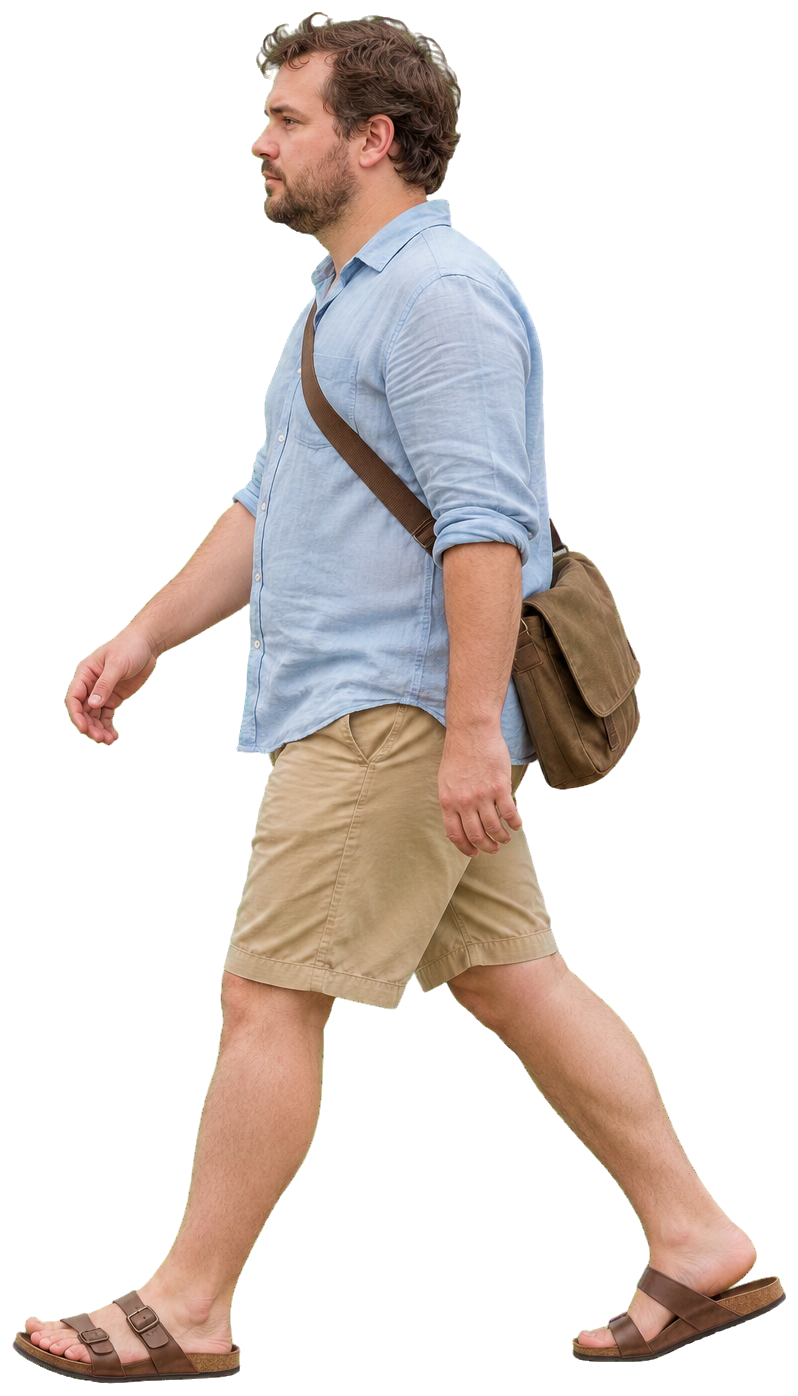
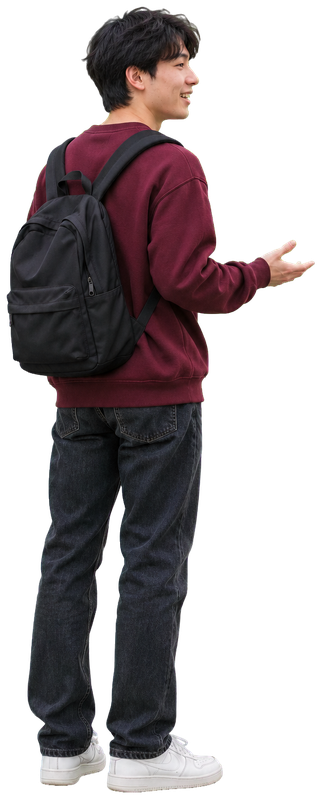
Match eye level before placing a figure
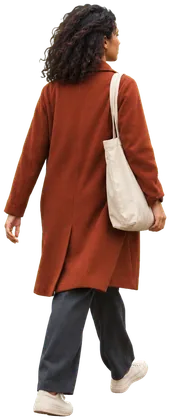
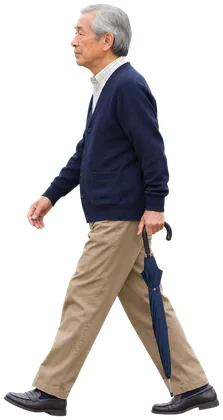
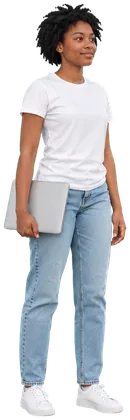
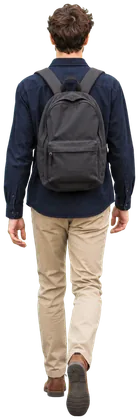
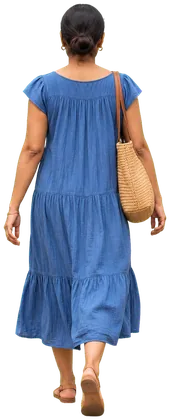
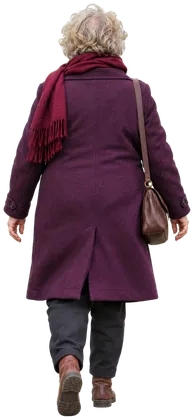
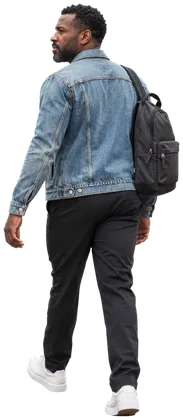
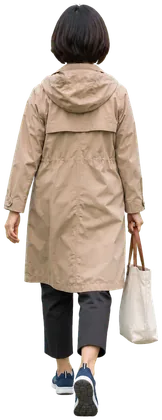
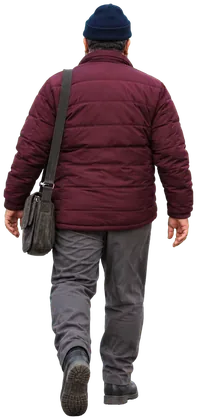
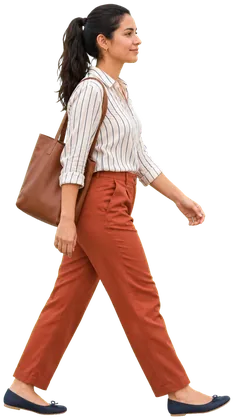
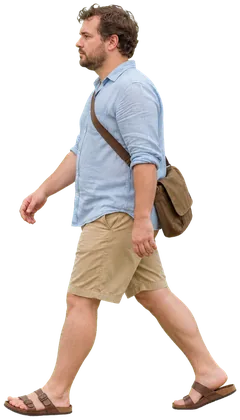
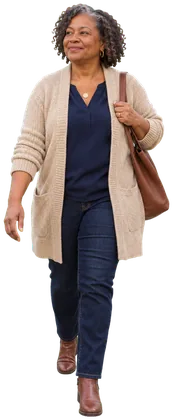
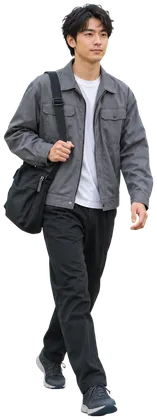
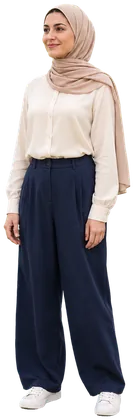
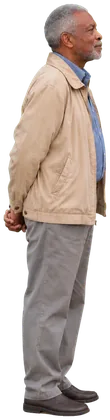
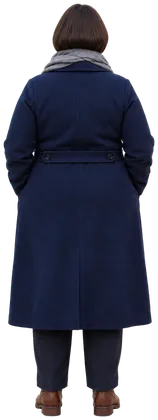
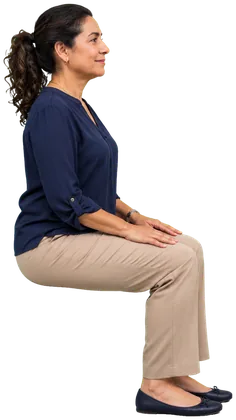
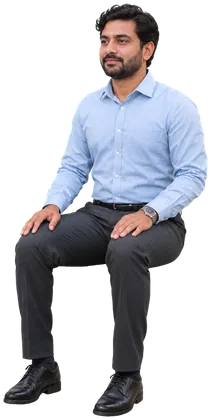
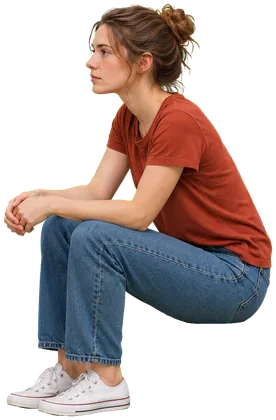
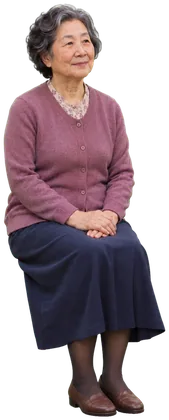
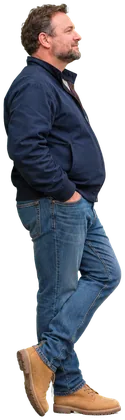
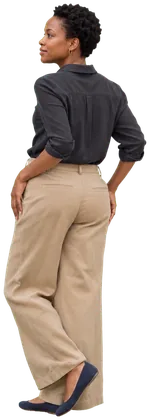
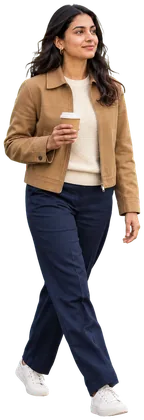
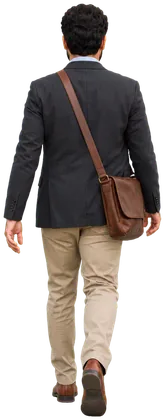
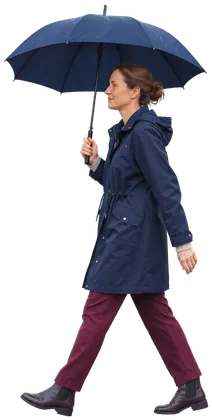
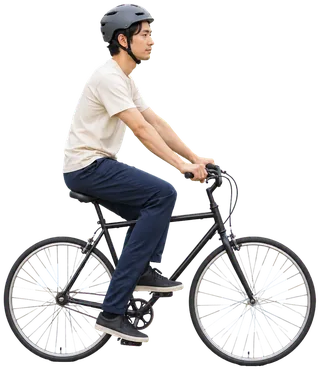
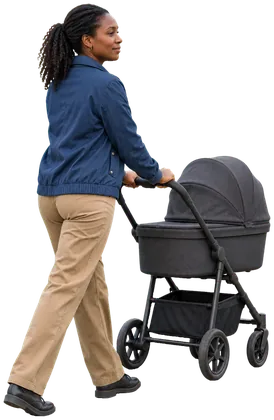
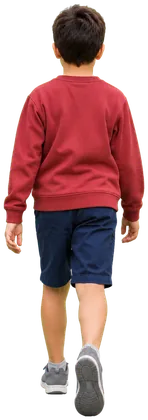
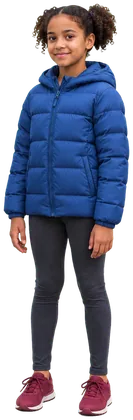
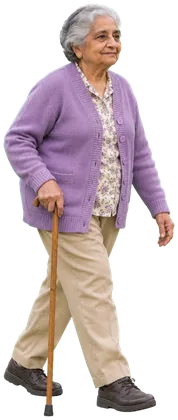
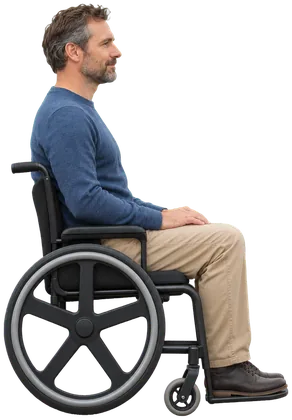
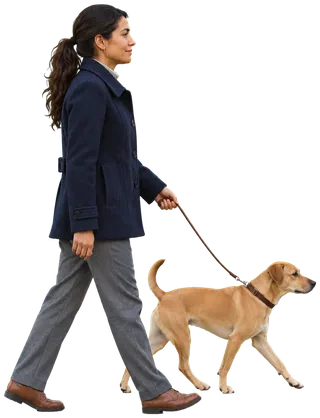
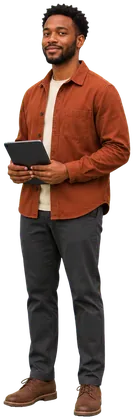
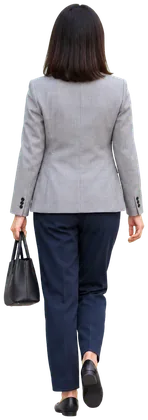
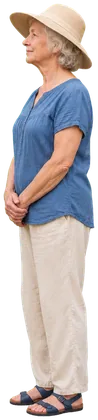
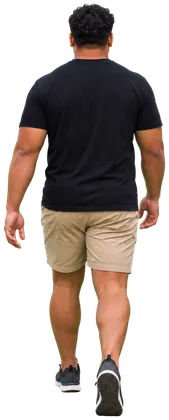
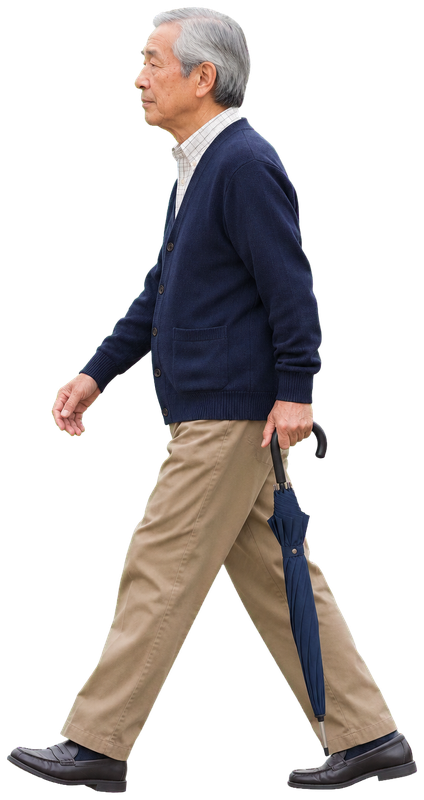
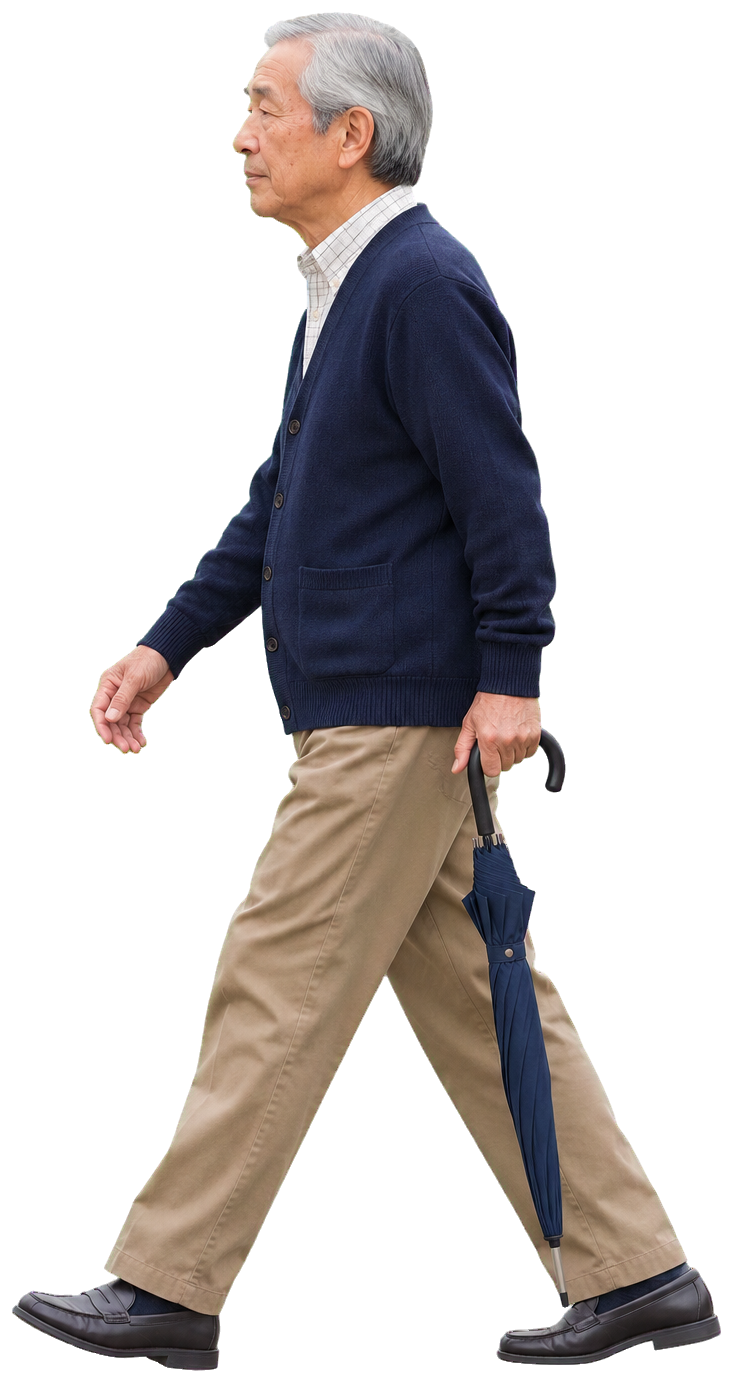
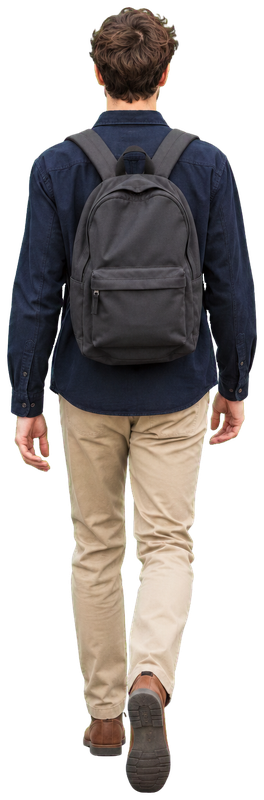
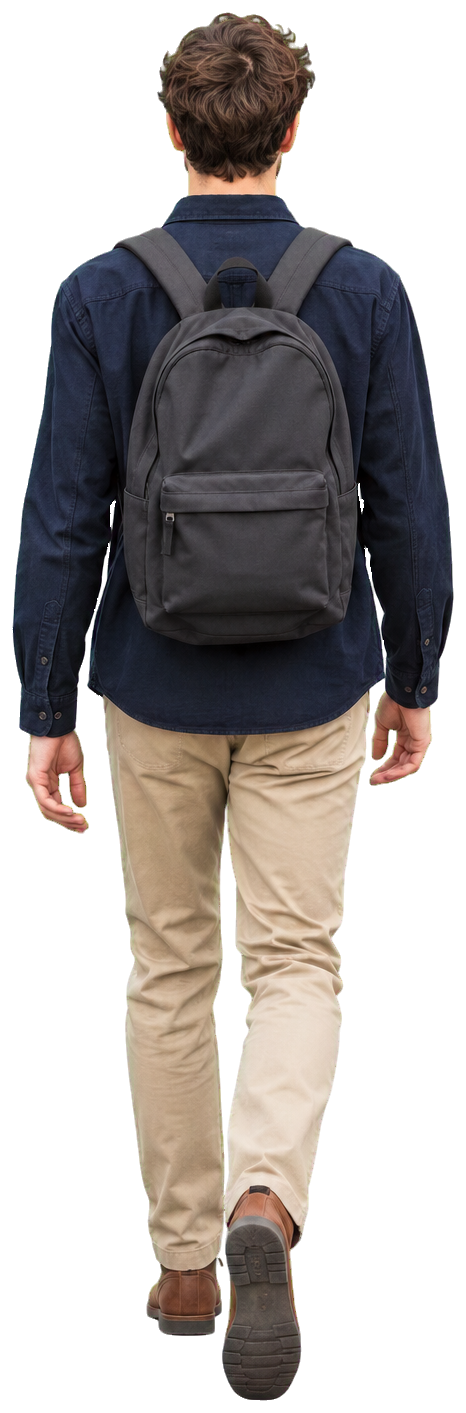
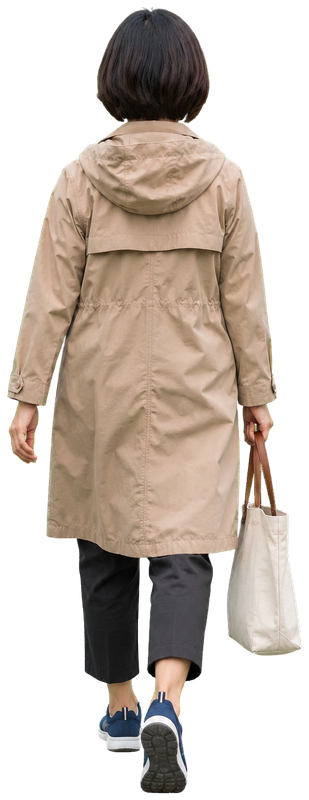
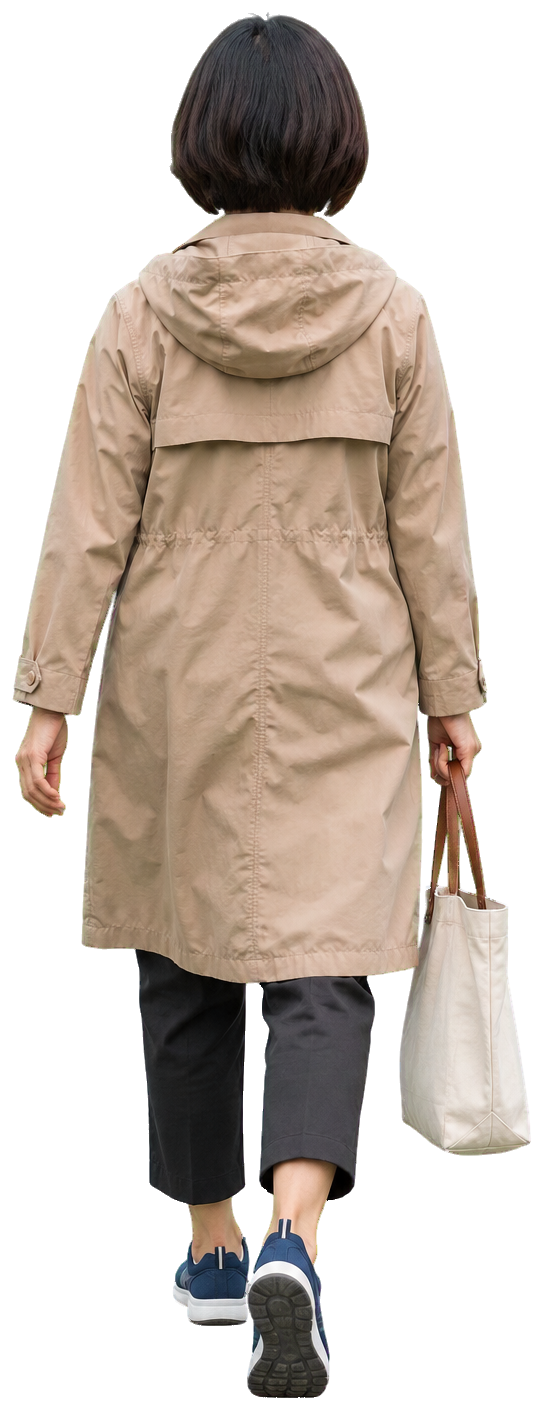
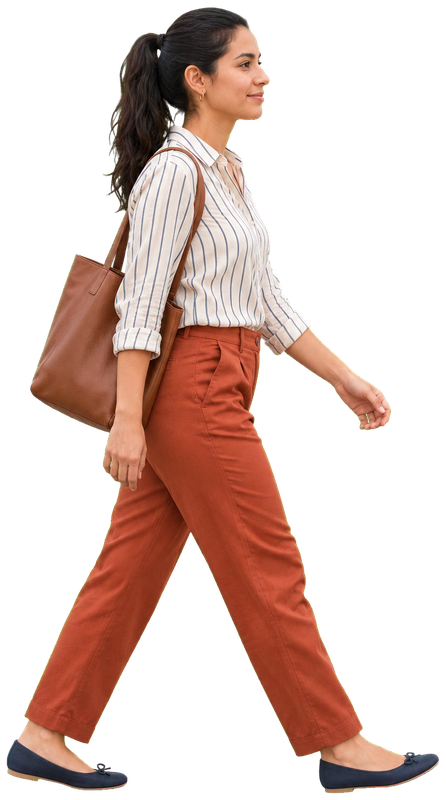
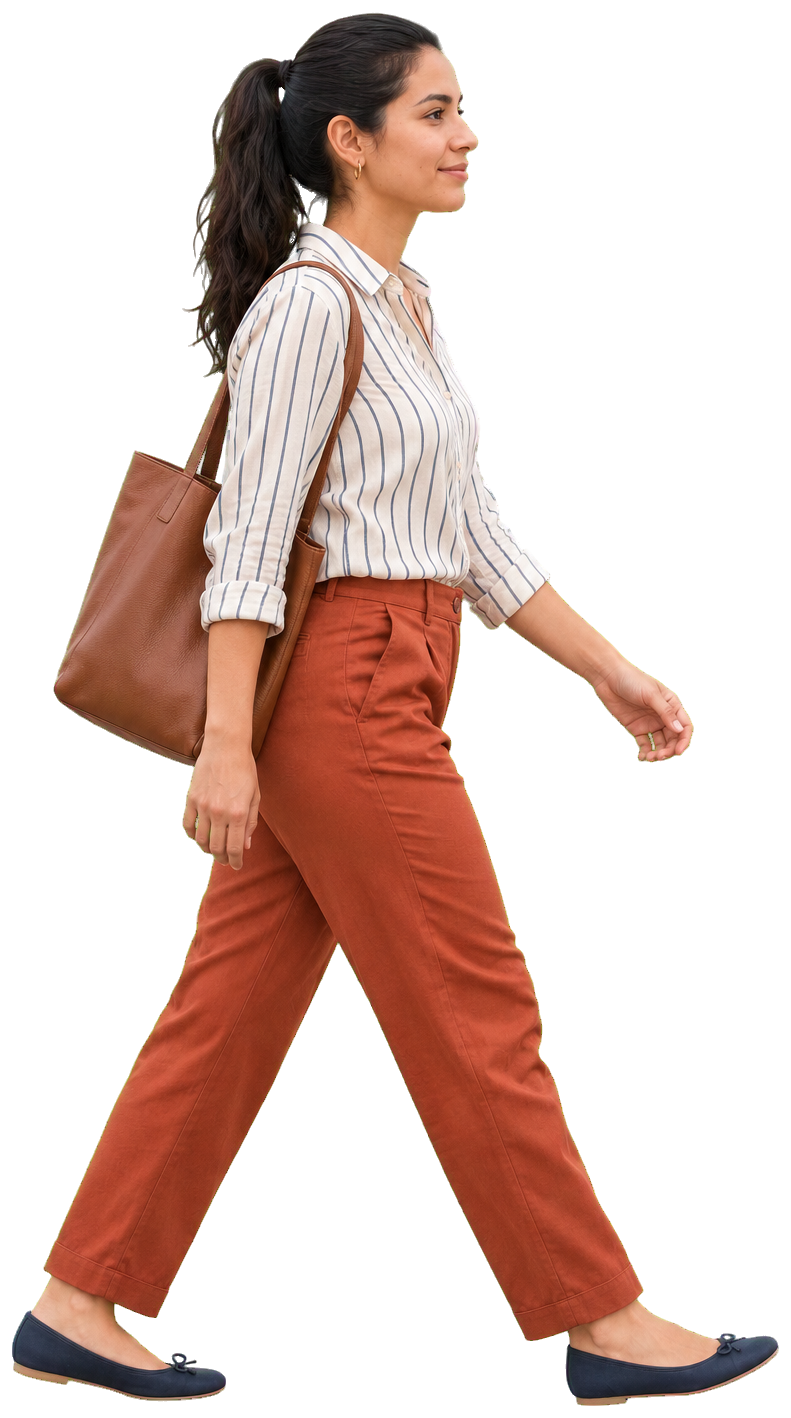
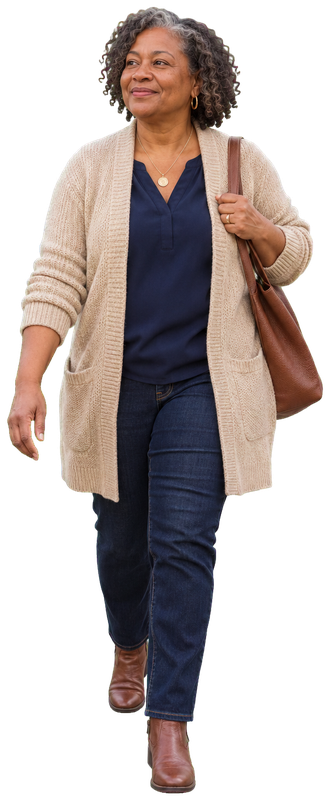
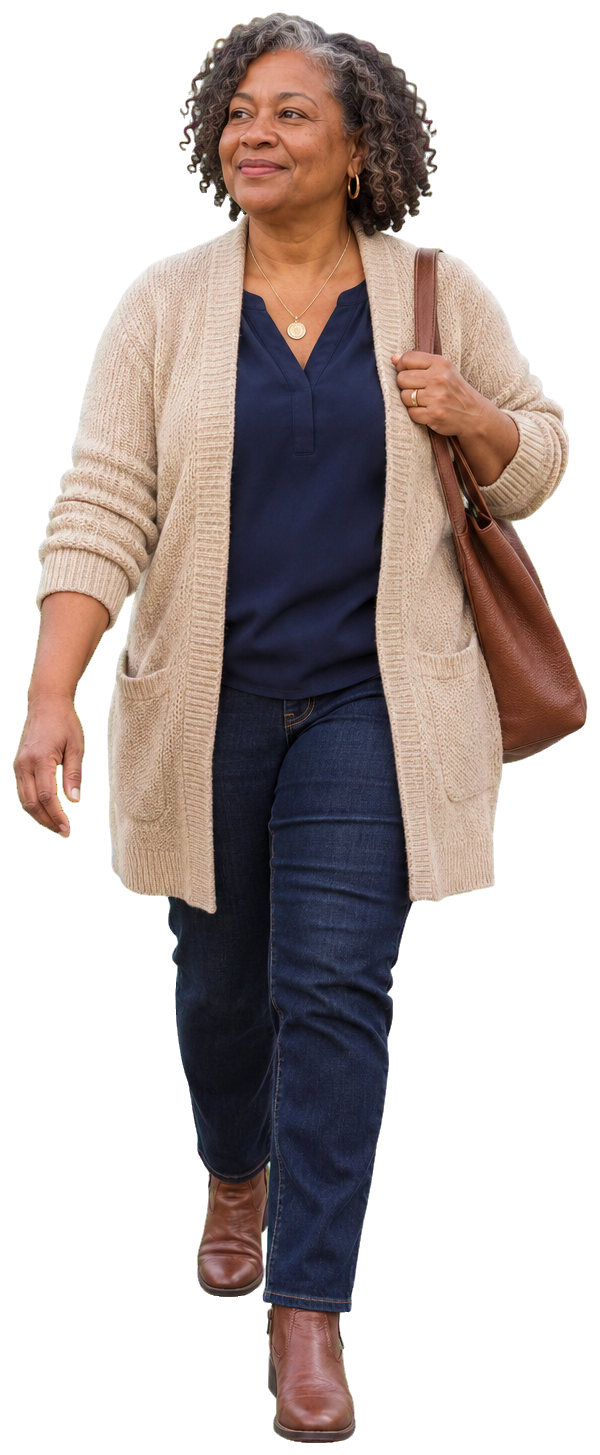
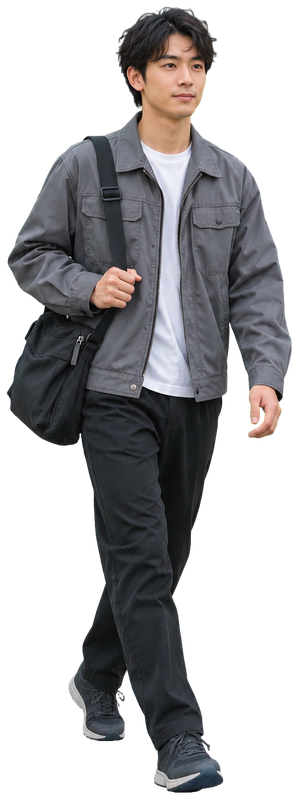
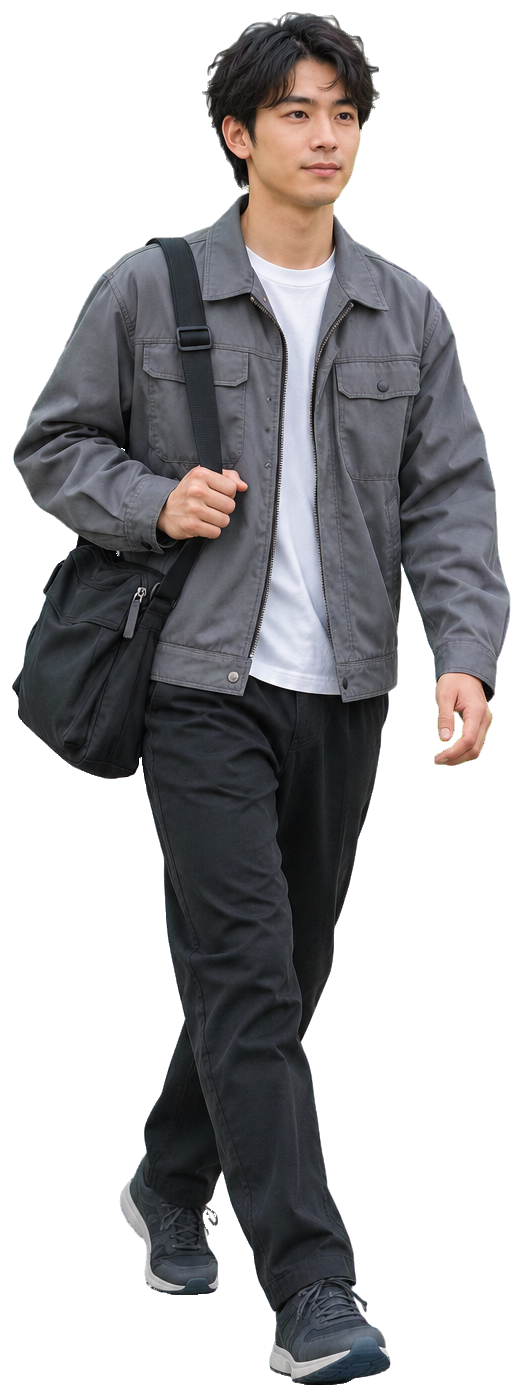
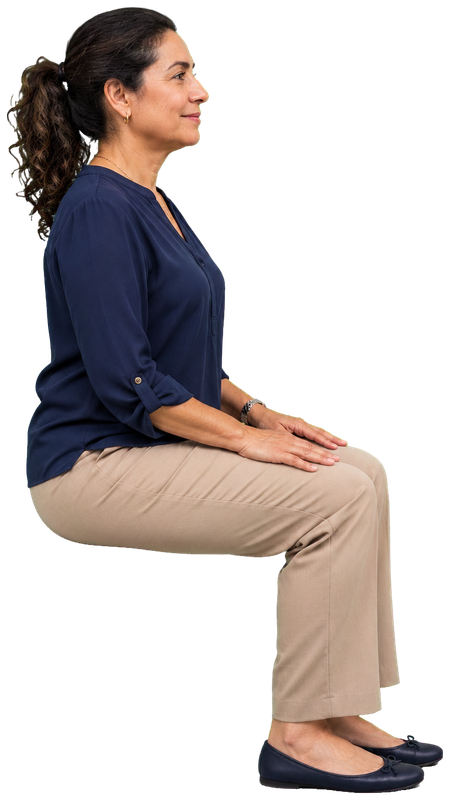
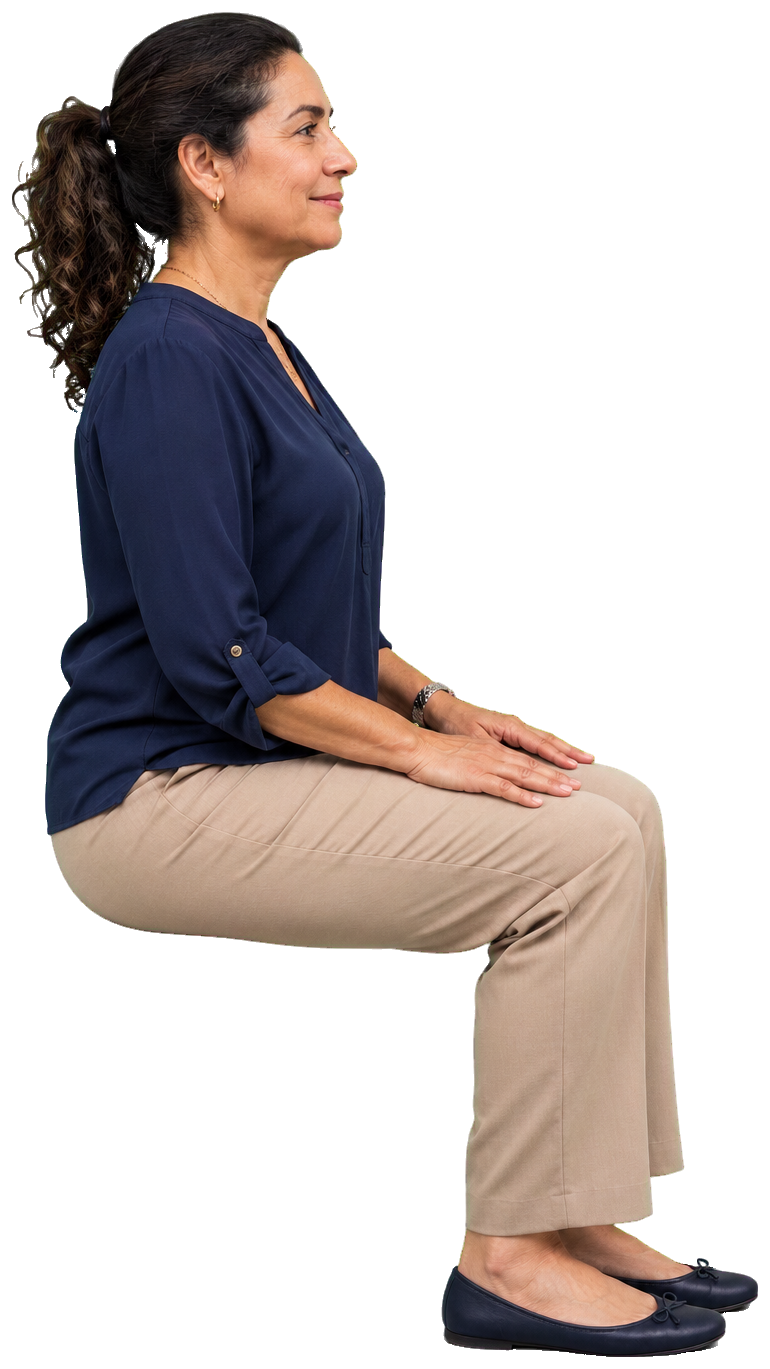
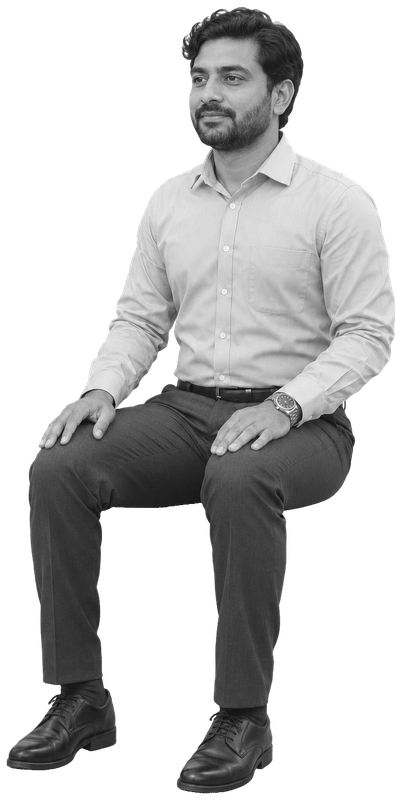
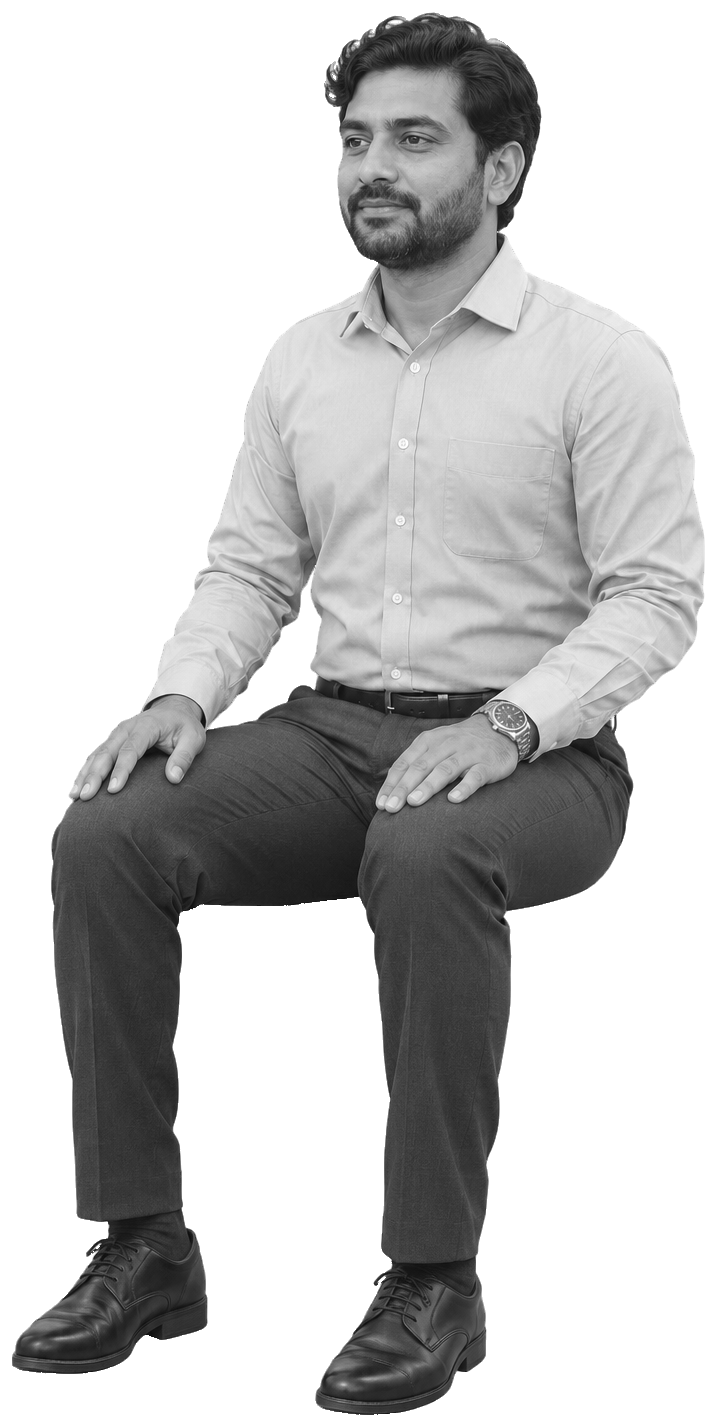
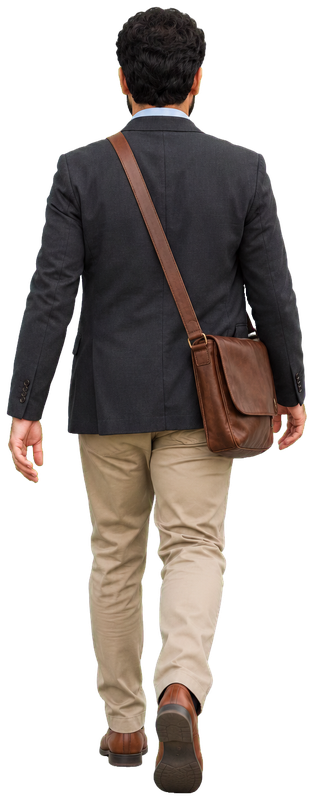
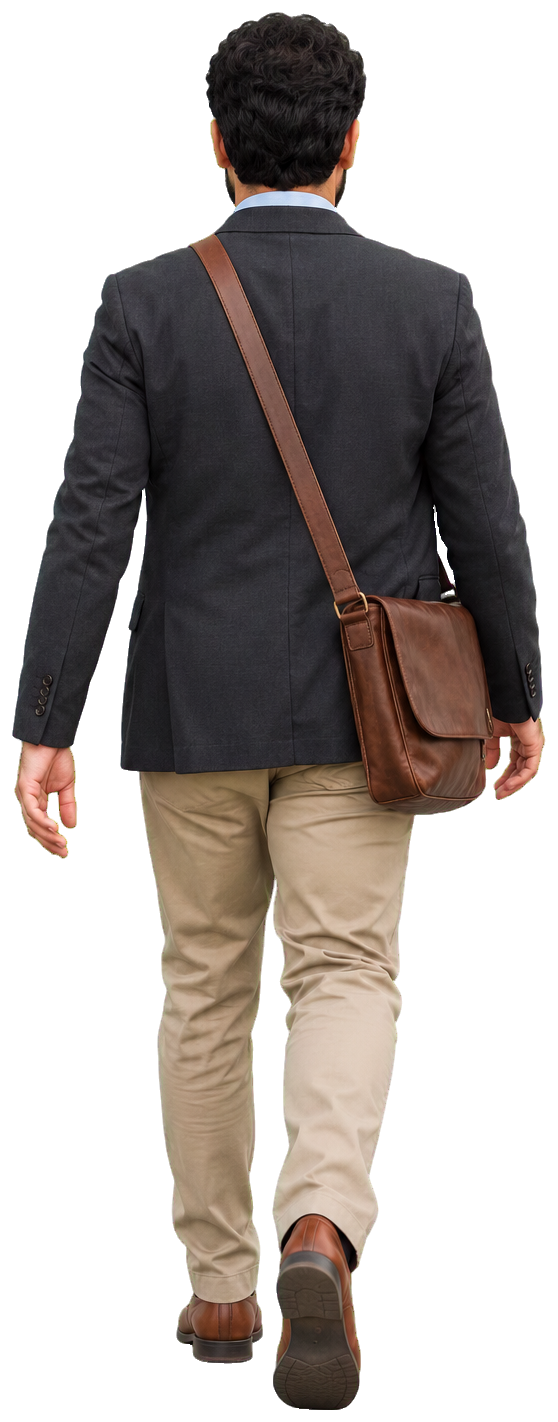
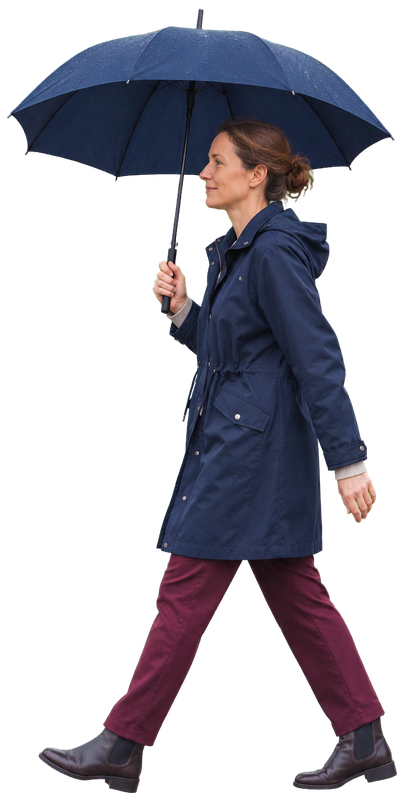
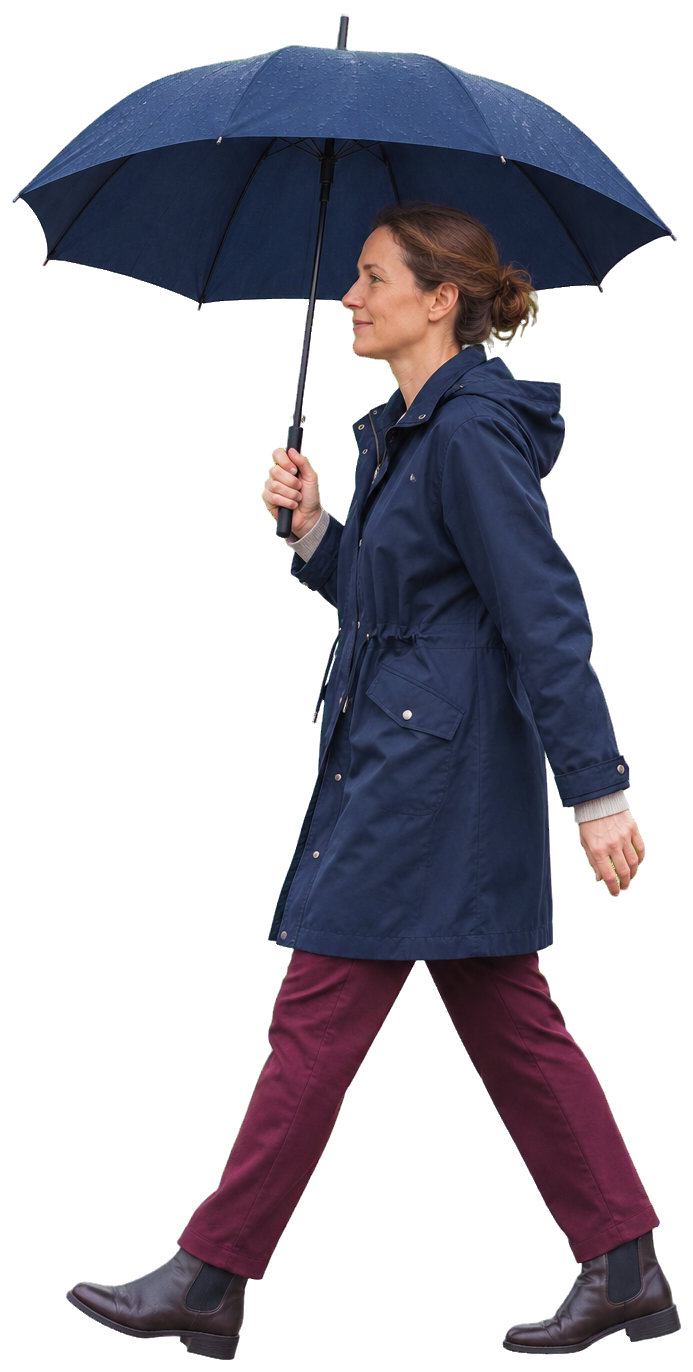
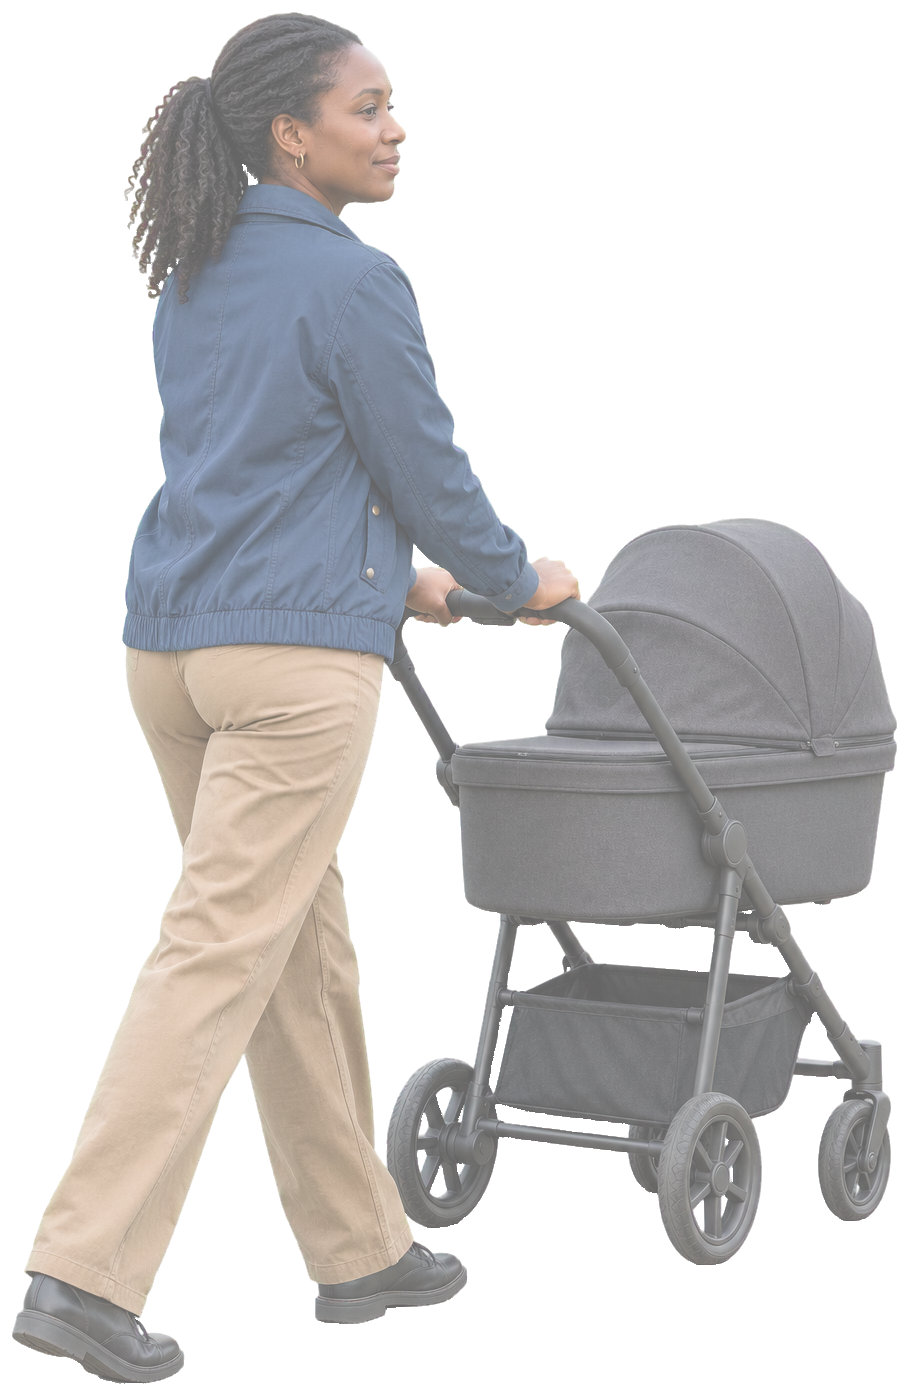
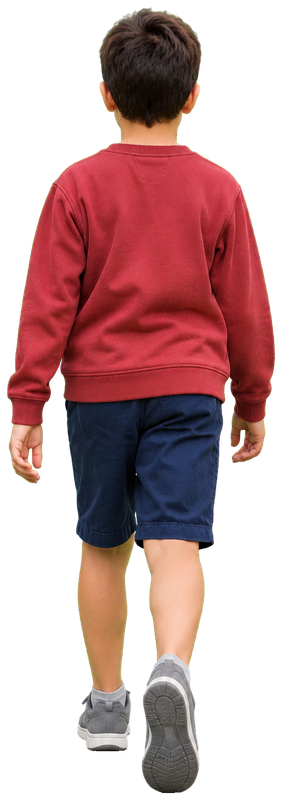
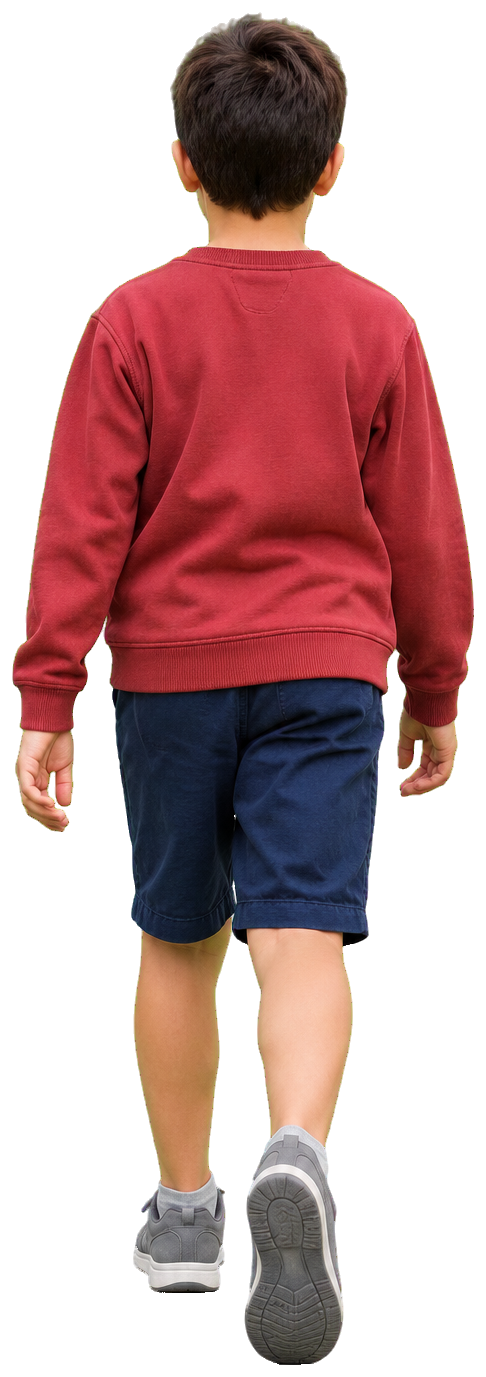
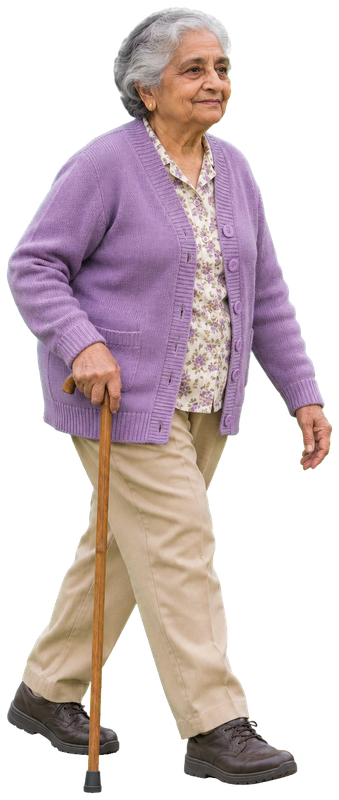
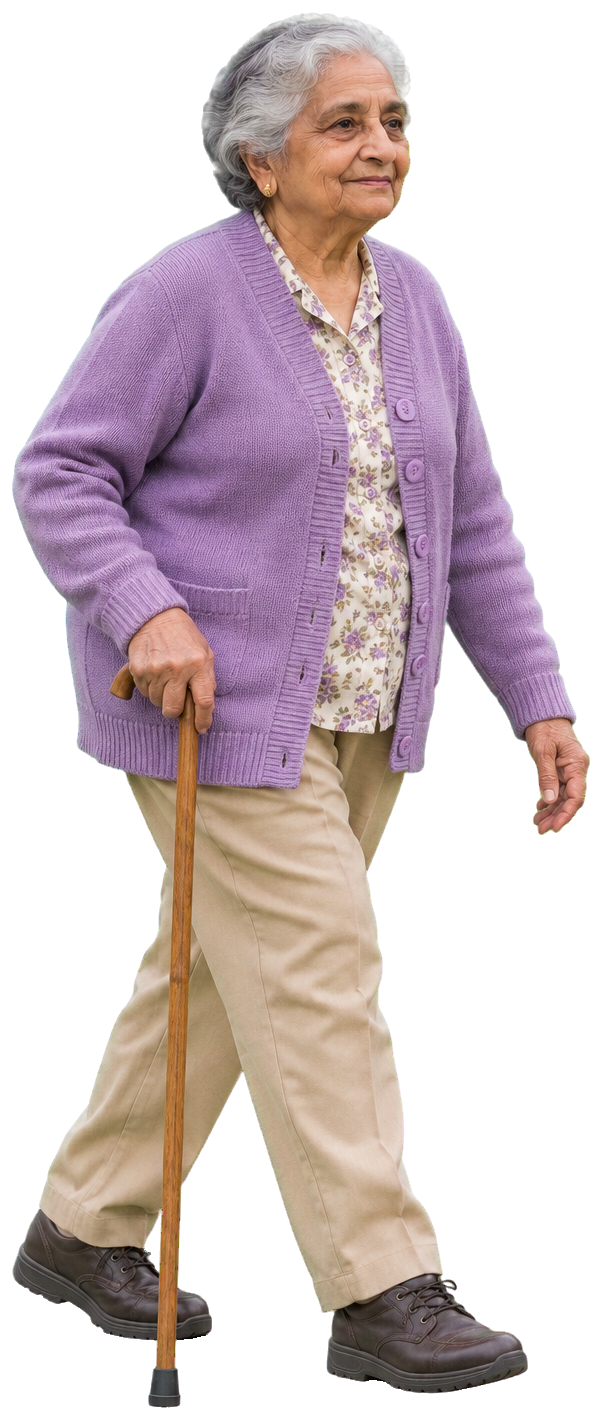
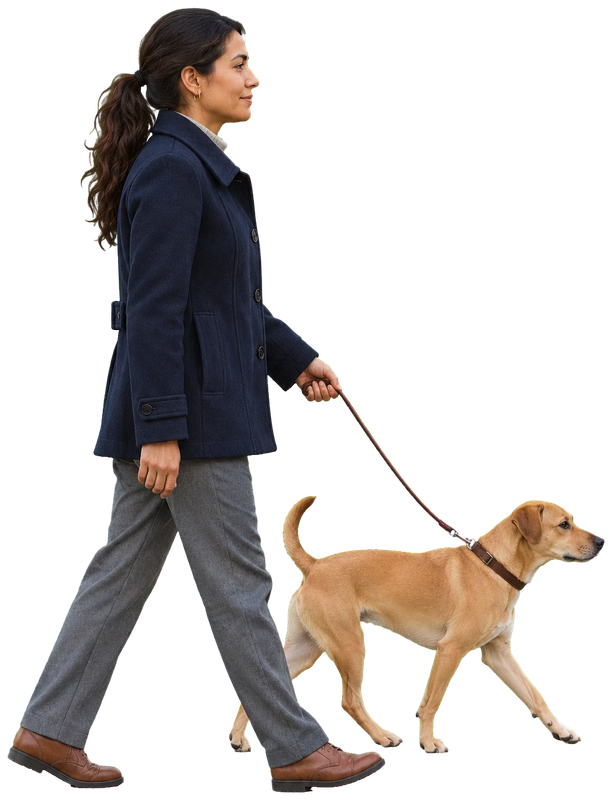
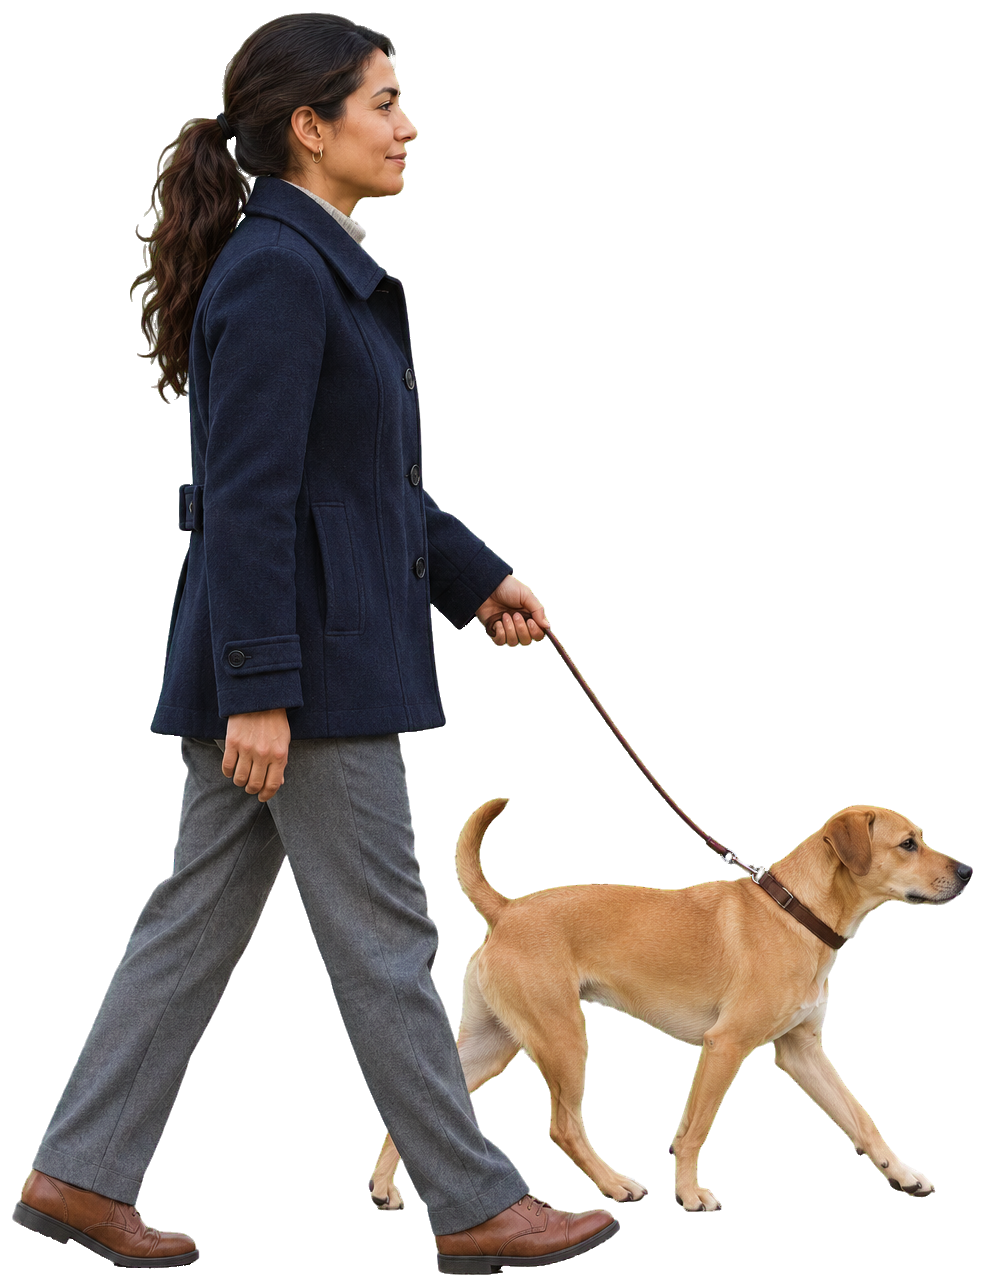
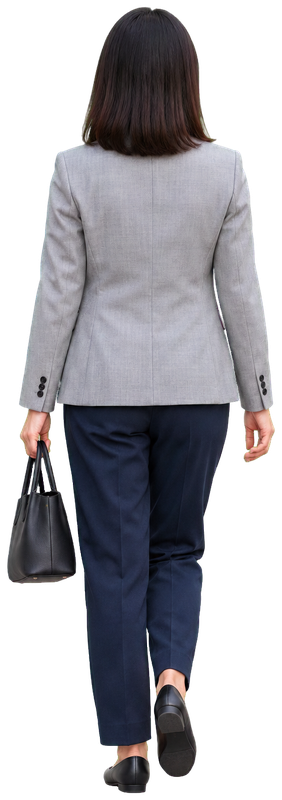
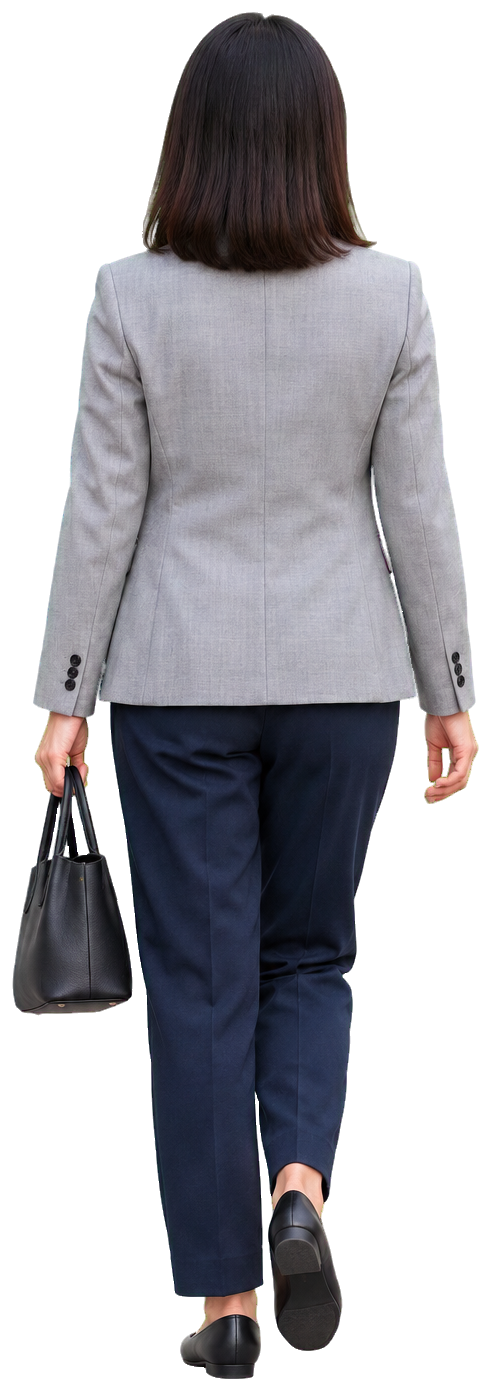
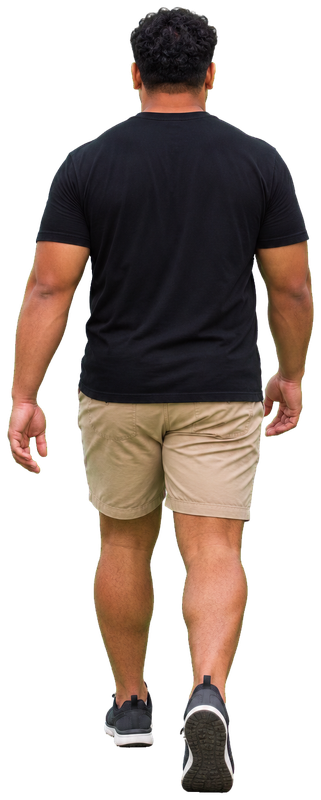
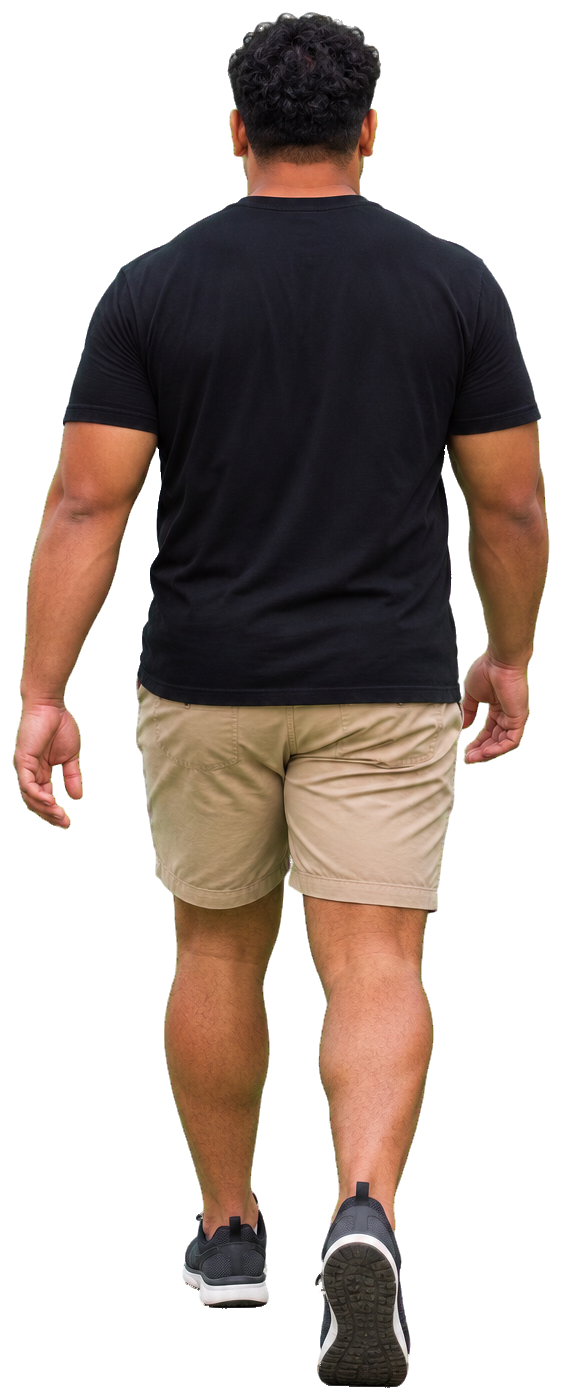
Use cut-out people to explain the height of a doorway, the depth of a room or how a space might be occupied. Choose a pose that belongs in that setting. Walking figures suit a route or entrance; sitting figures need a seat at the correct height. Check the direction each person faces before placing a group around a table or along a path.
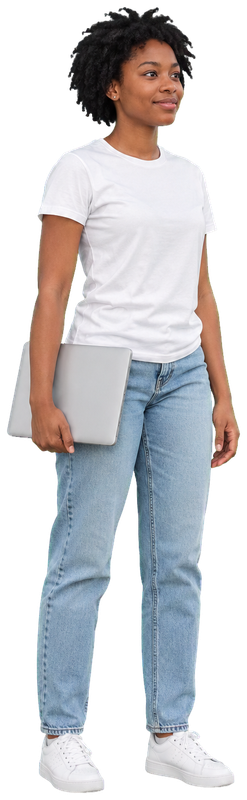
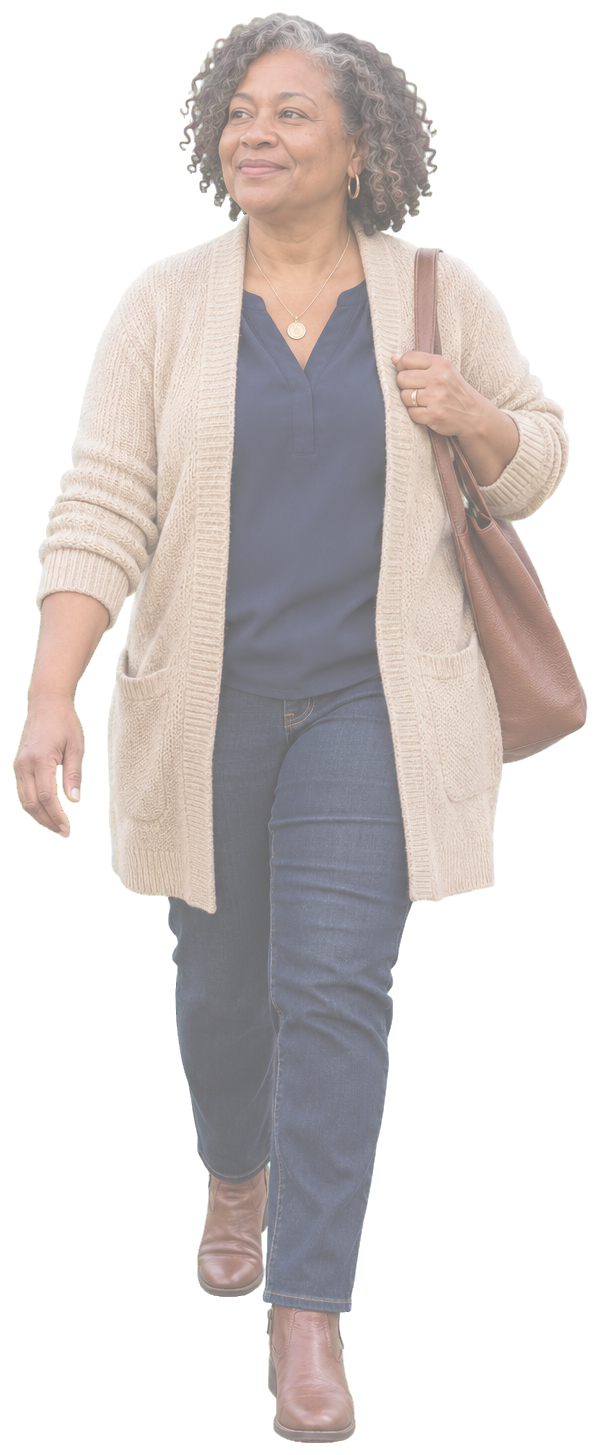
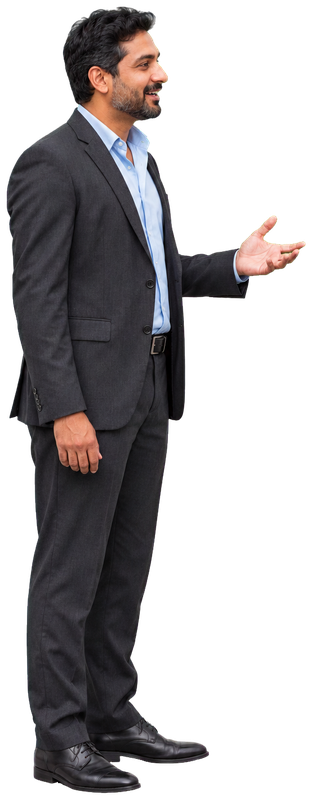
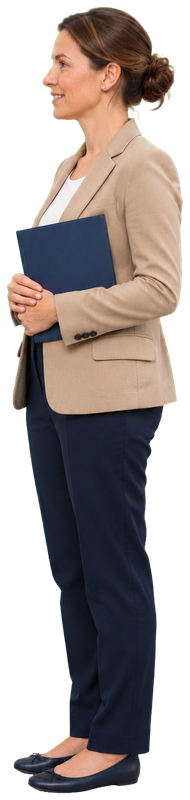
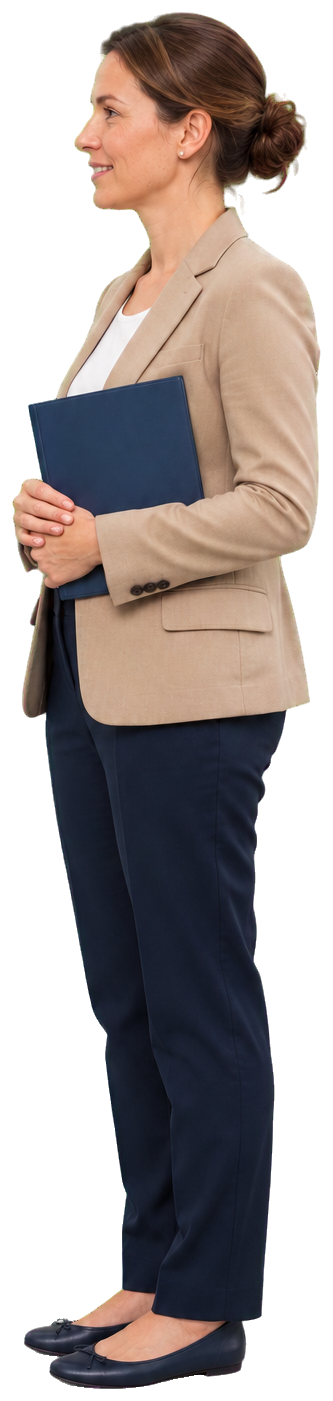
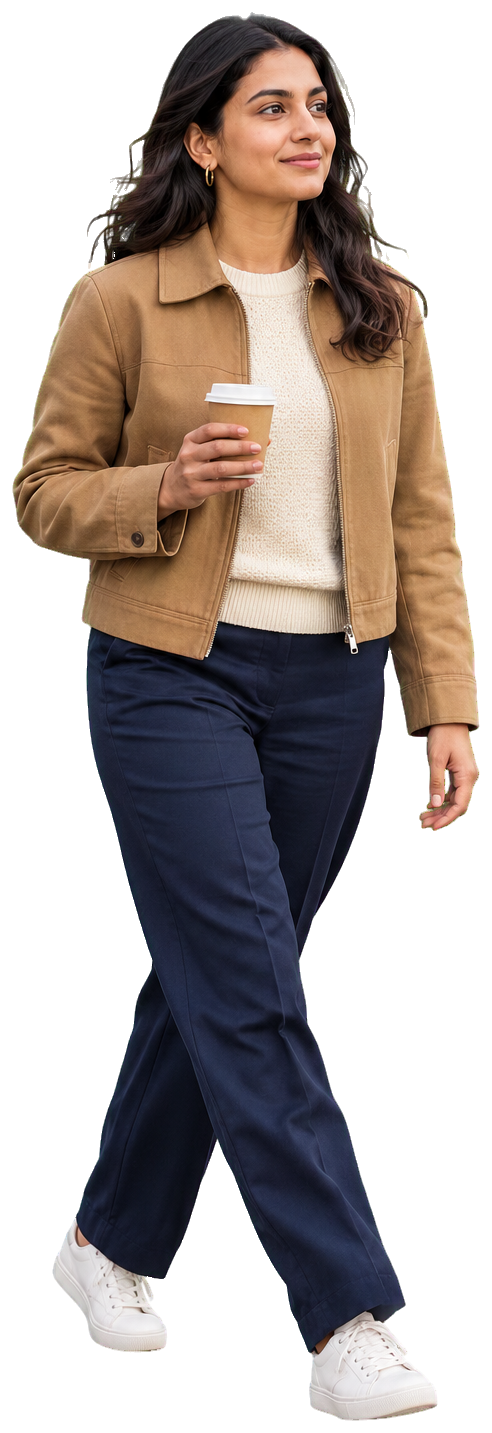
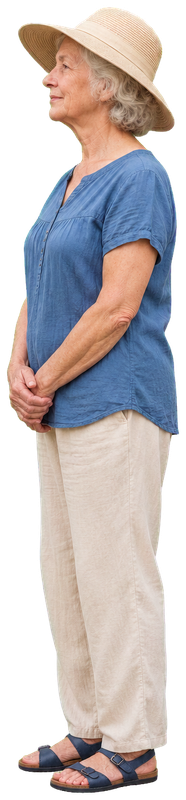
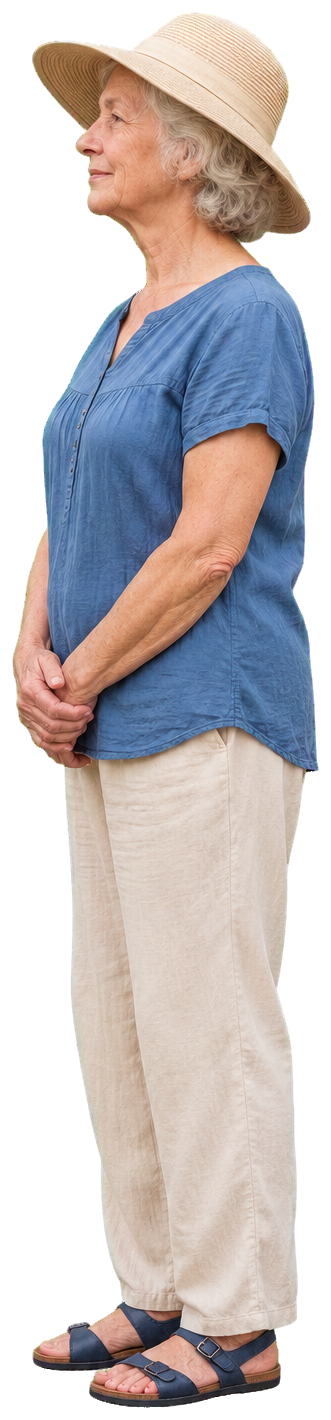
These figures were generated with a camera at about 1.6 m eye height. In a perspective render, compare that eye level with your camera's horizon. A level camera at a similar height usually gives you a useful starting point. Move the figure into the correct depth plane, then judge its head and feet against nearby geometry. A view from high above will reveal a mismatch that resizing alone cannot solve.
Scale people against a known height
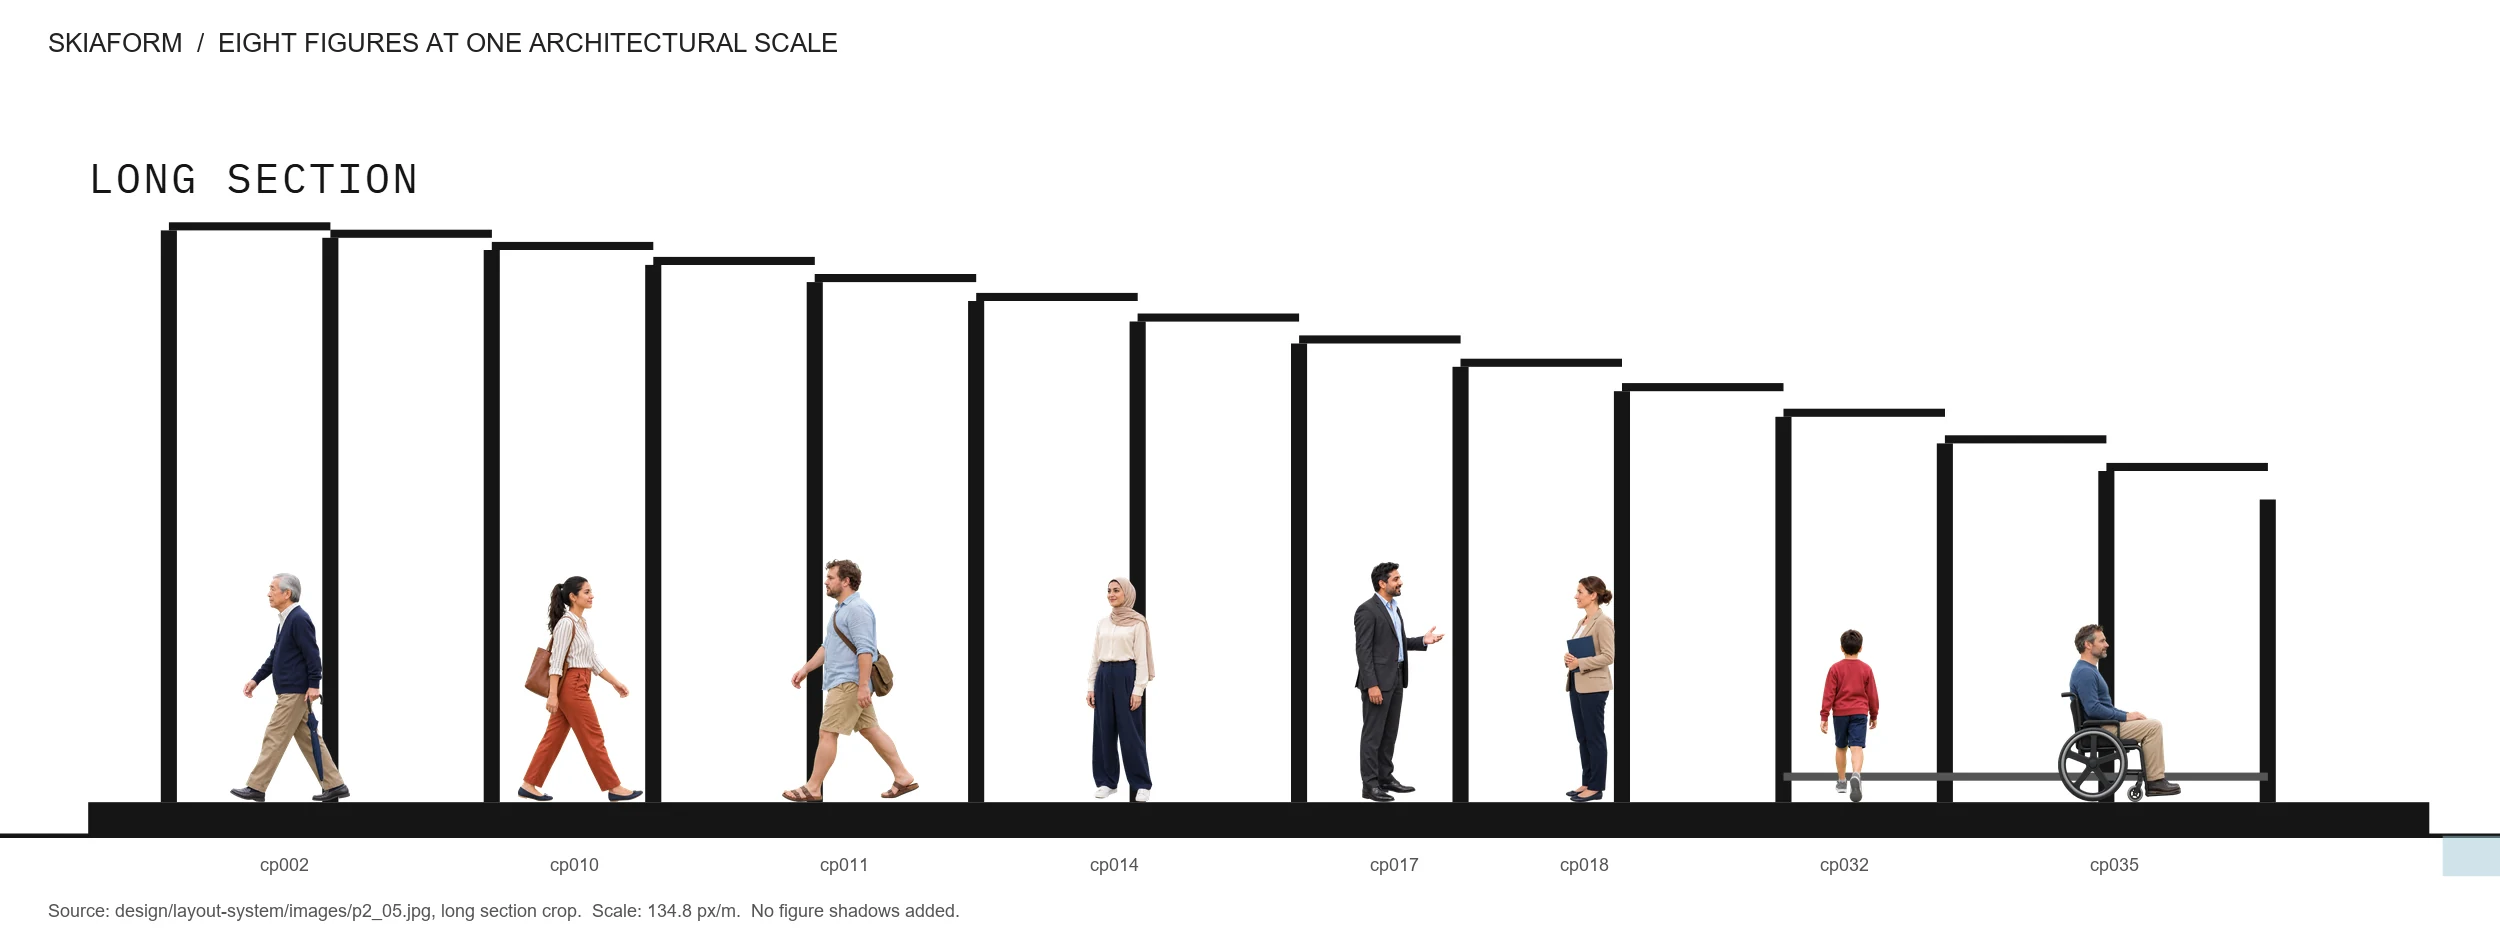
In a section or elevation, use a dimensioned element or a known height to establish the figure's size. Keep its proportions locked while resizing. Measure the visible person from head to sole, allowing for the transparent margin around the PNG. Place the soles on the floor line and compare the head with doors, counters and railings. Add a scale bar after checking the drawing's final size.
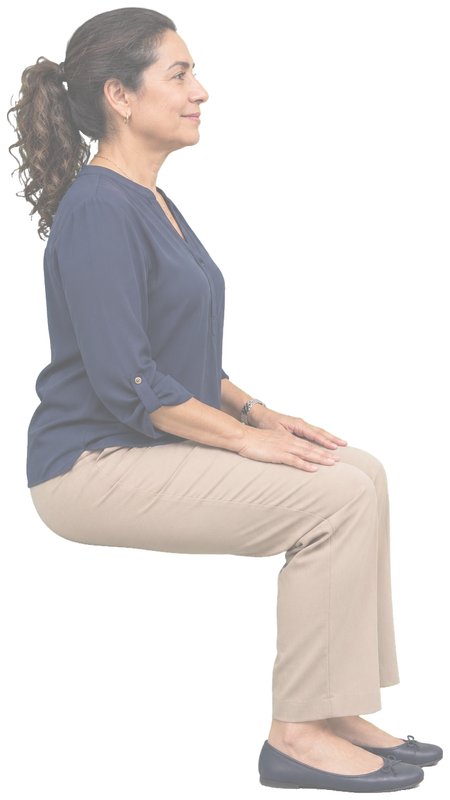
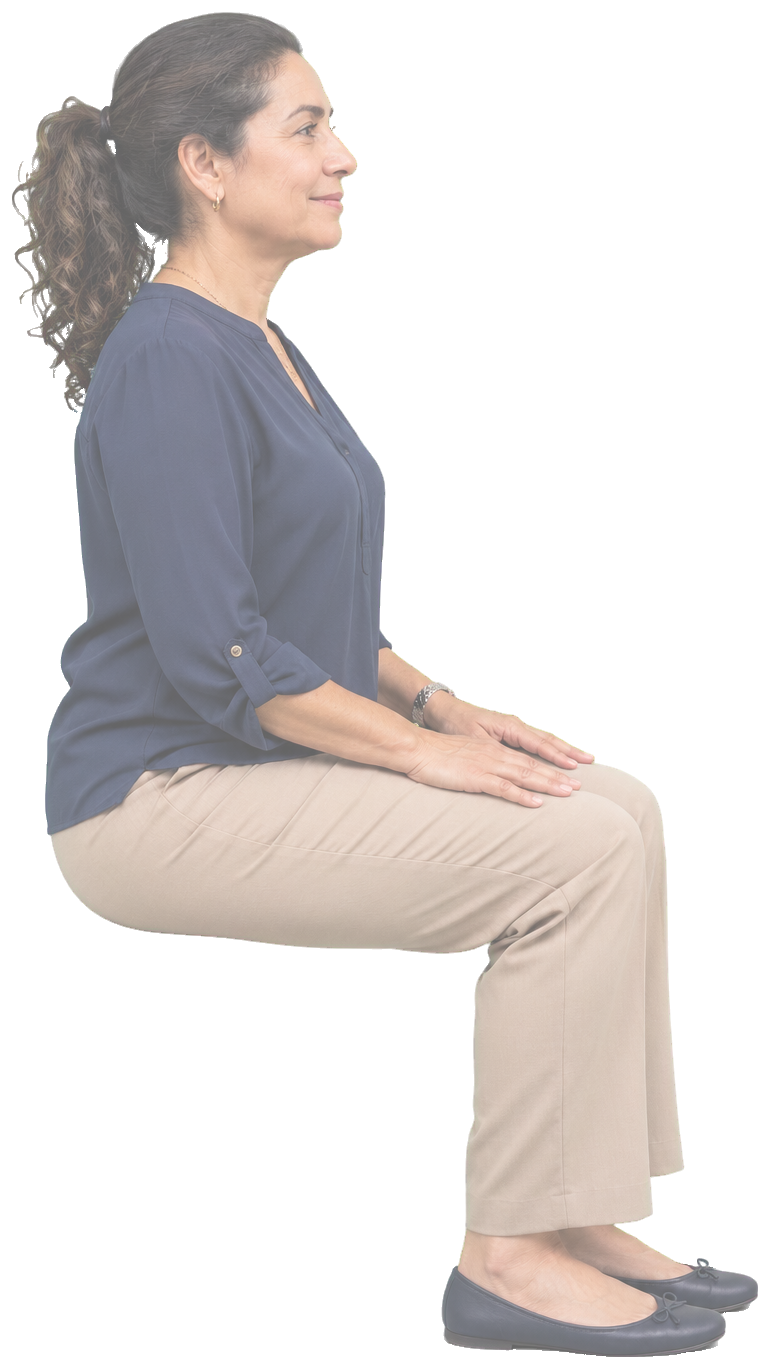
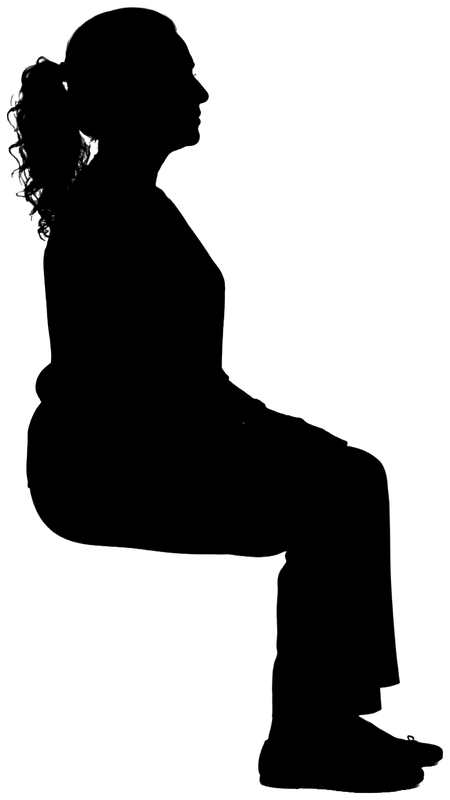
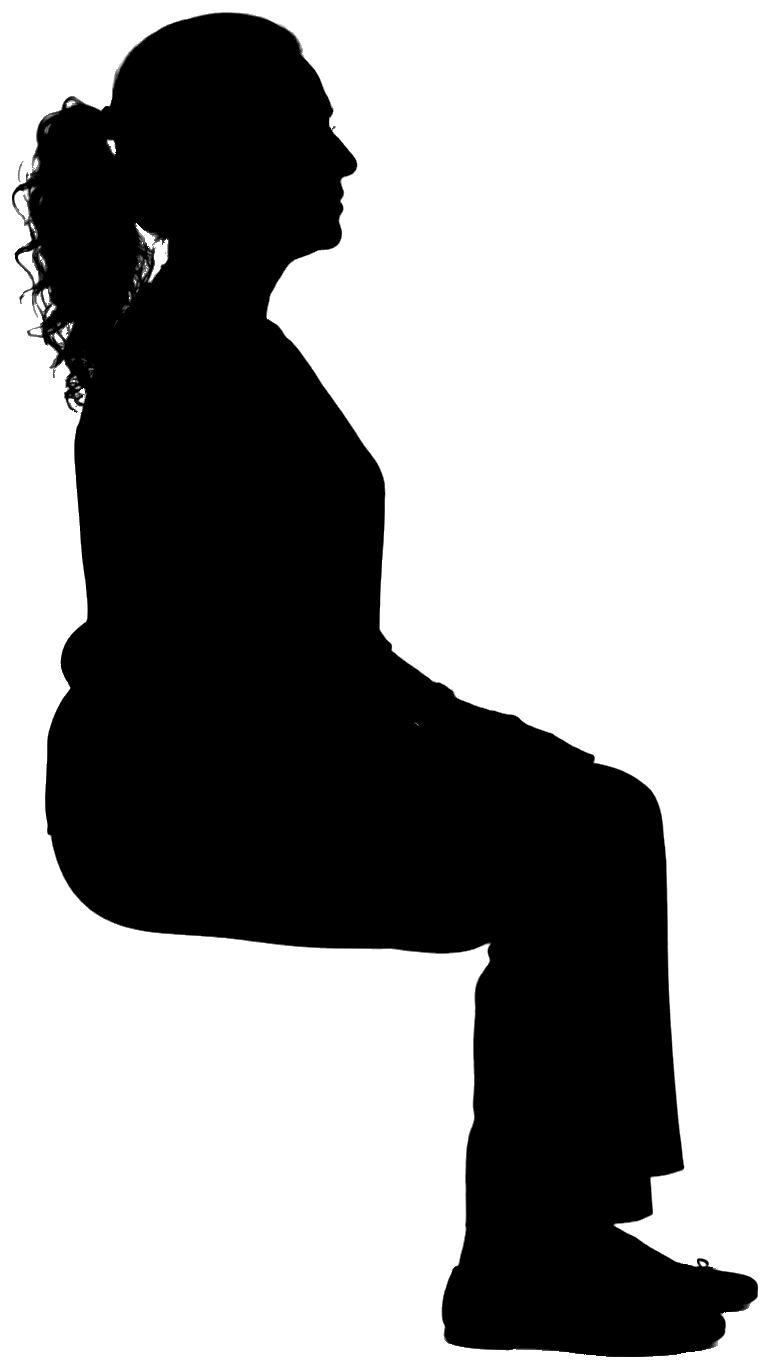
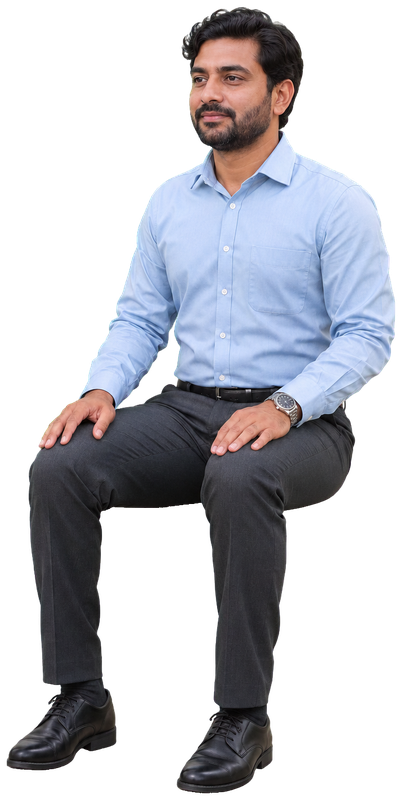
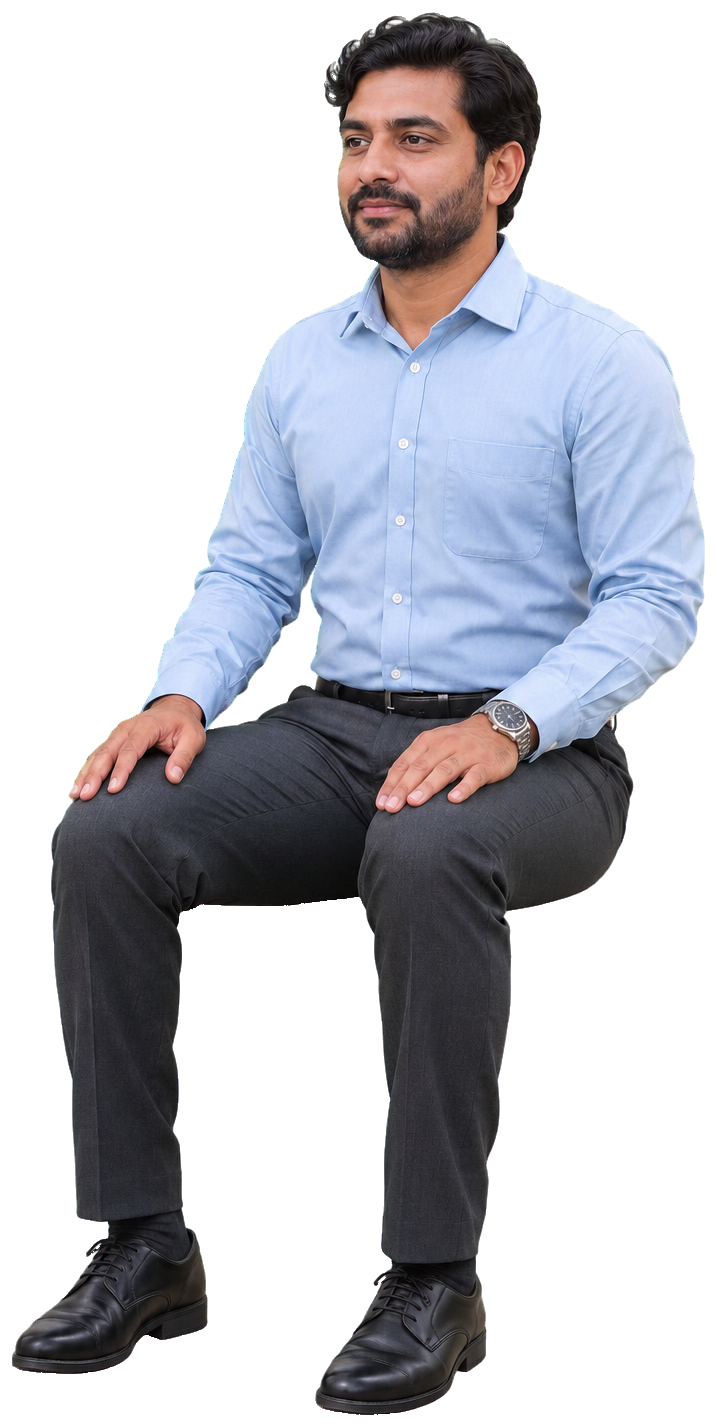
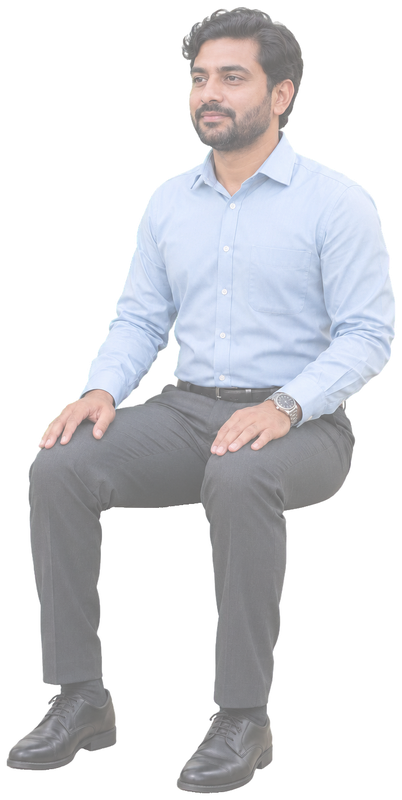
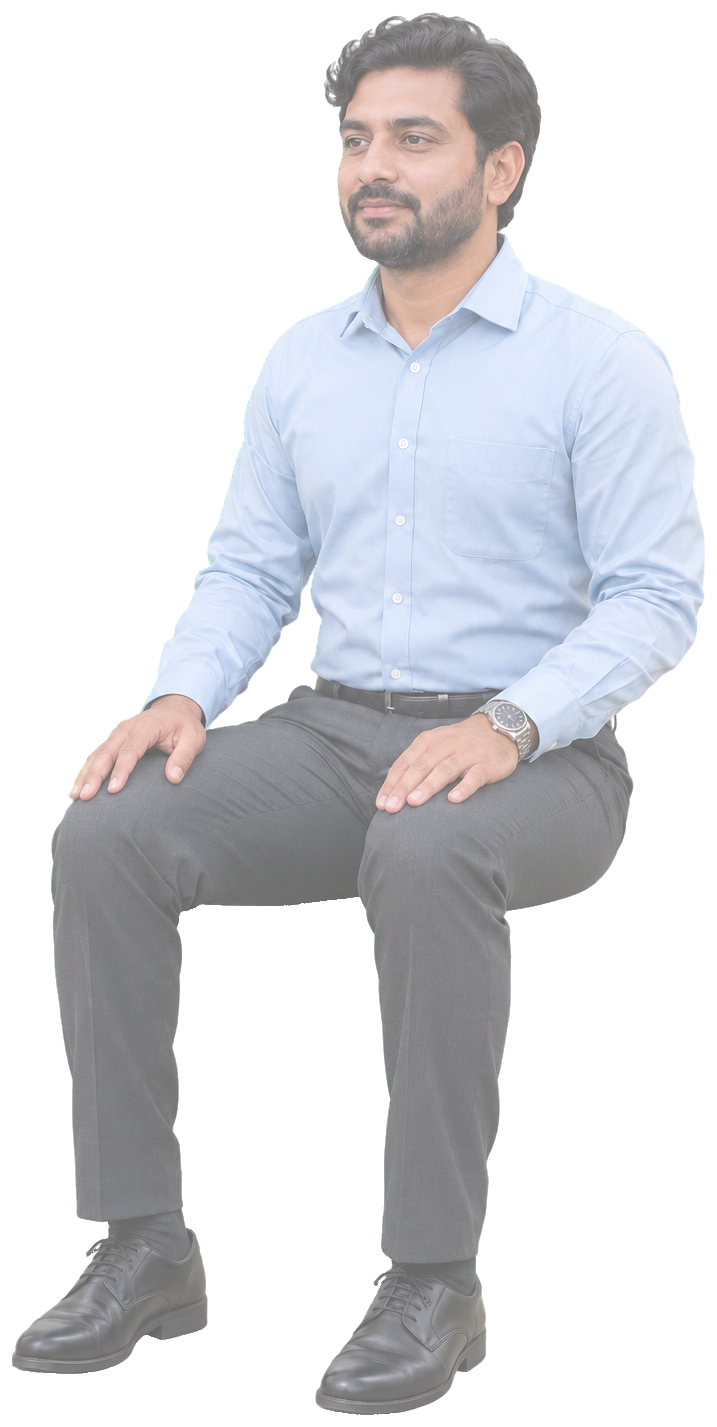
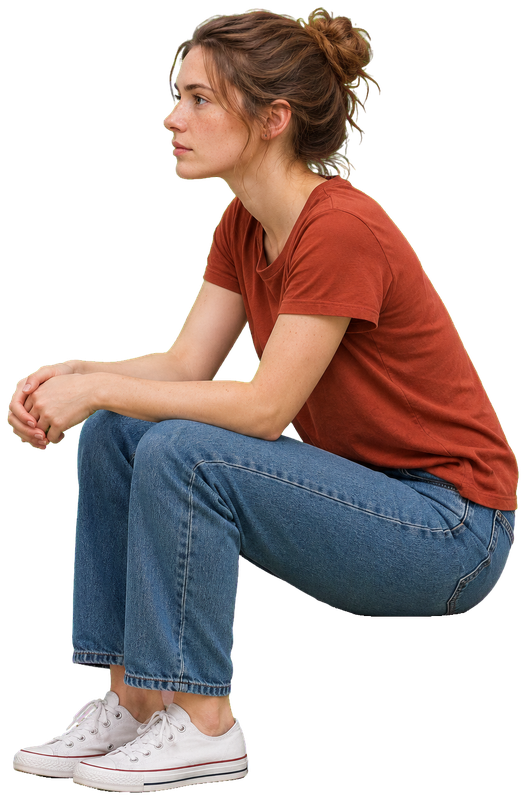
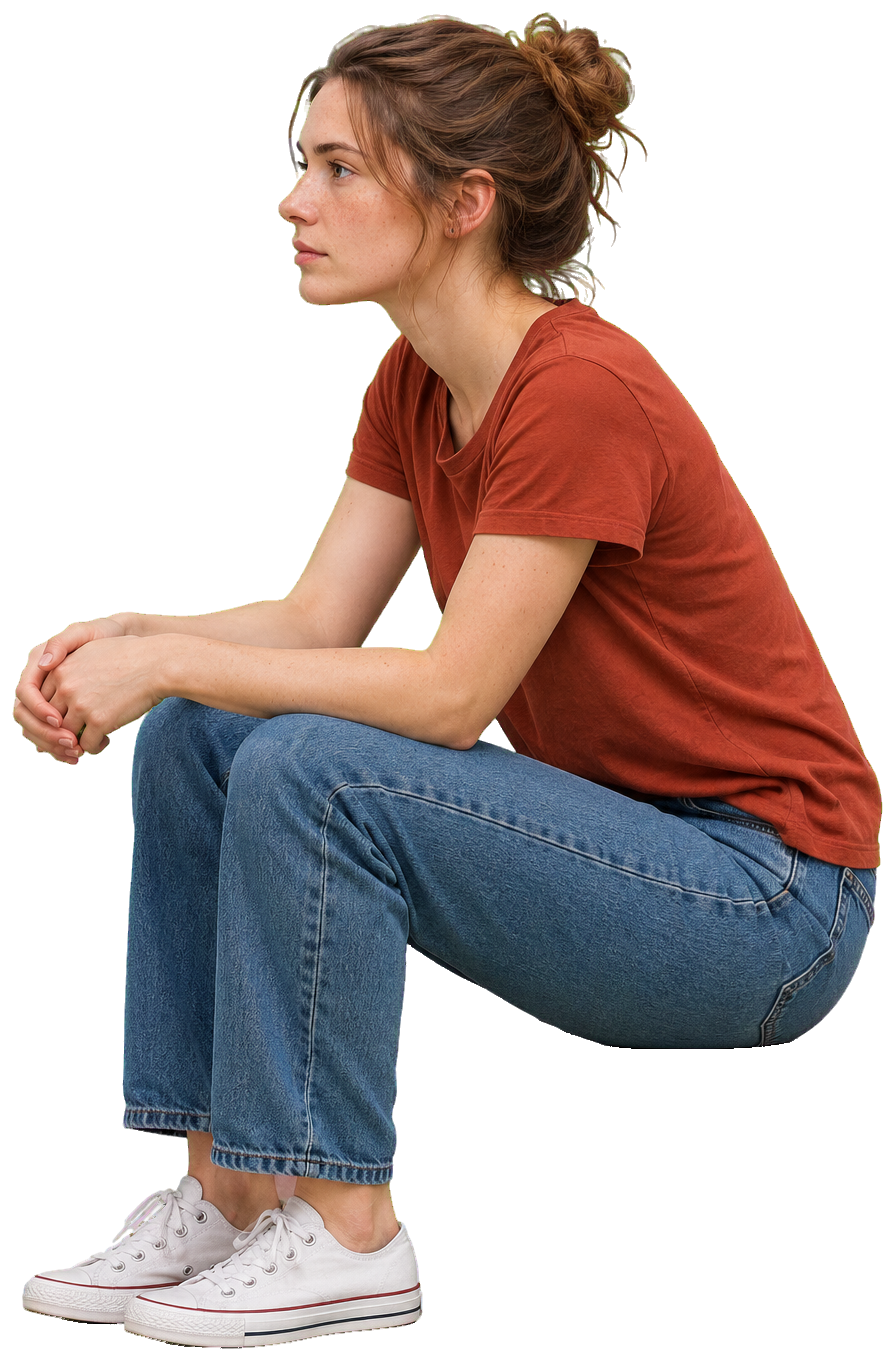
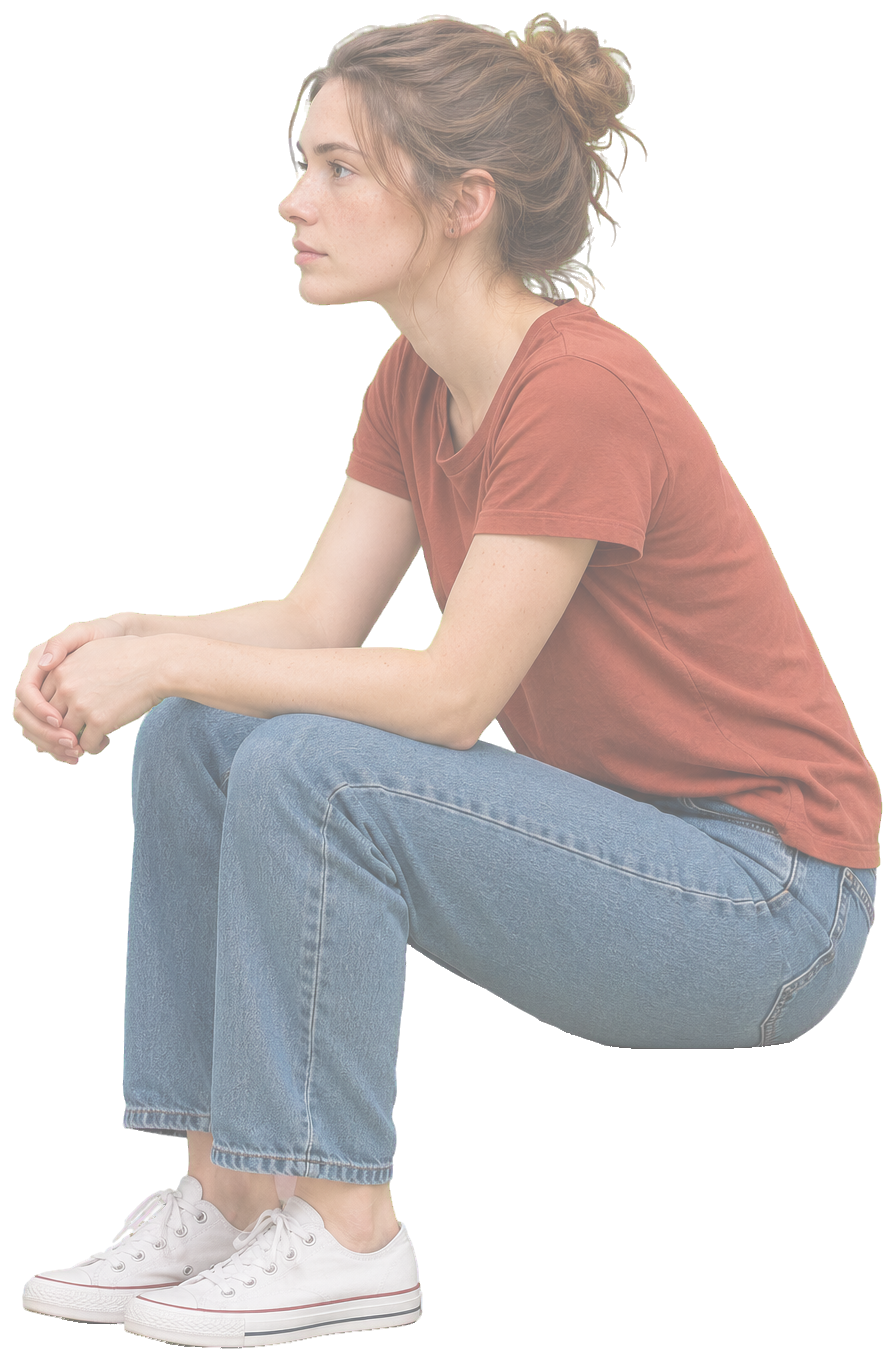
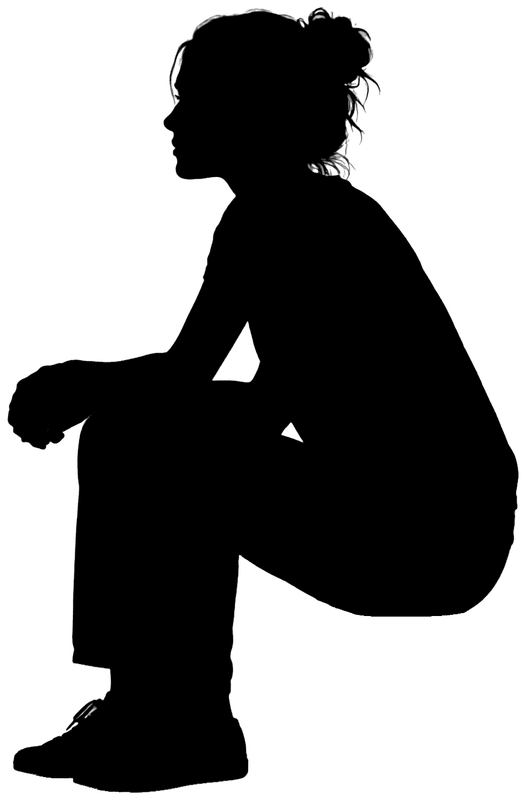
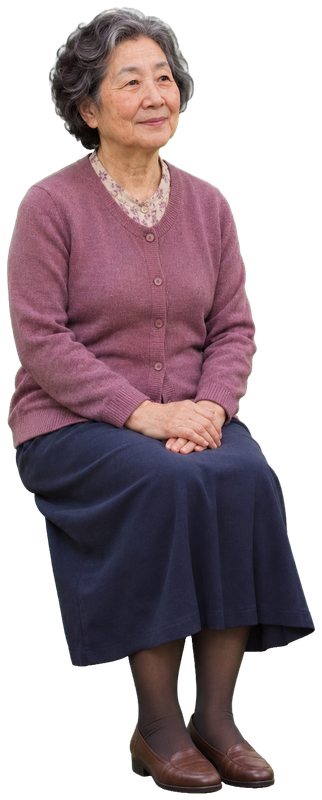
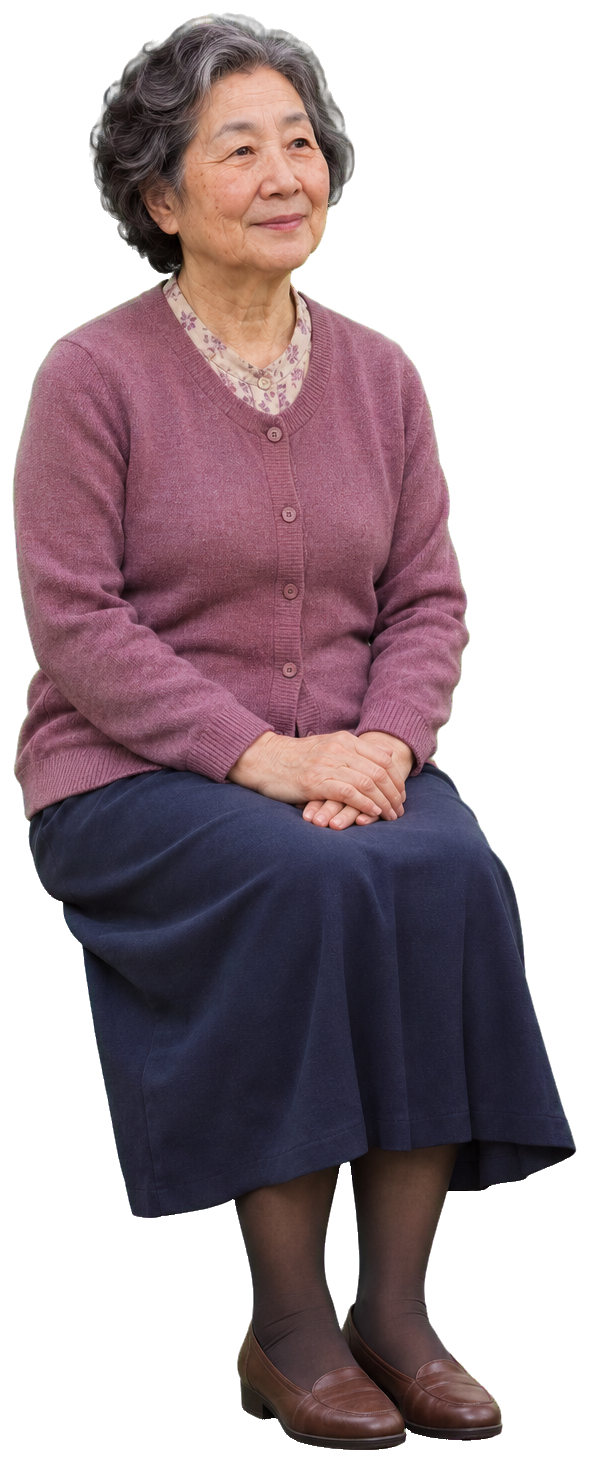
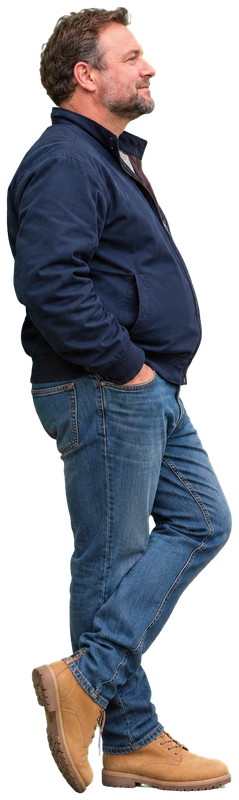
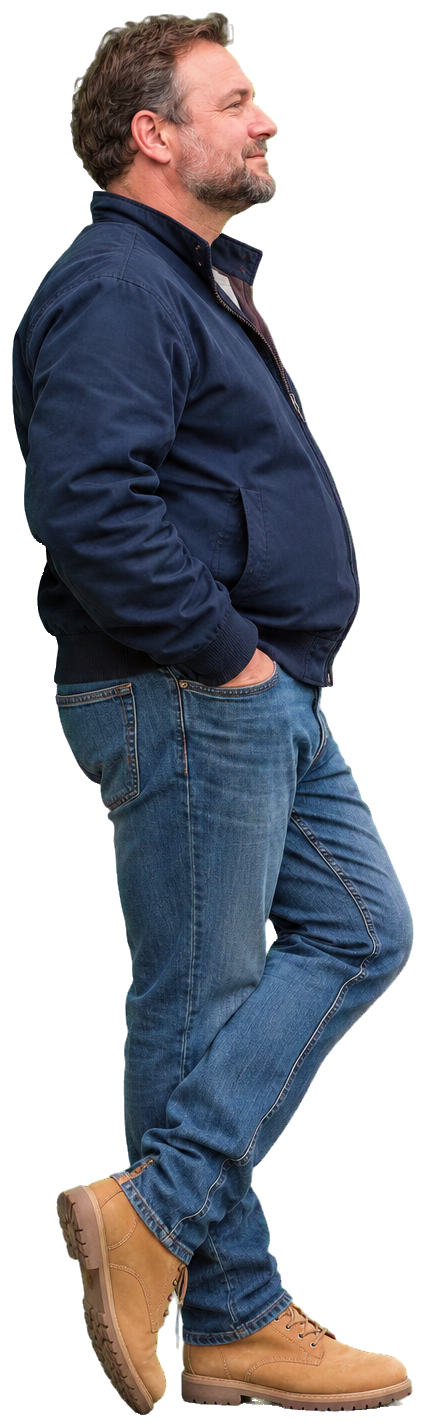
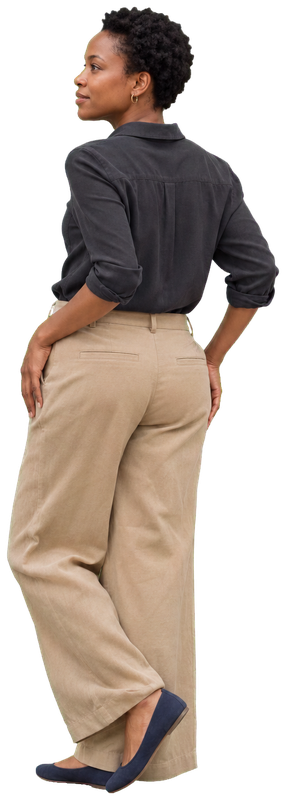
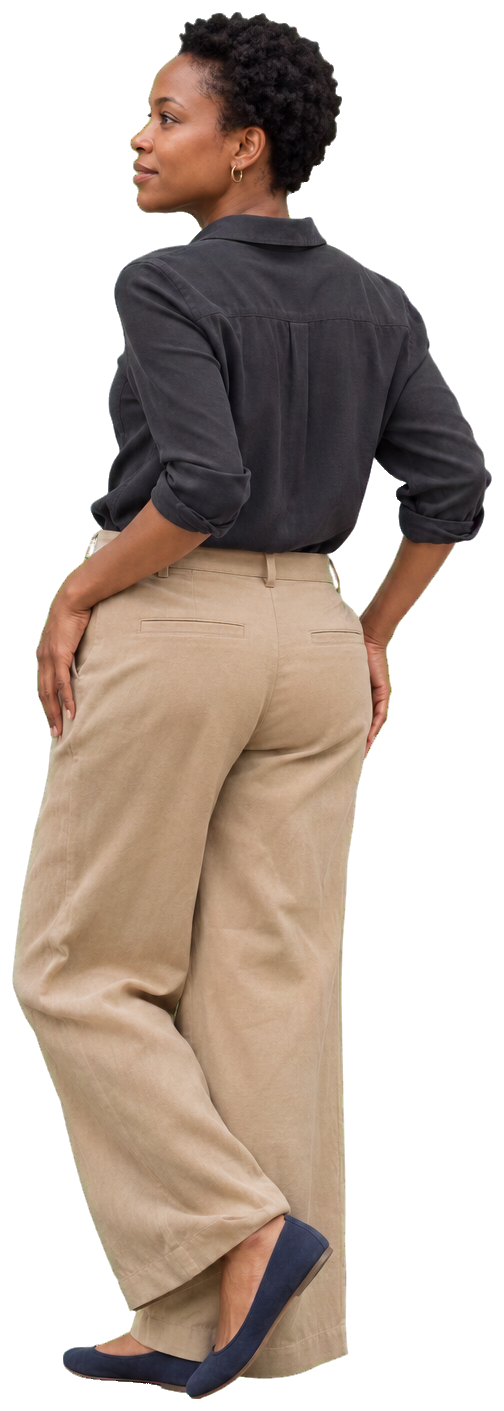
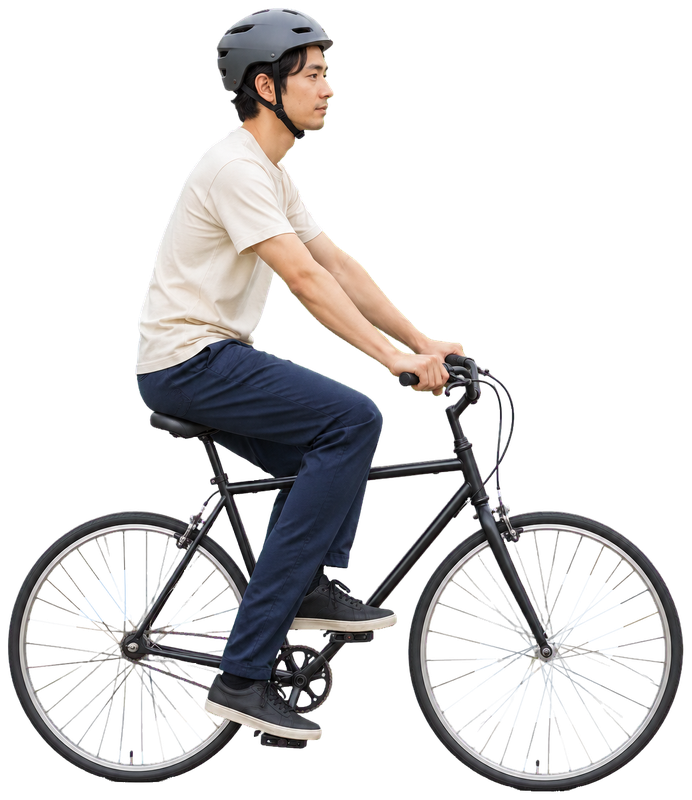
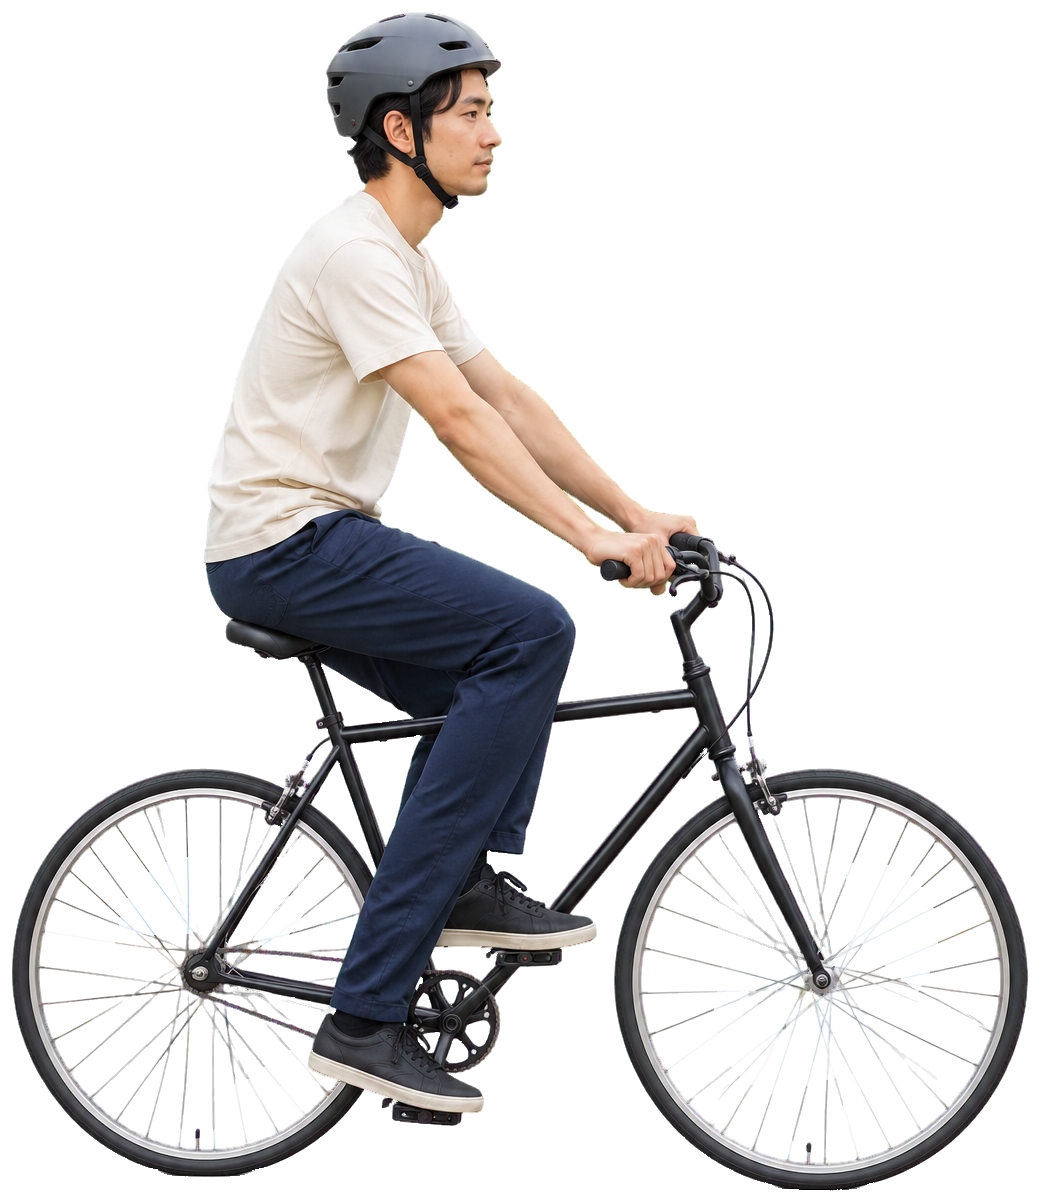
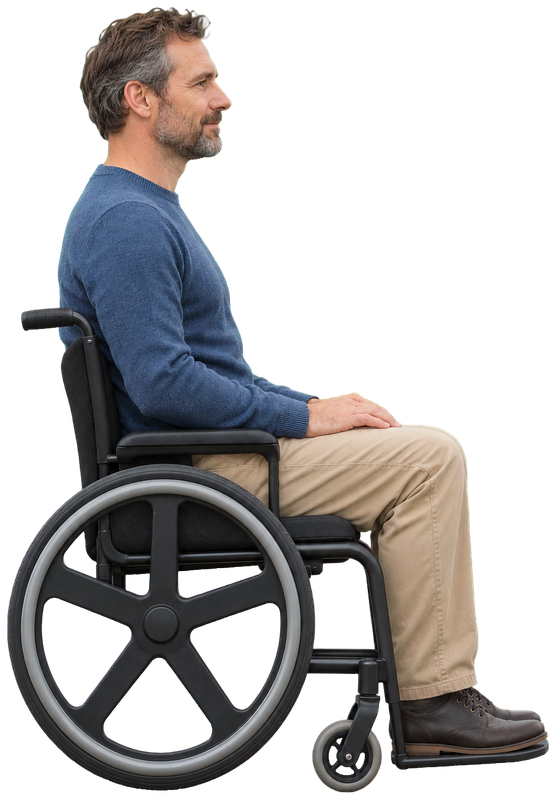
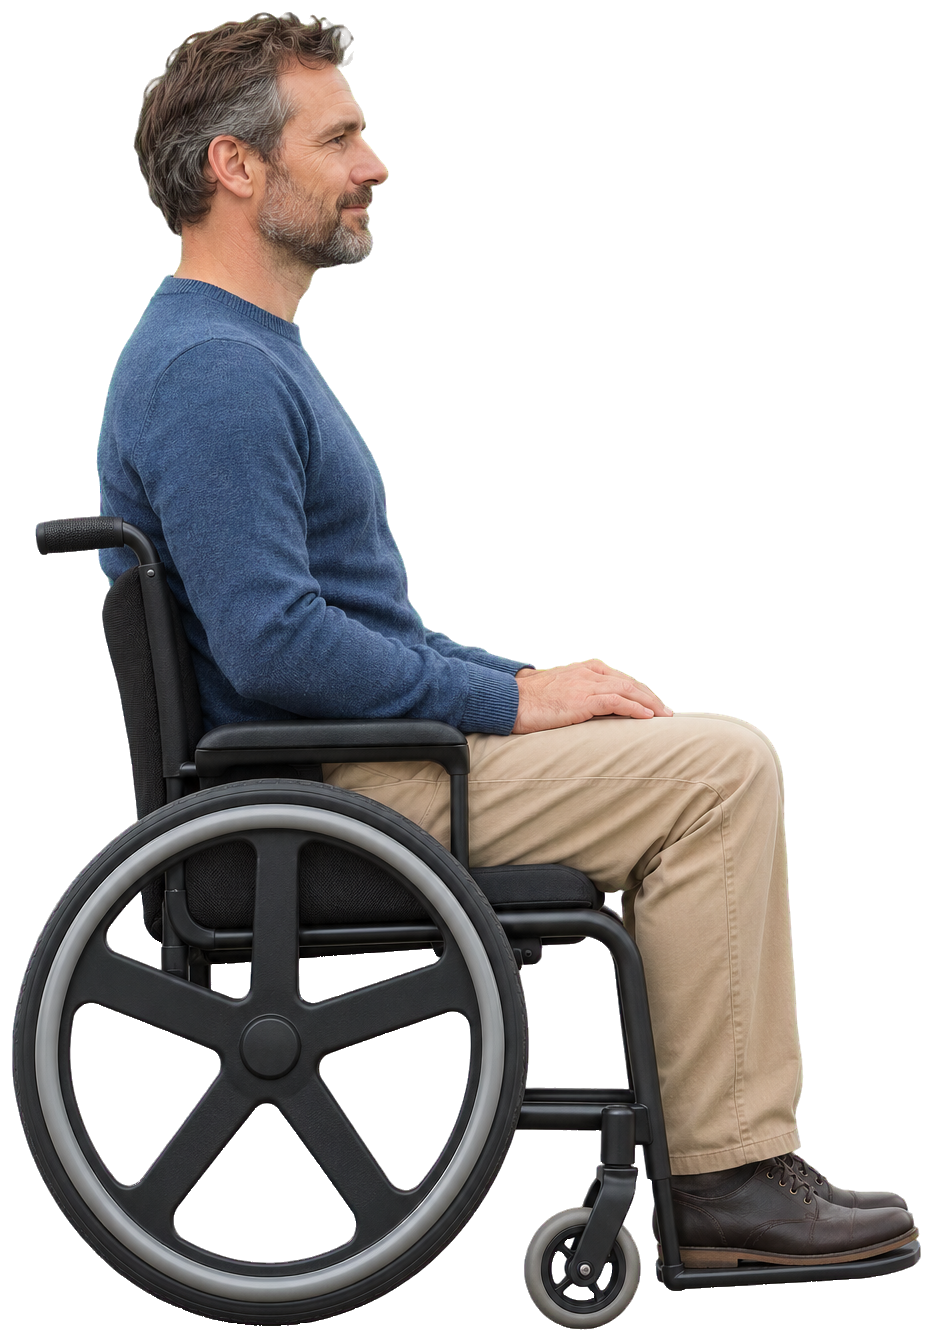
Keep everyone at one architectural scale, allowing for different intended human heights. A child, cyclist or seated figure should not fill the same vertical space as a standing adult. The sitting figures omit furniture, so align the underside of the thighs with your seat and check the feet separately. Leaning poses need a matching wall or counter. The detail panel includes placement notes where a pose needs support.
Ground the feet with a soft shadow
The transparent files contain no ground shadow. In a render or collage, add a separate shadow layer beneath the figure. Start with a small, soft mark at each foot or wheel, then adjust its opacity to match the surrounding ground. Keep it close to the point of contact. If your scene has directional sunlight, extend the shadow in the same direction as nearby objects and soften it consistently.
Choose a style that supports the drawing
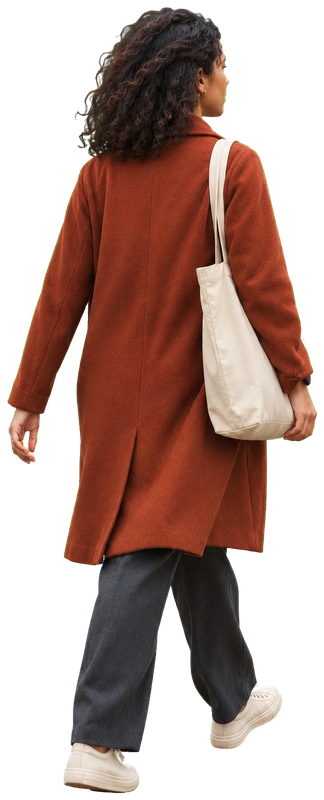
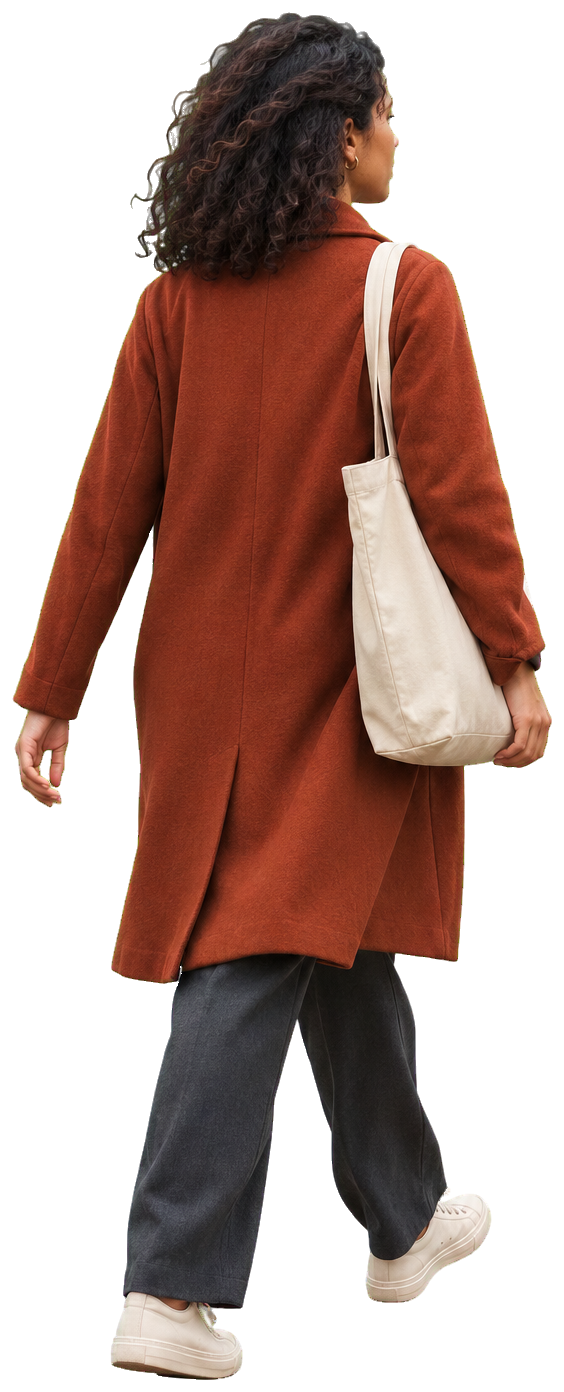
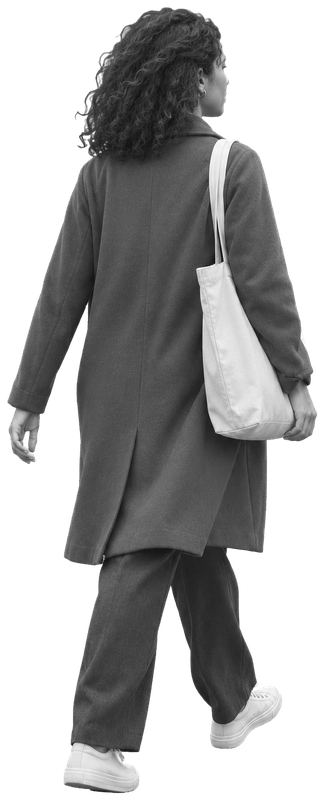
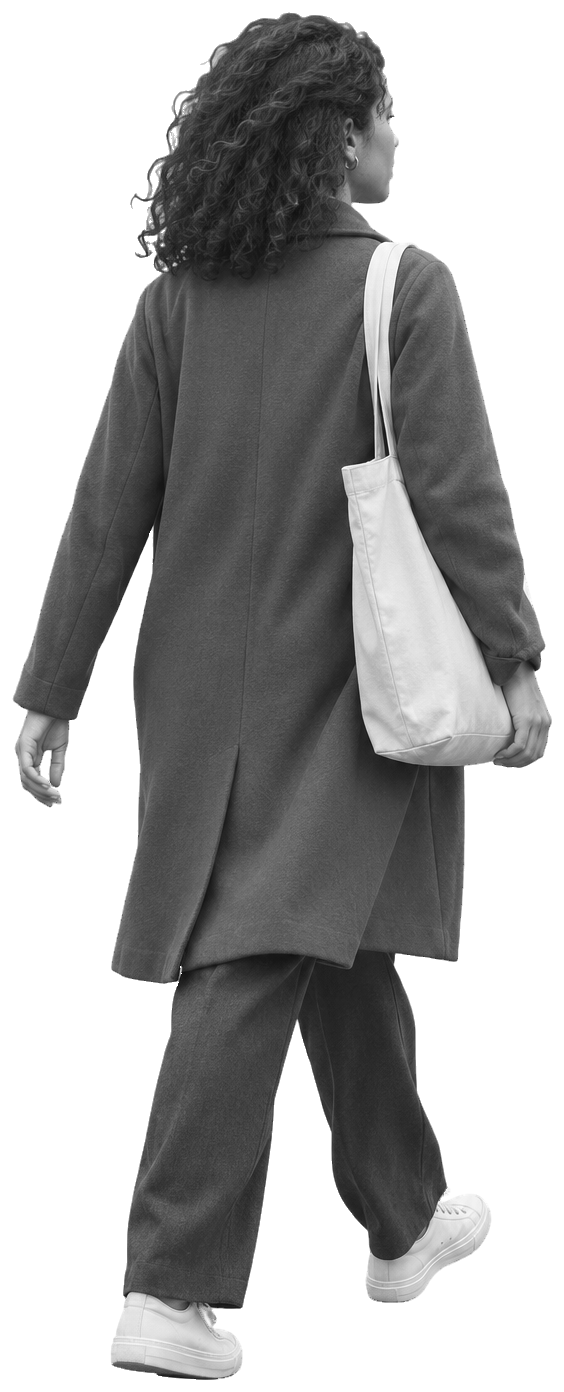
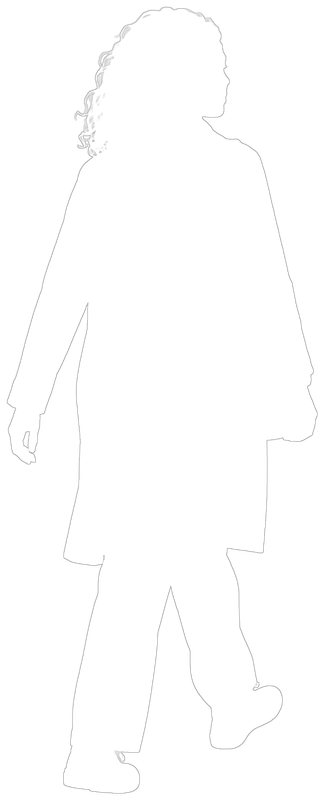
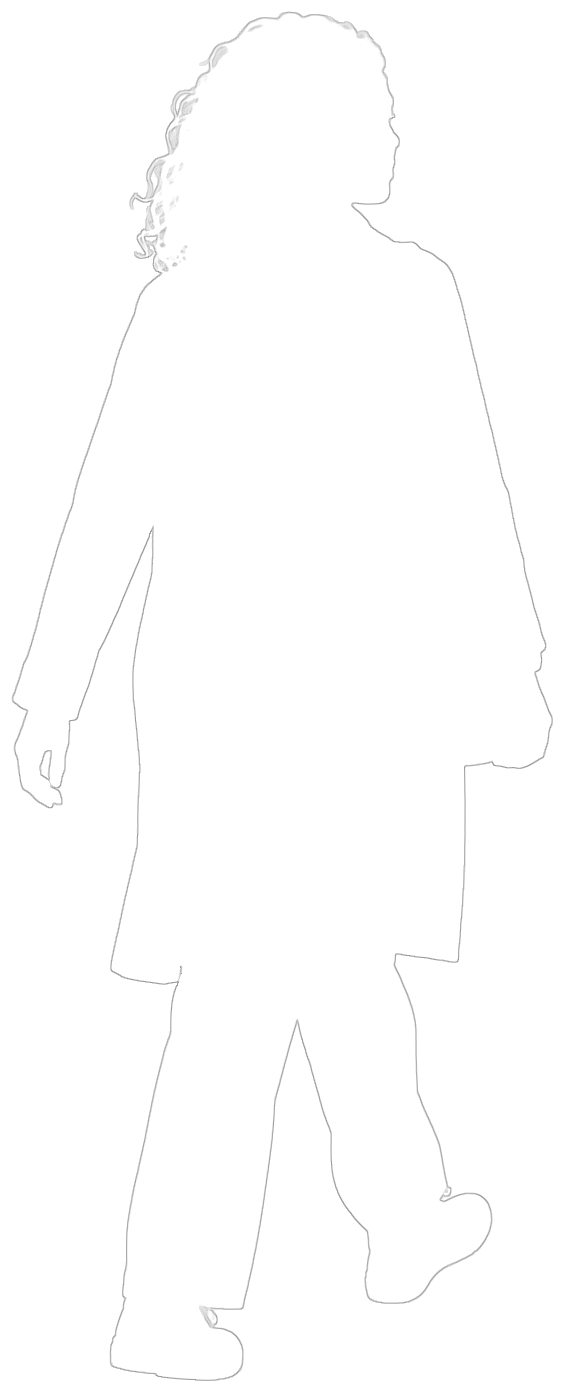
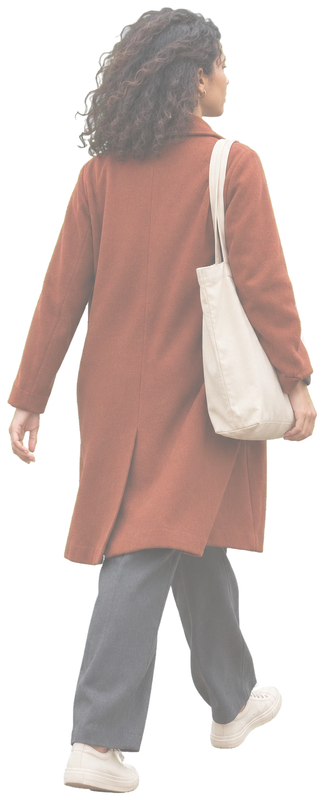
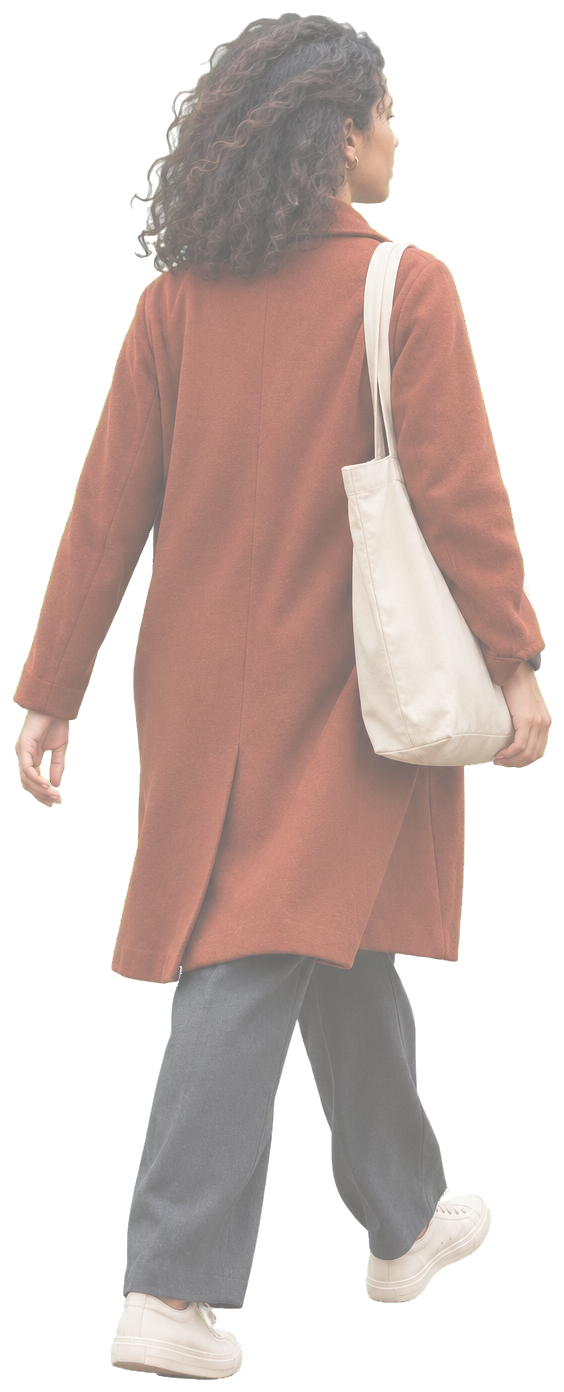
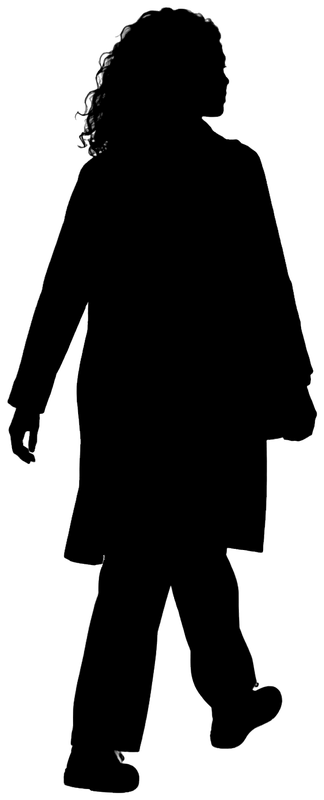
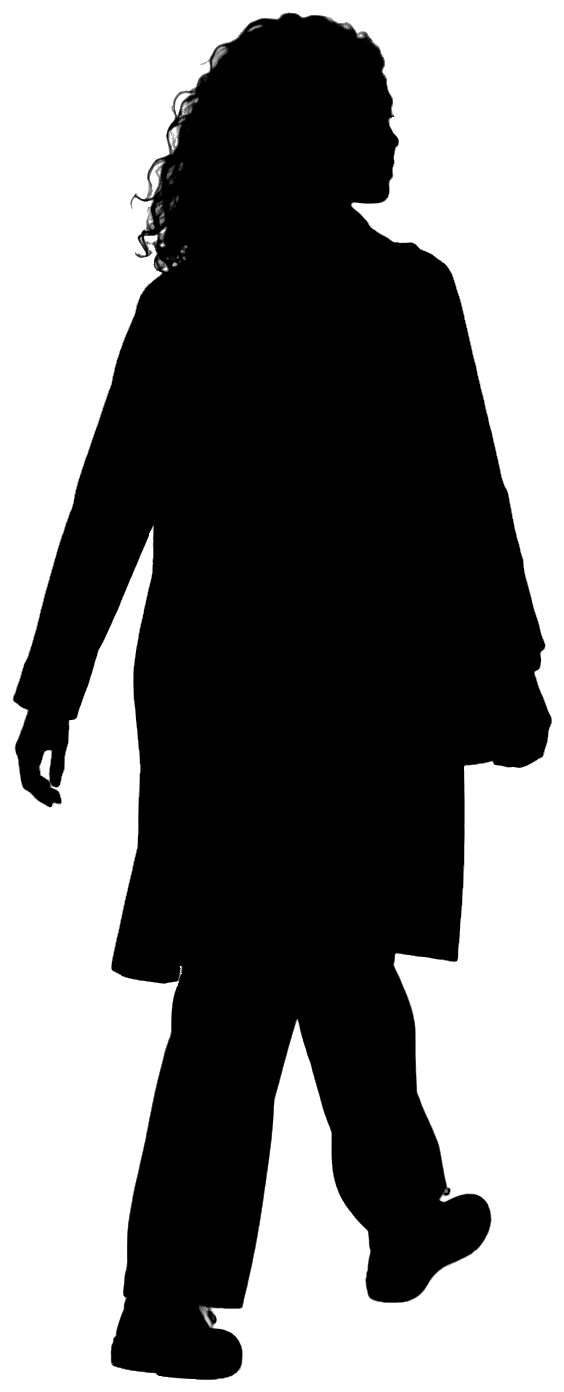
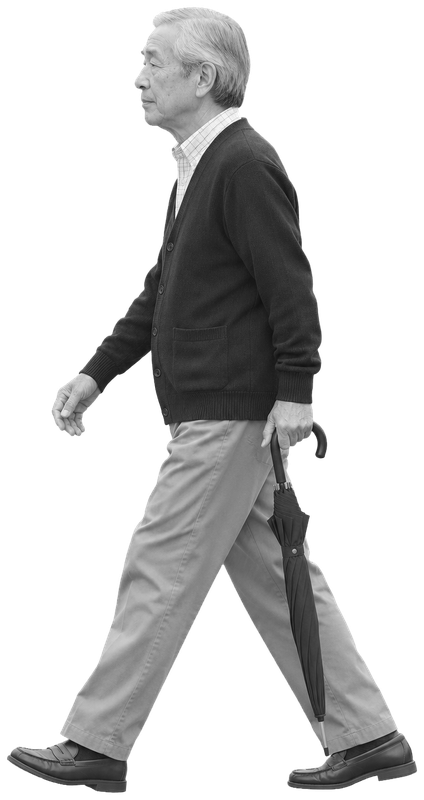
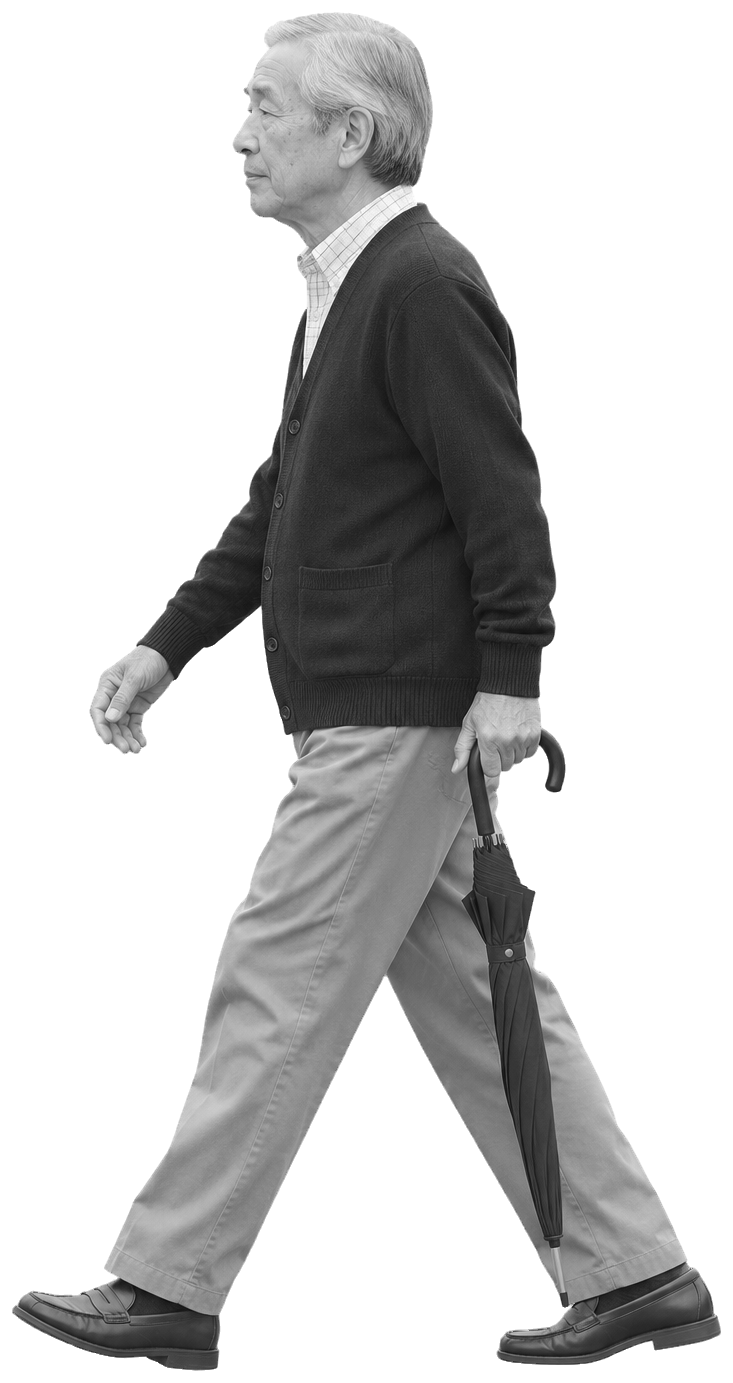
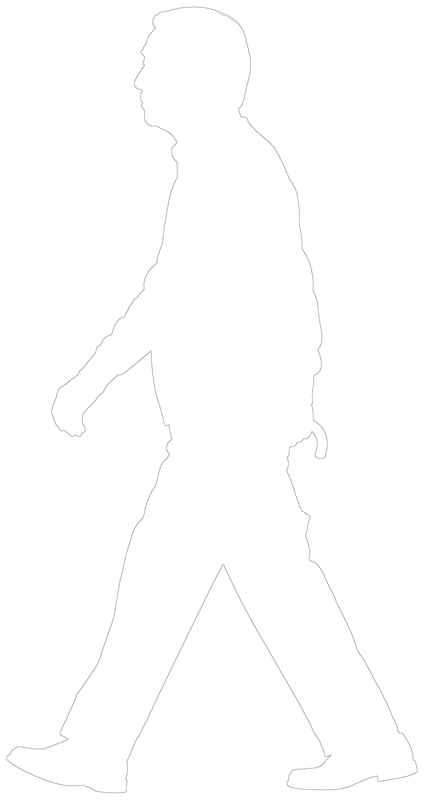
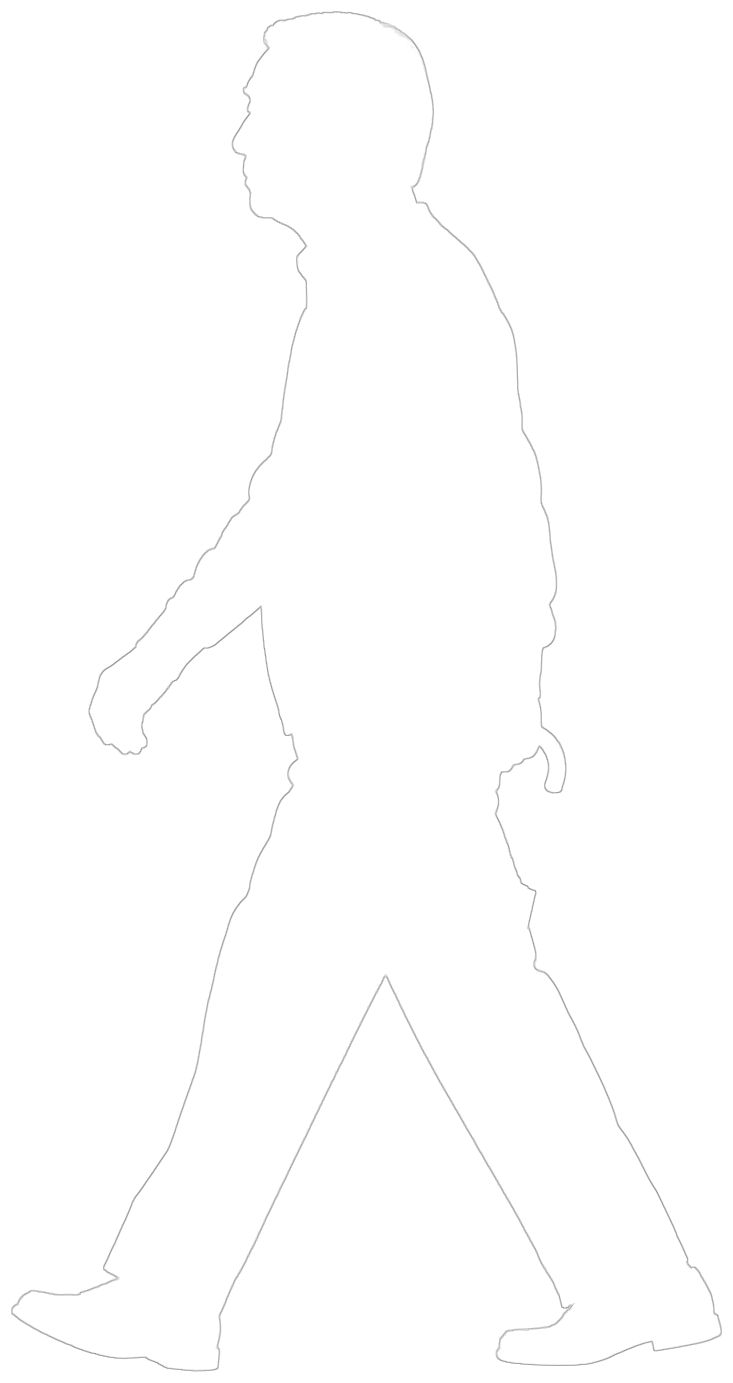
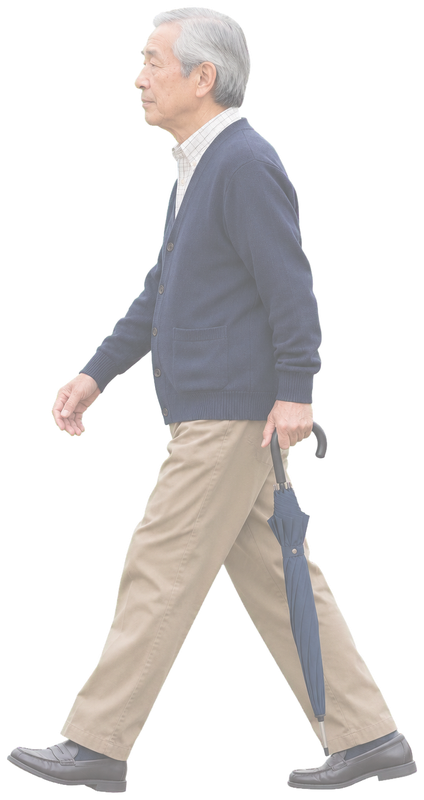
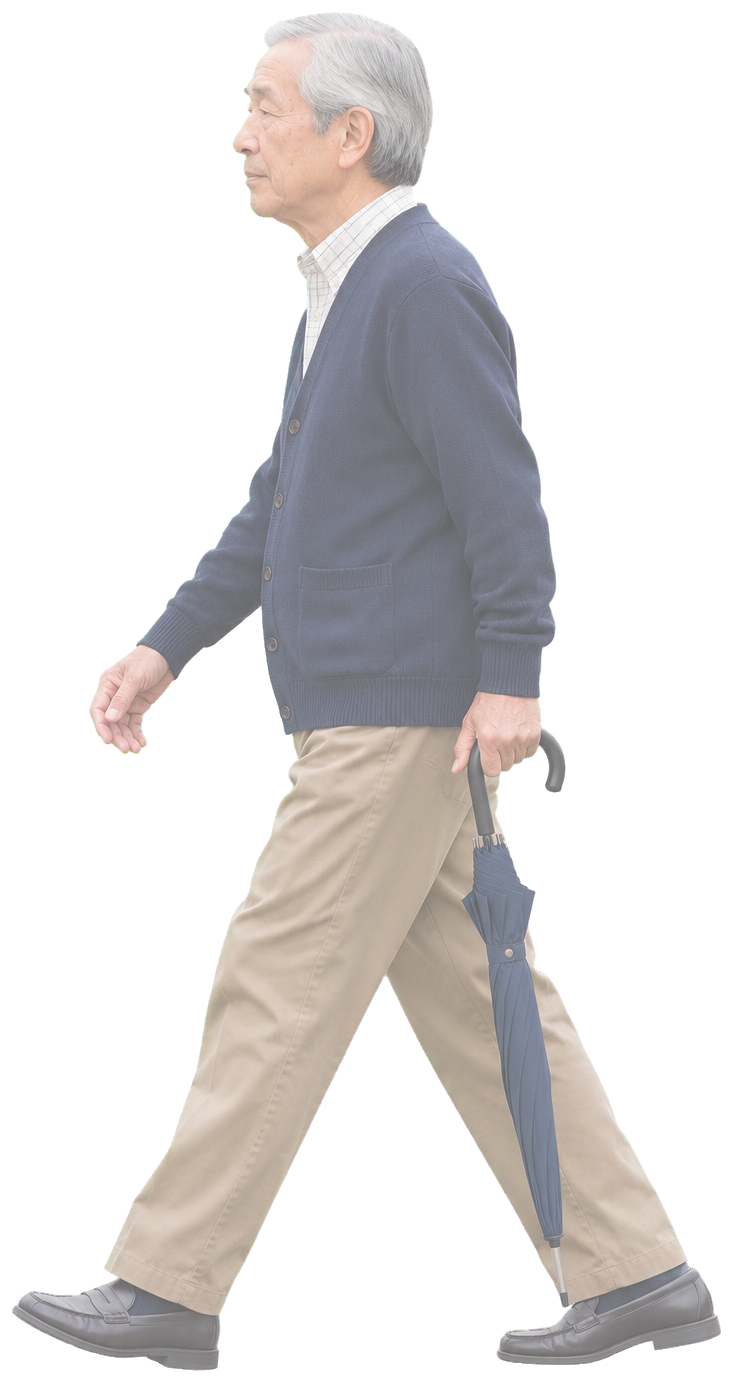
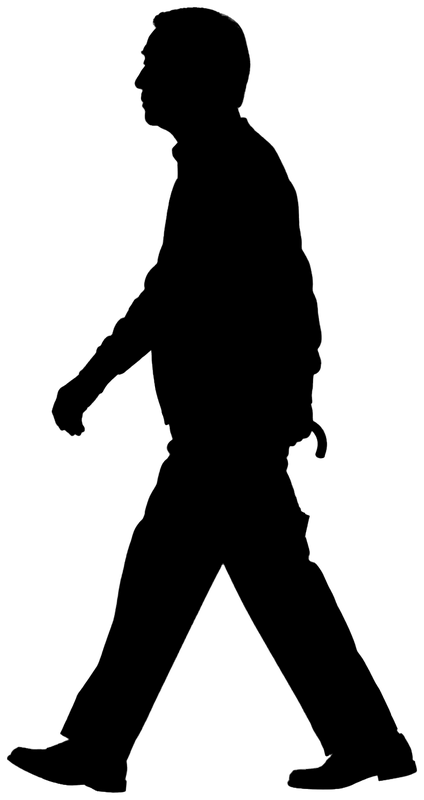
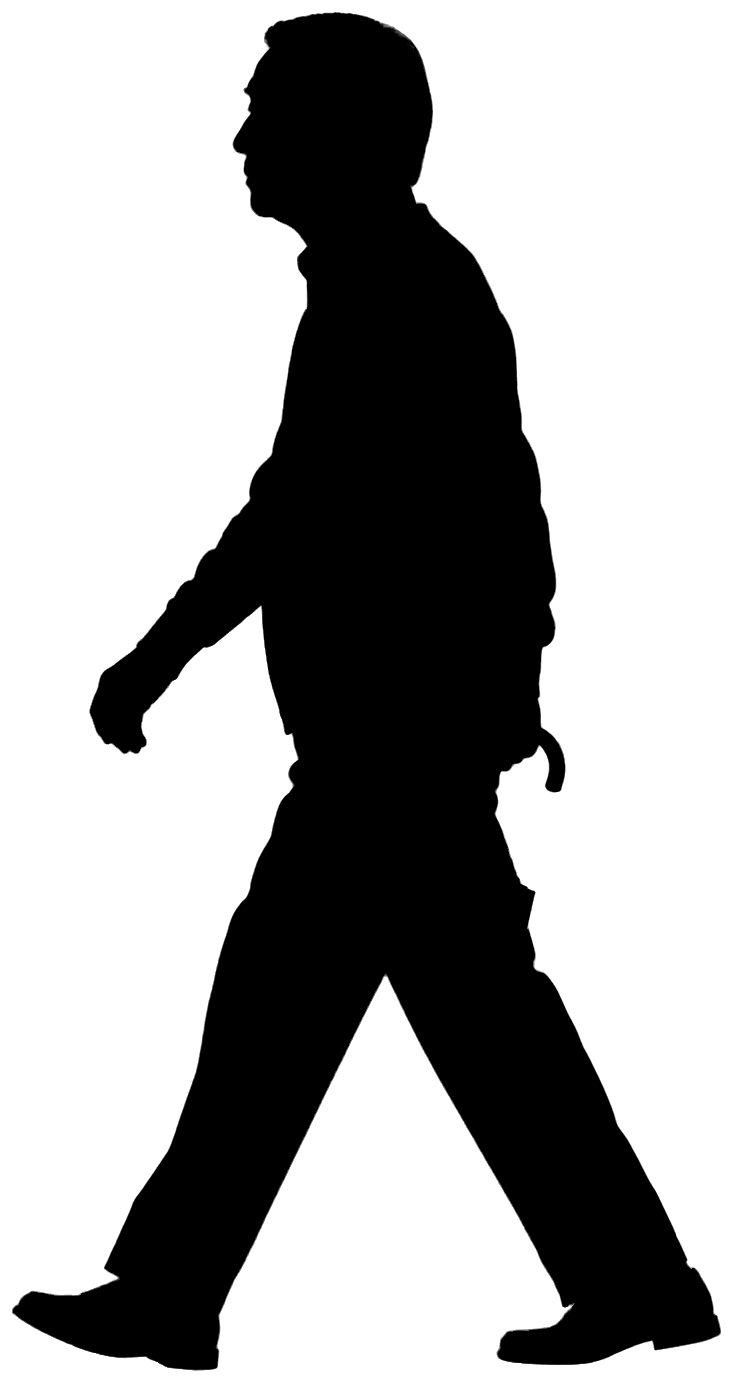
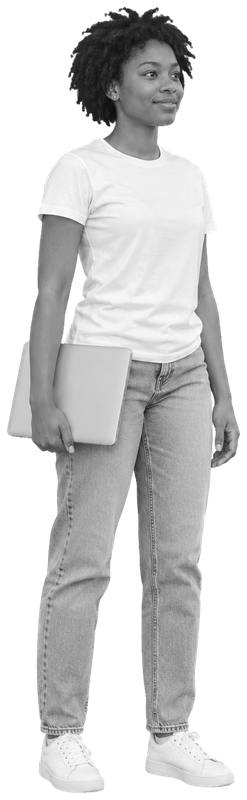
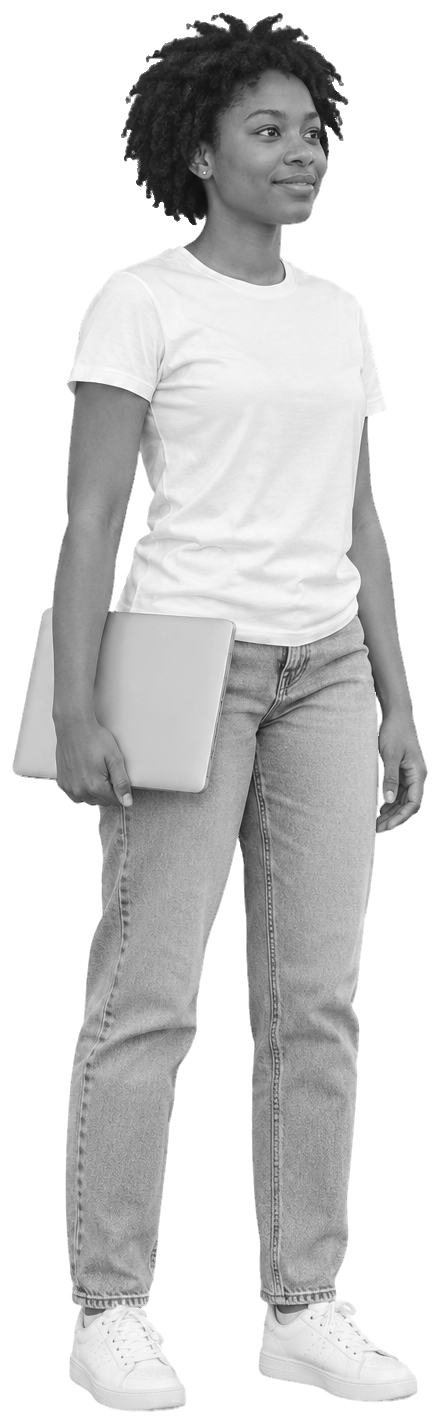
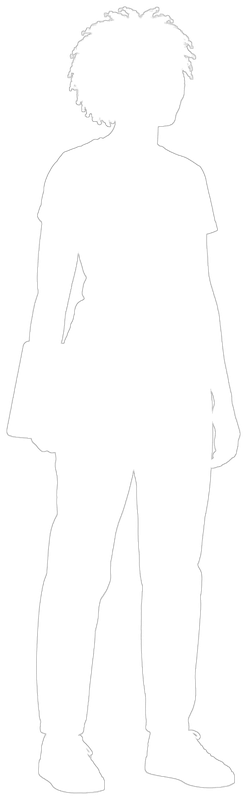
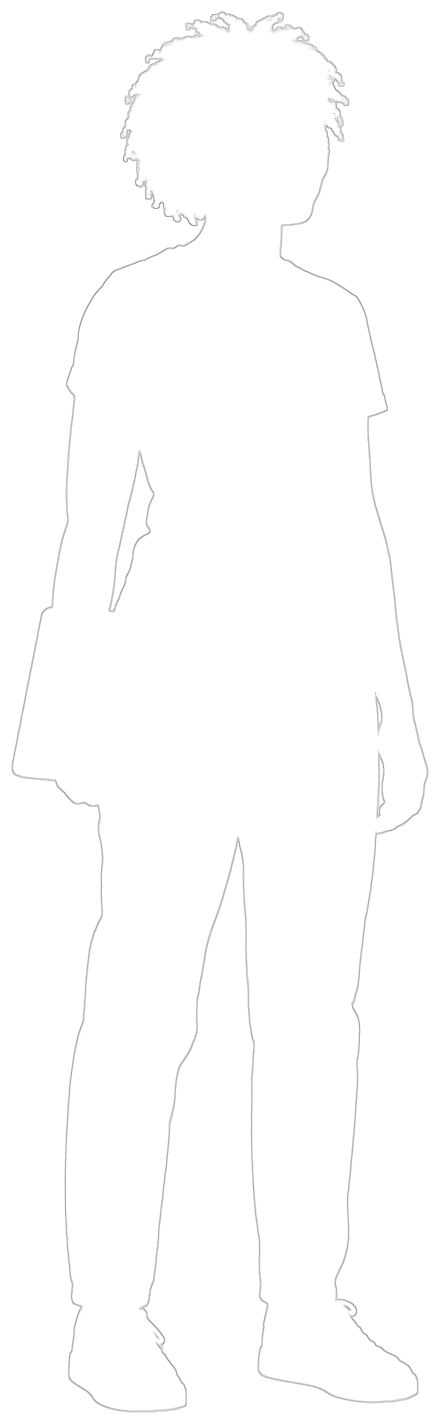
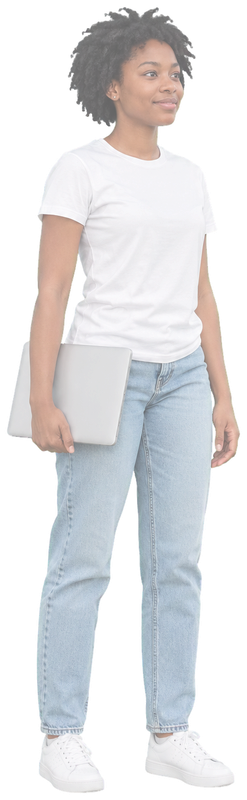
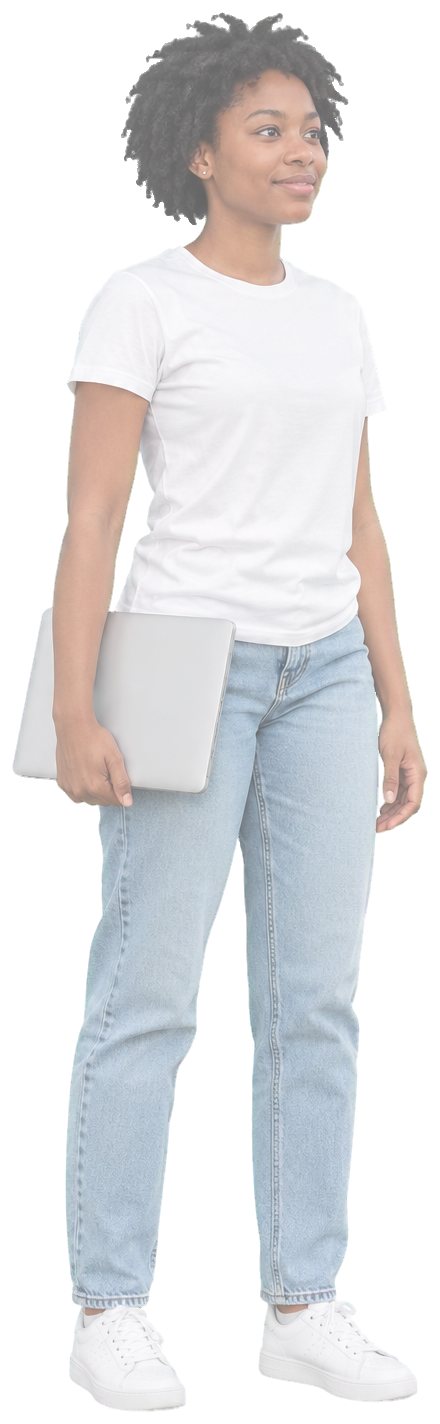
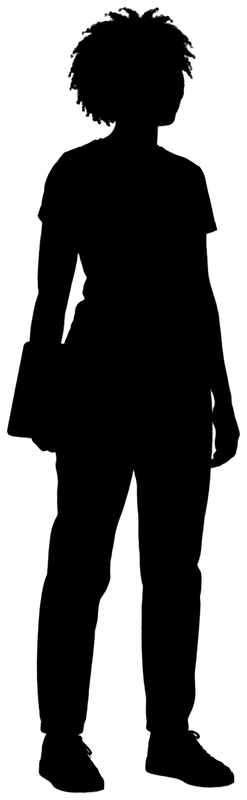
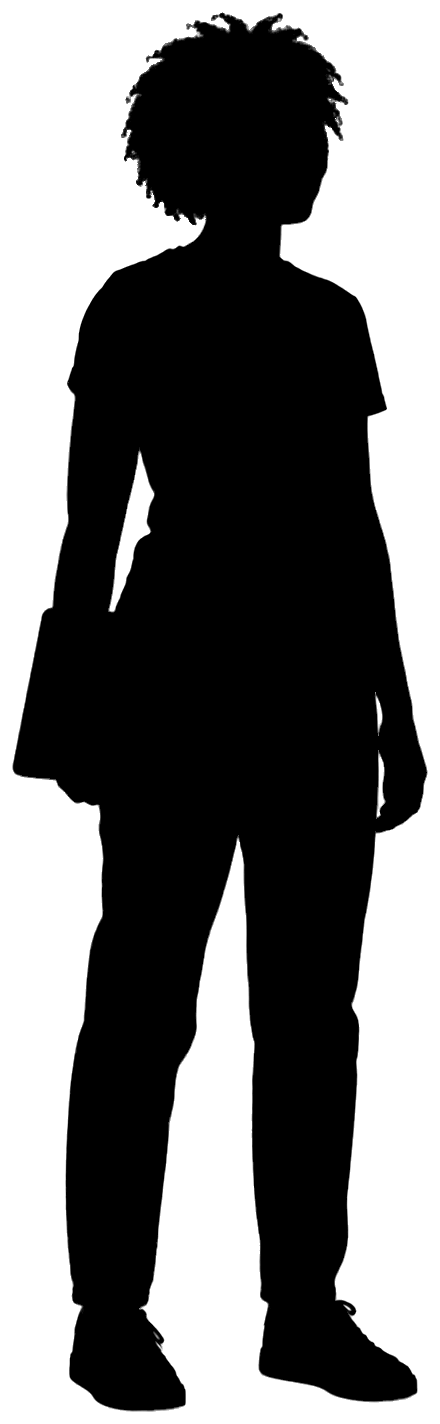
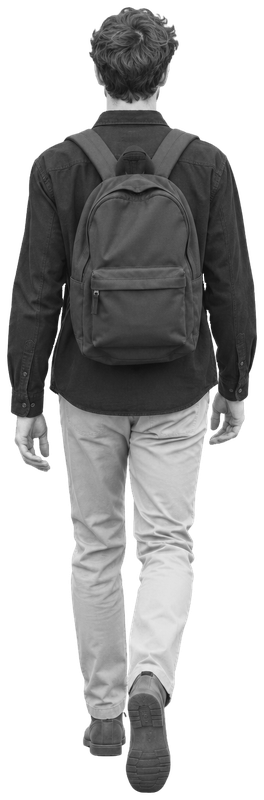
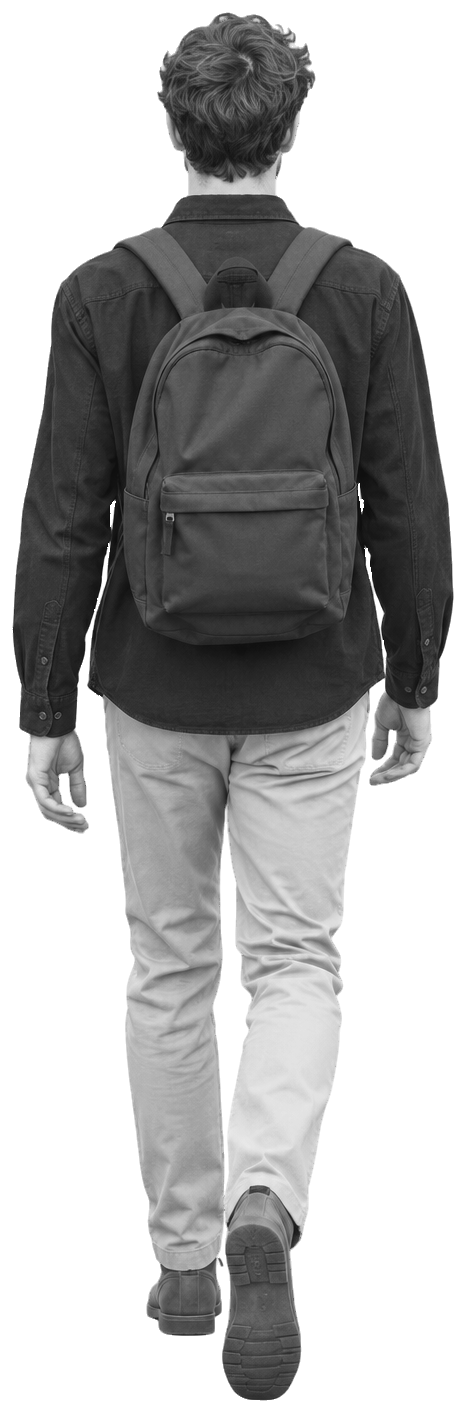
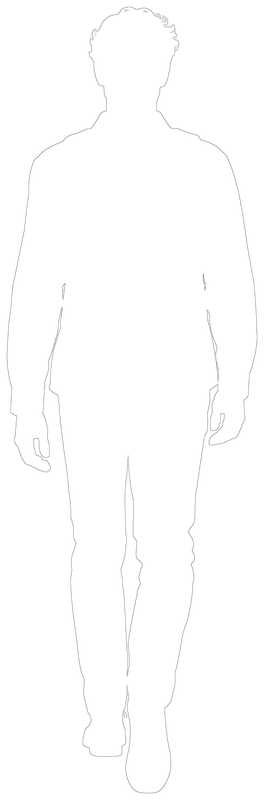
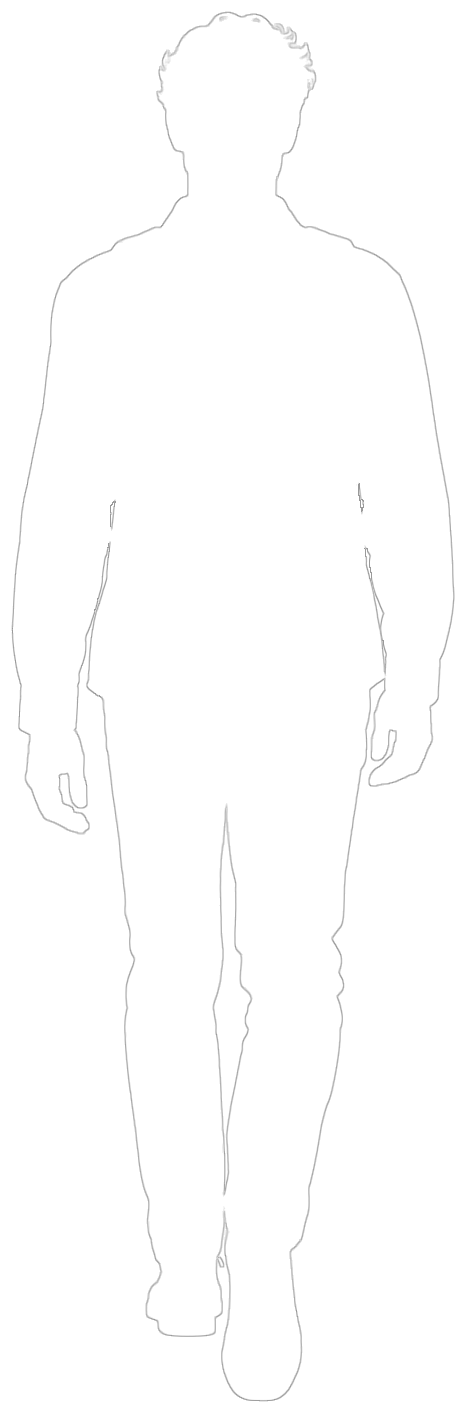
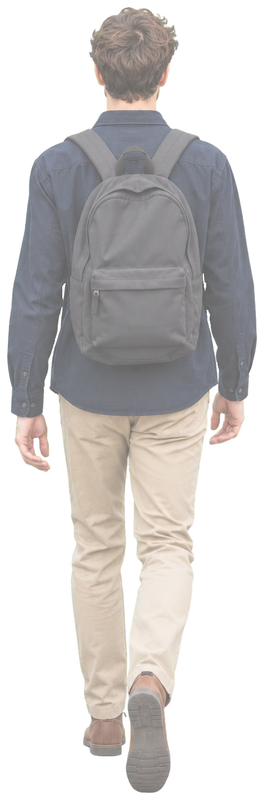
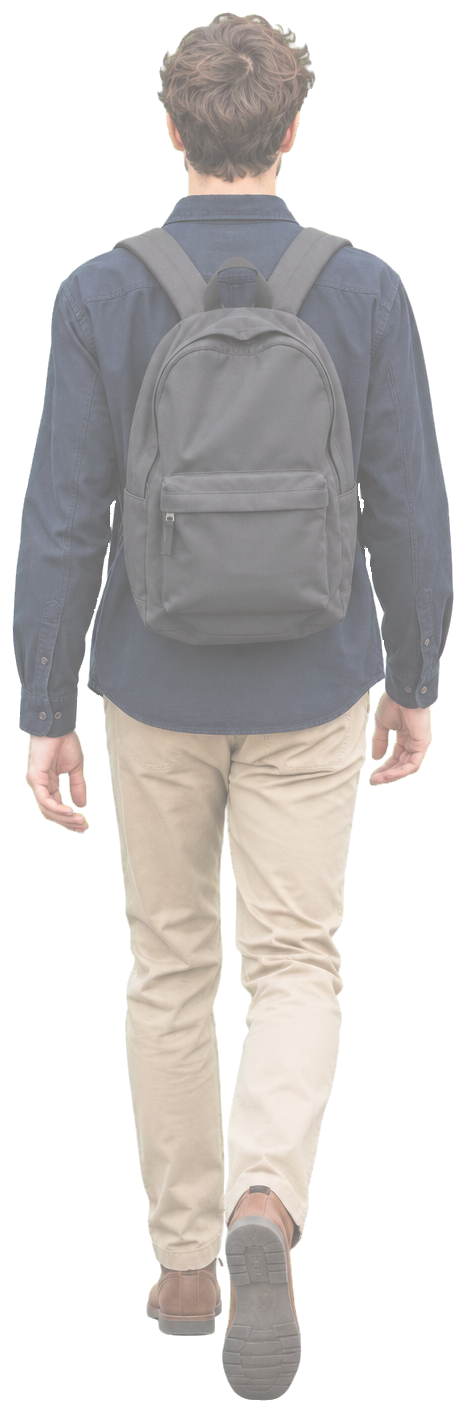
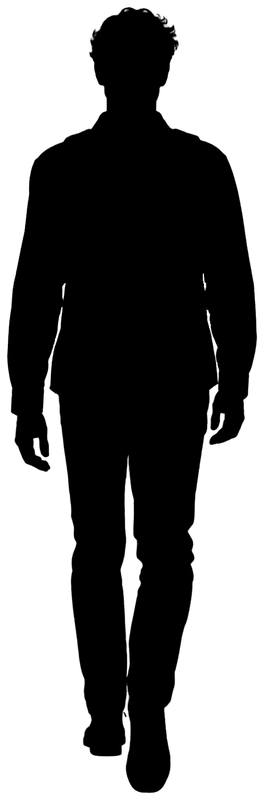
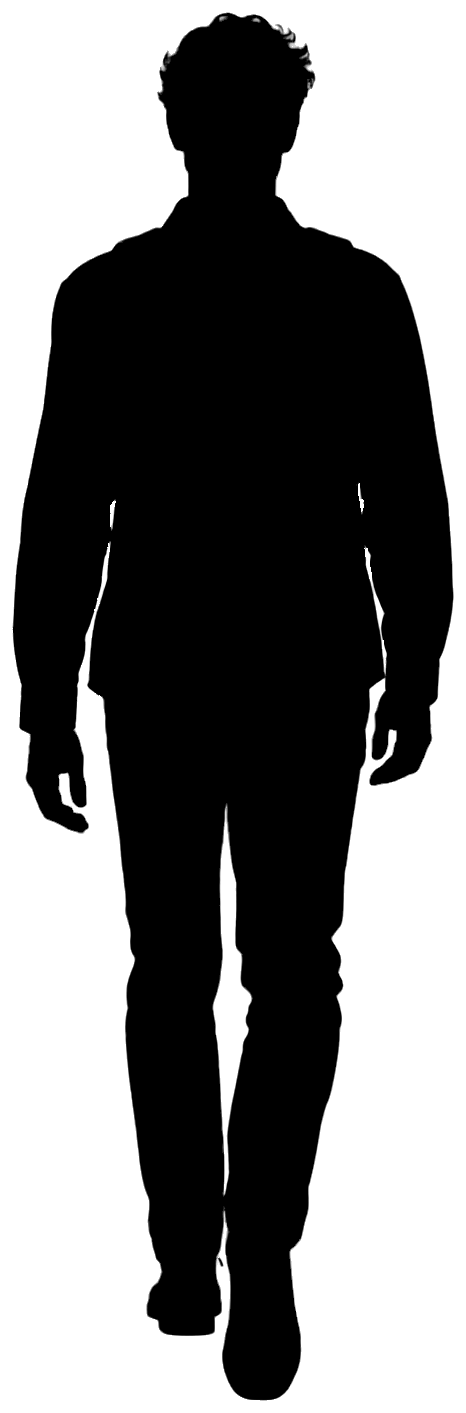
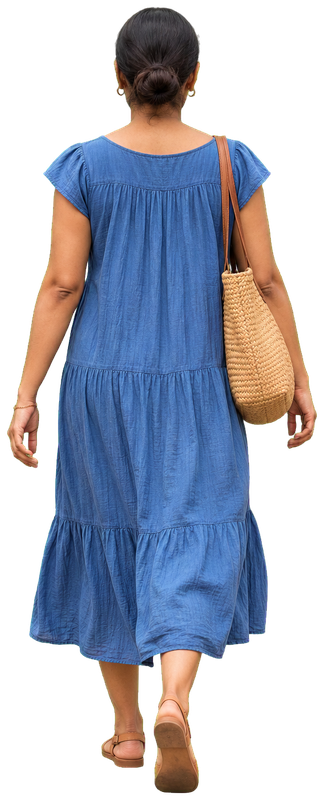
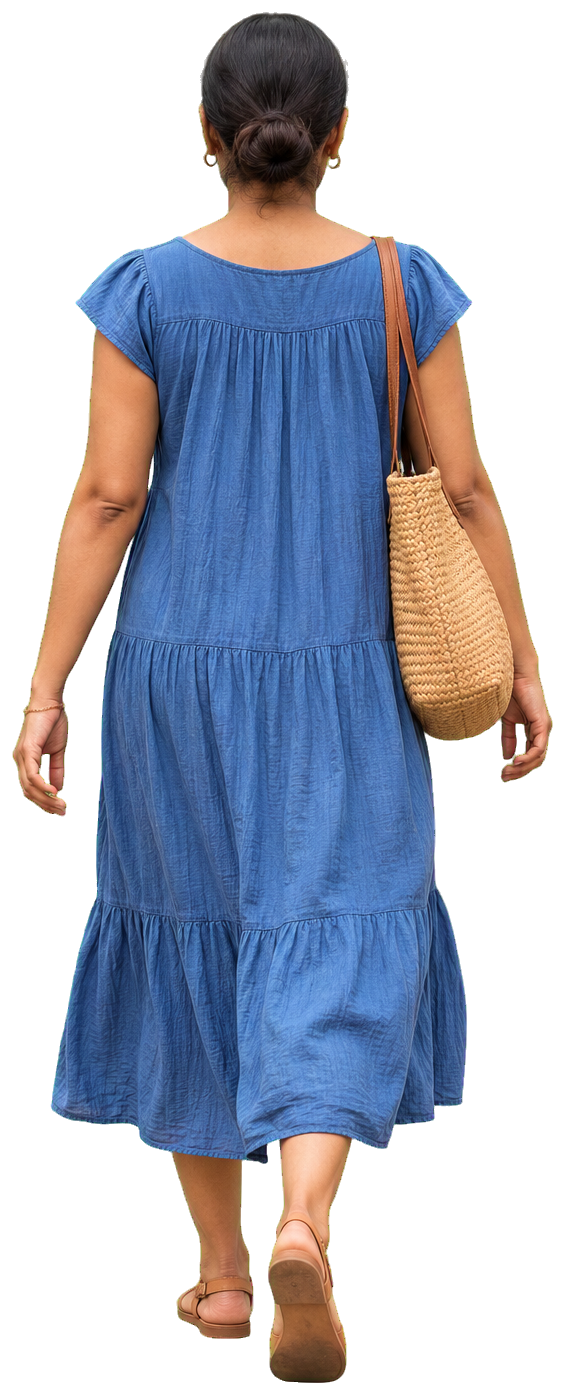
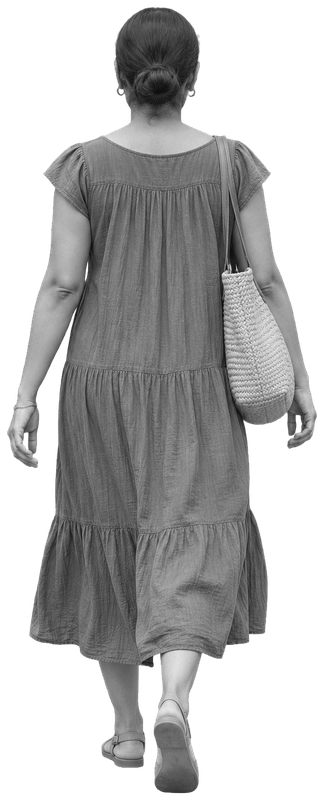
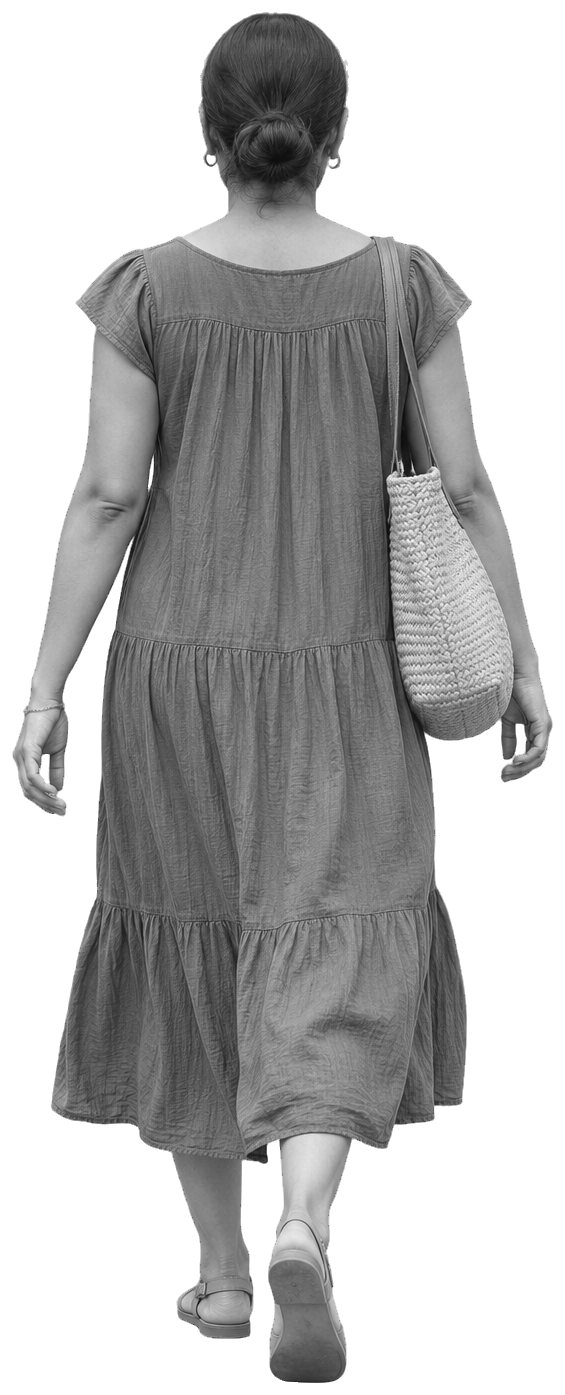
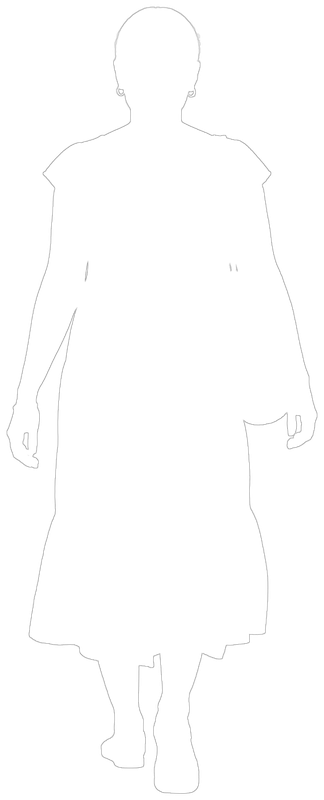
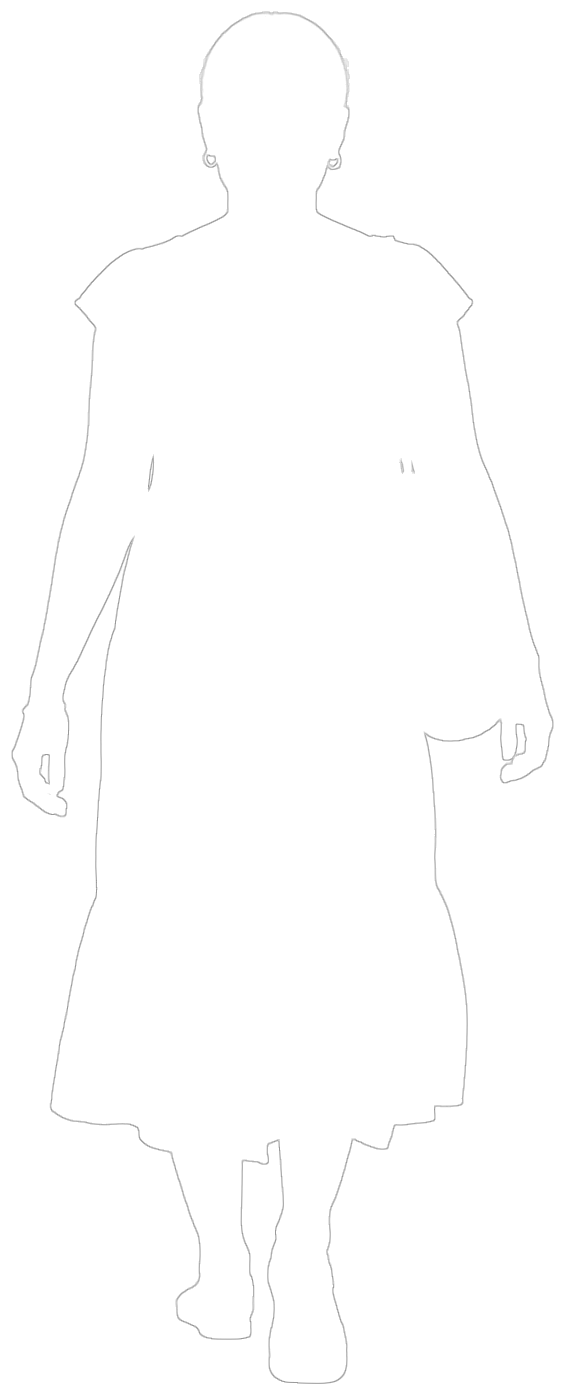
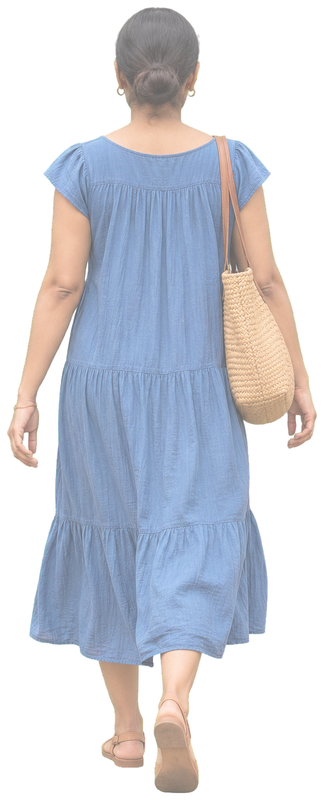
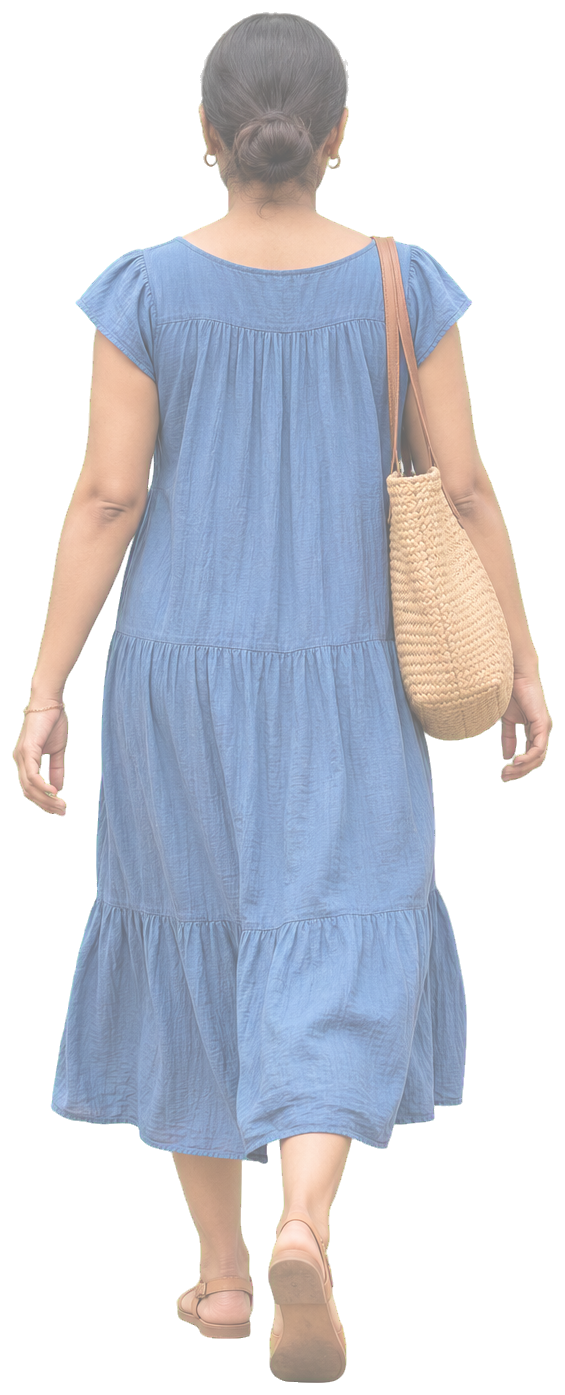
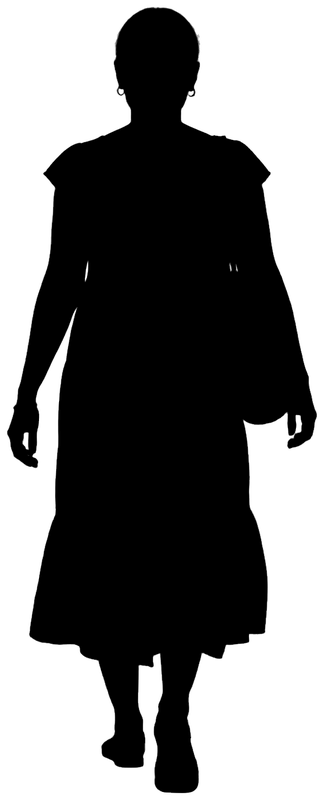
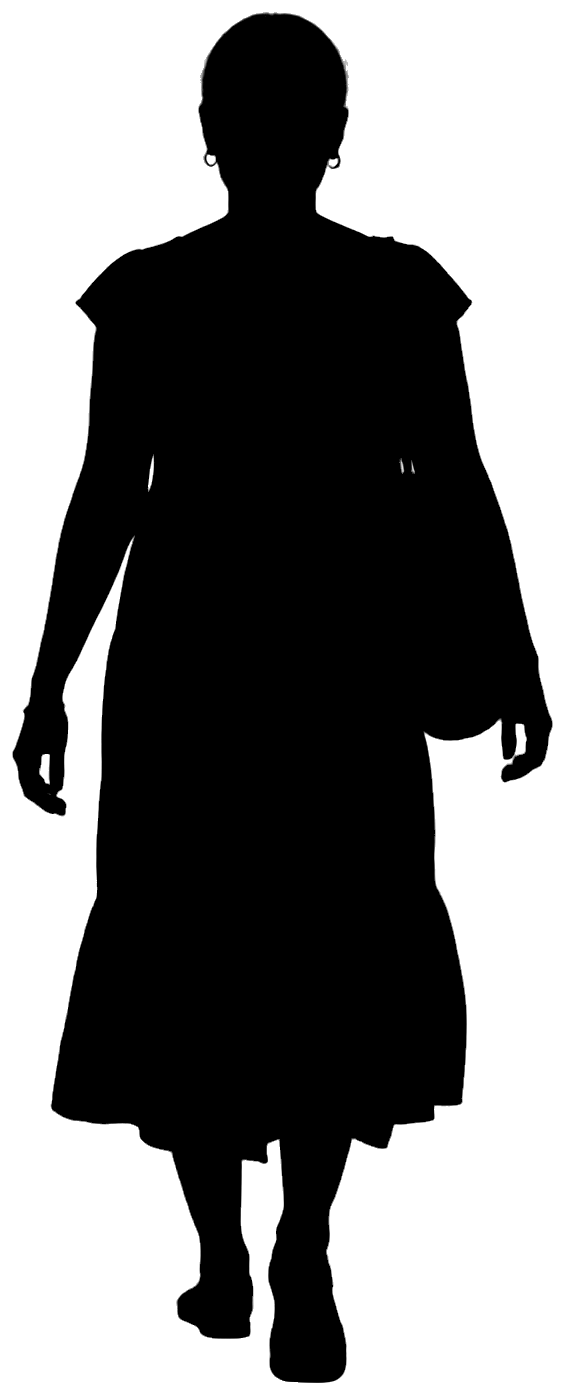
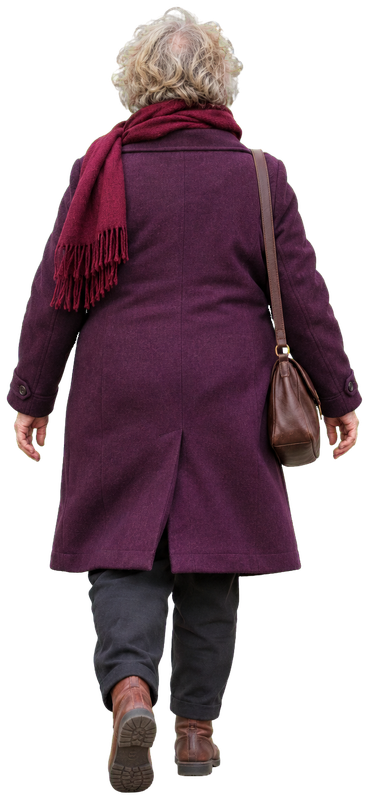
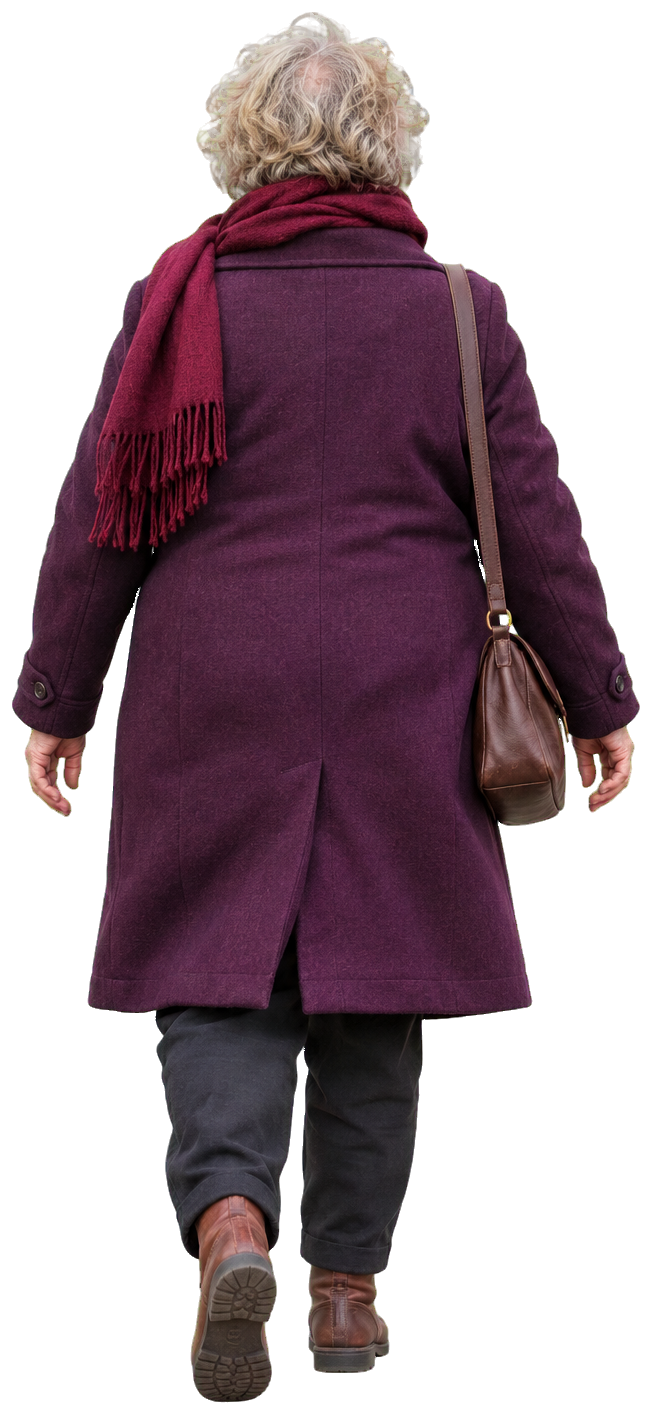
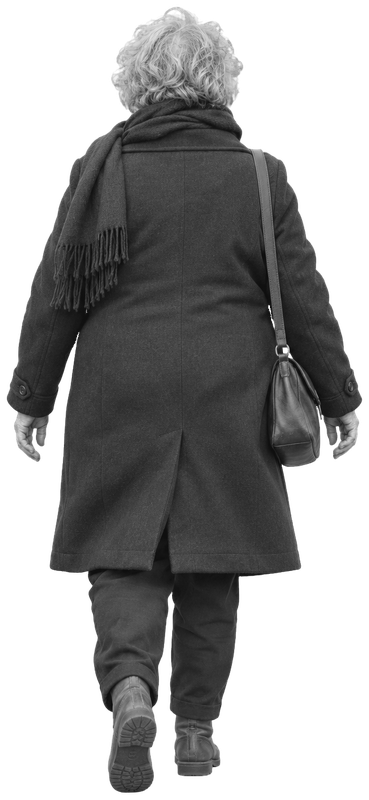
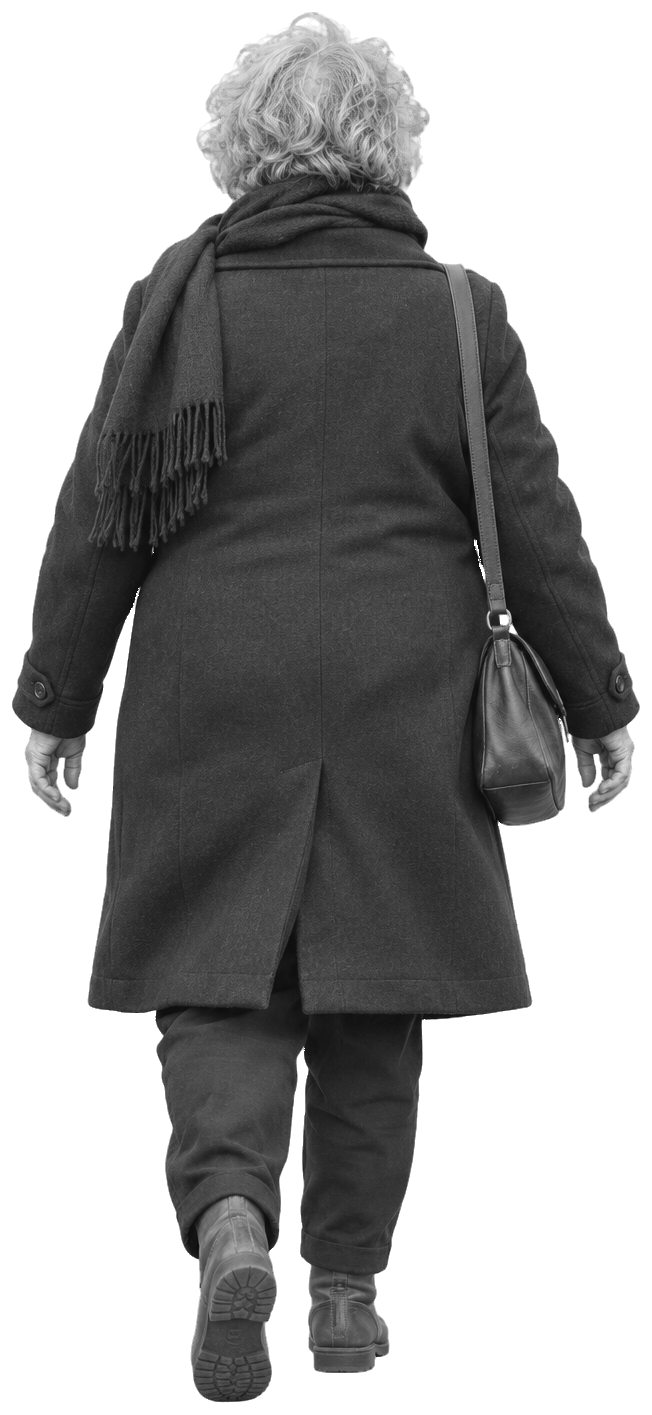
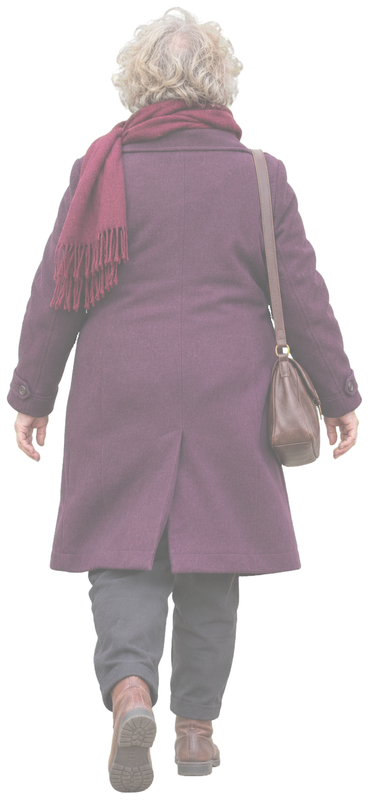
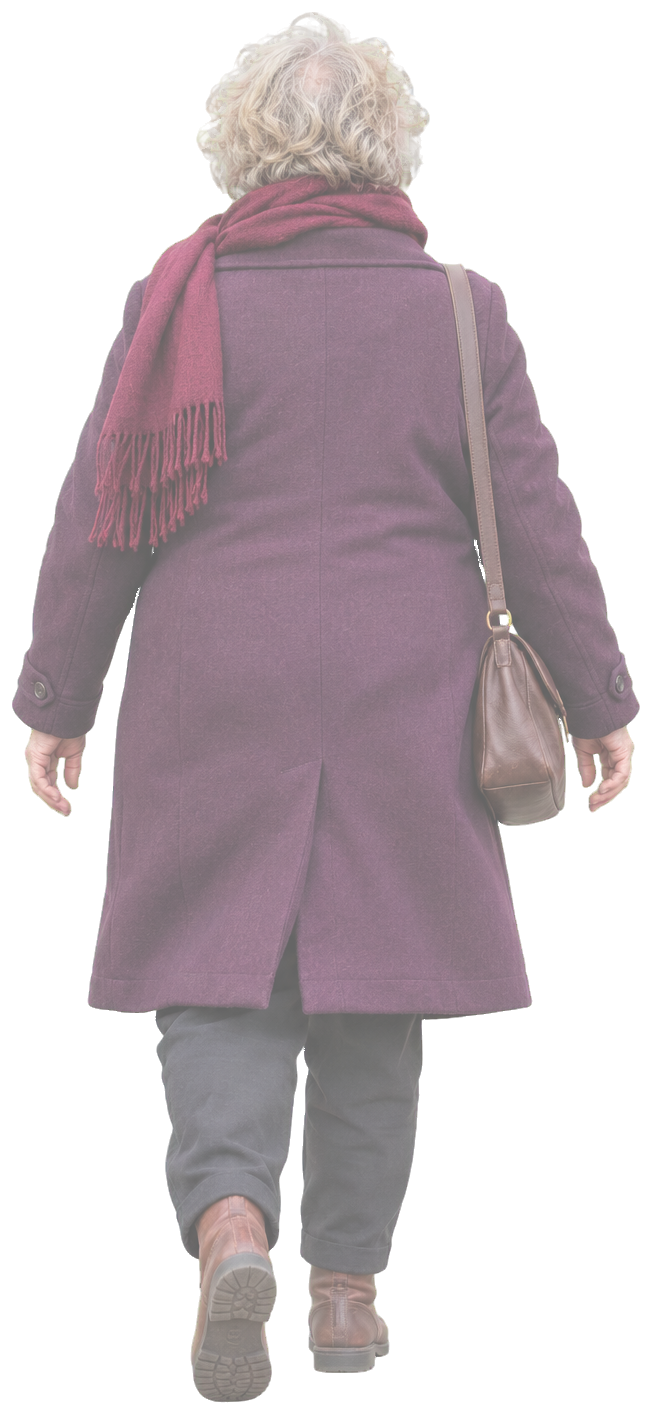
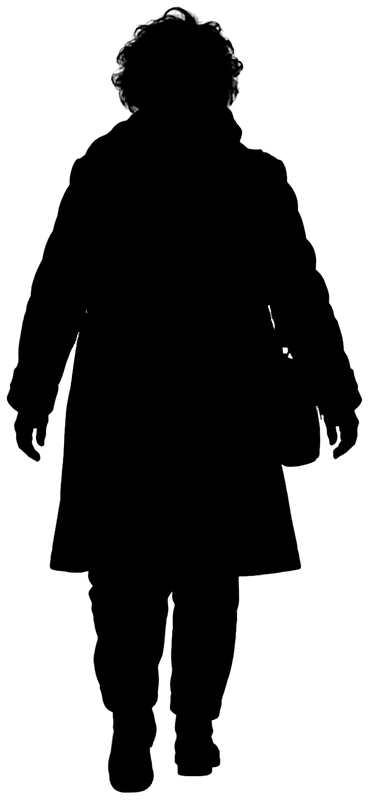
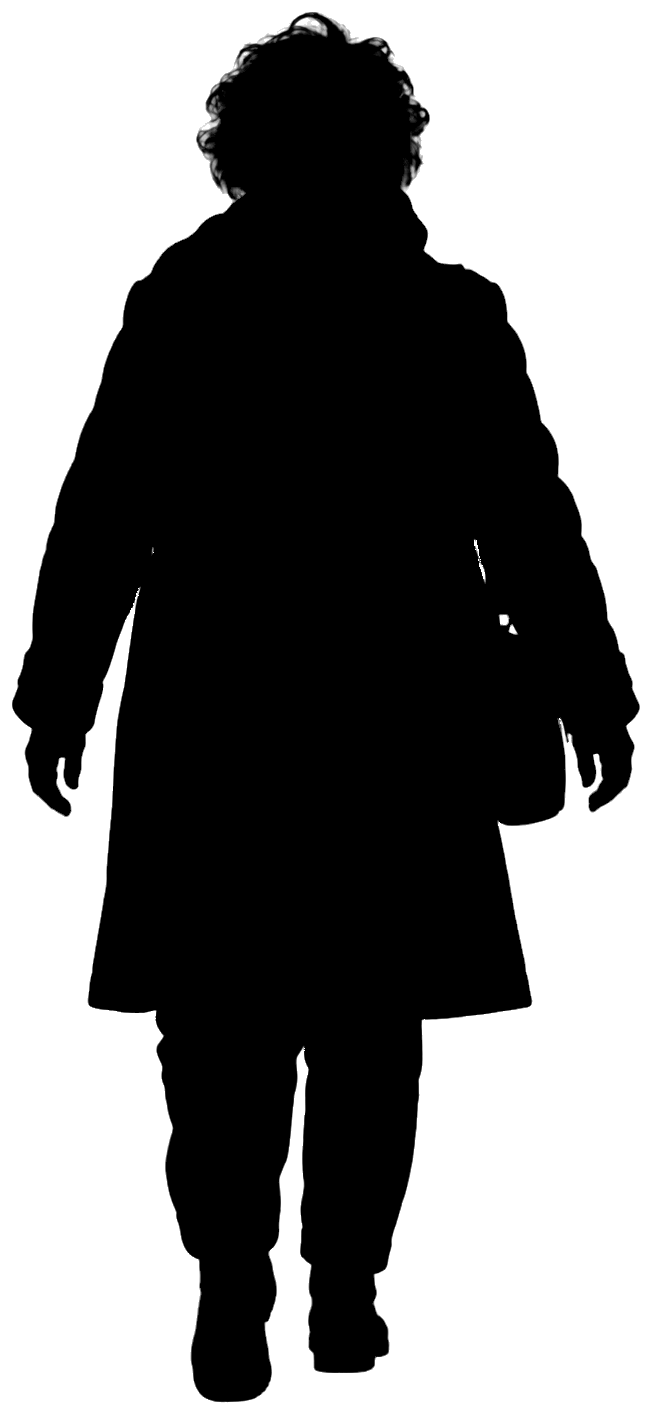
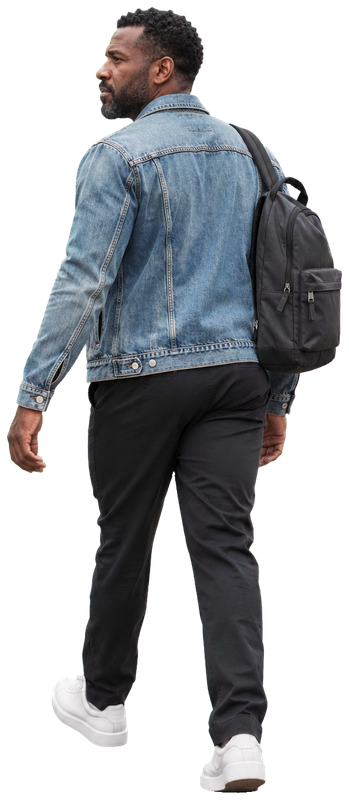
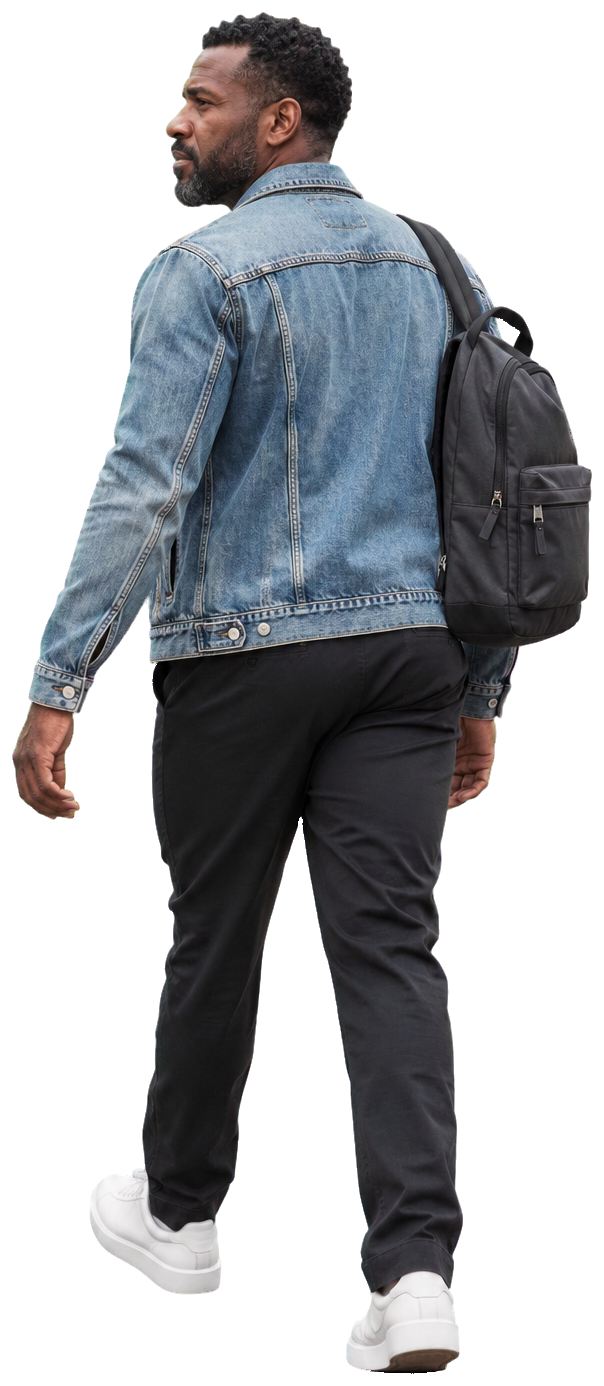
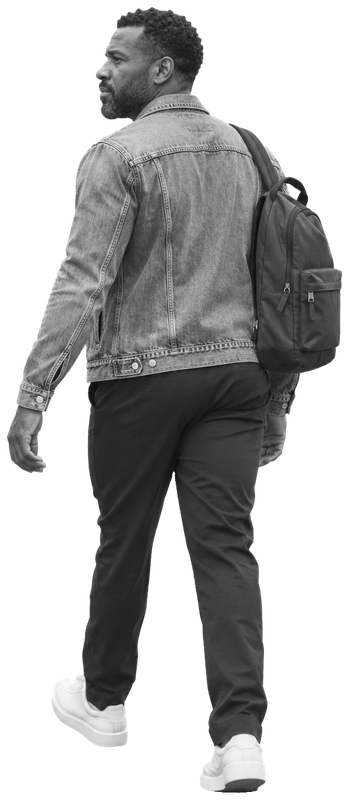
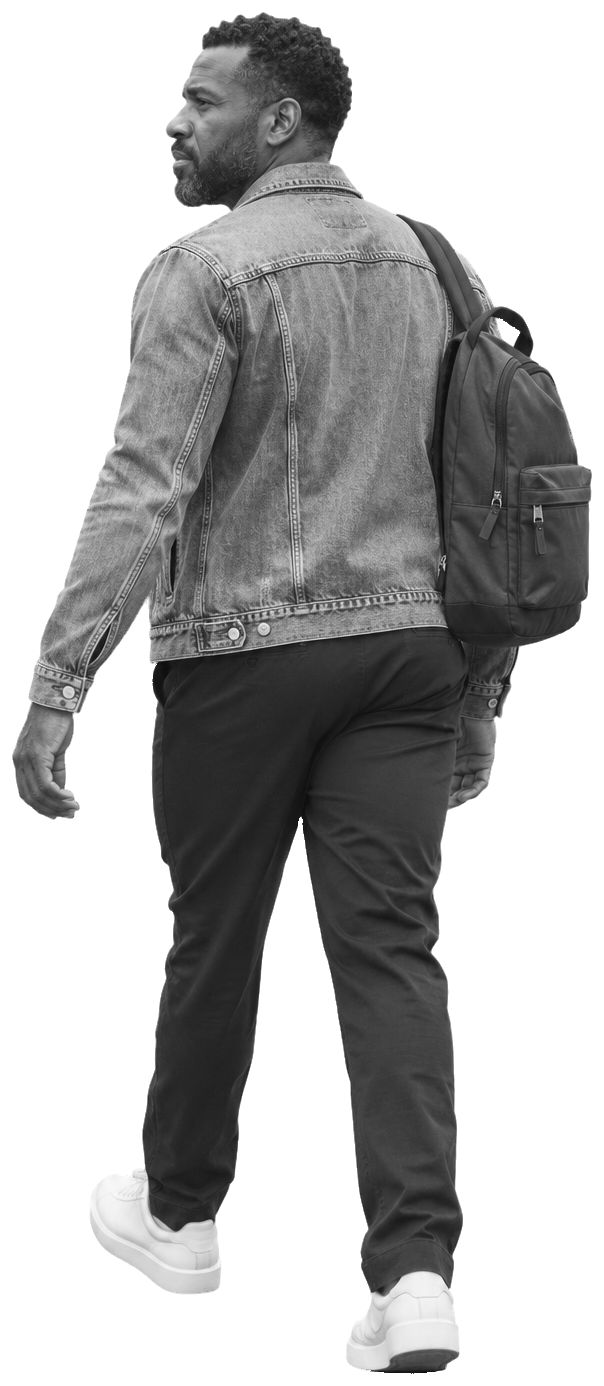
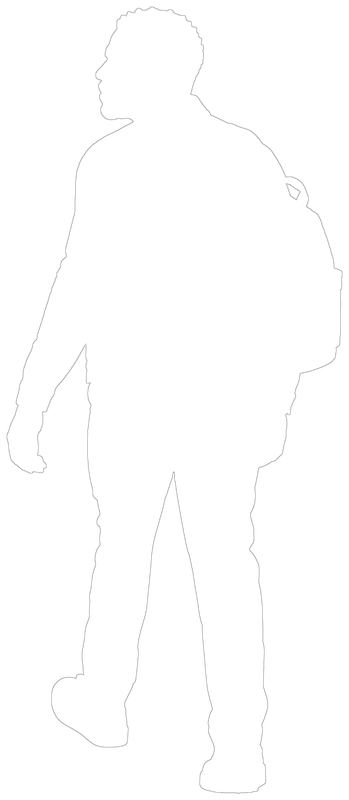
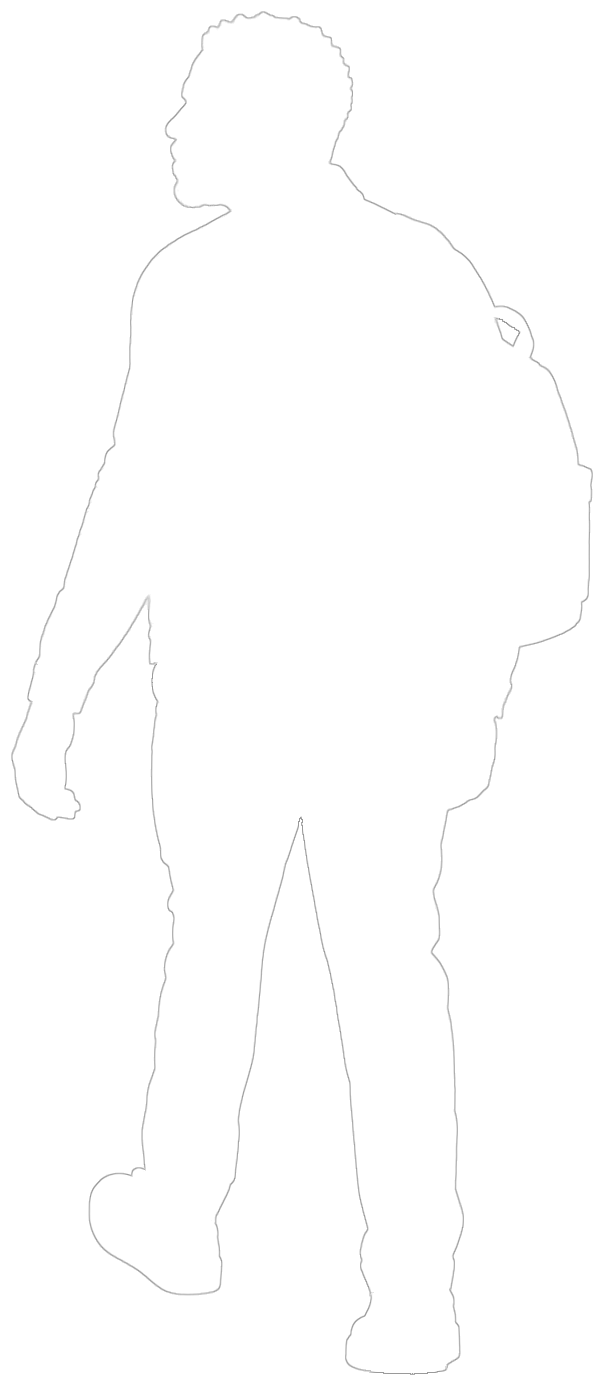
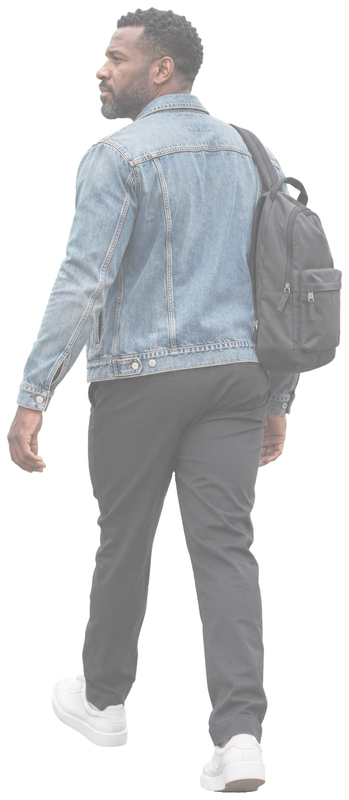
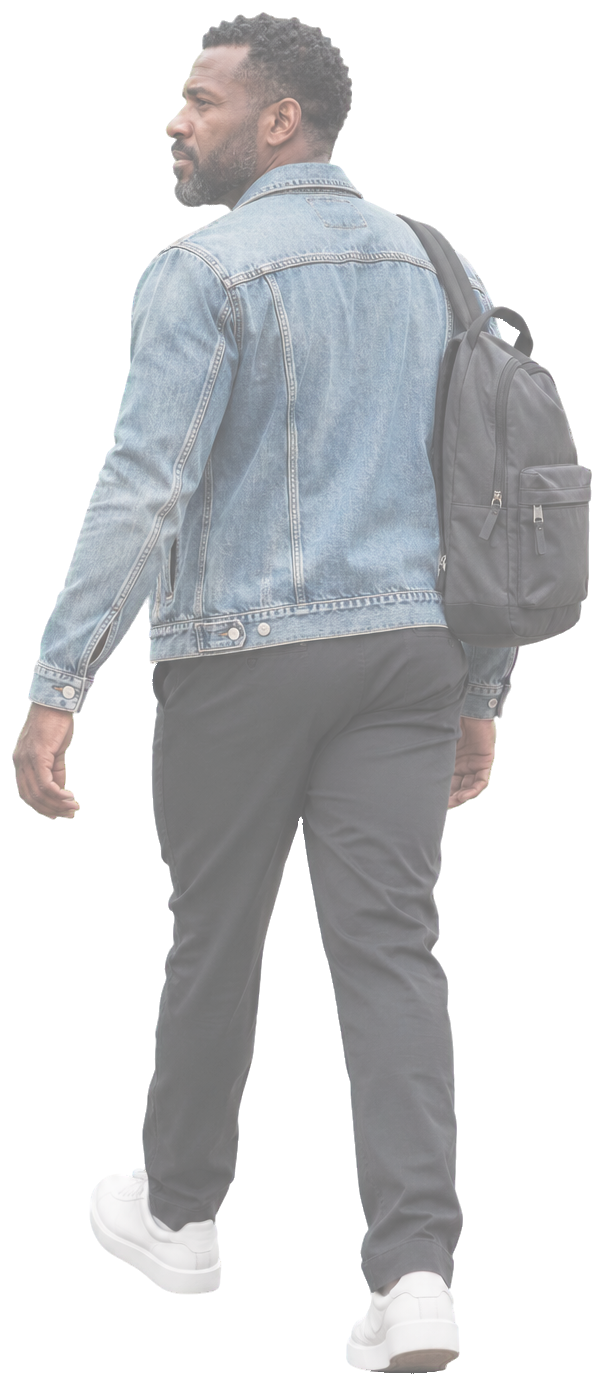
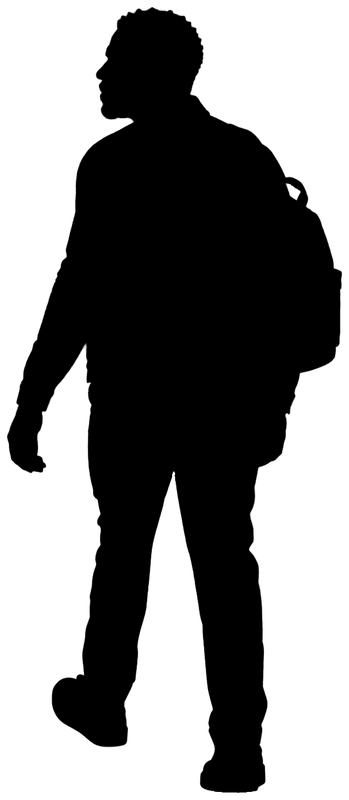
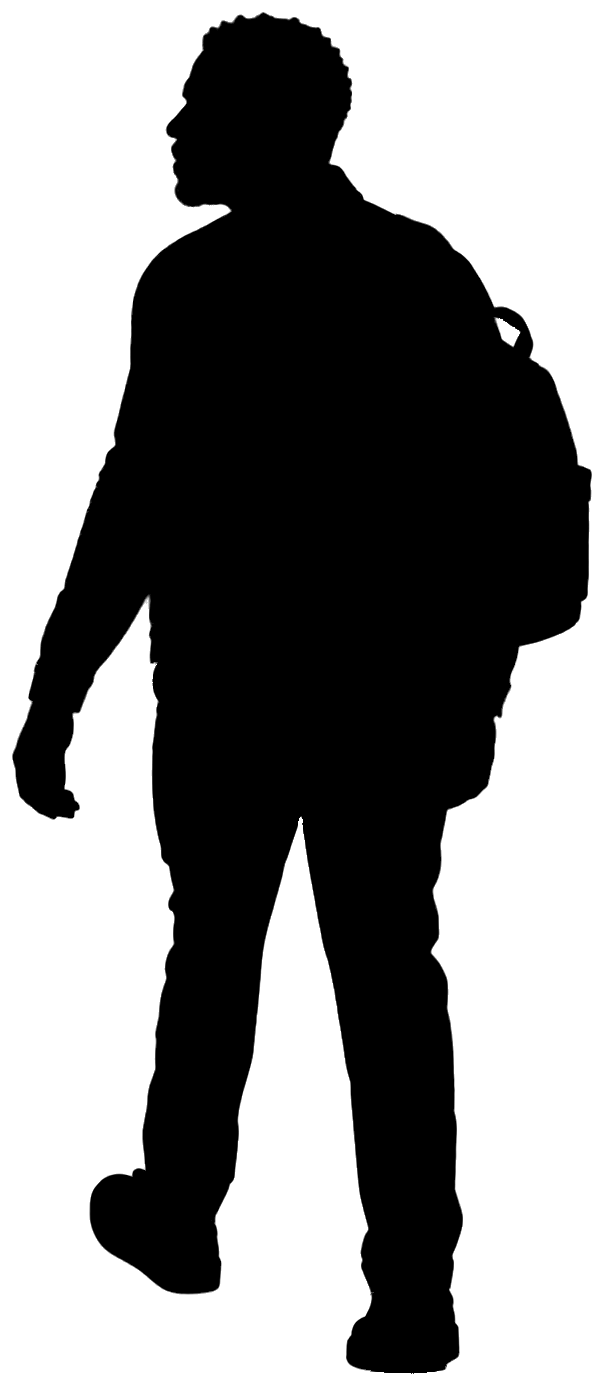
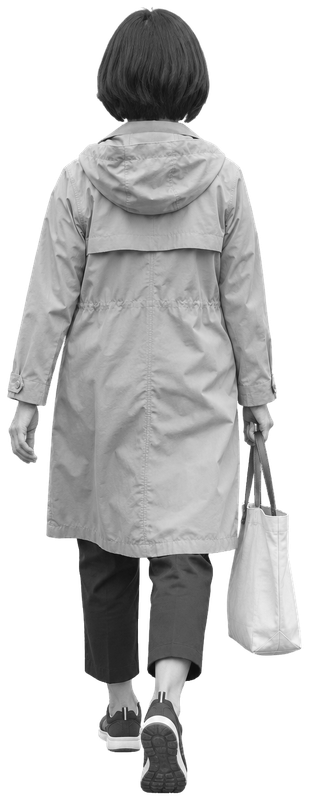
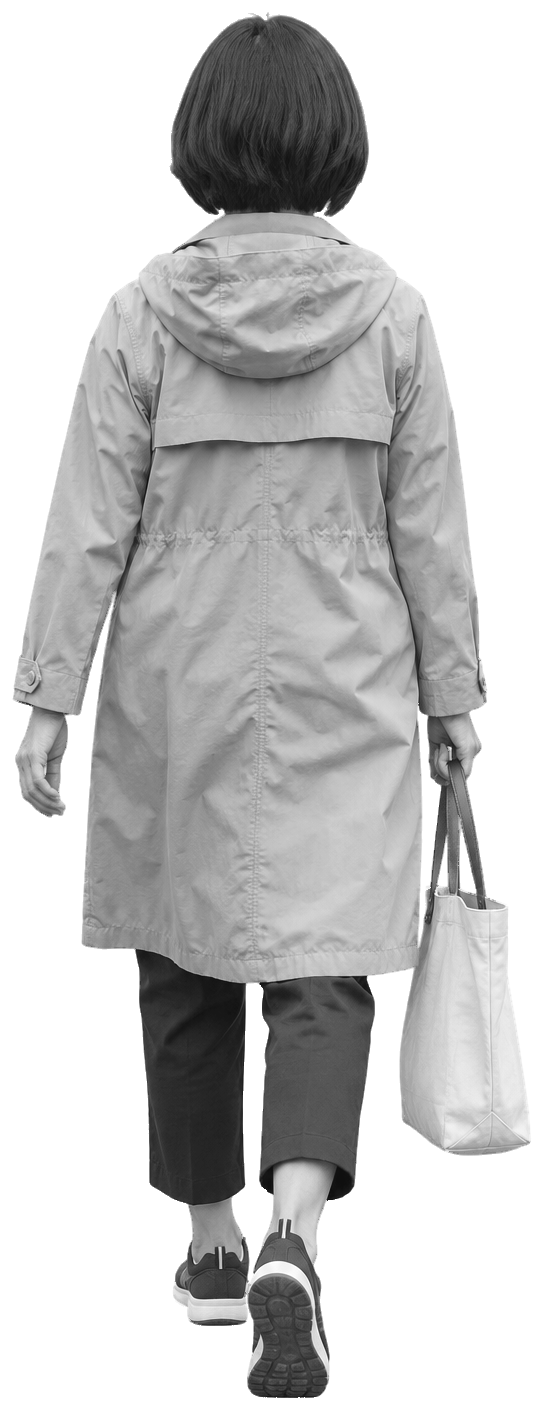
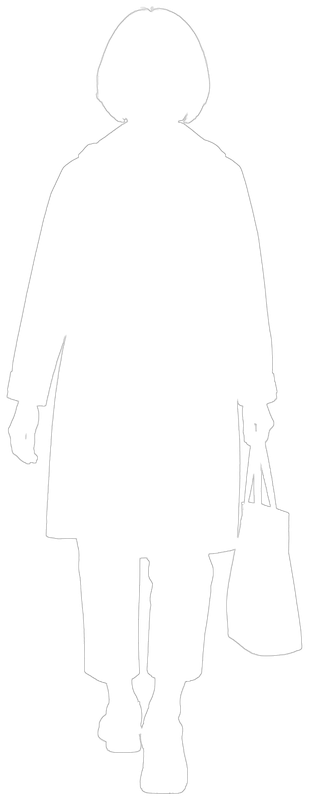
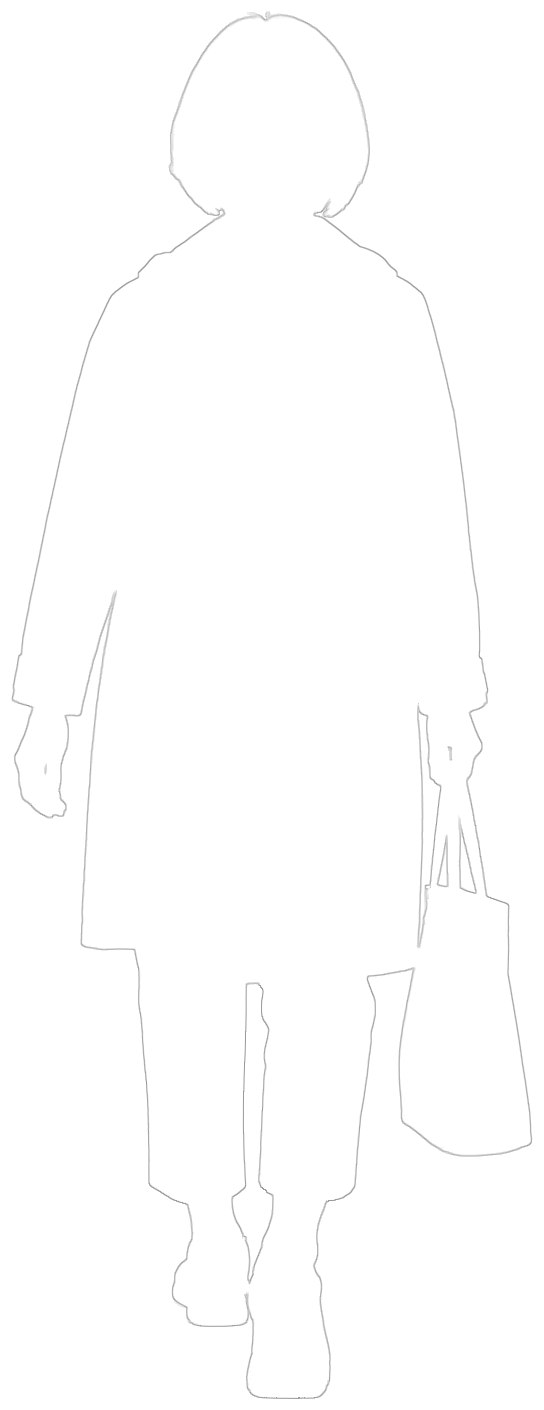
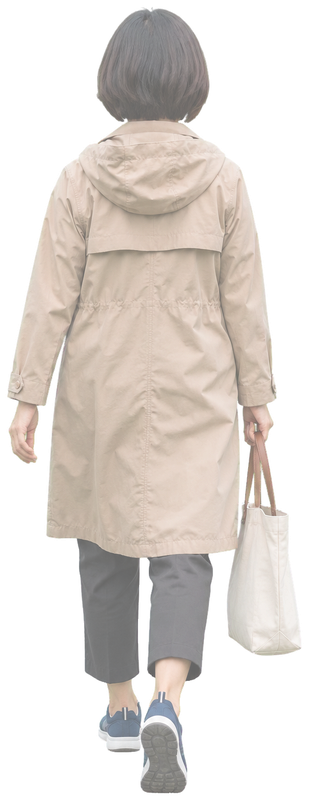
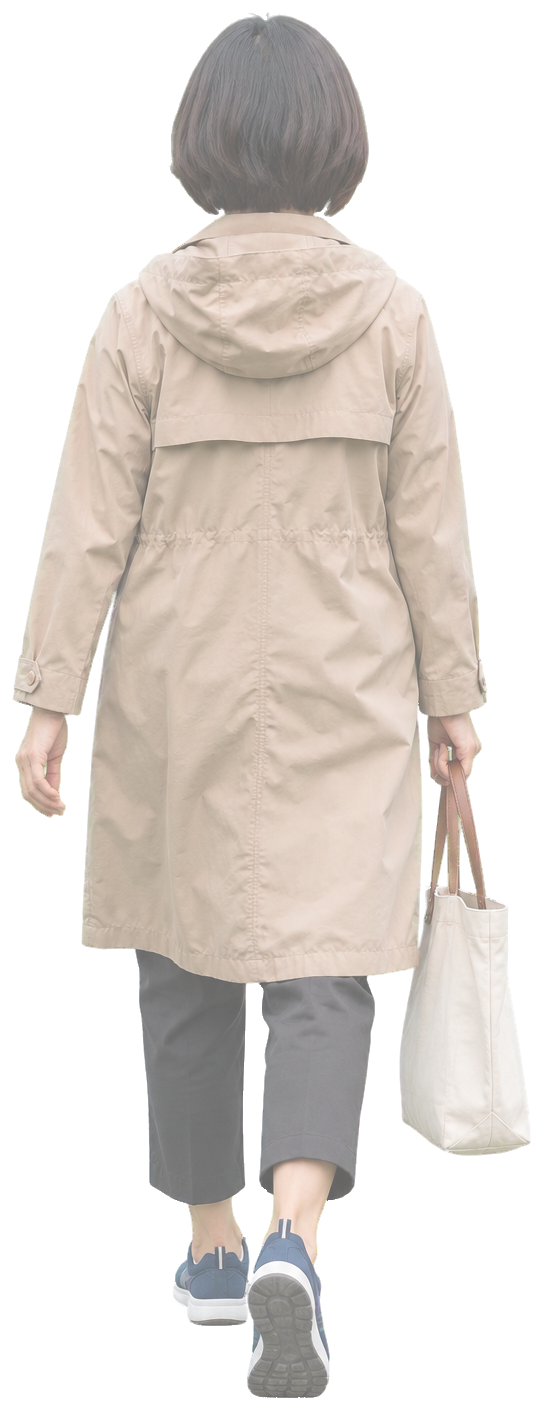
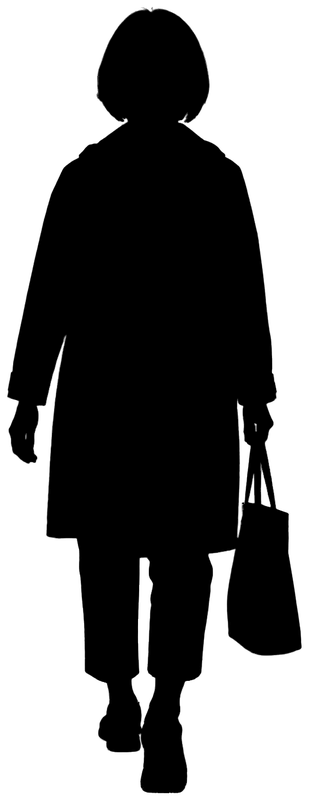
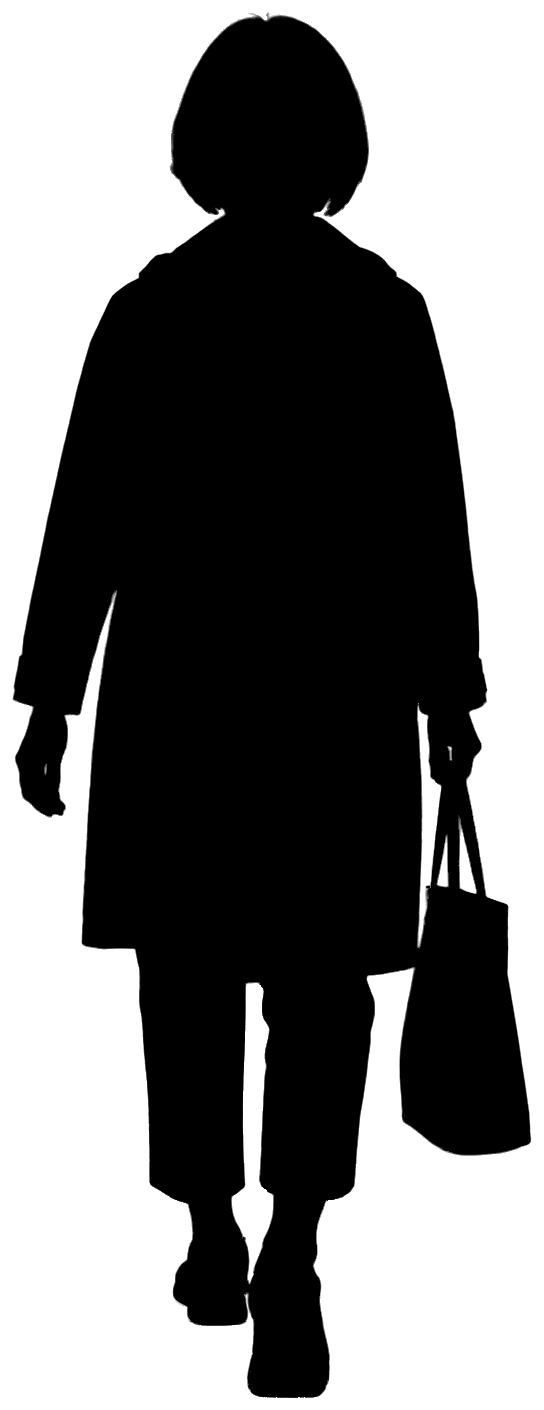
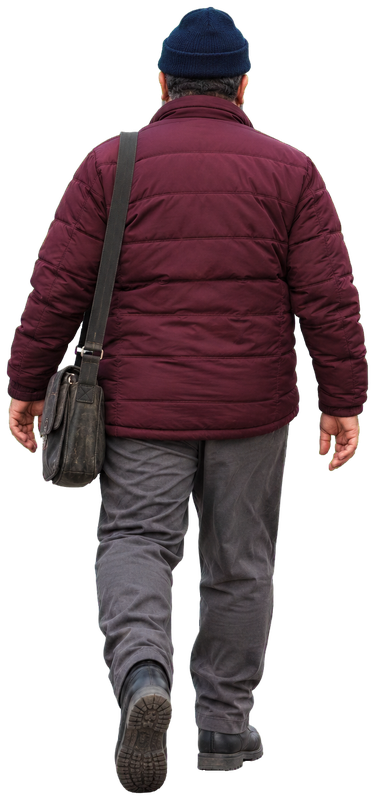
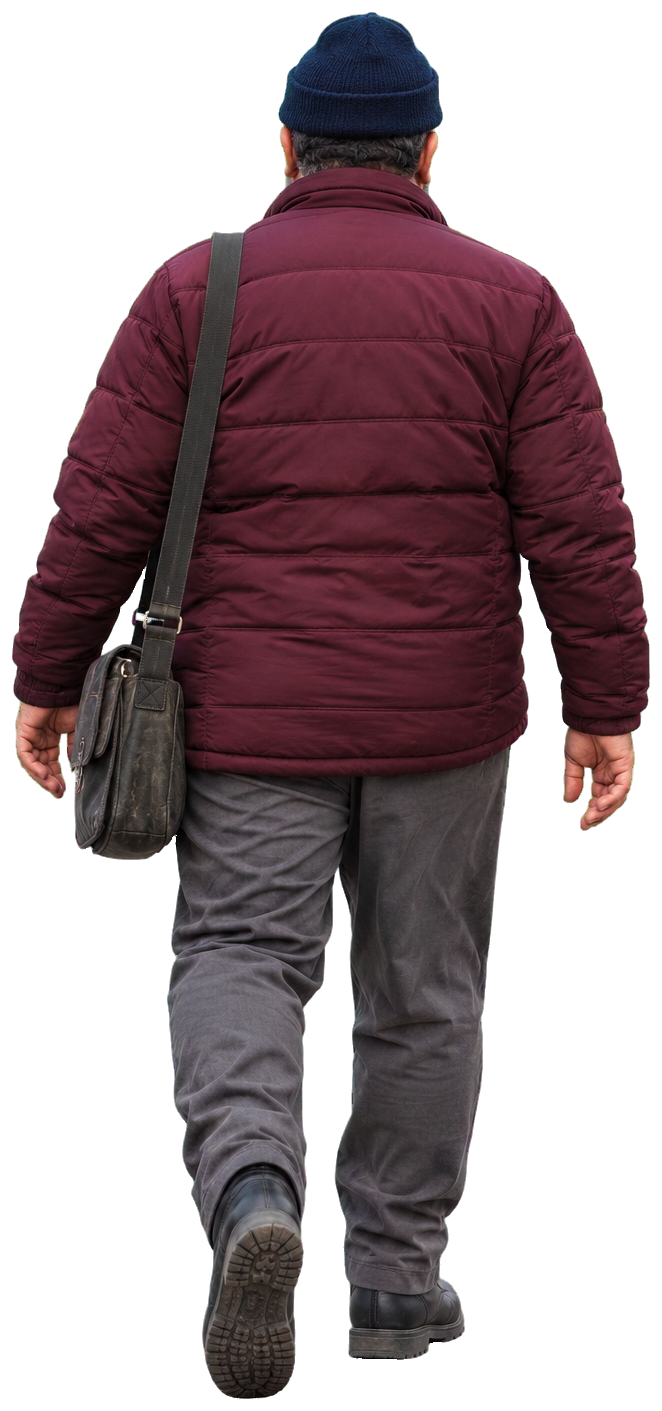
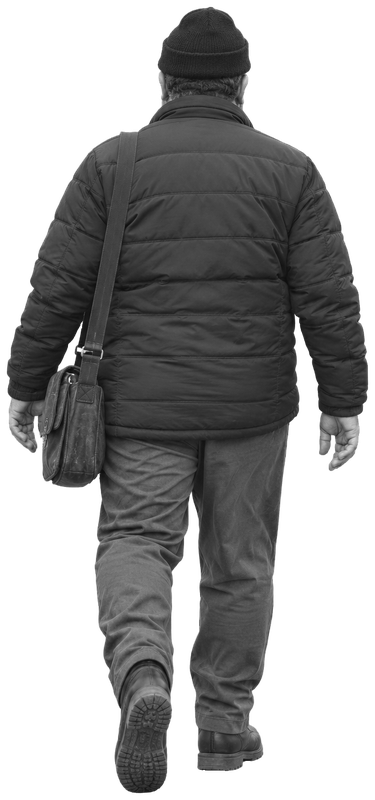
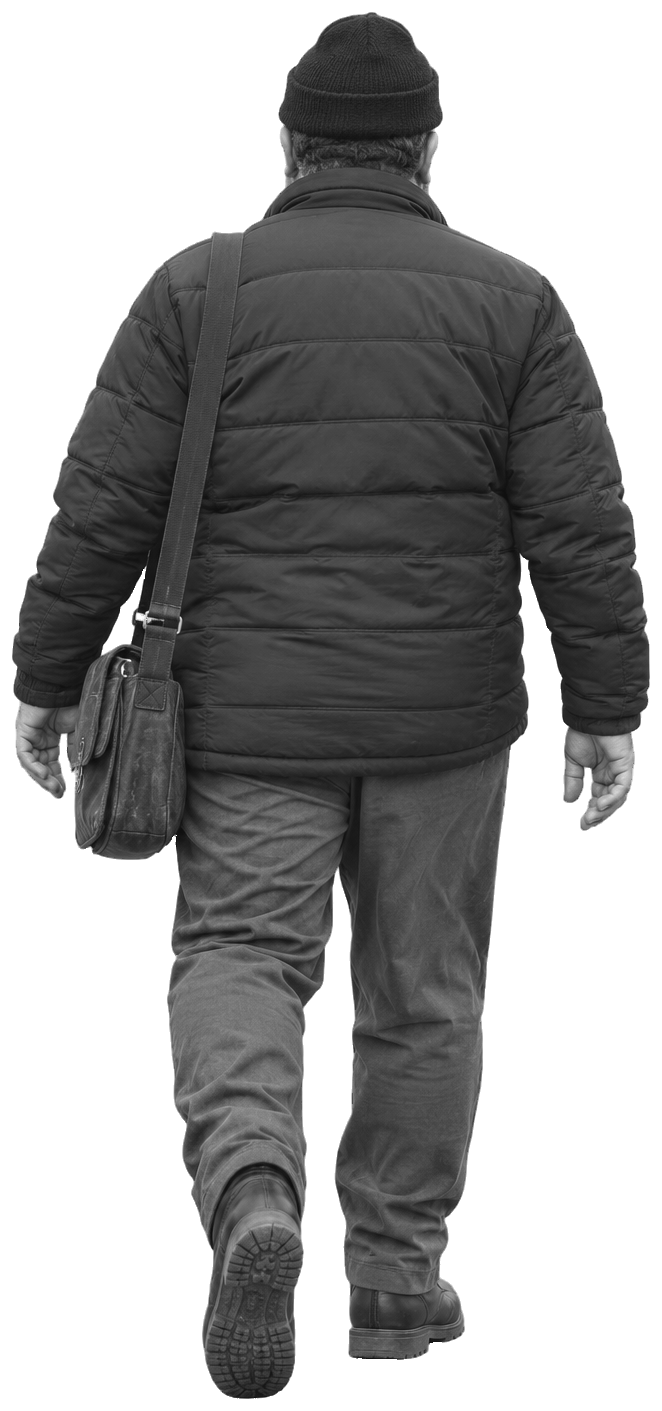
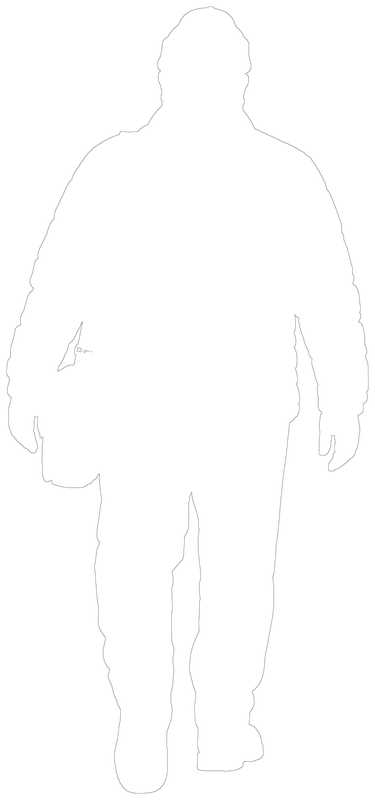
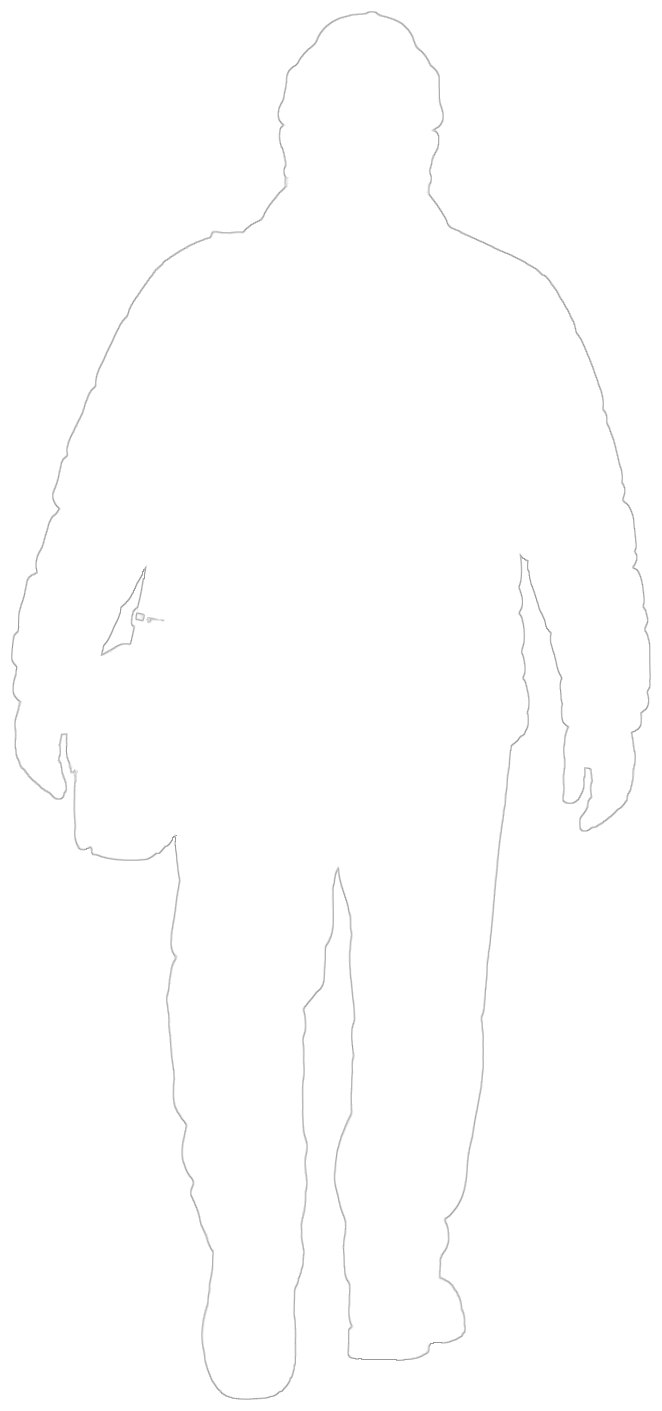
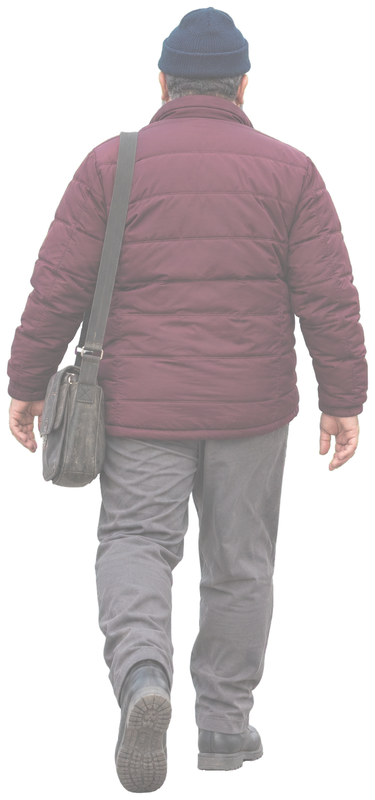
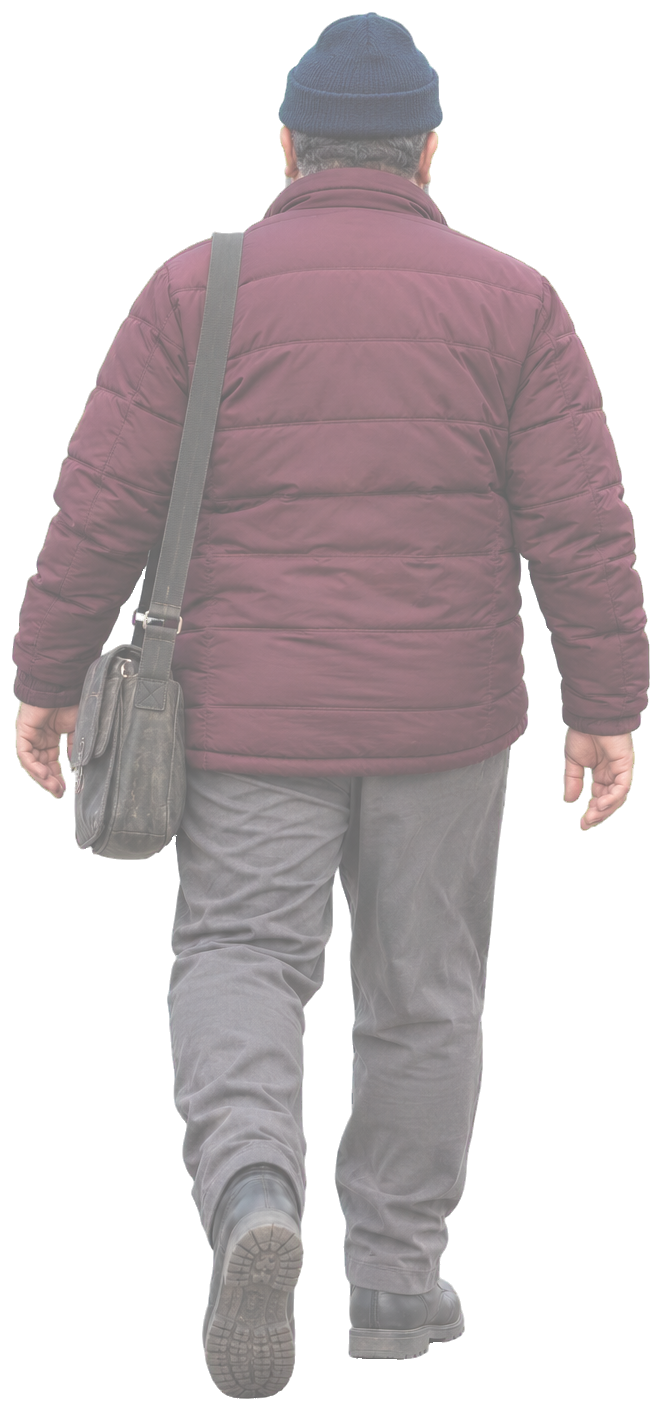
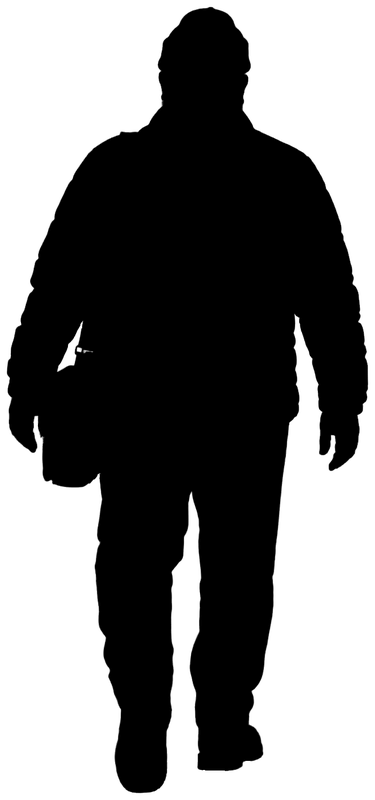
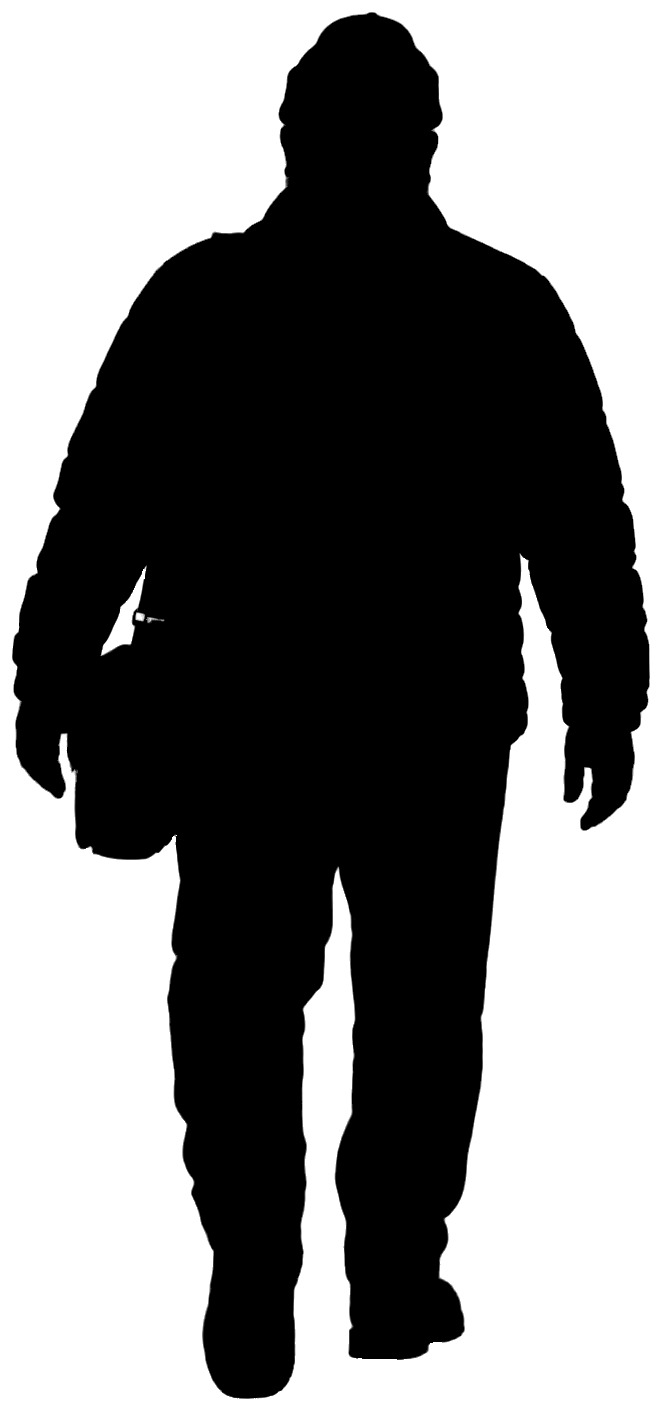
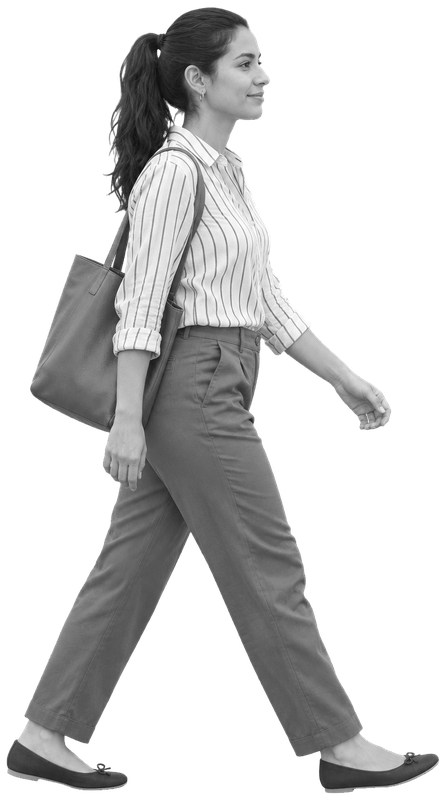
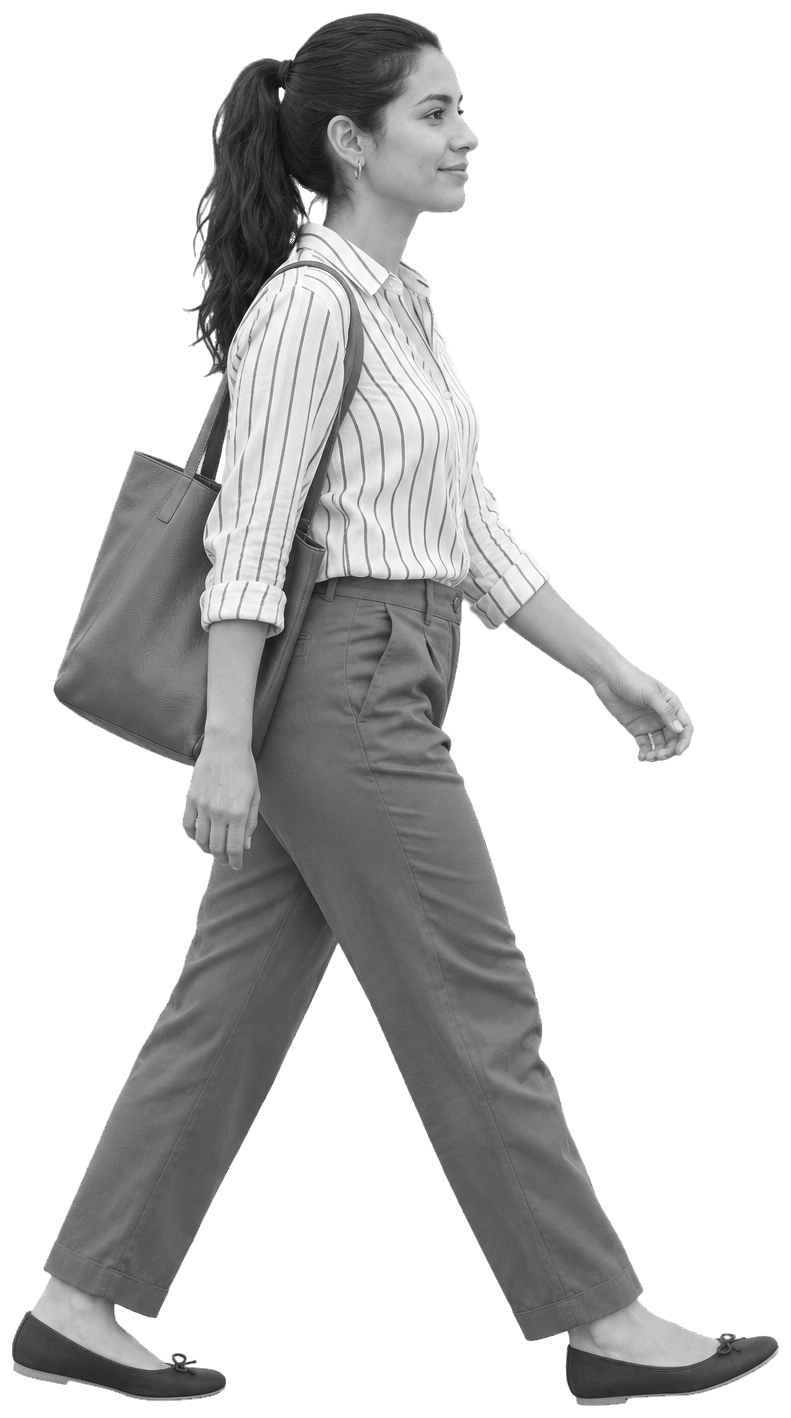
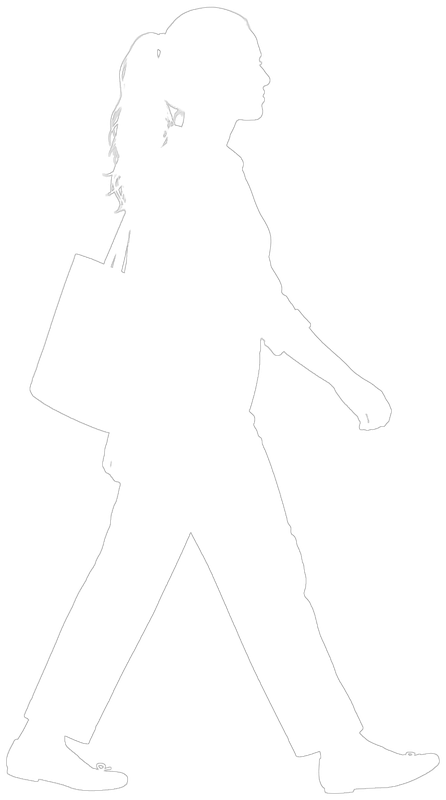
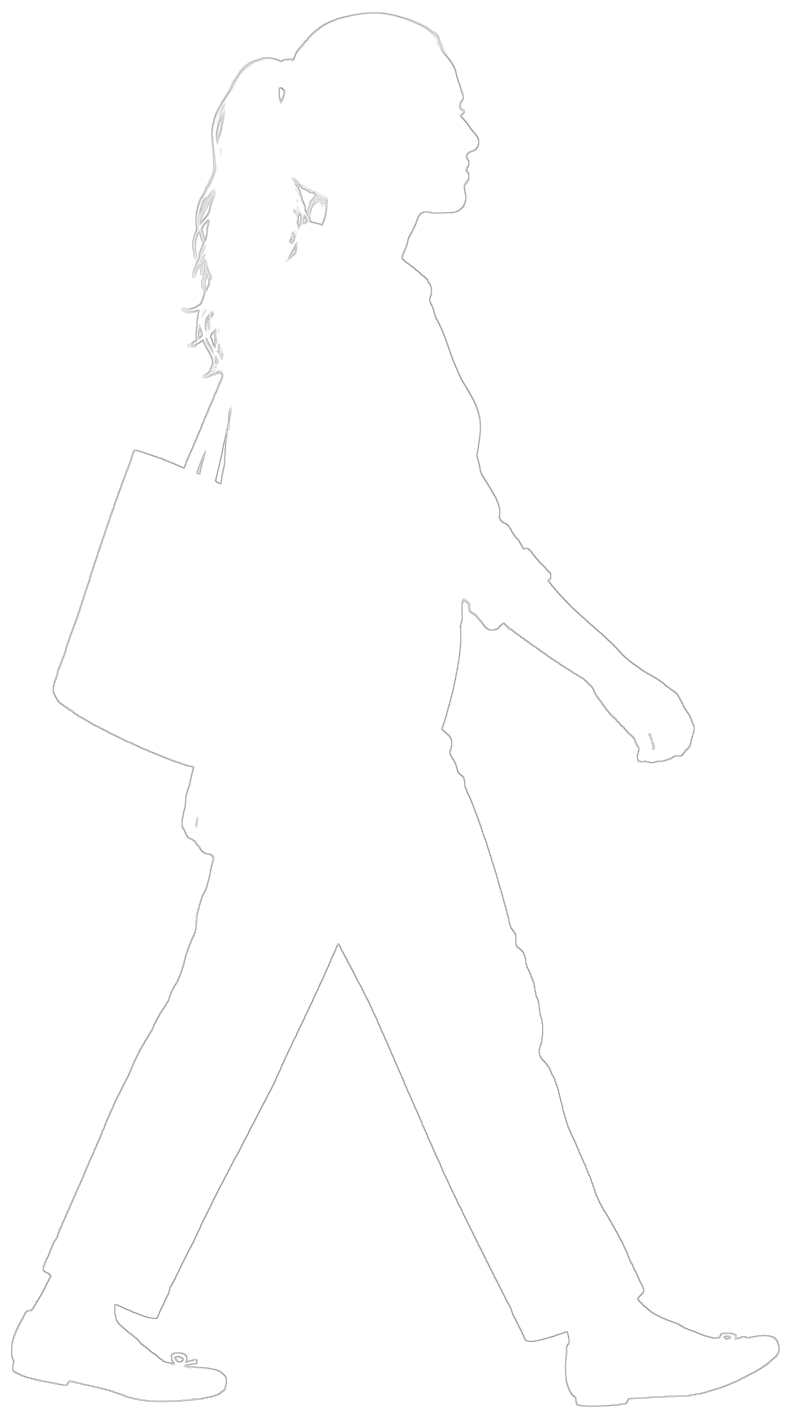
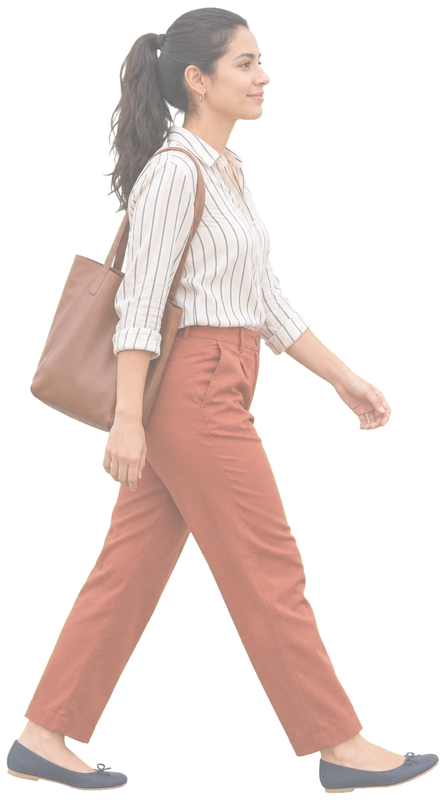
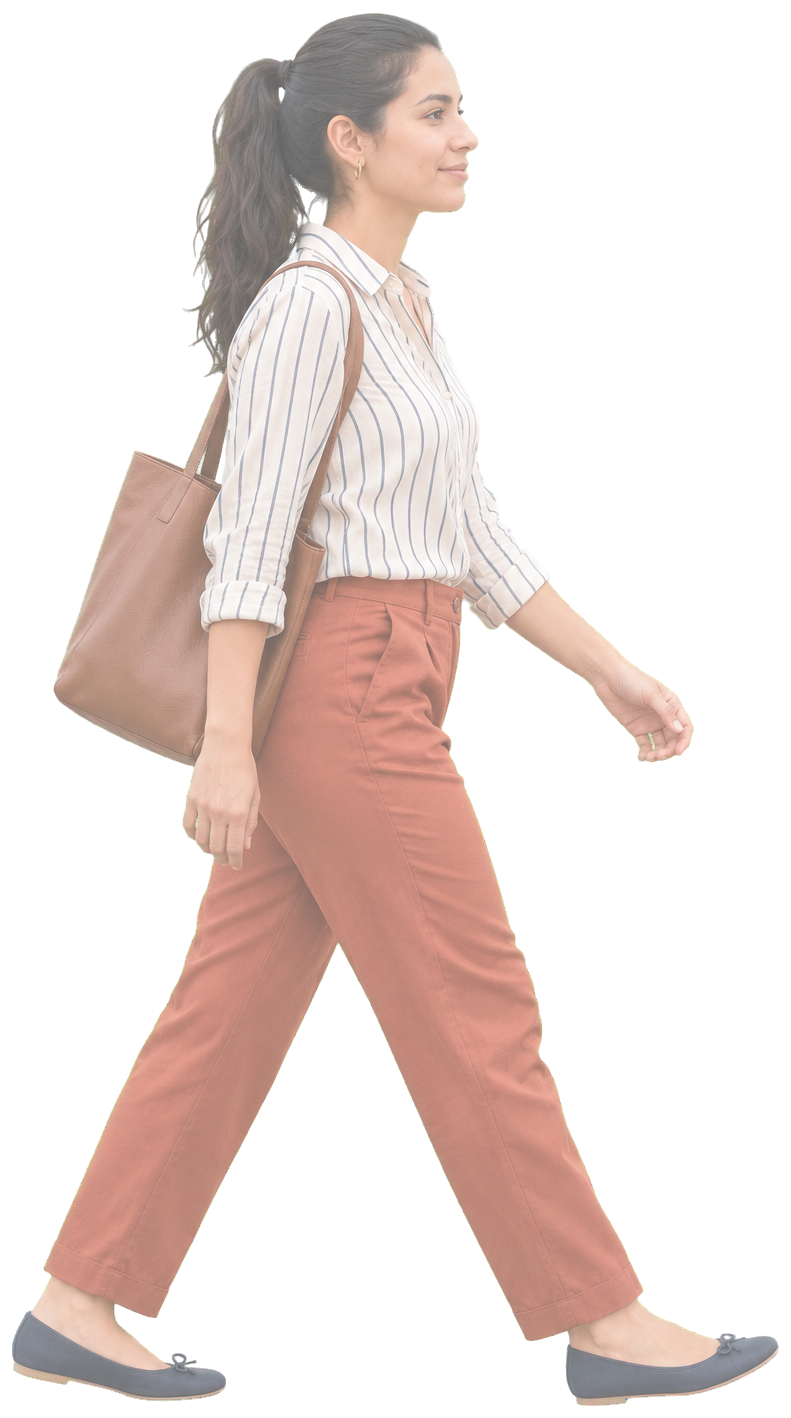
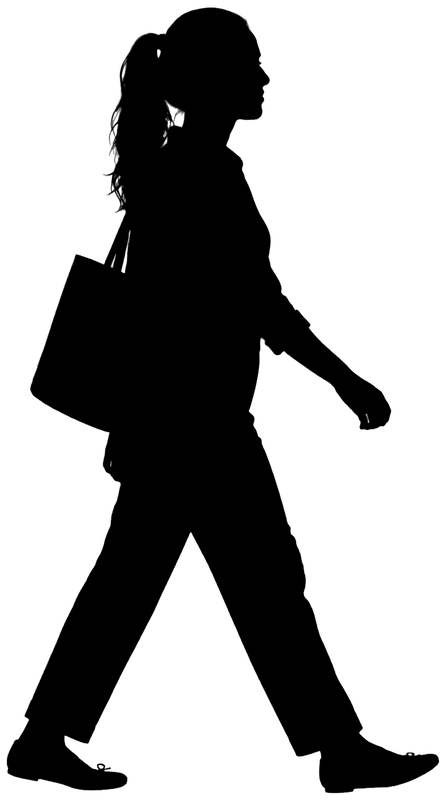
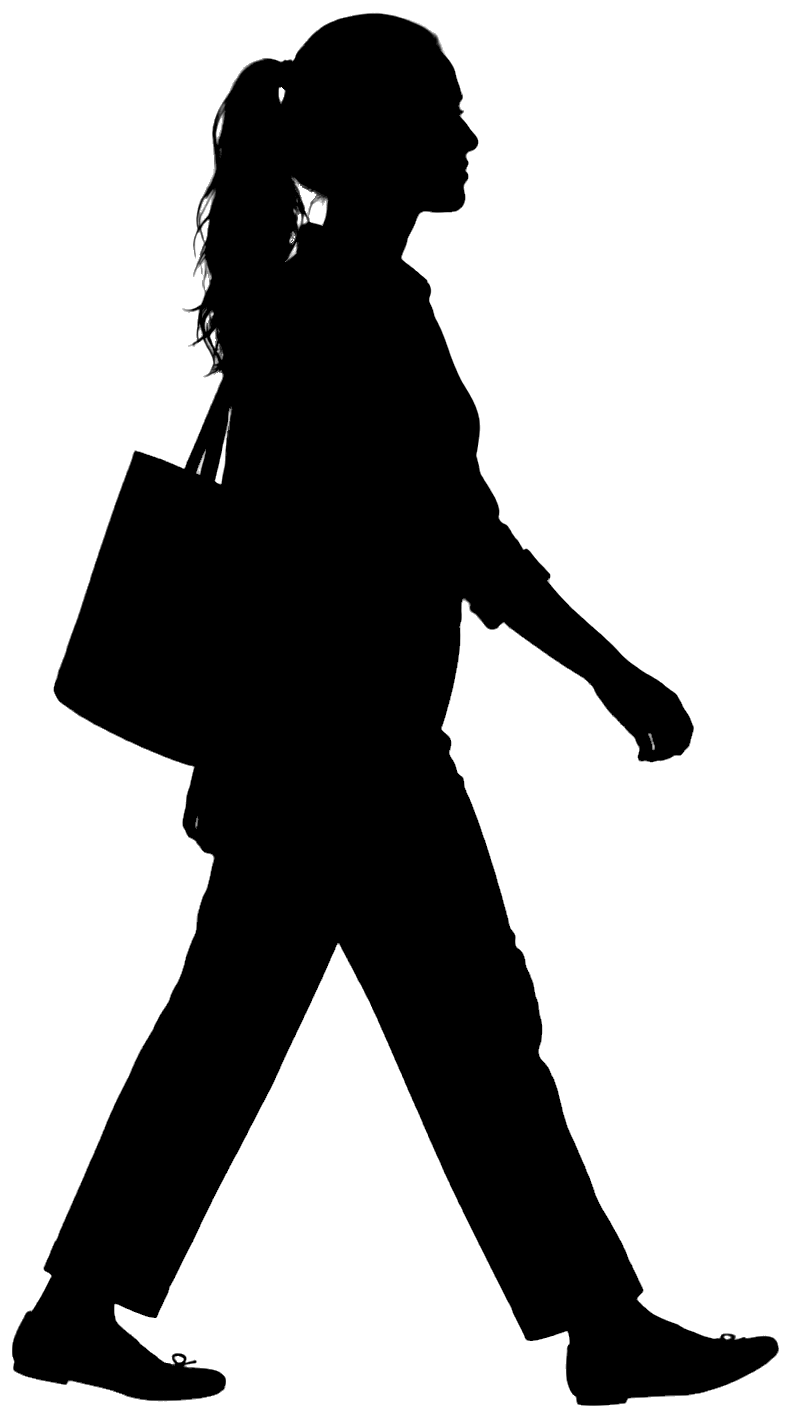
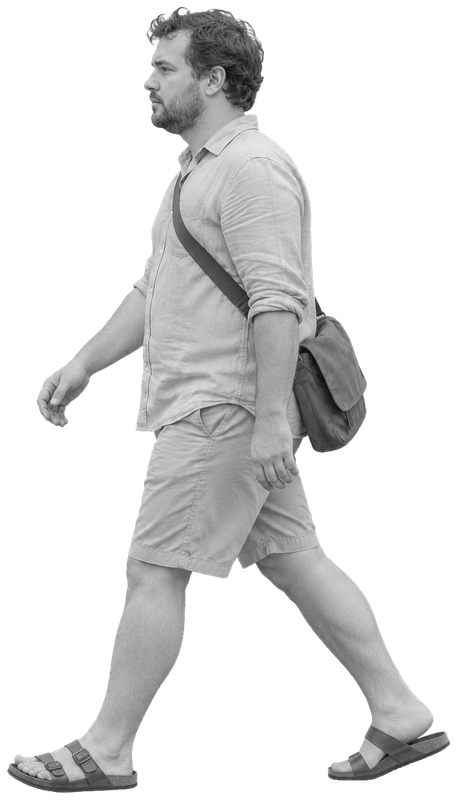
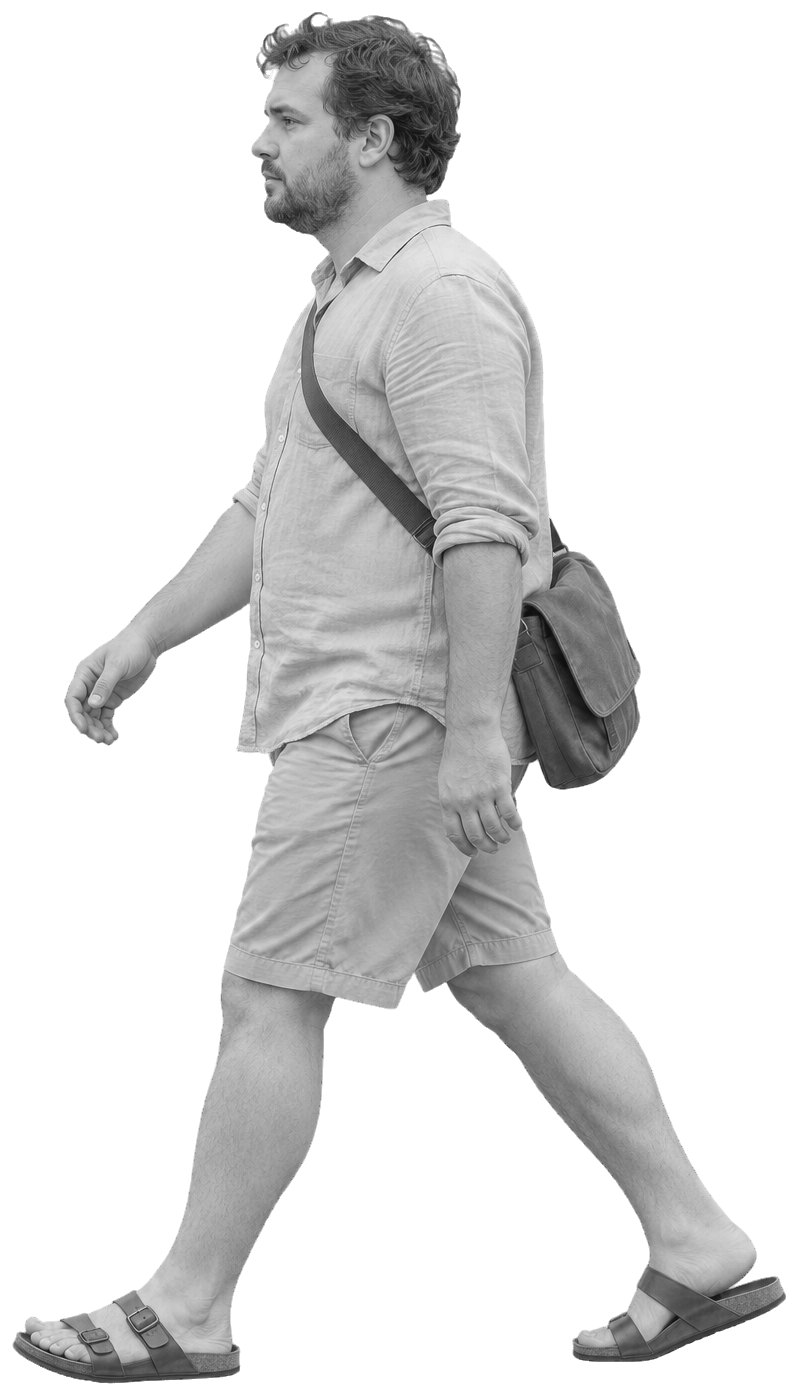
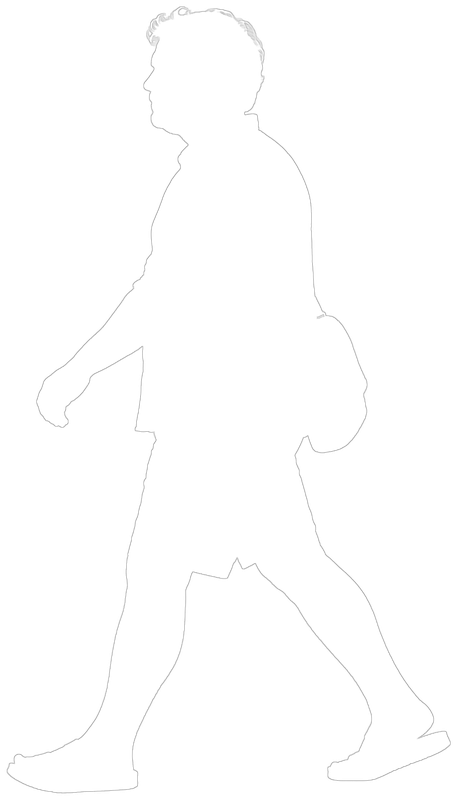
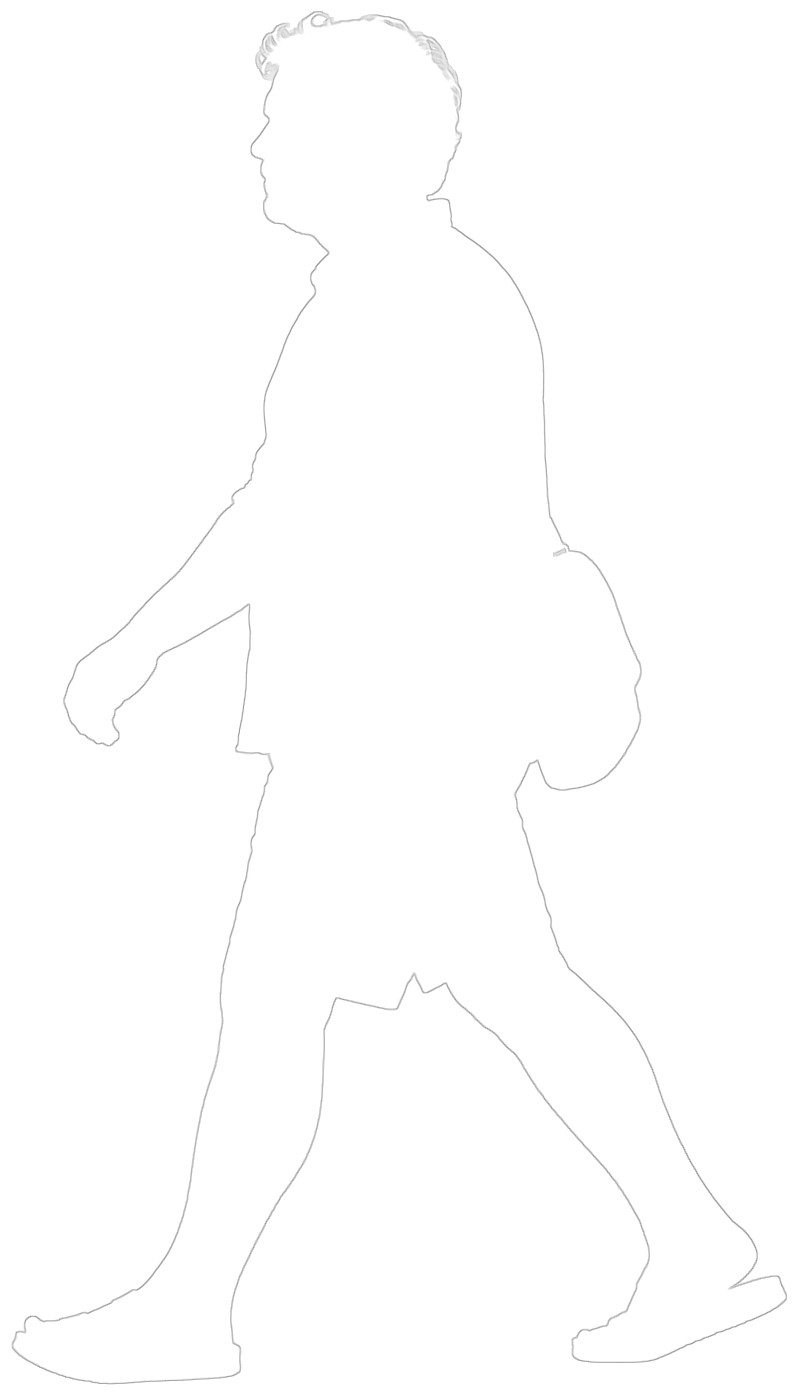
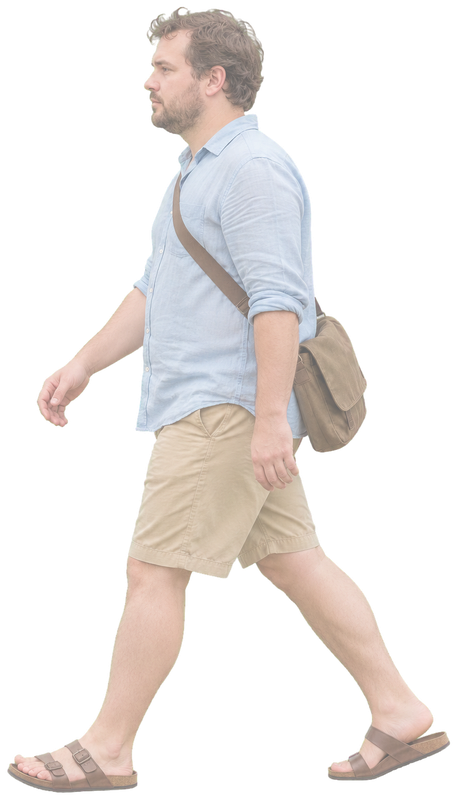
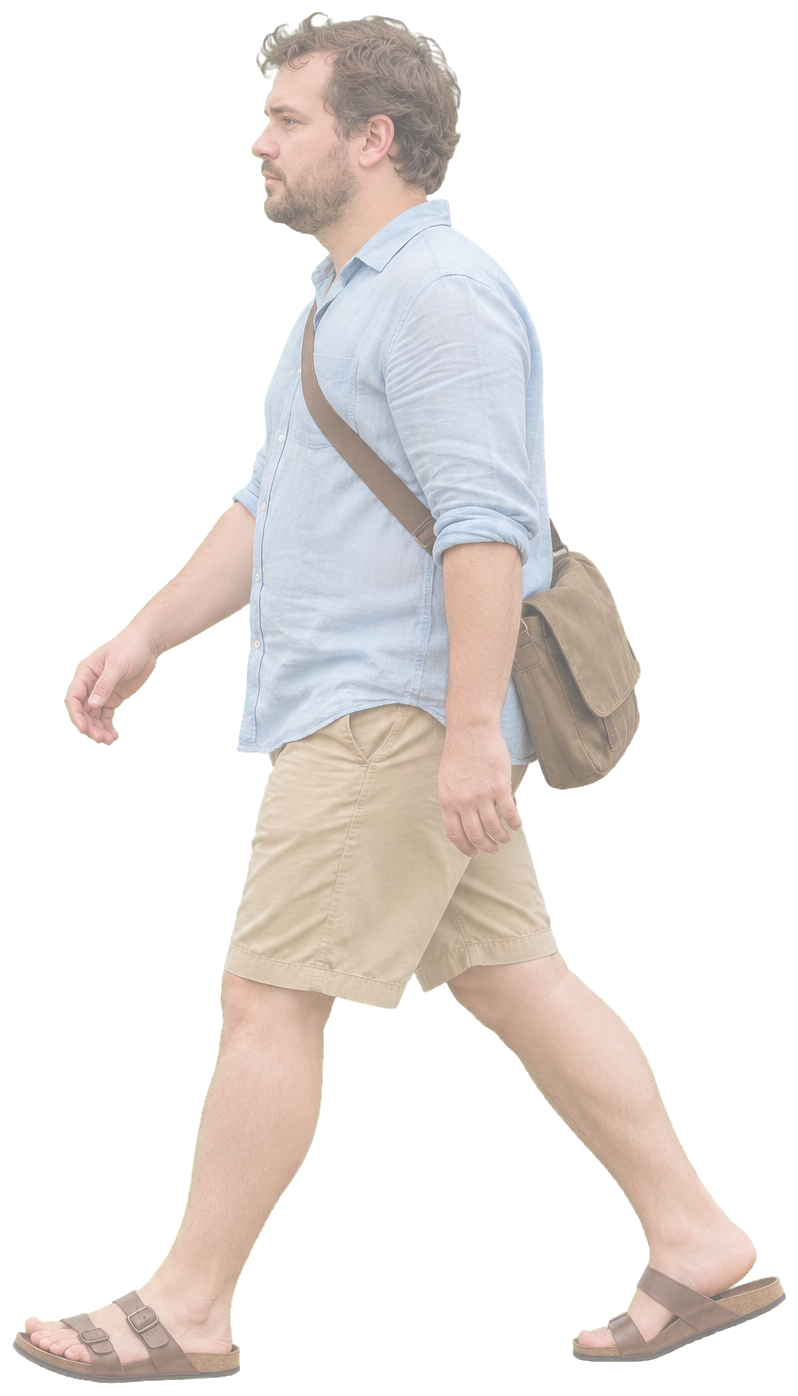
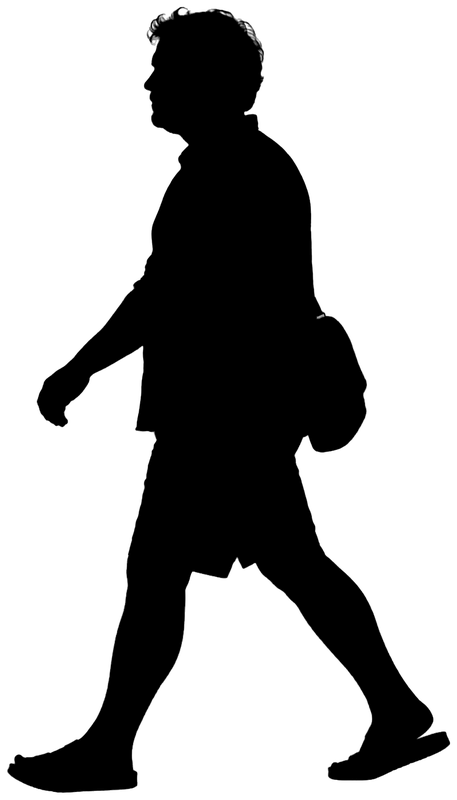
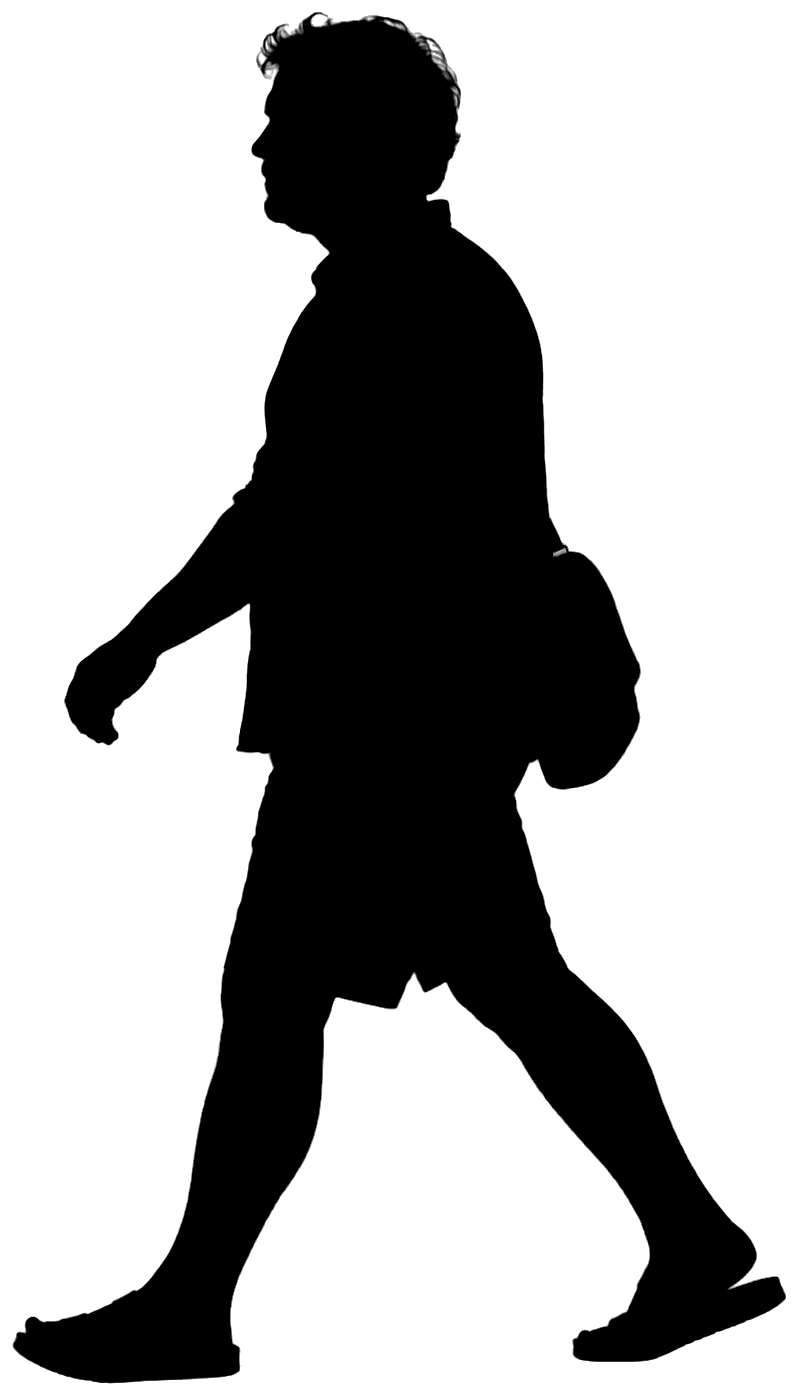
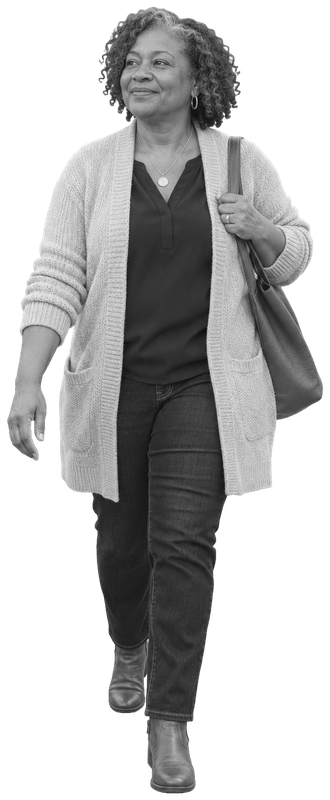
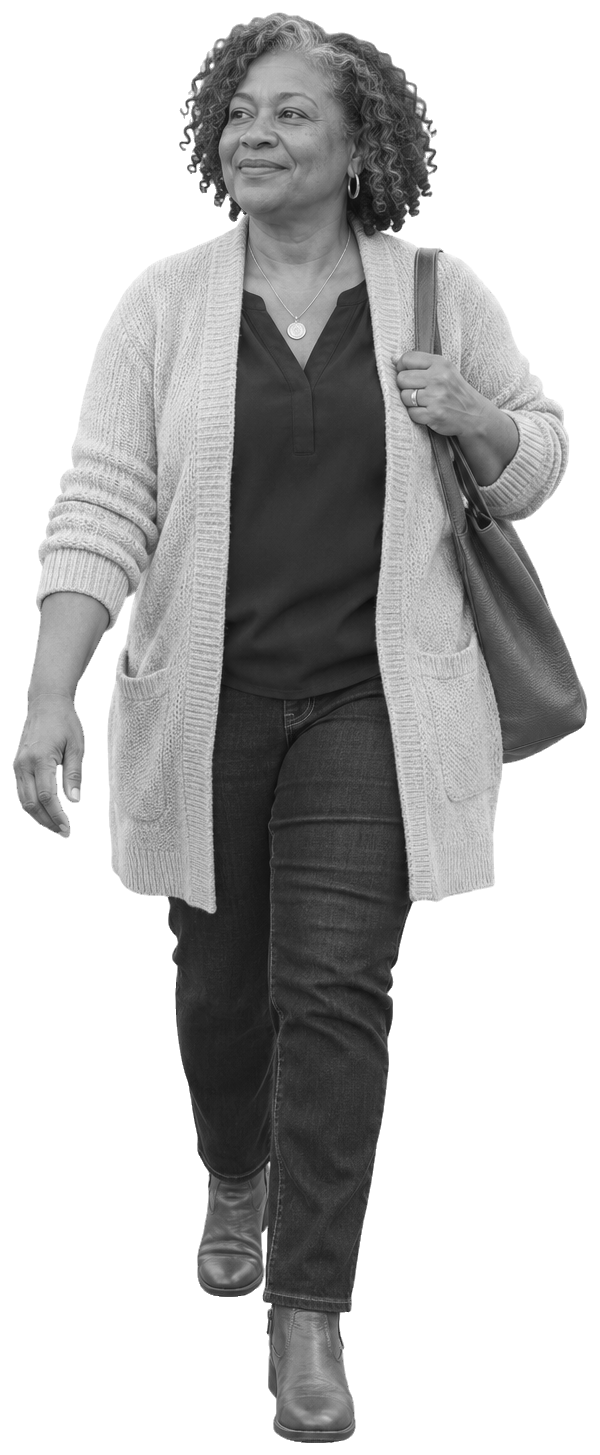
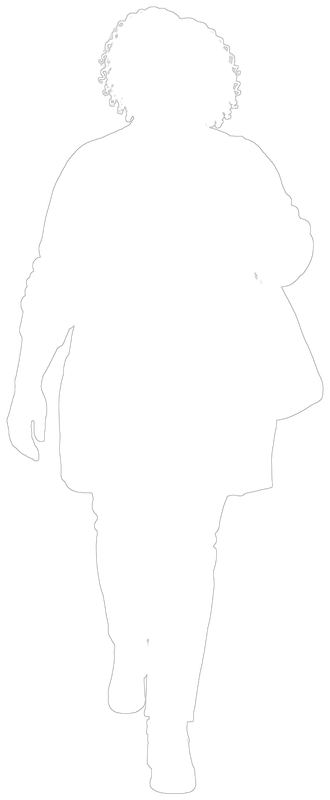
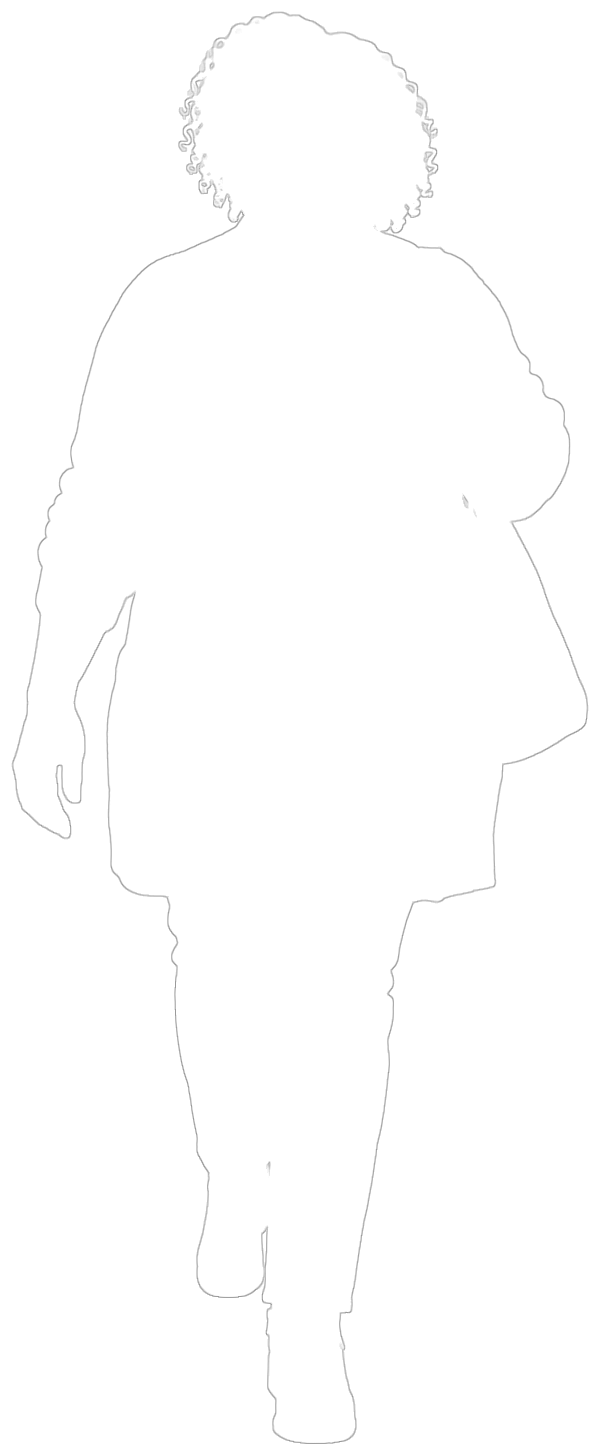
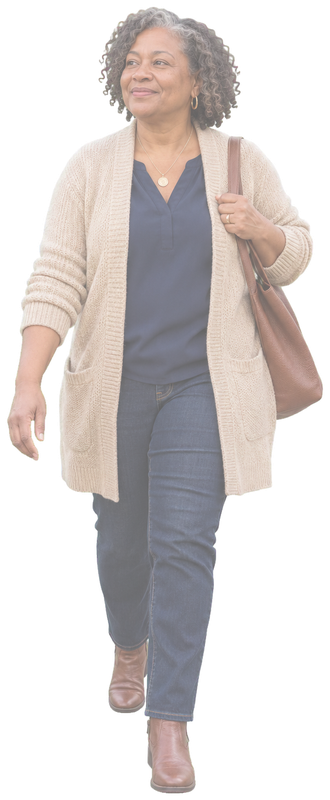
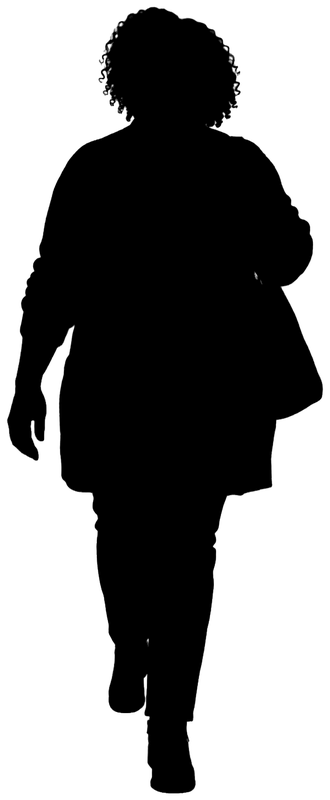
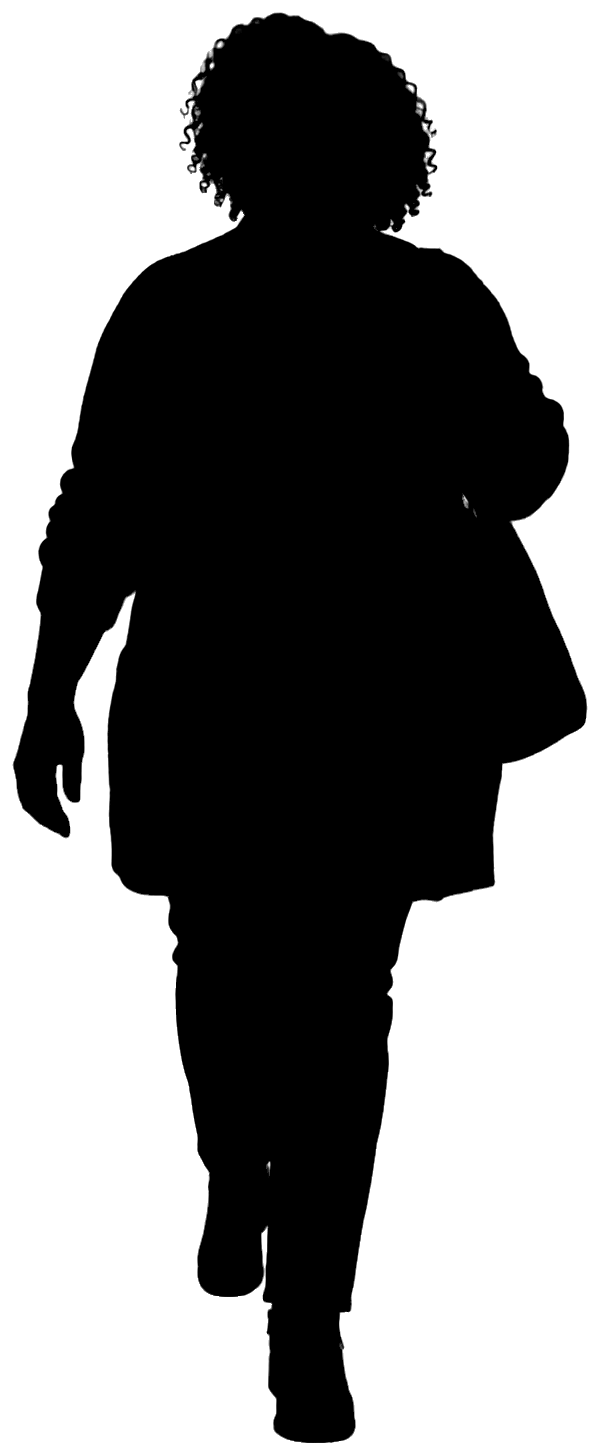
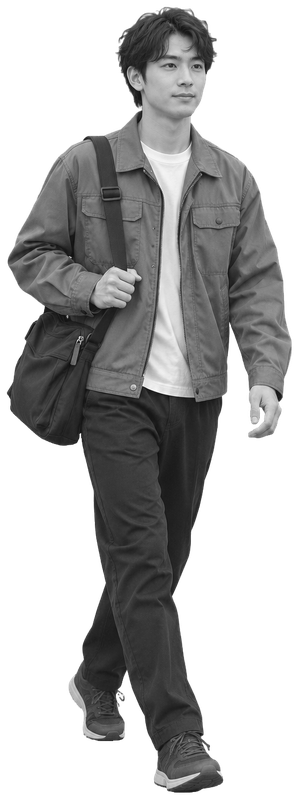
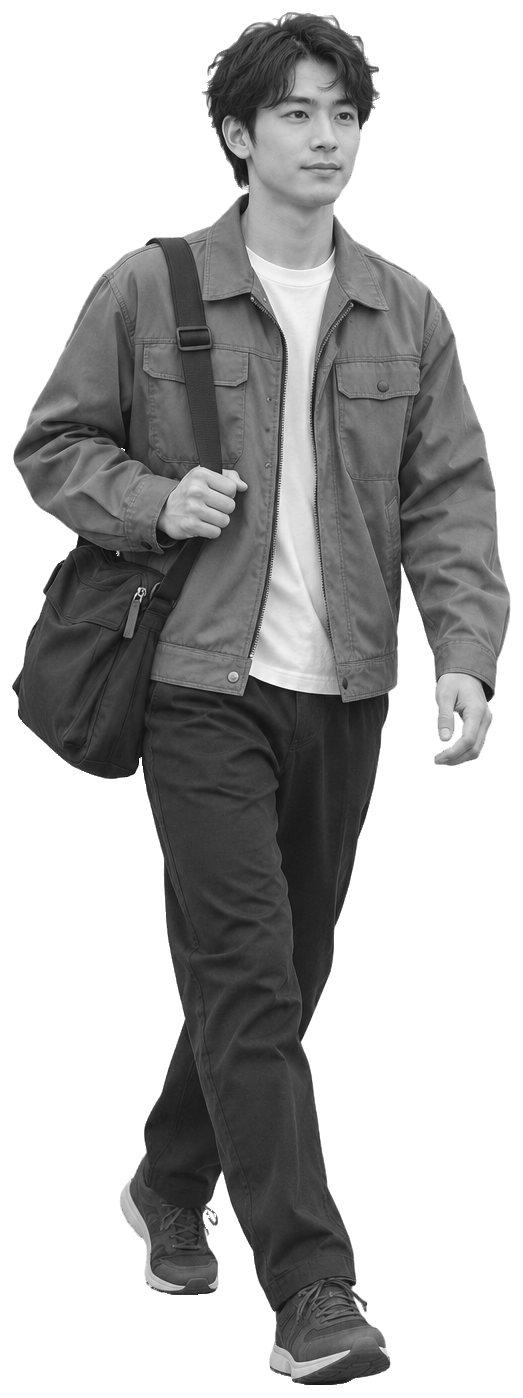
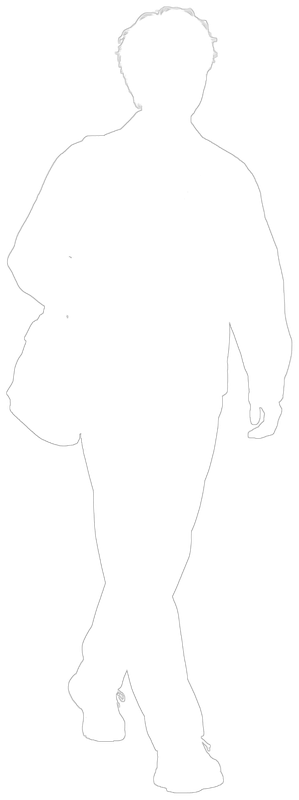
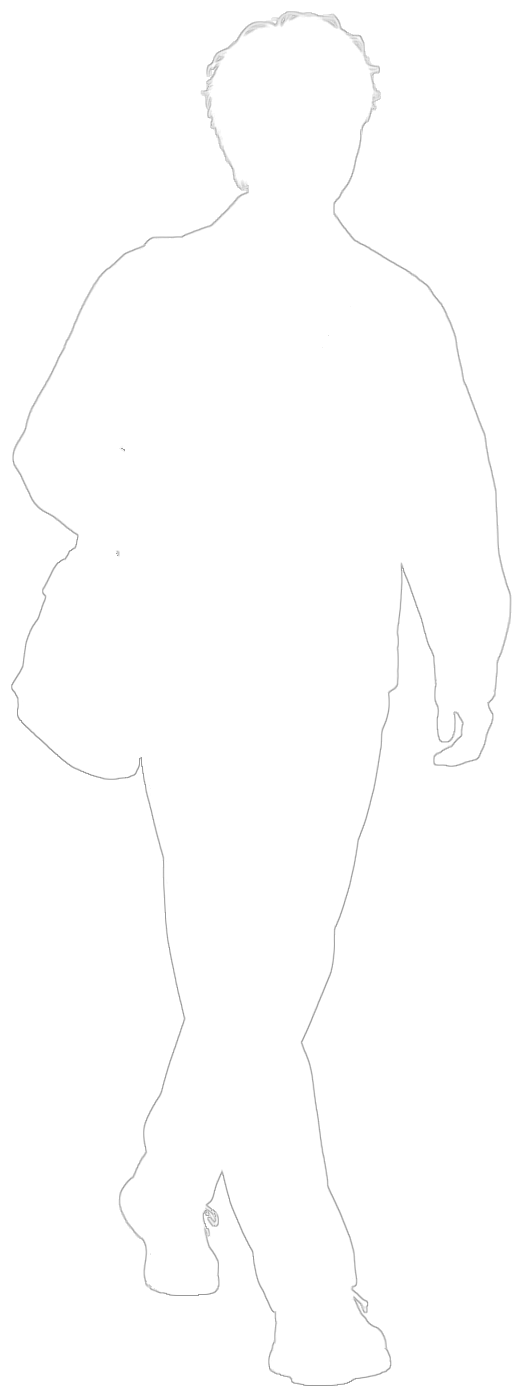
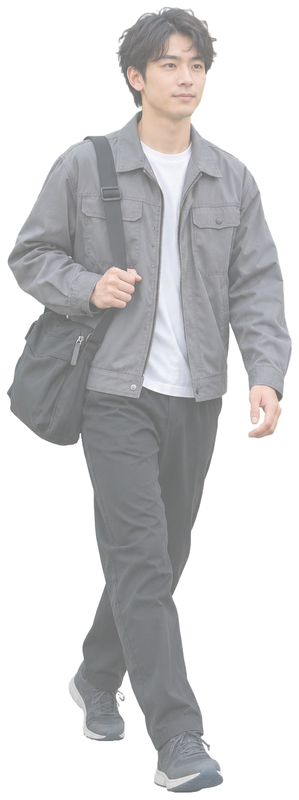
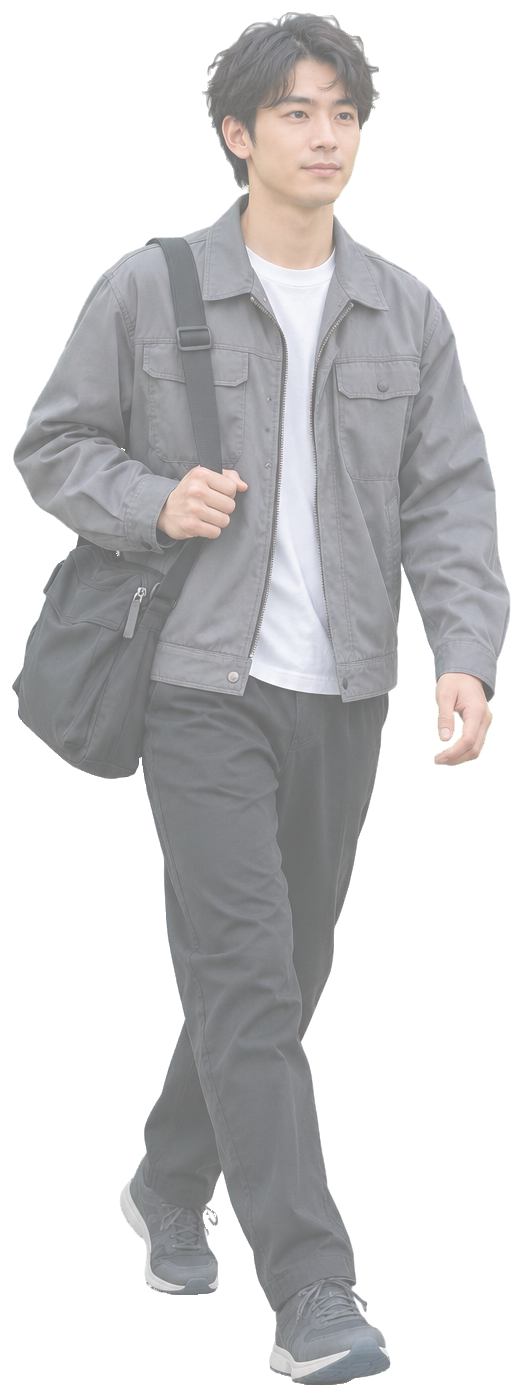
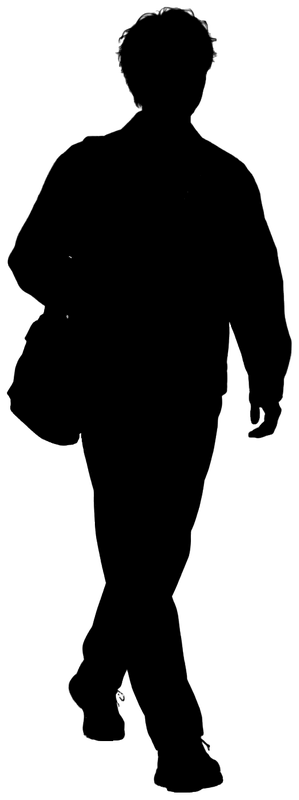
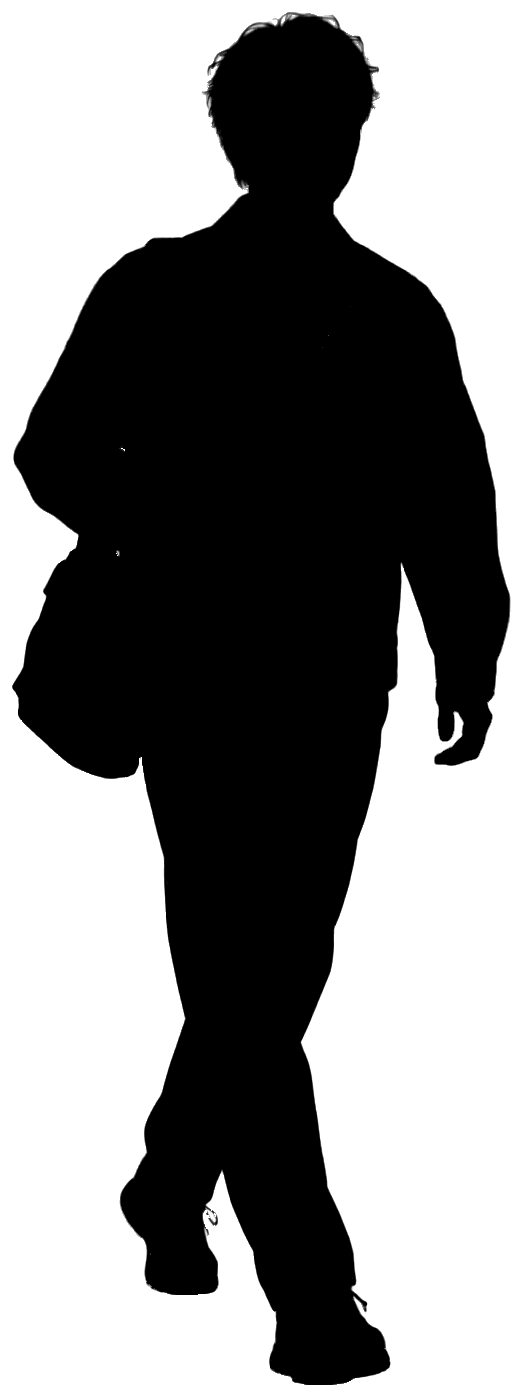
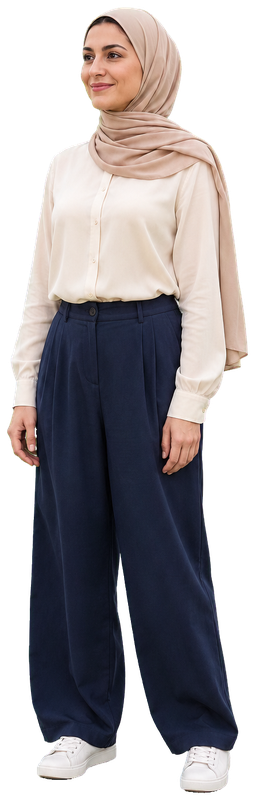
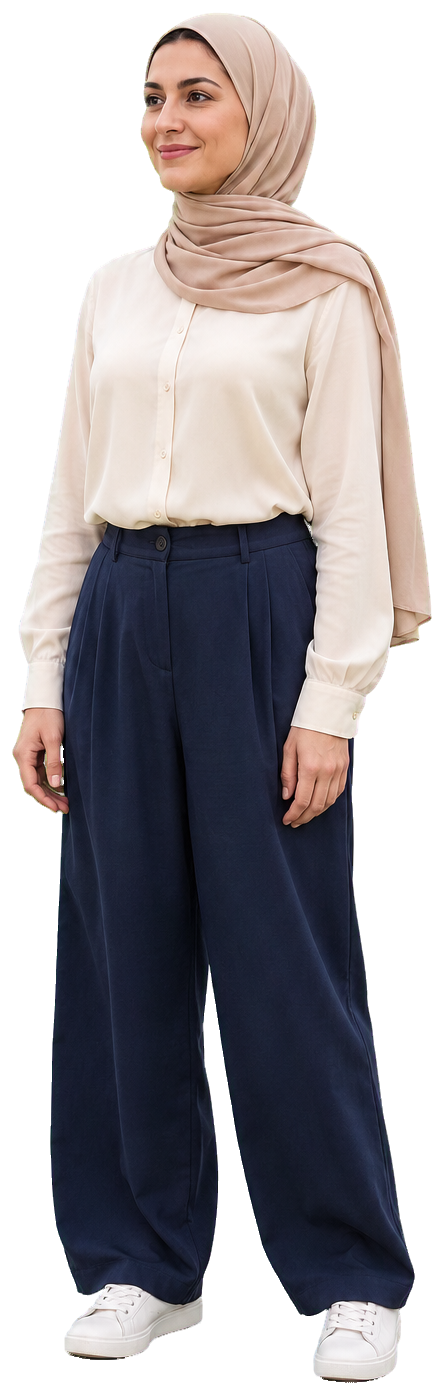
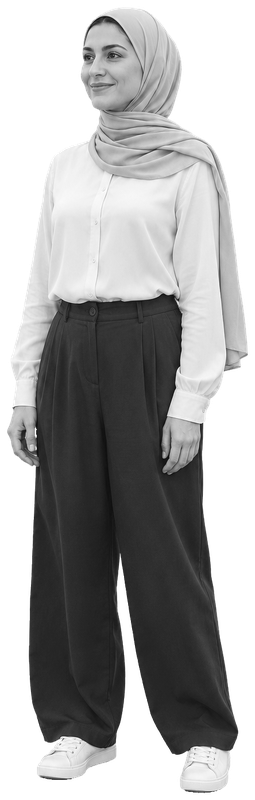
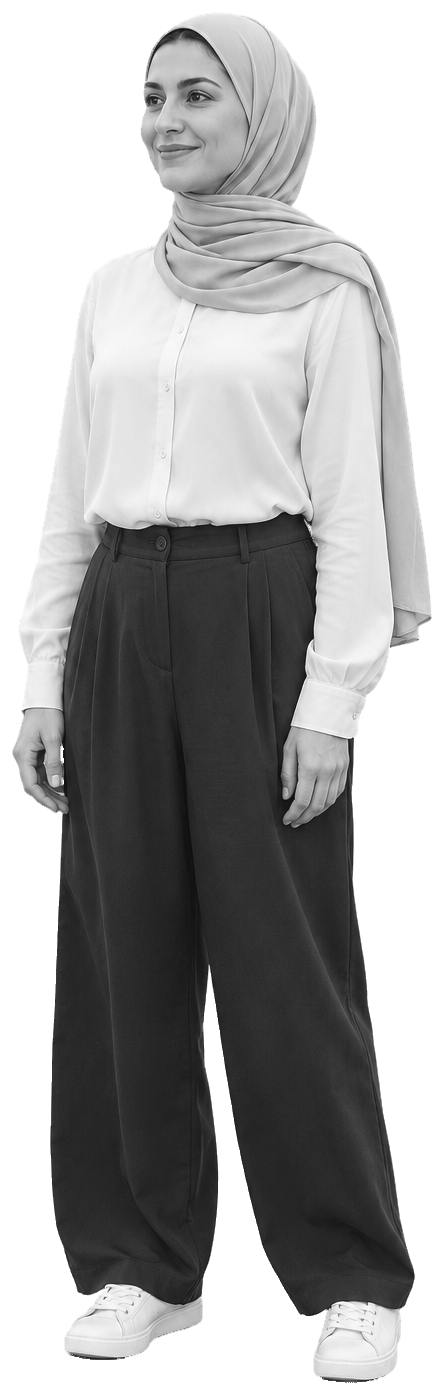
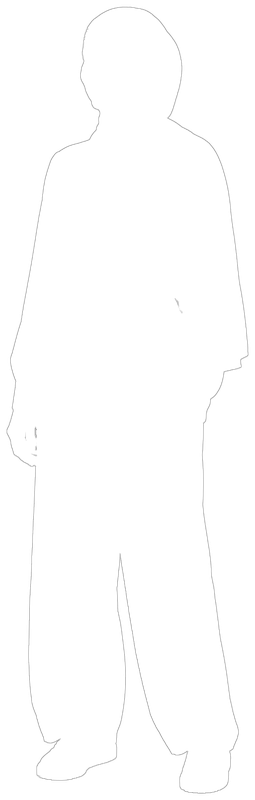
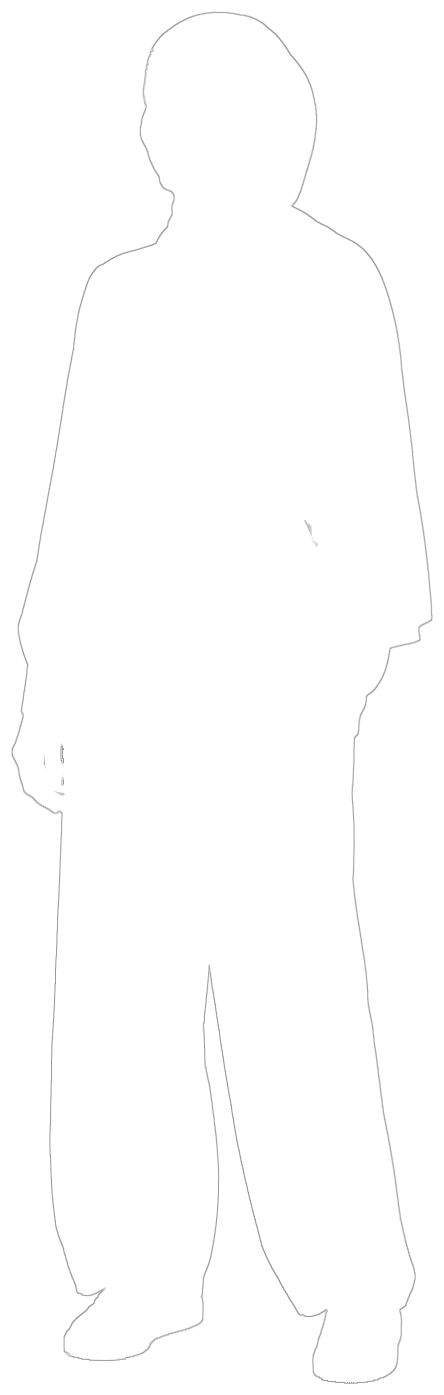
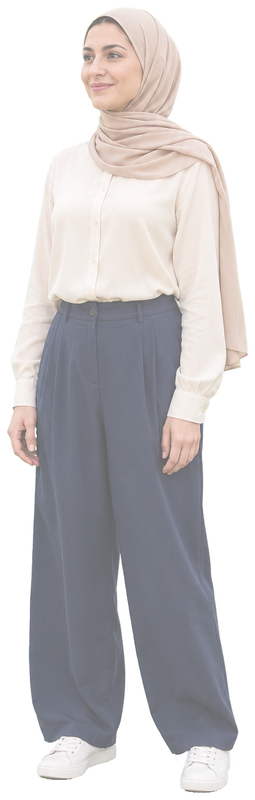
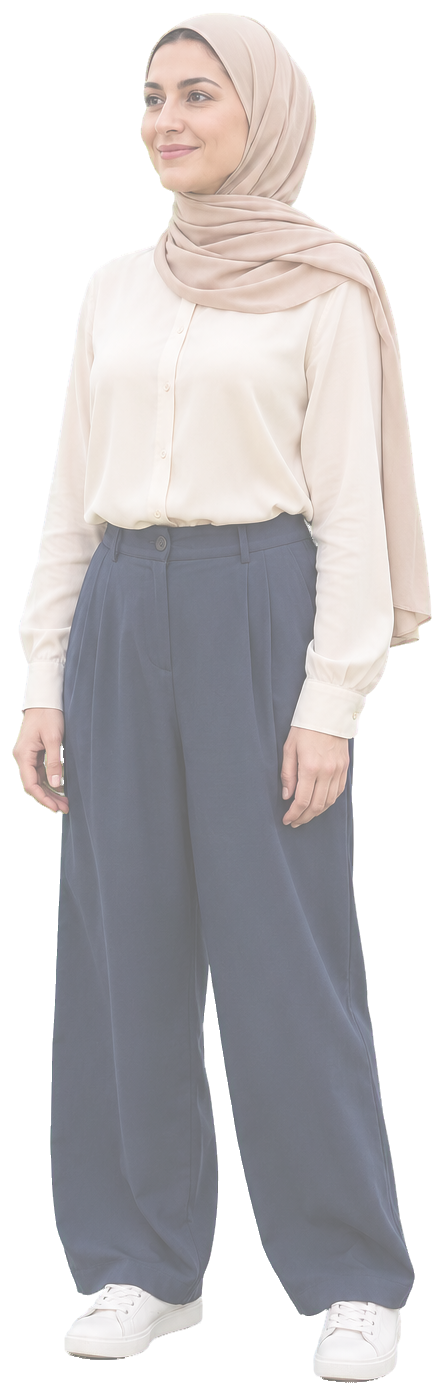
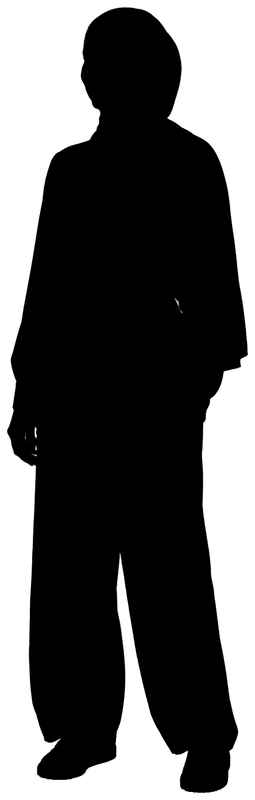
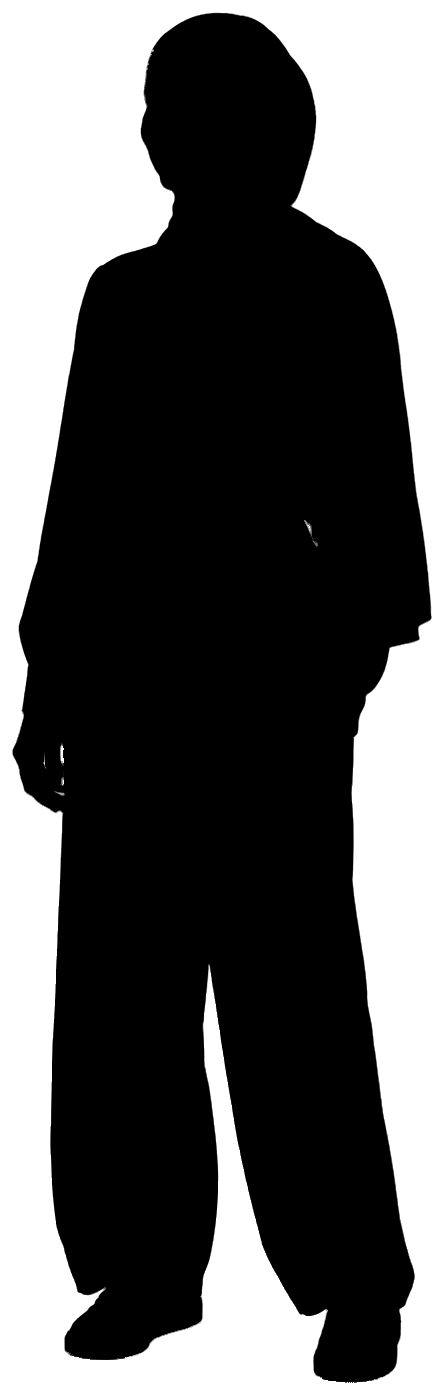
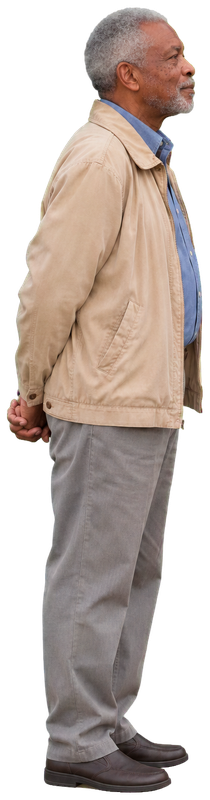
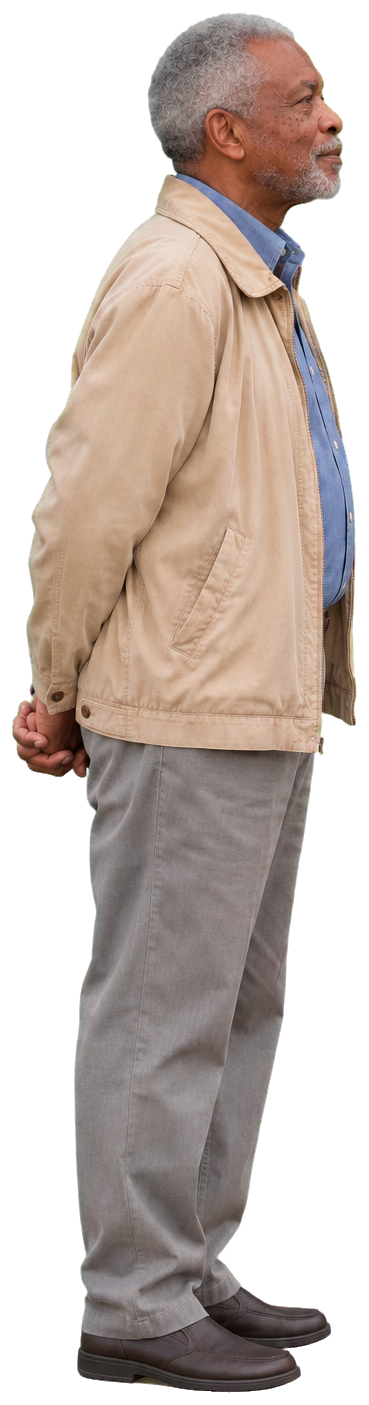
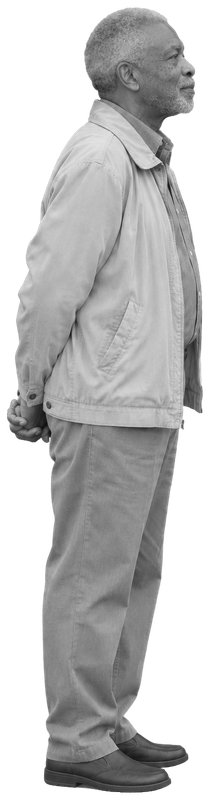
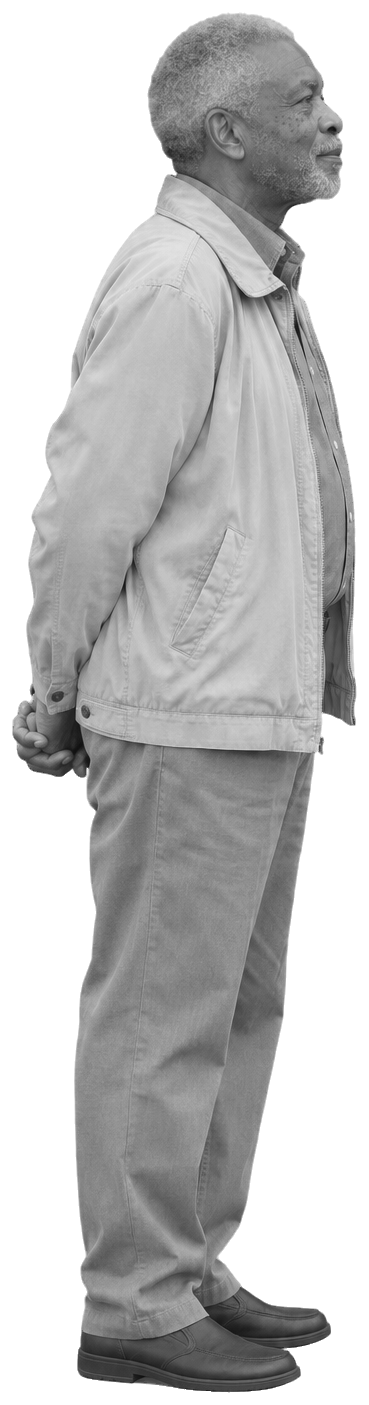
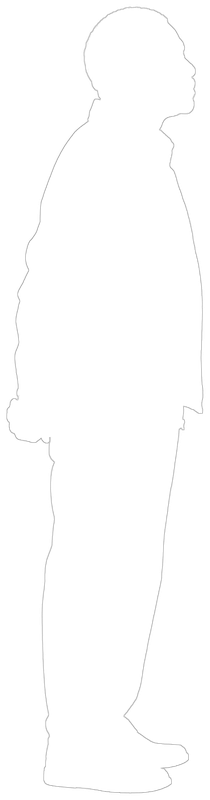
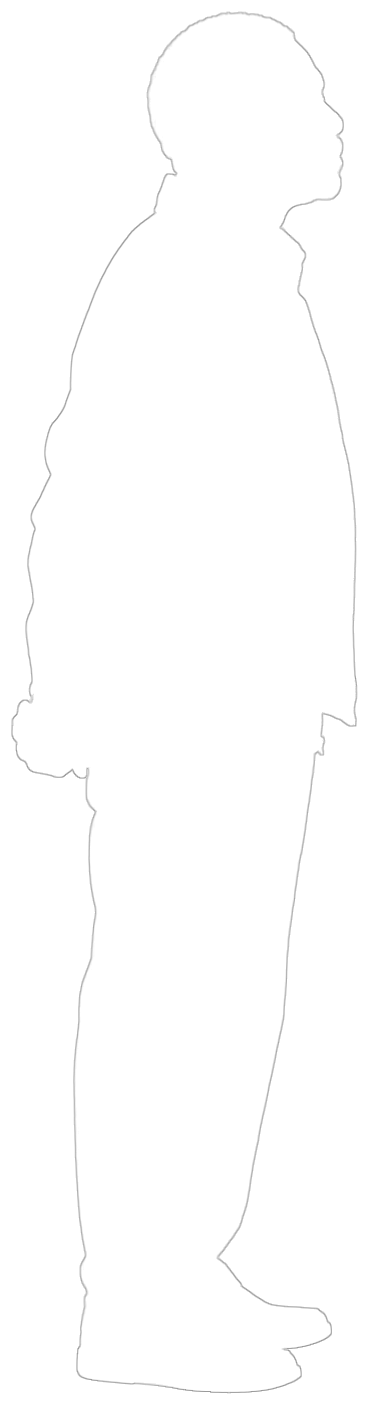
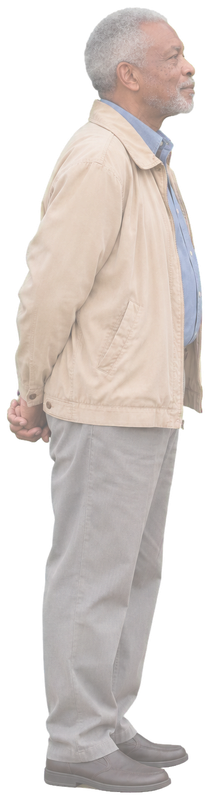
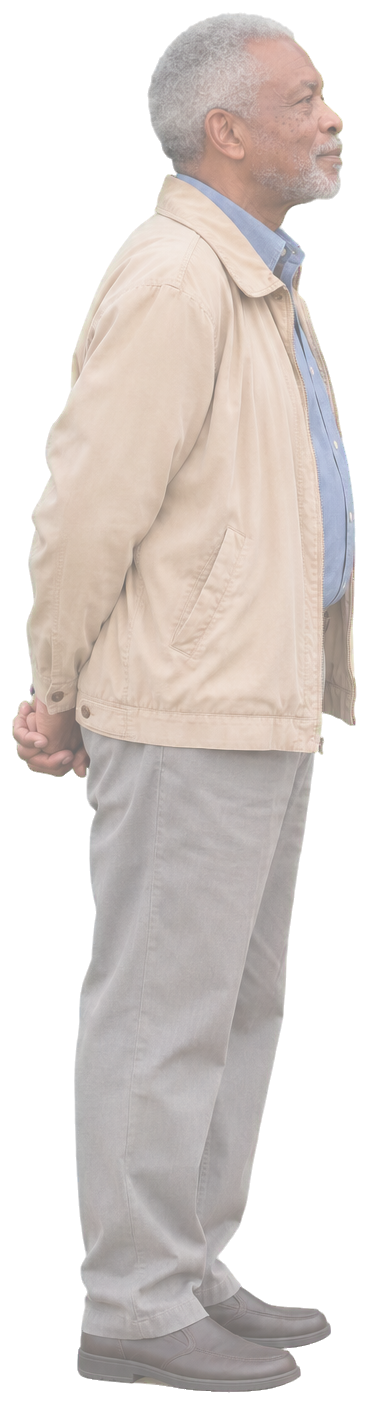
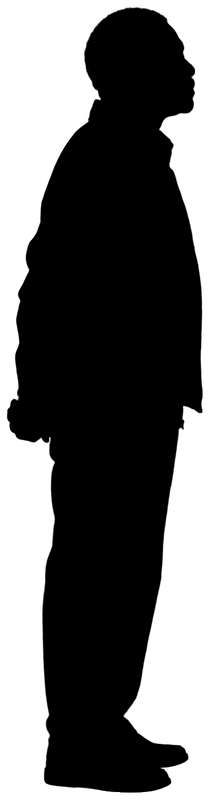
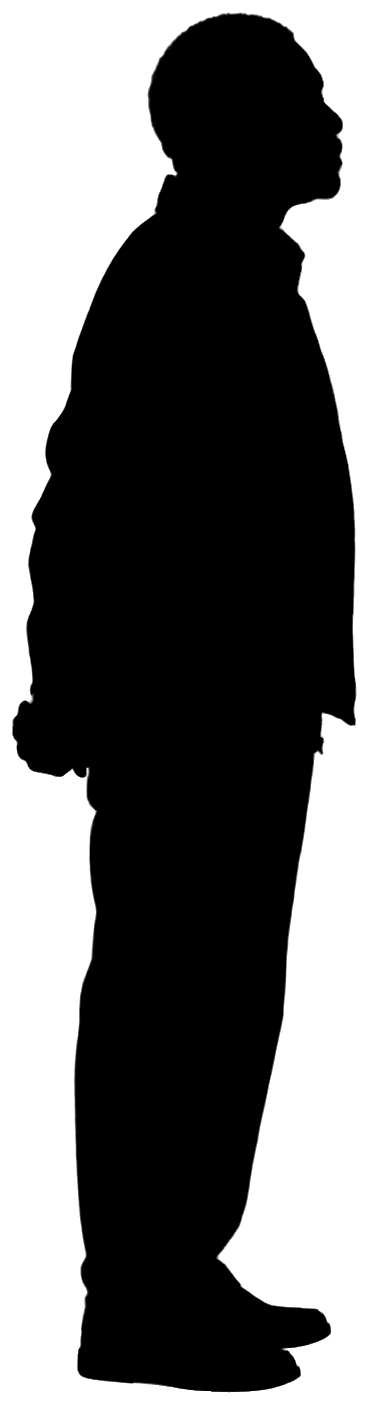
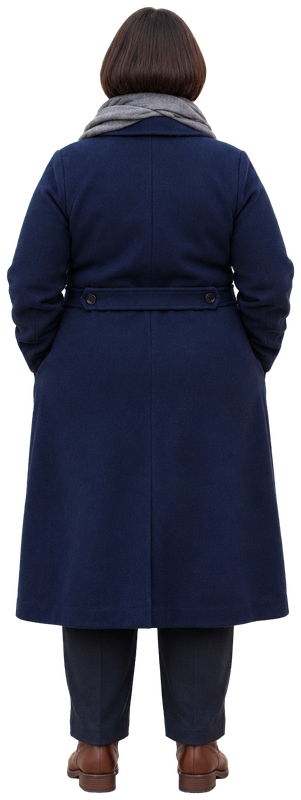
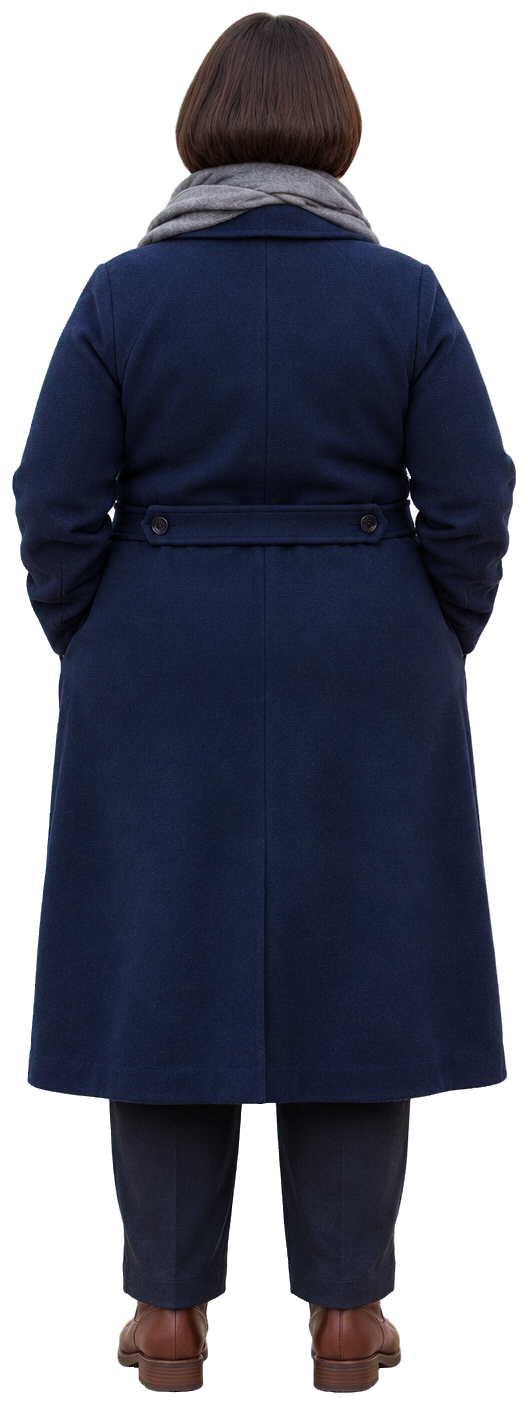
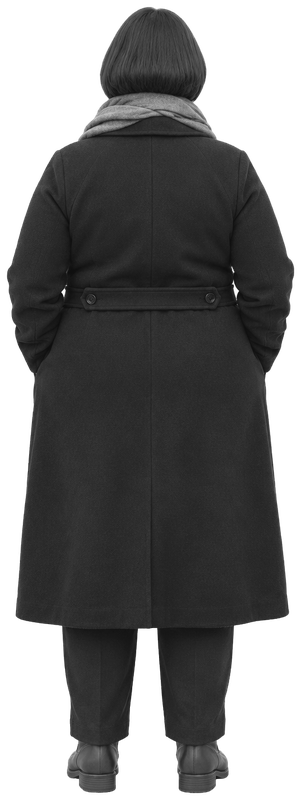
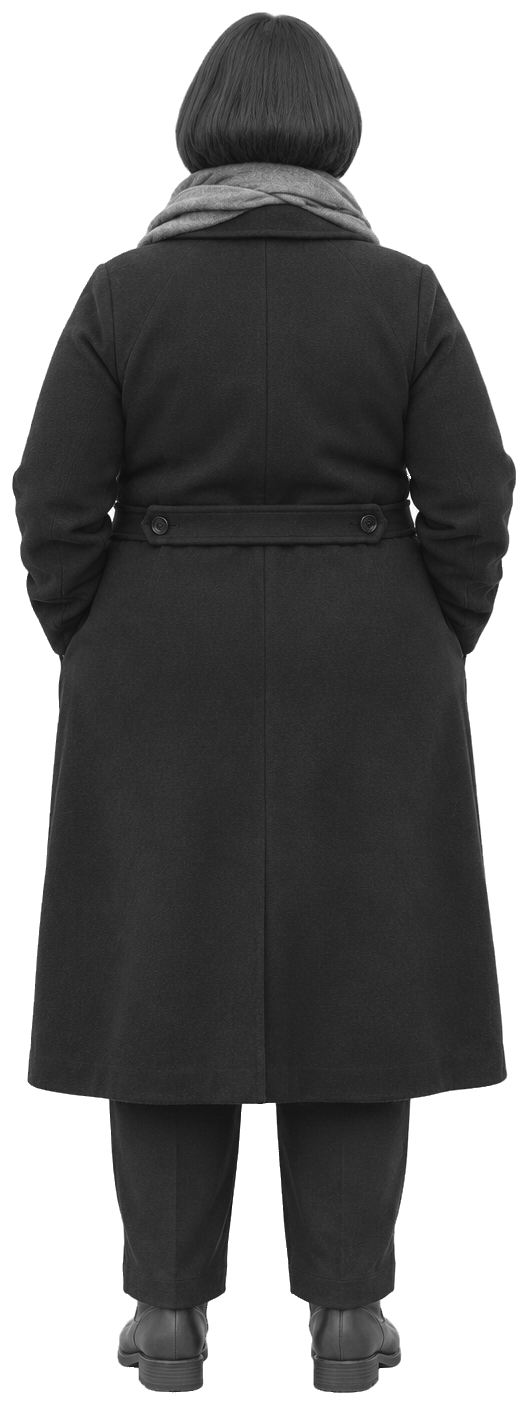
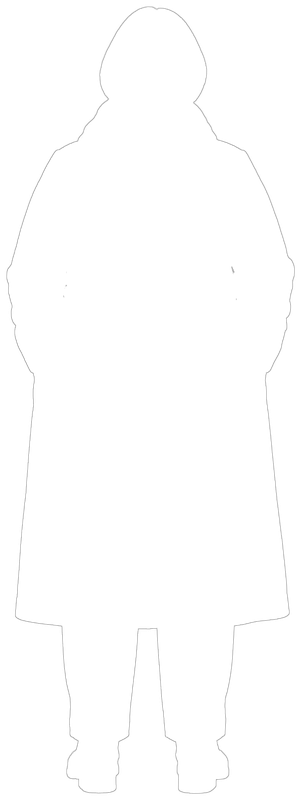
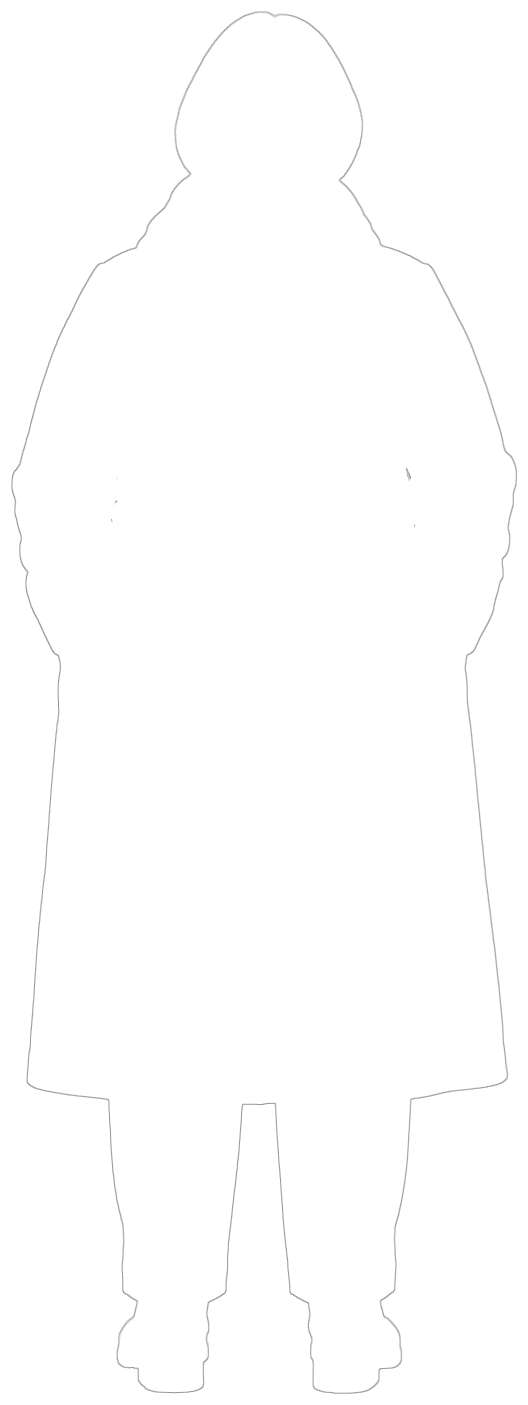
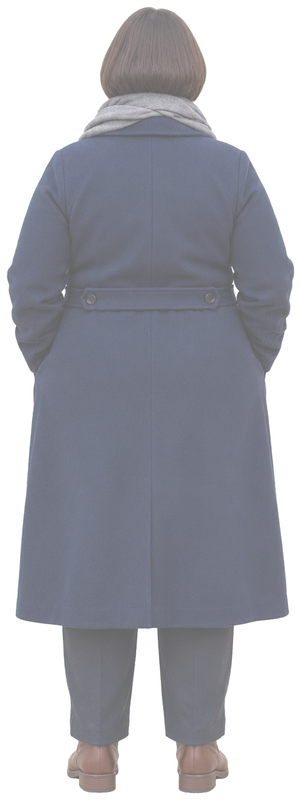
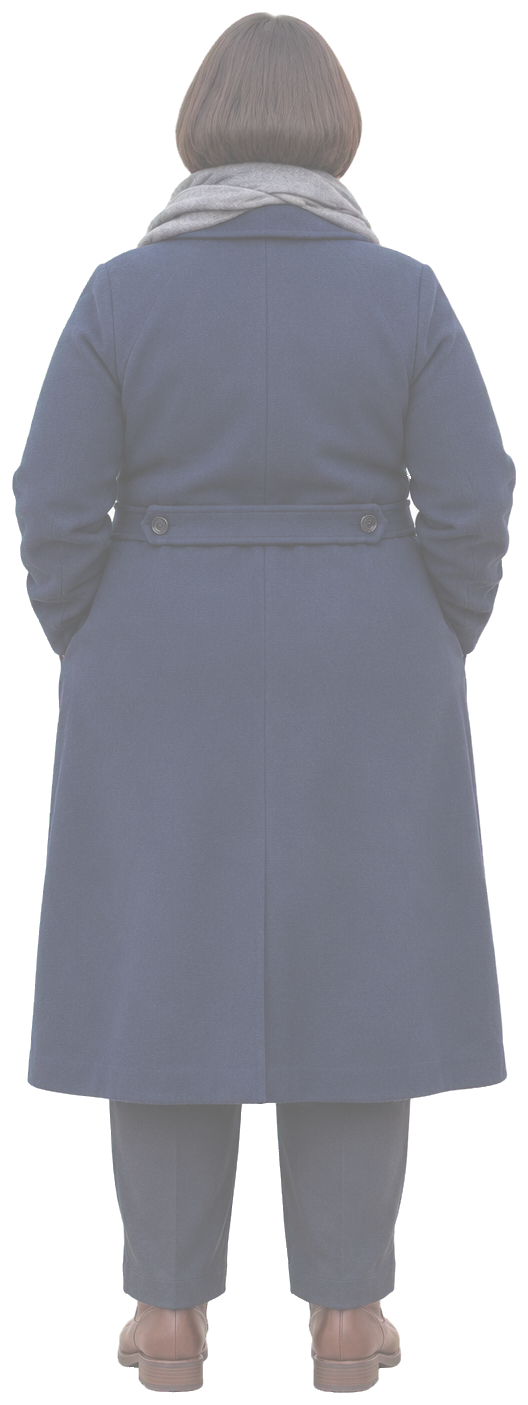
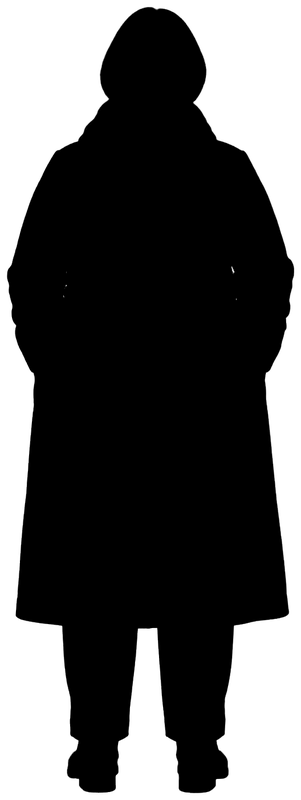
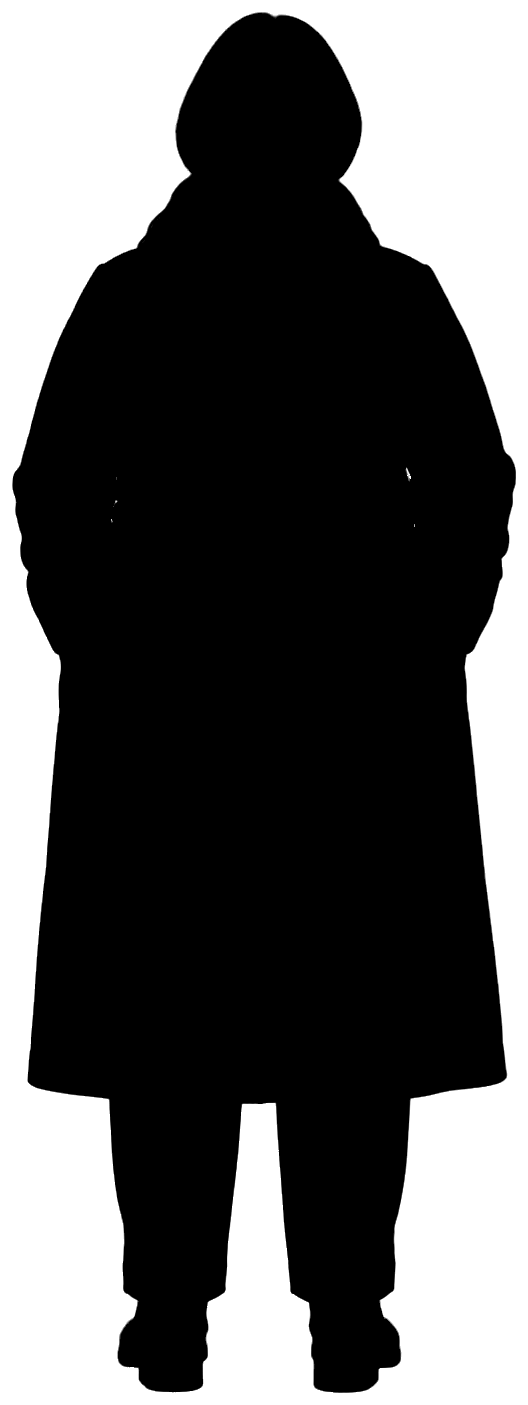
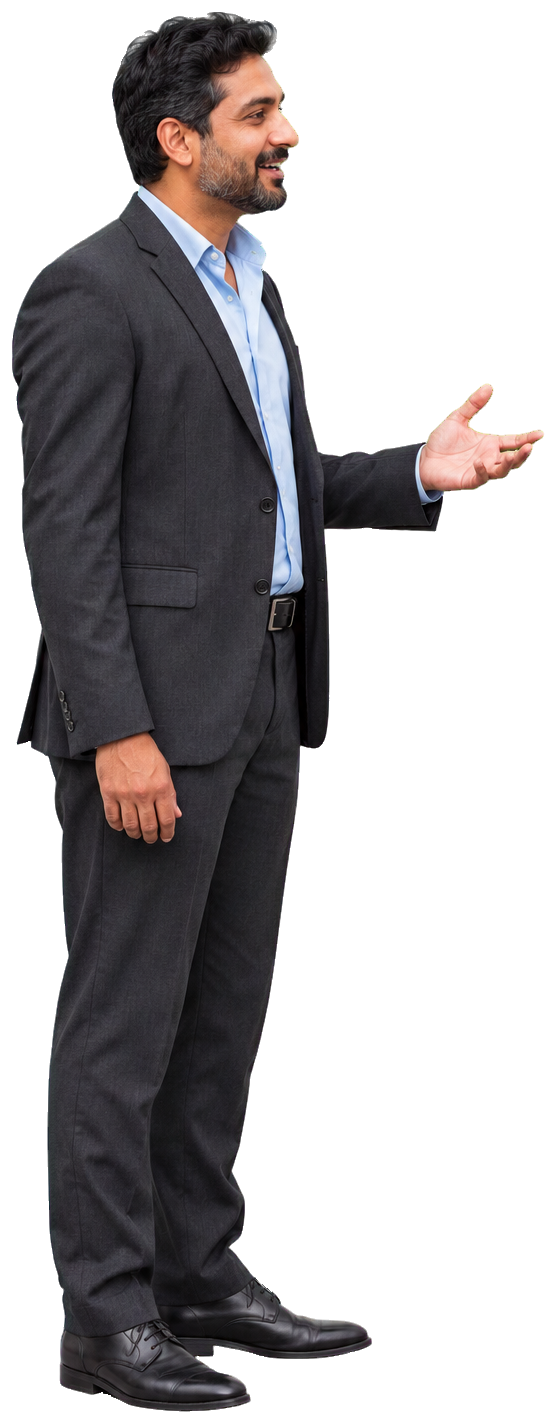
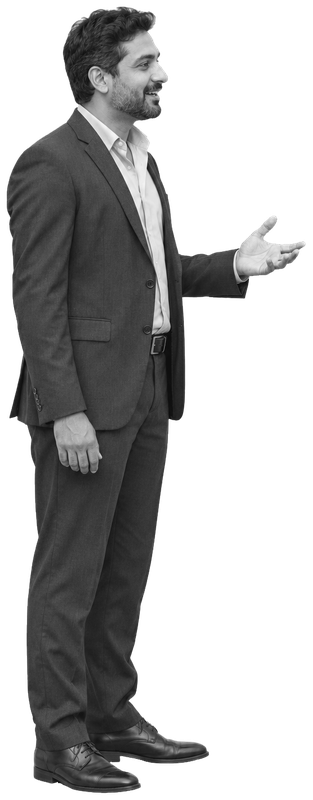
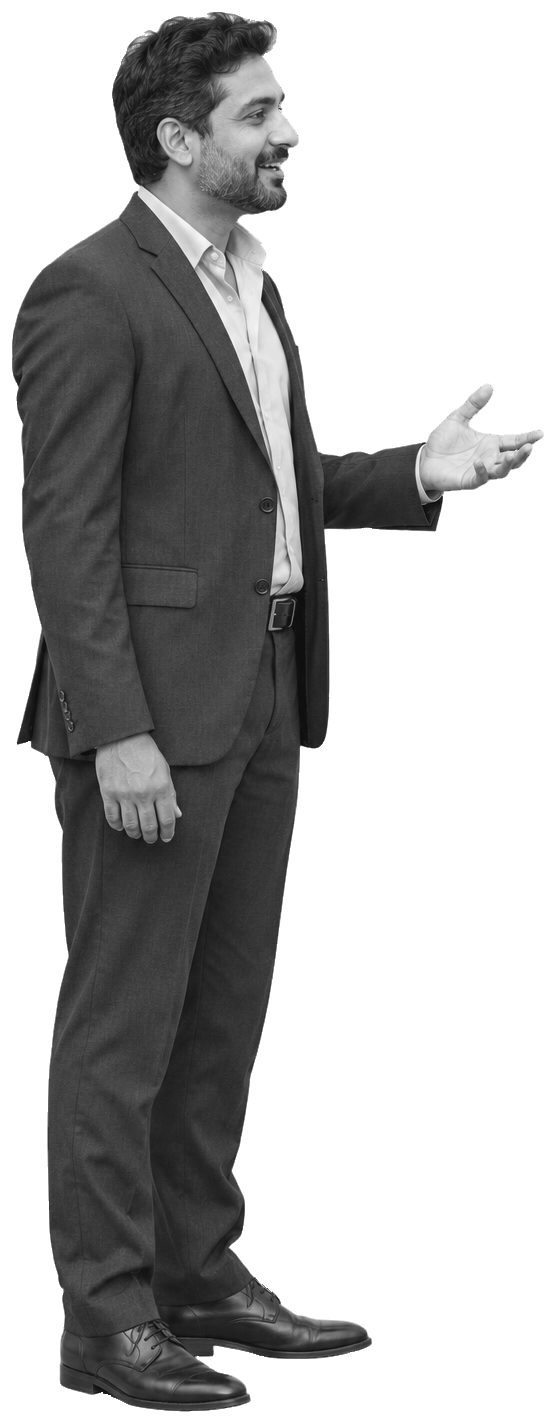
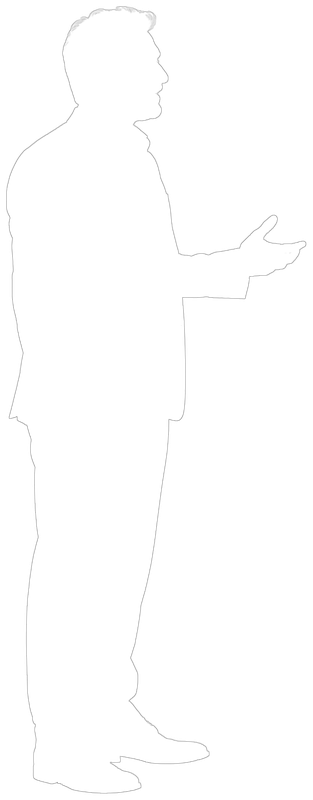
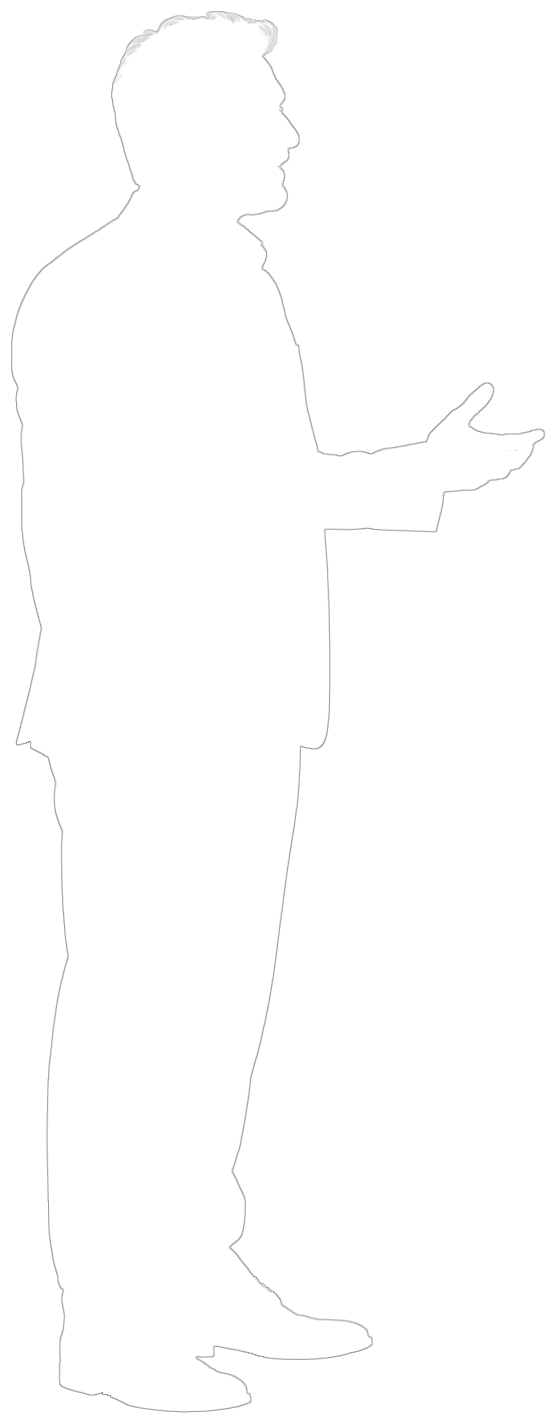
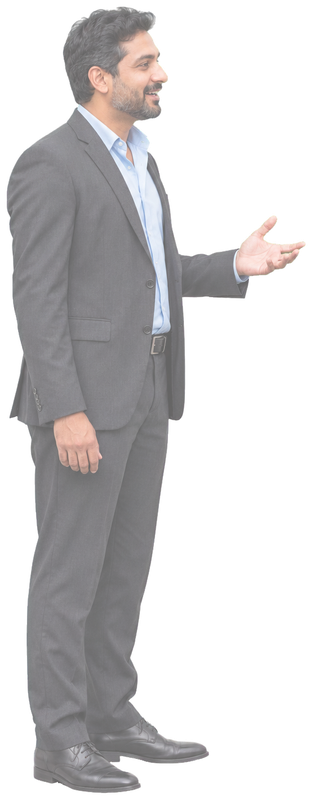
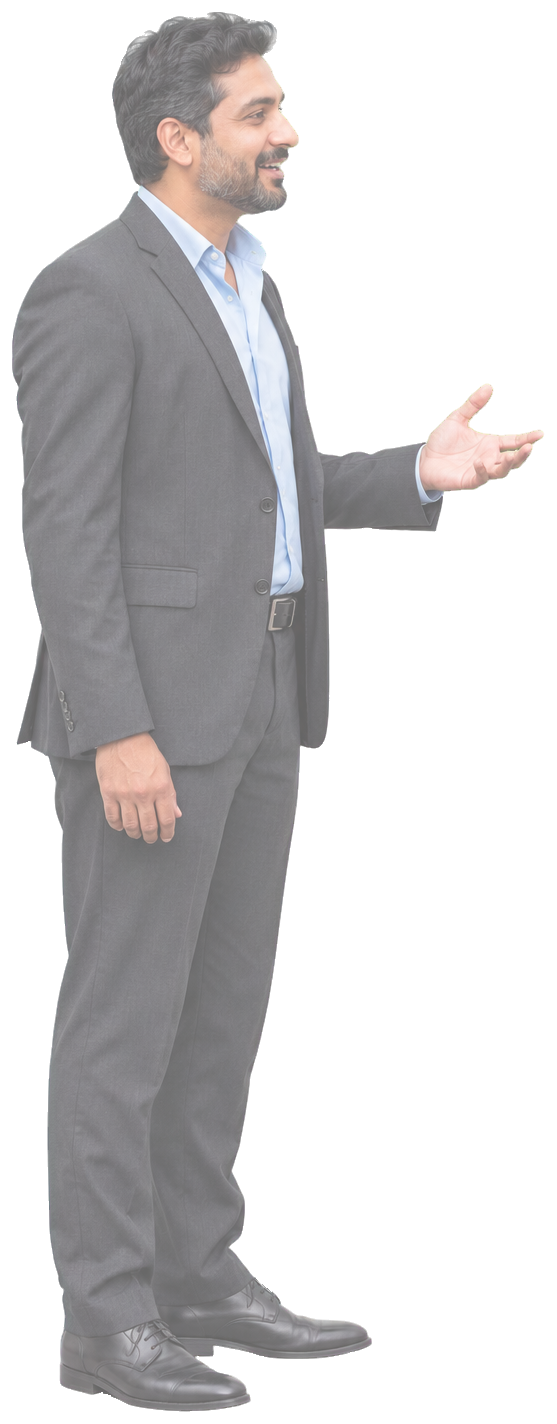
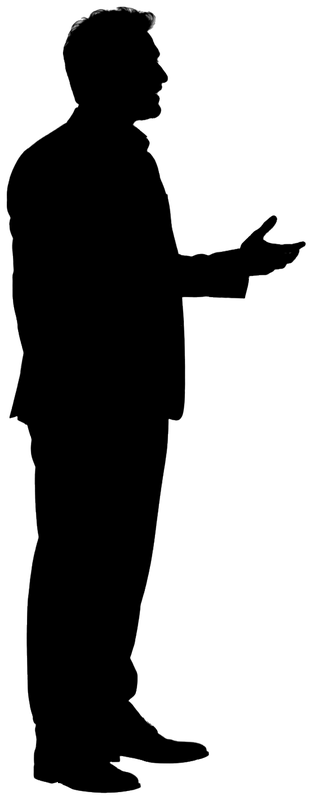
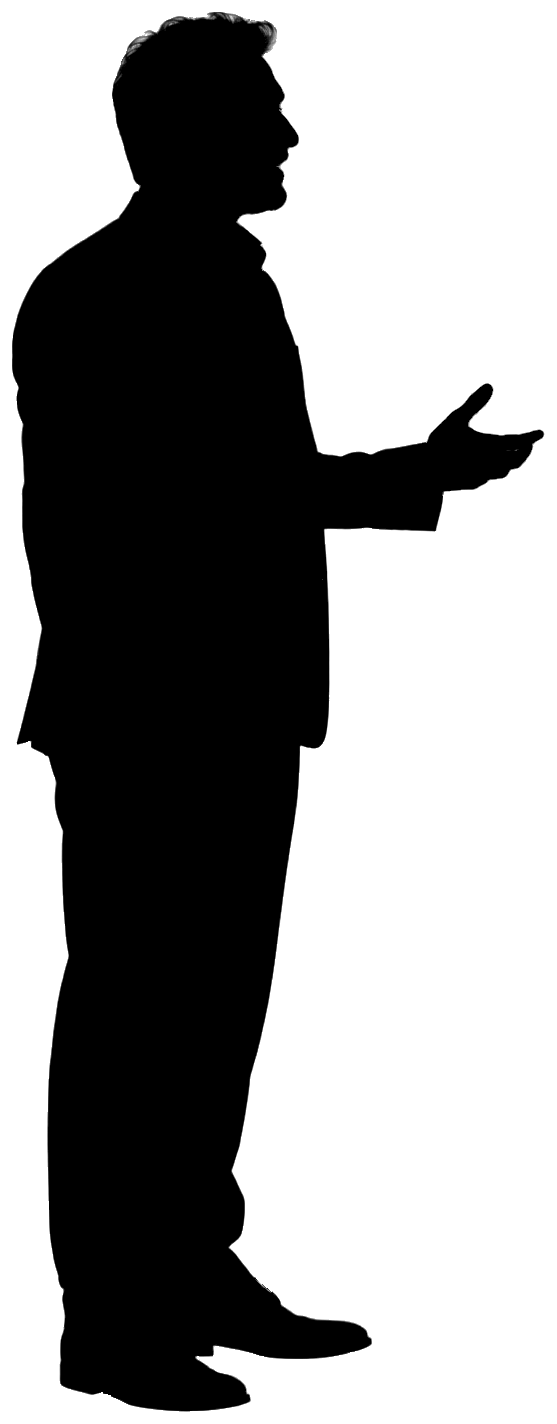
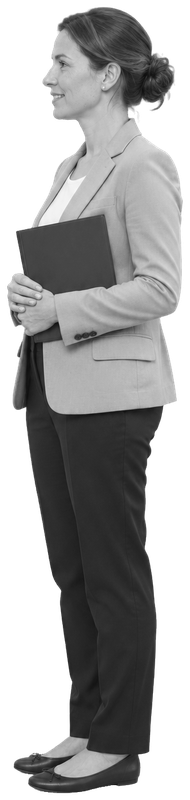
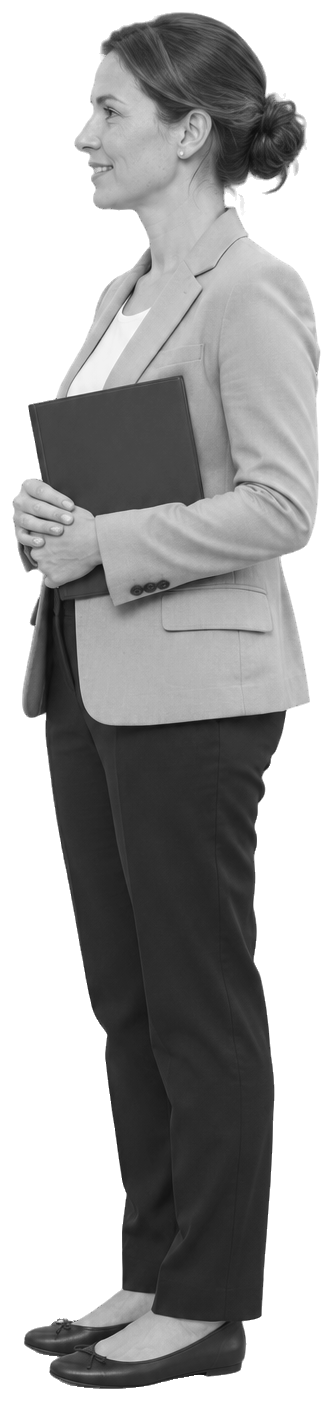
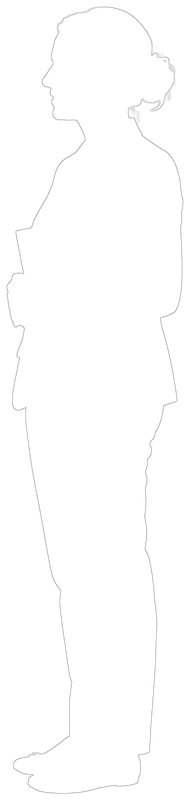
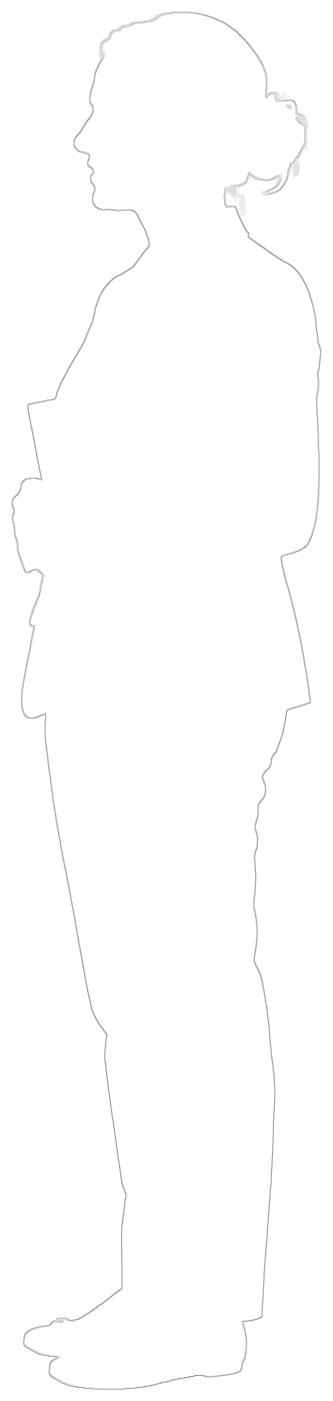
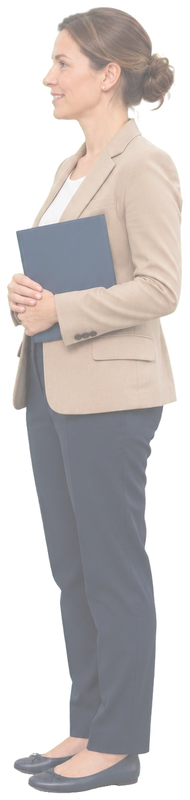
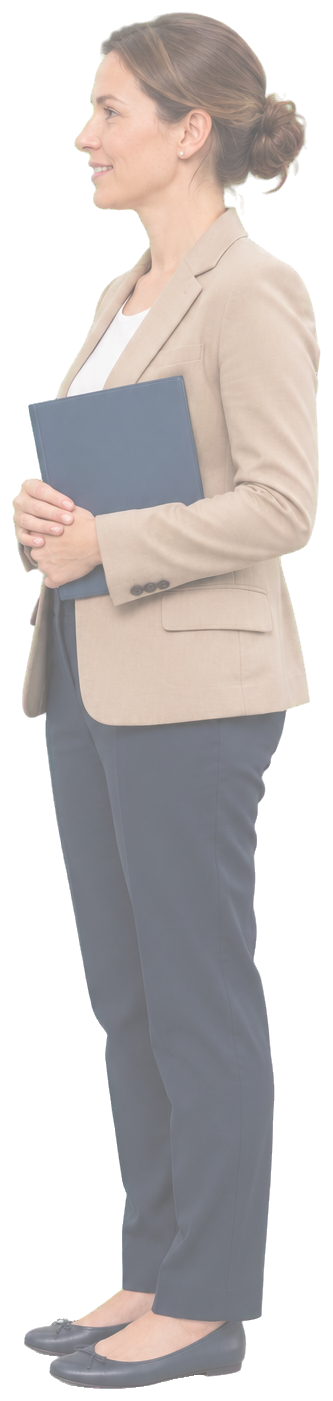
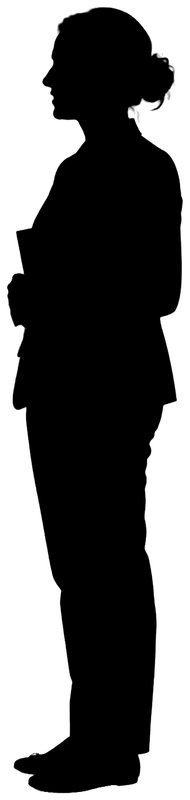
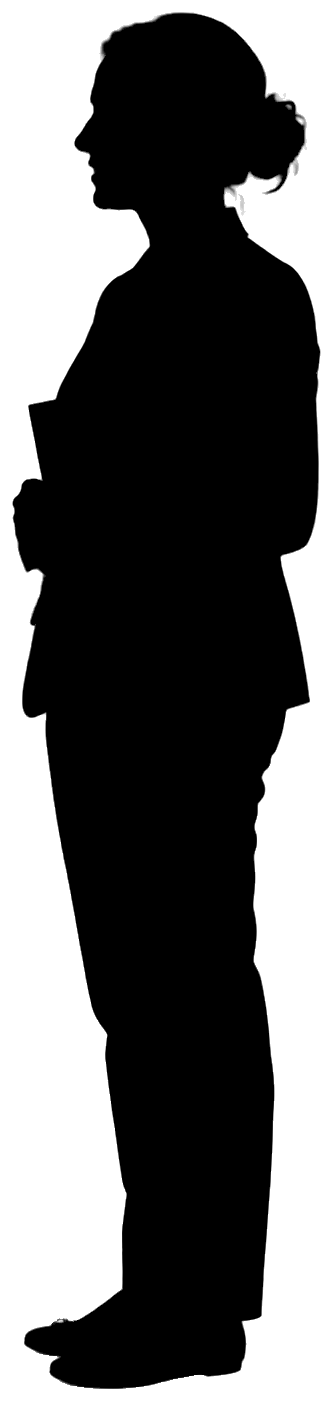
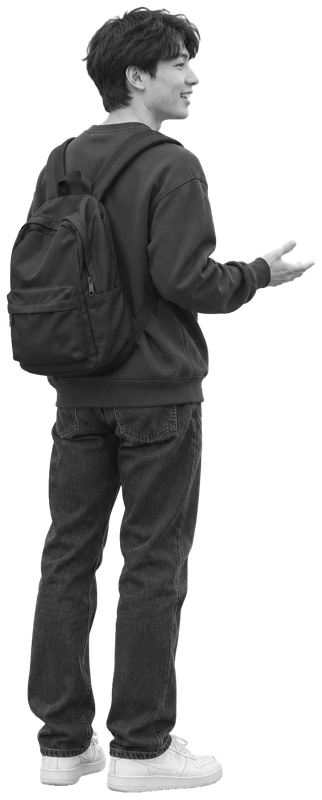
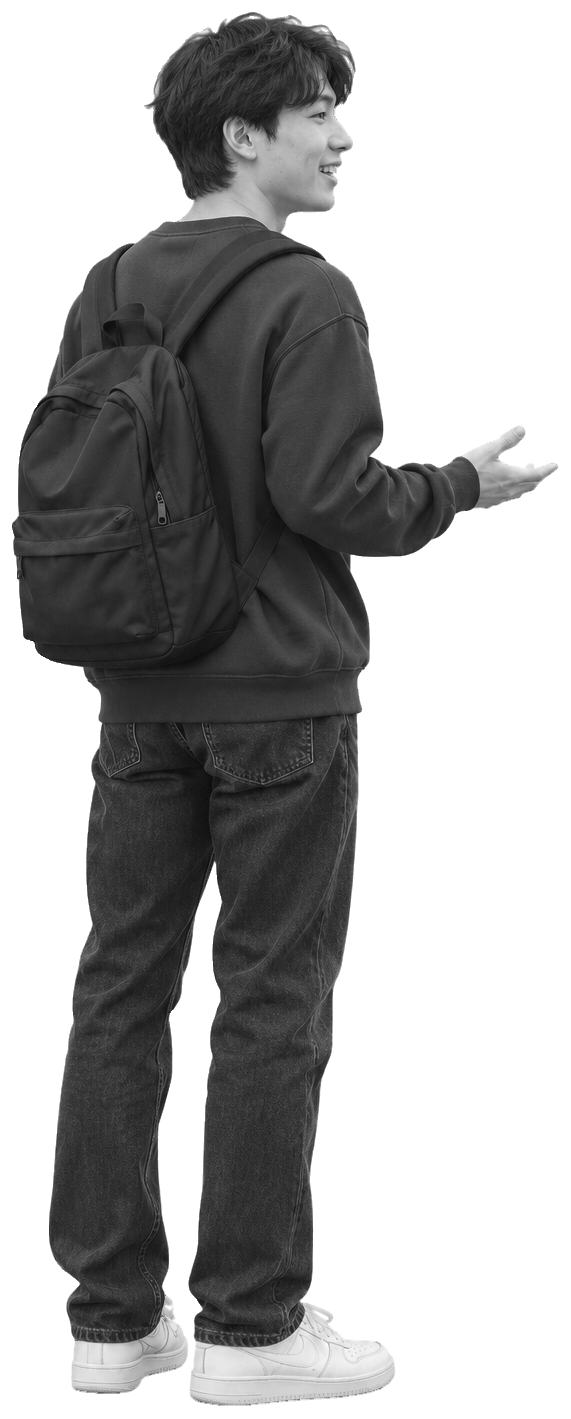
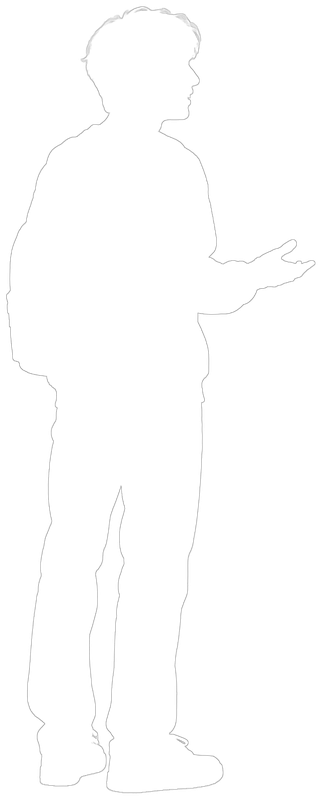
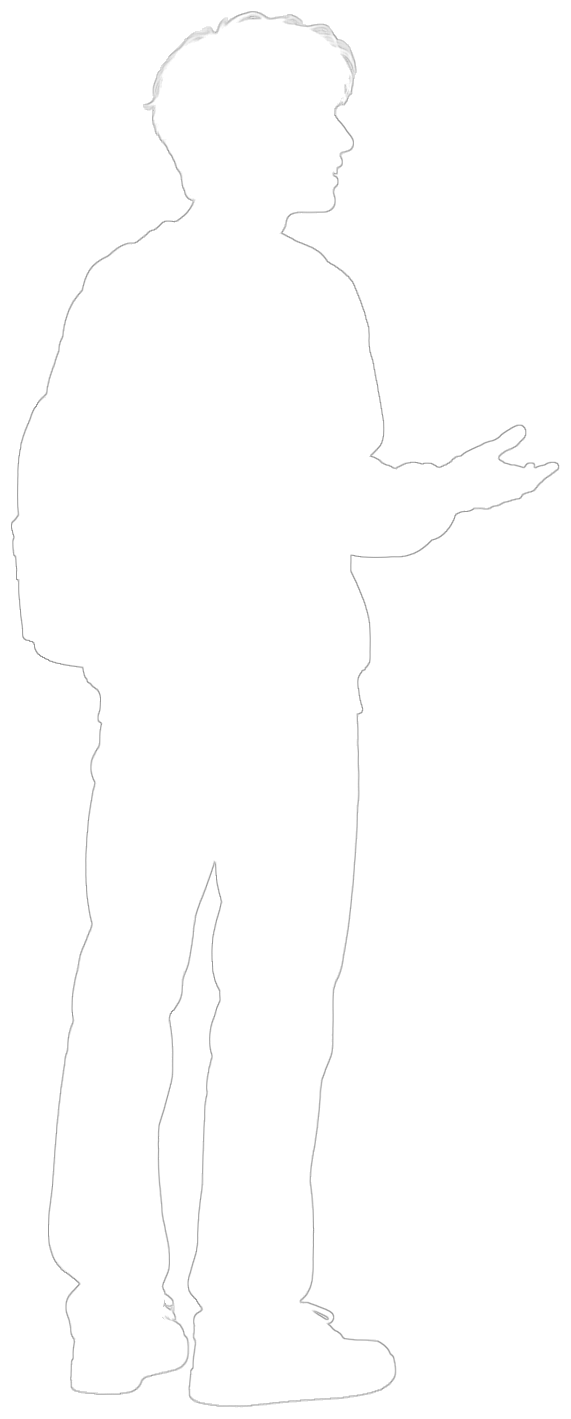
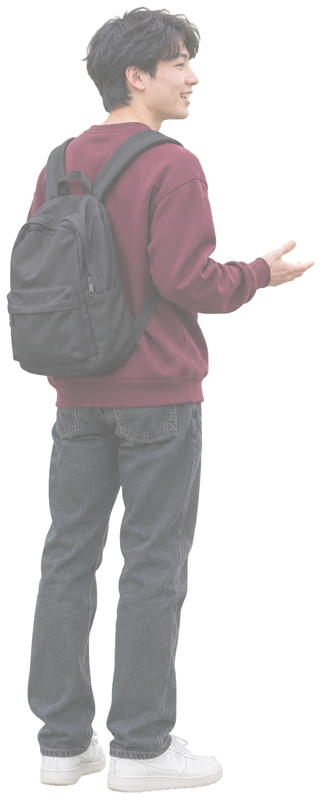
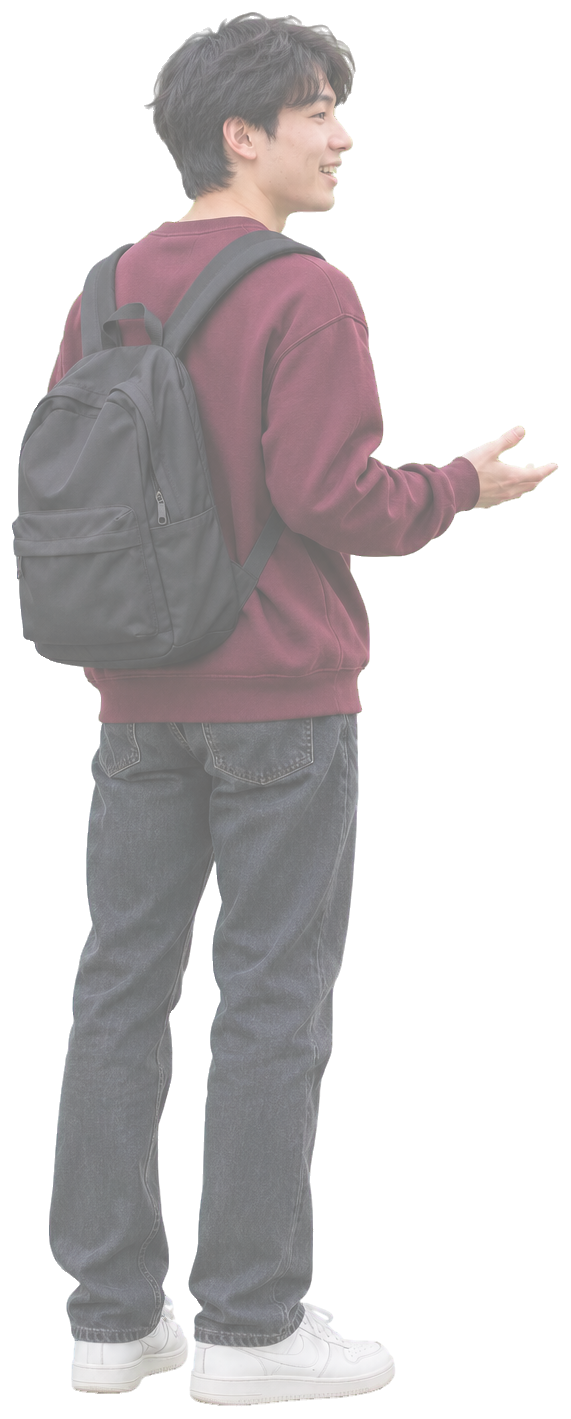
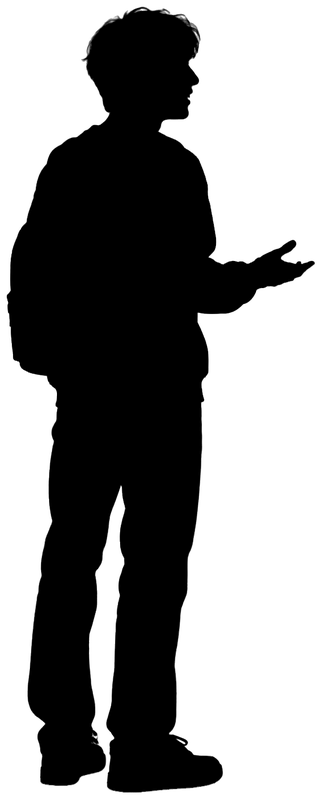
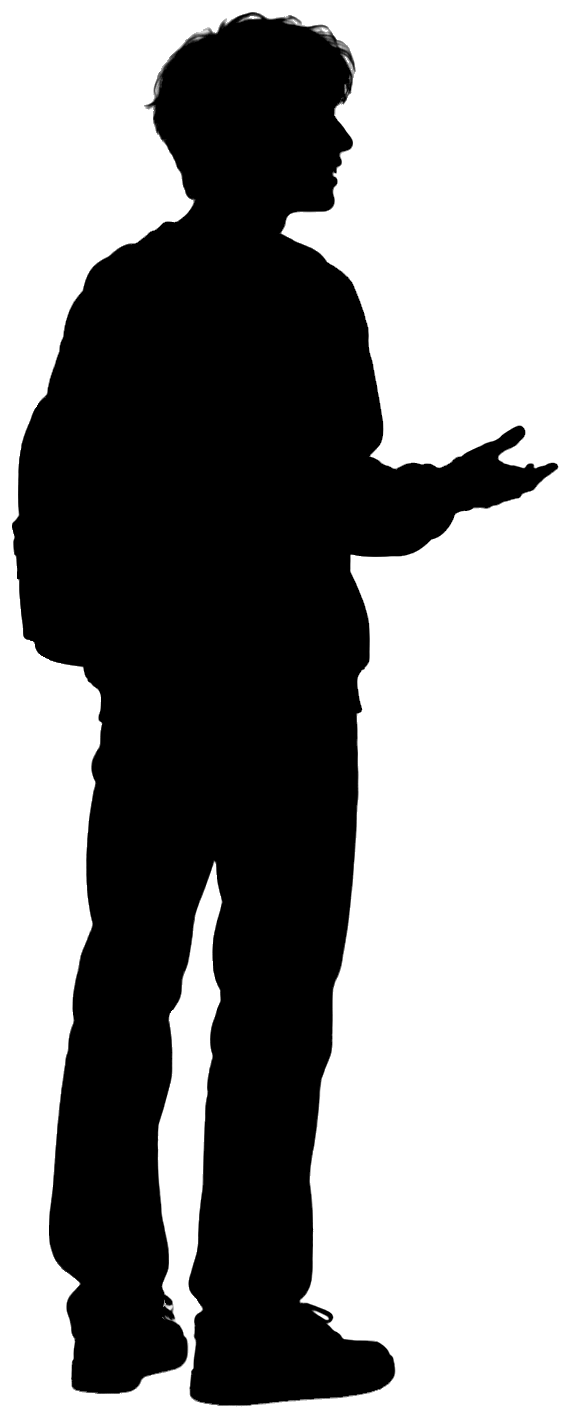
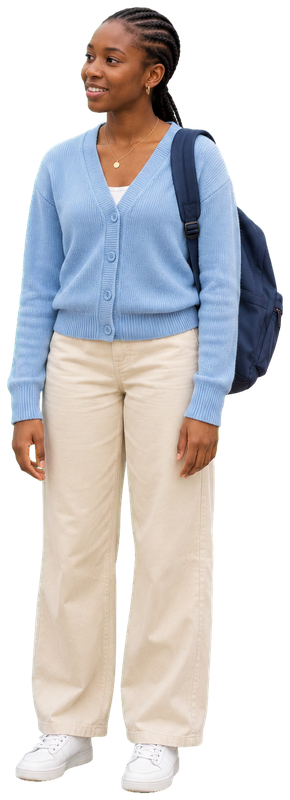
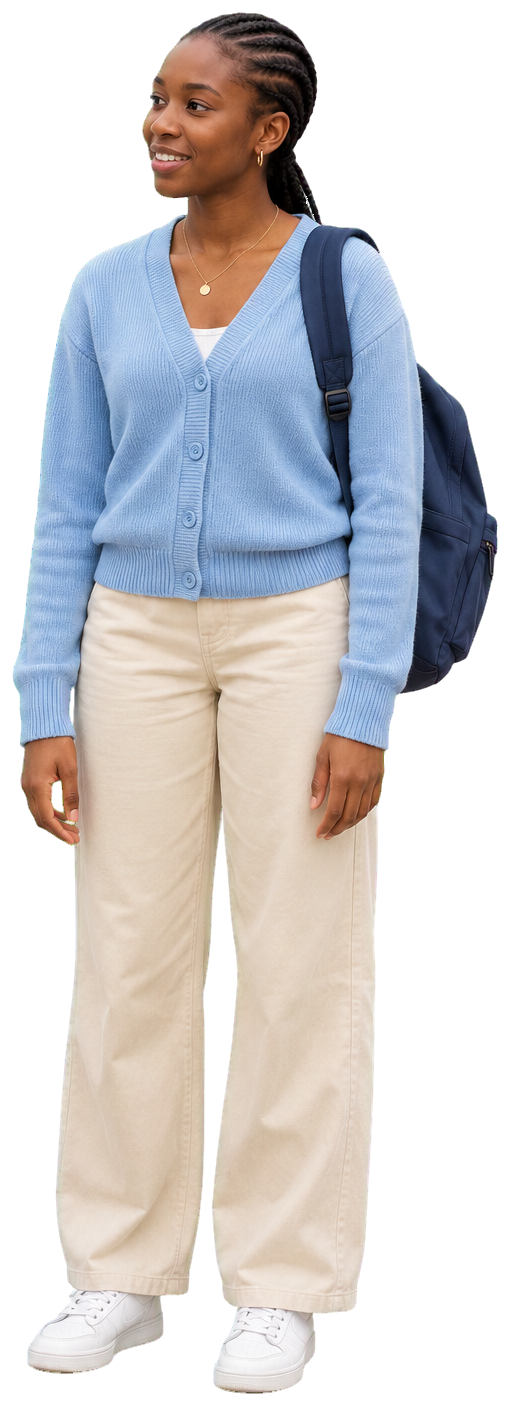
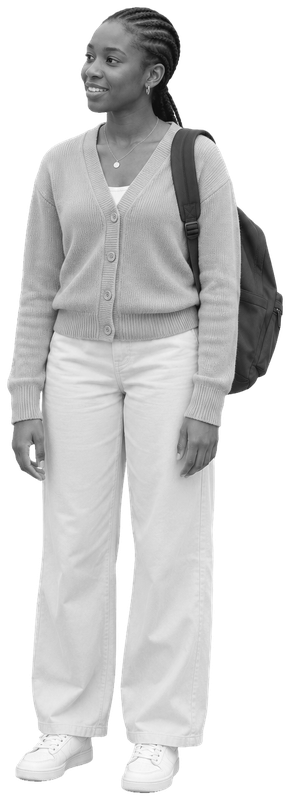
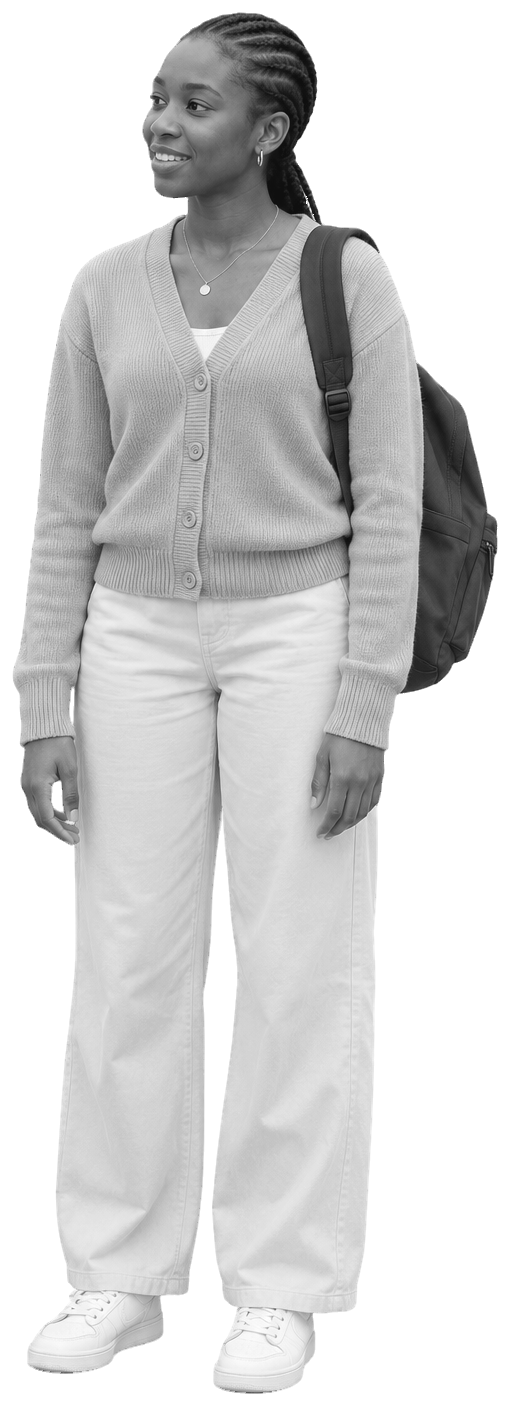
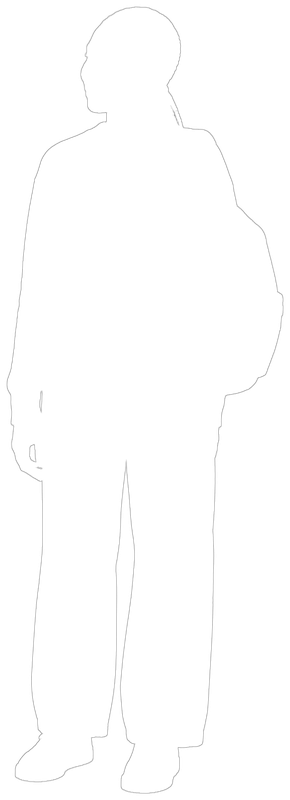
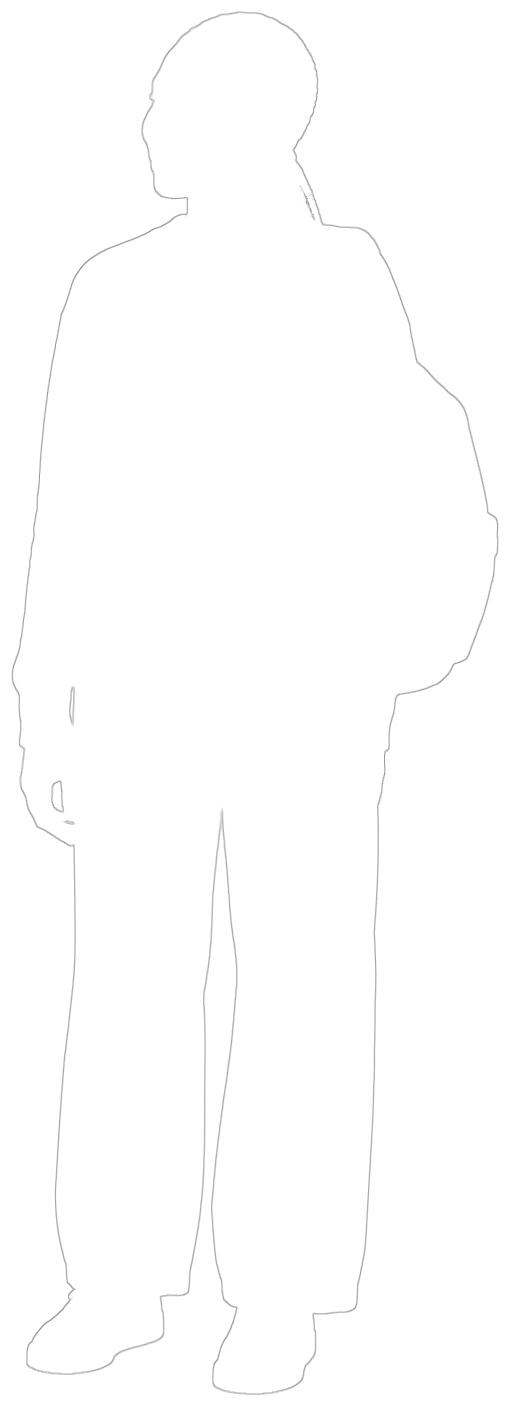
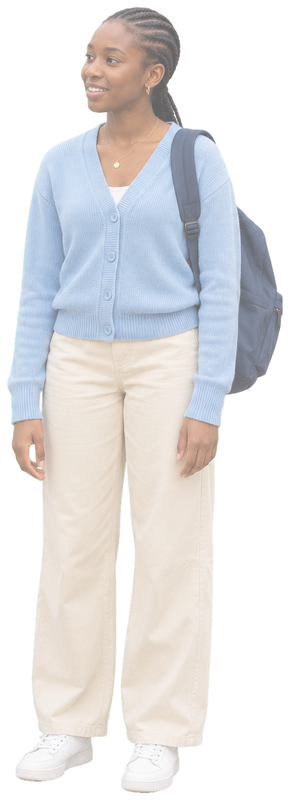
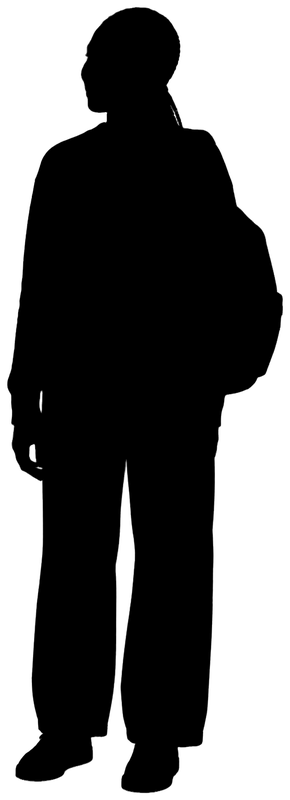
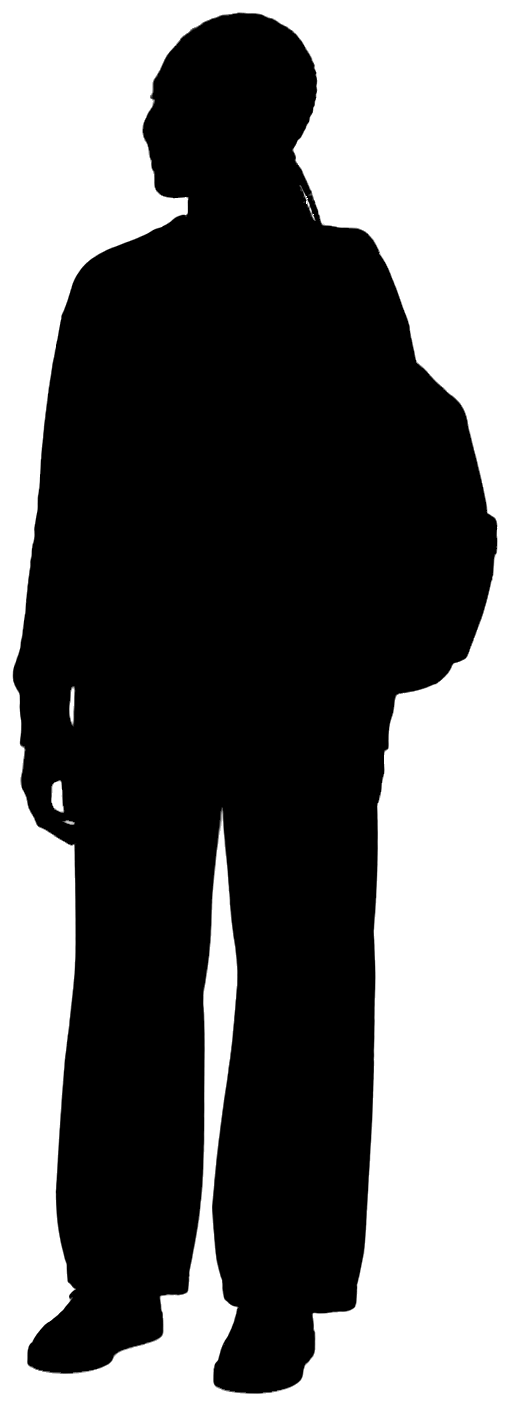
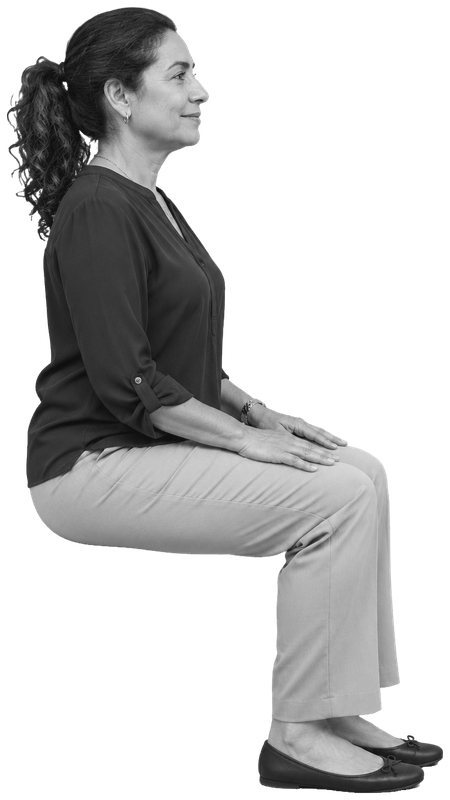
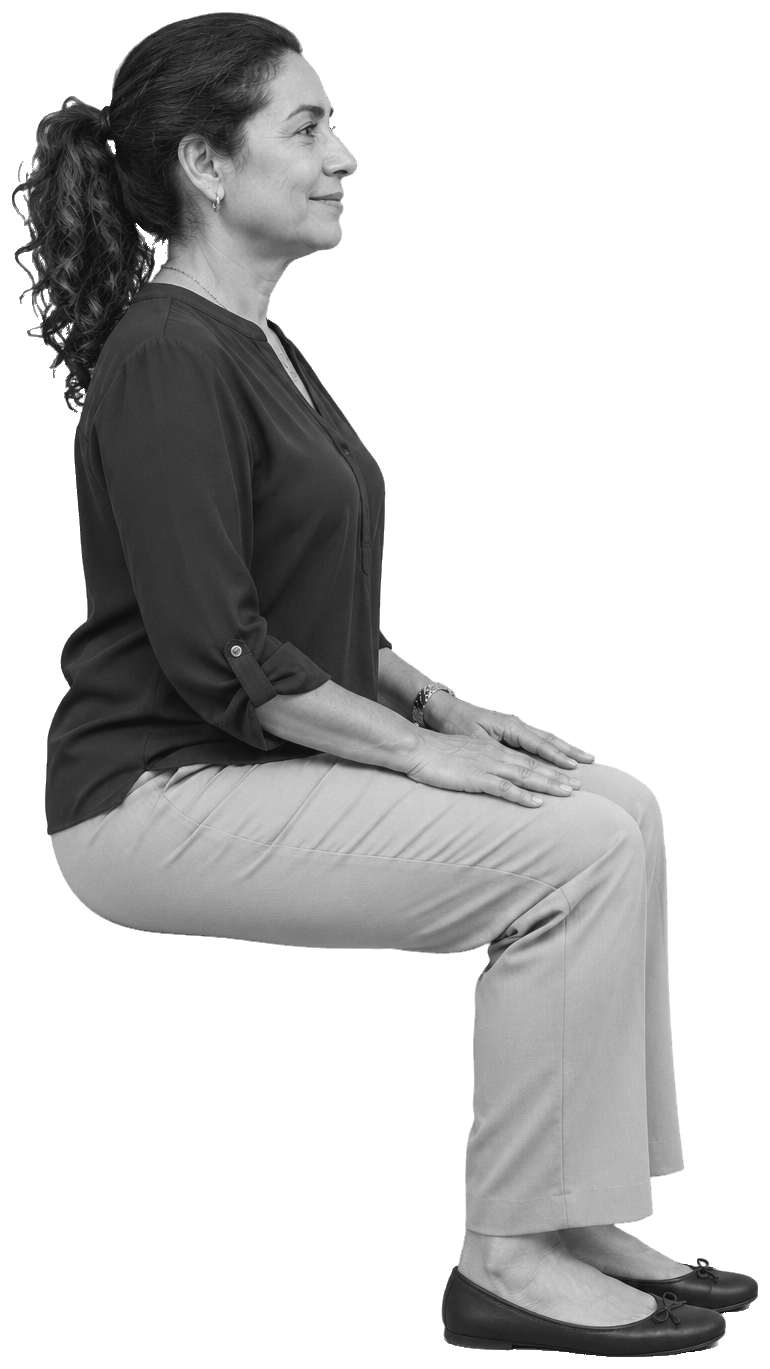
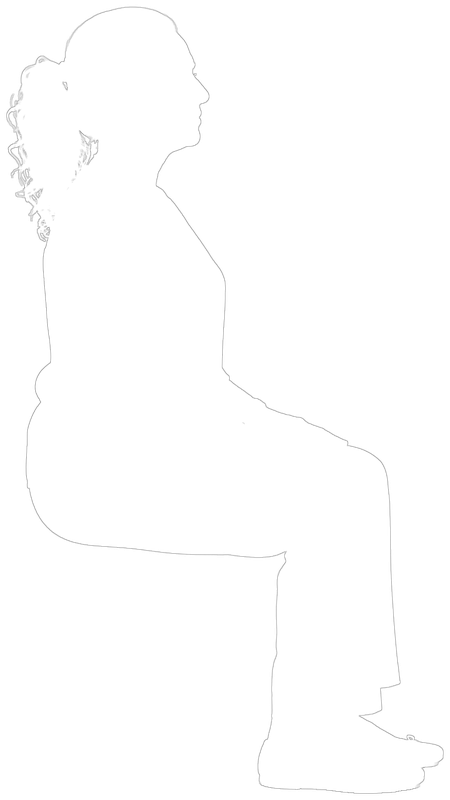
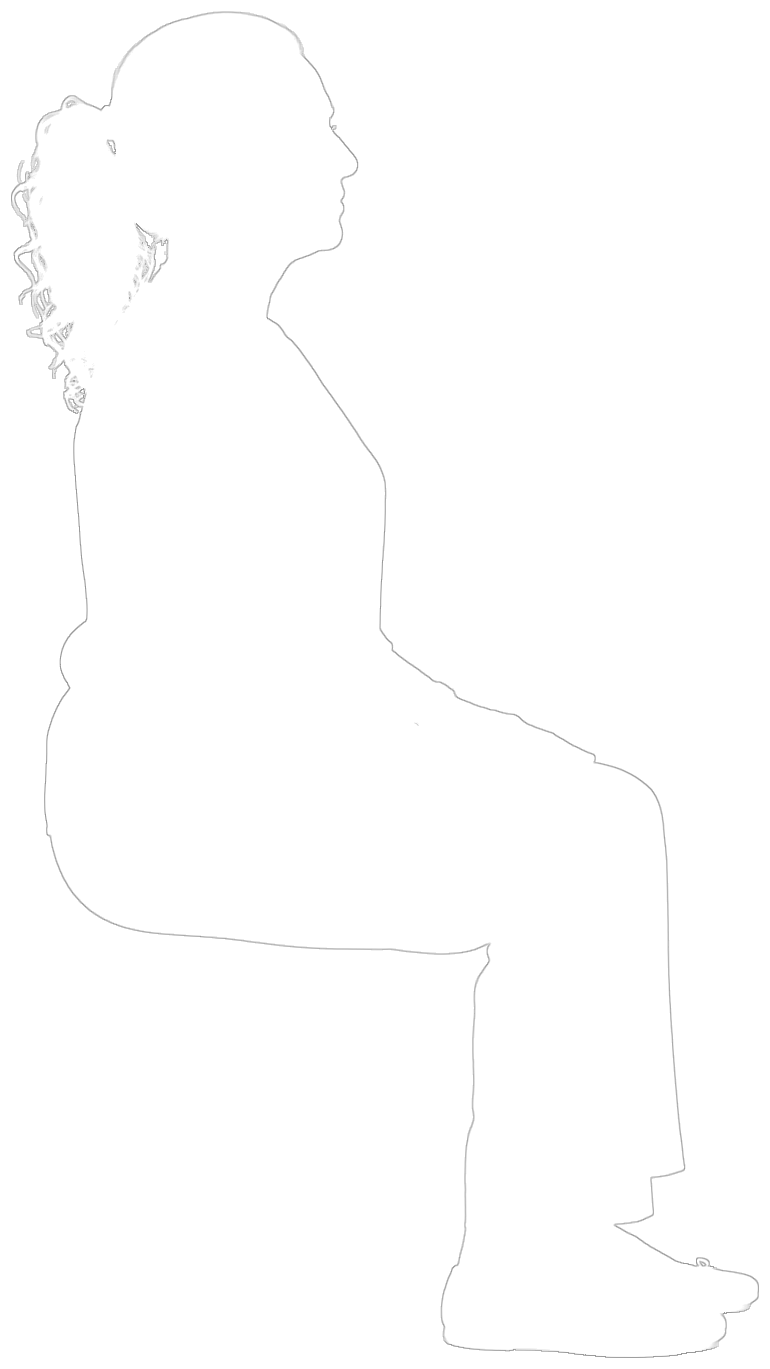
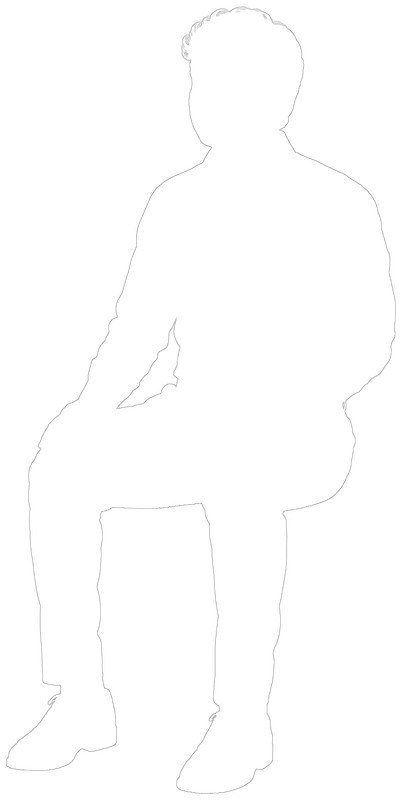
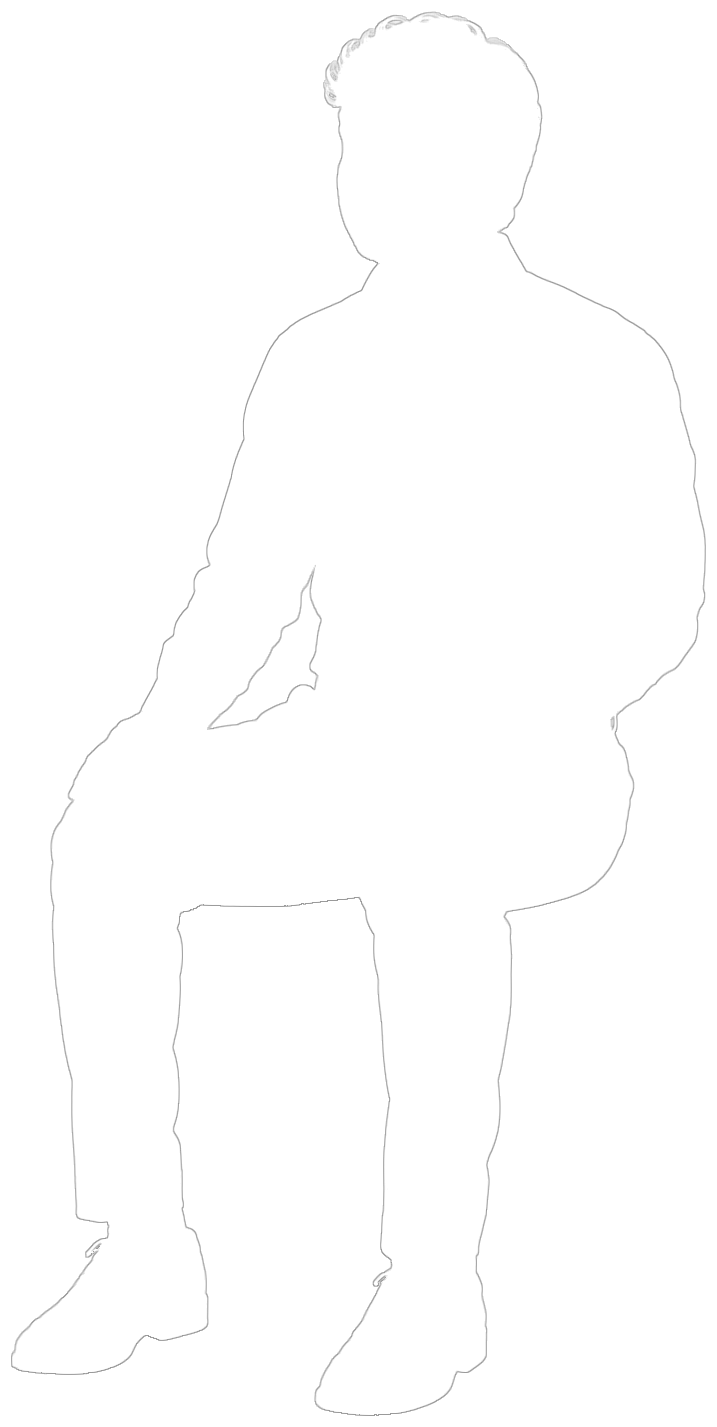
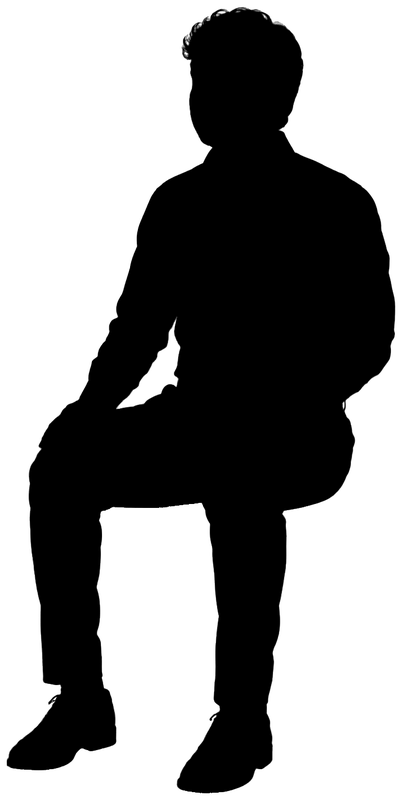
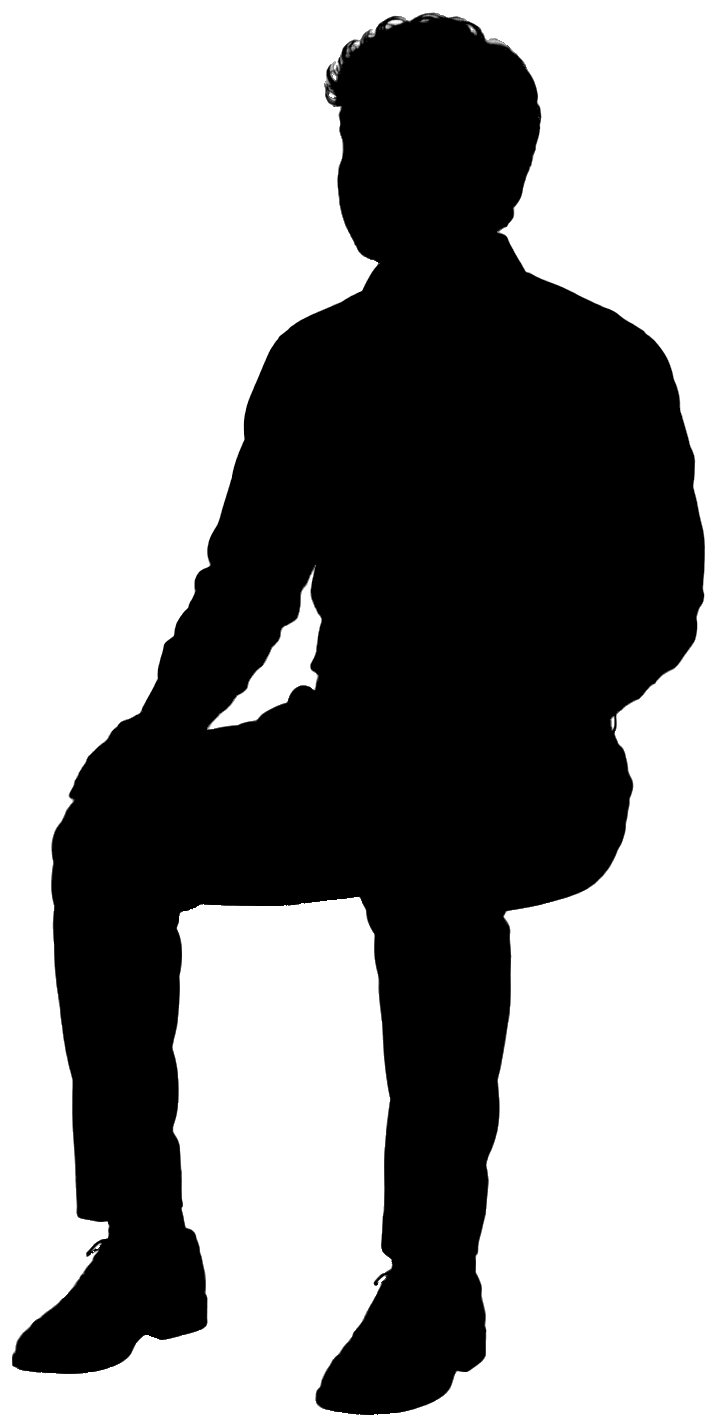
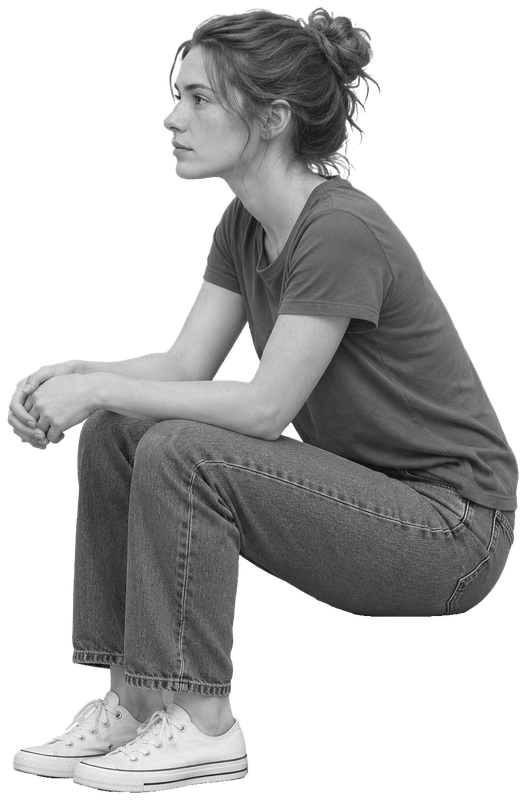
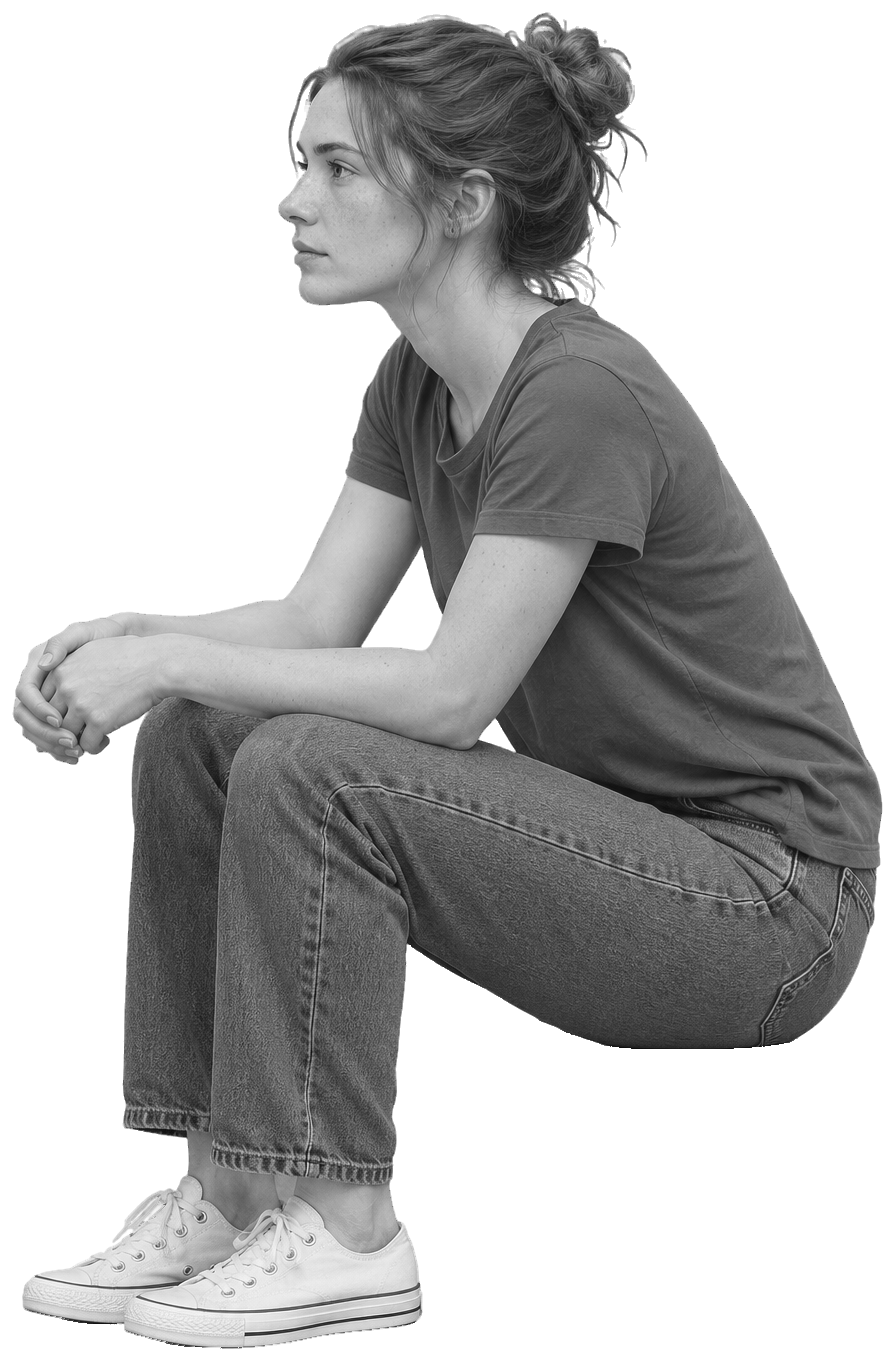
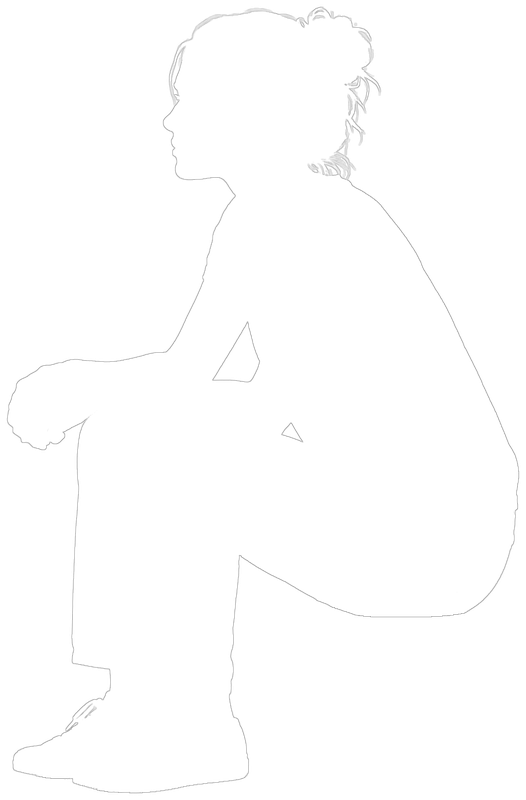
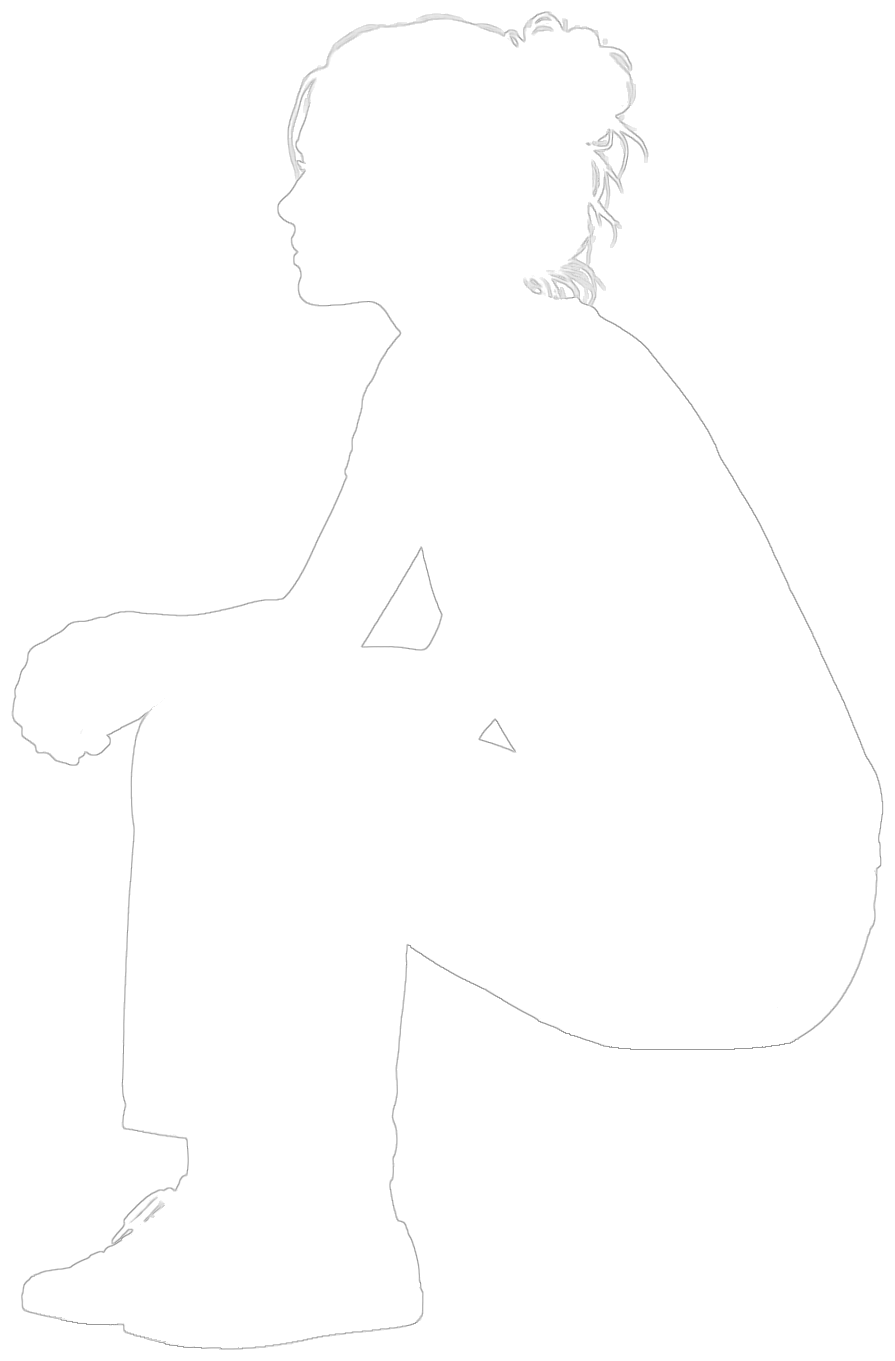
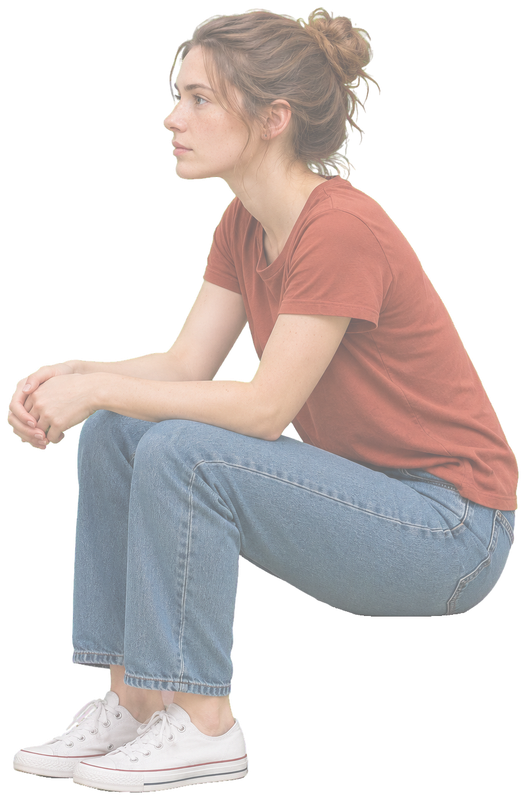
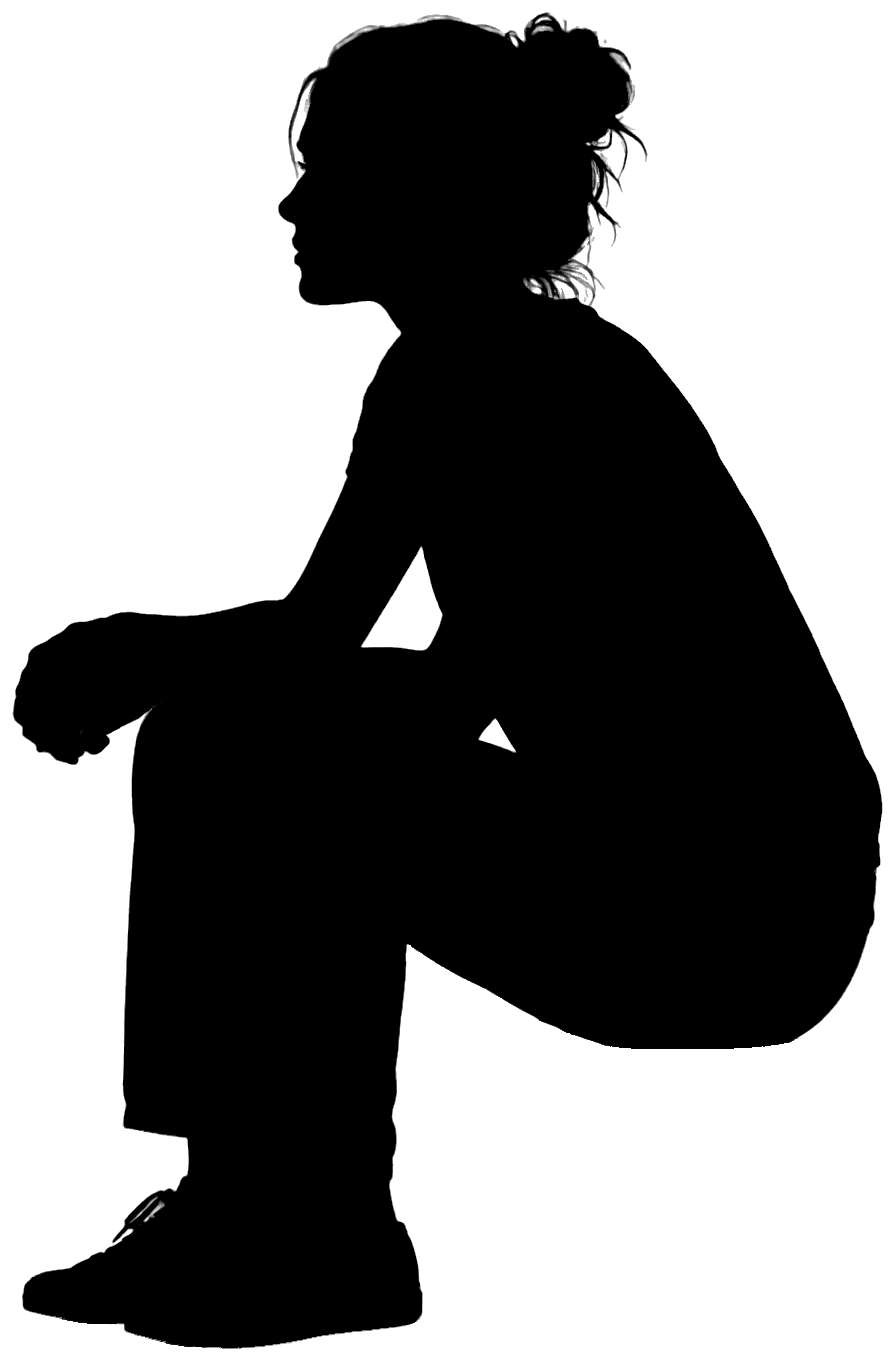
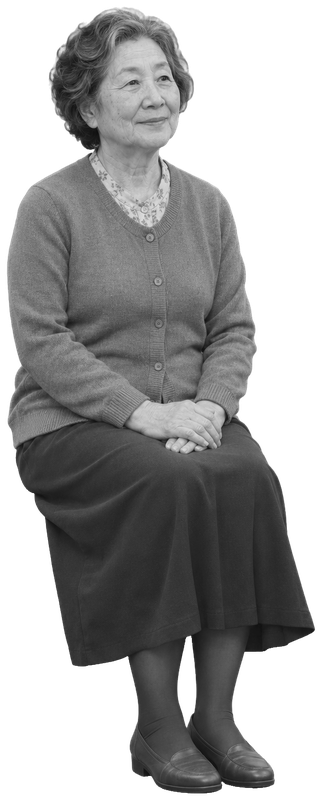
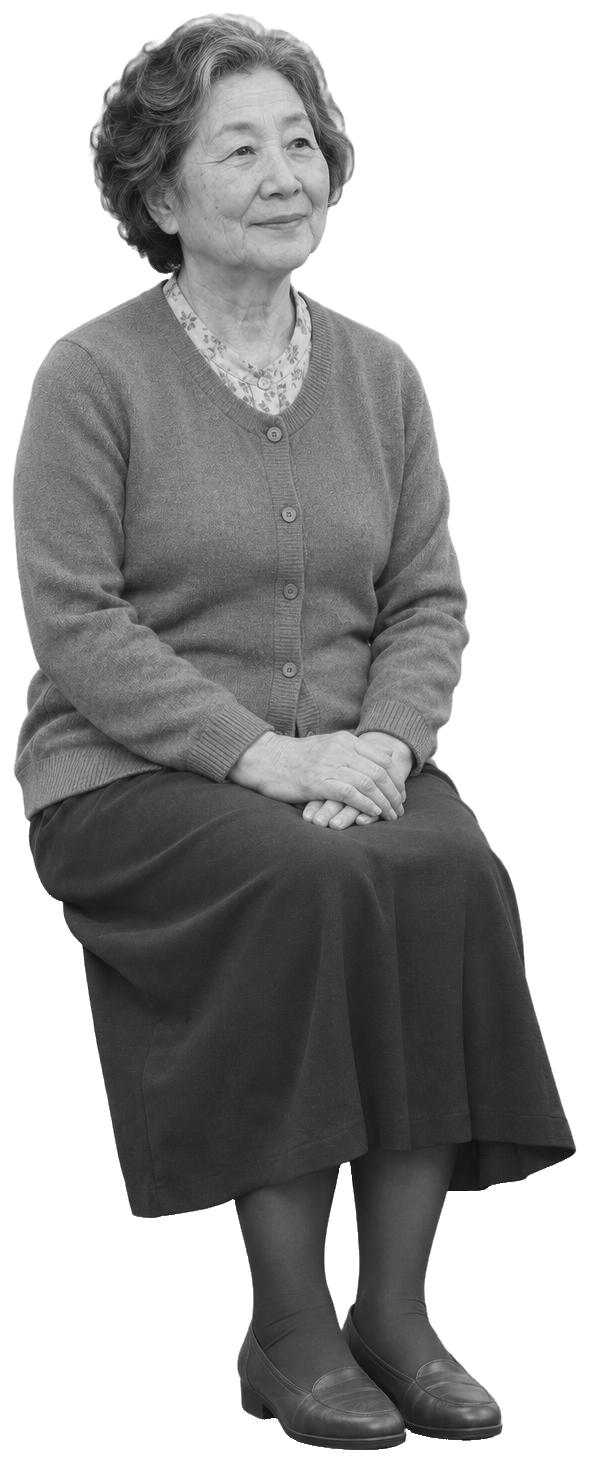
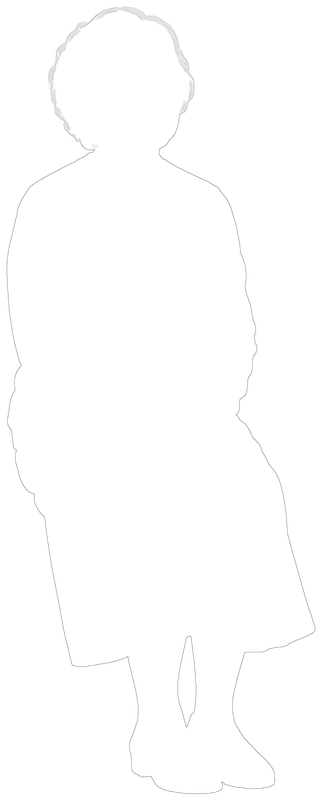
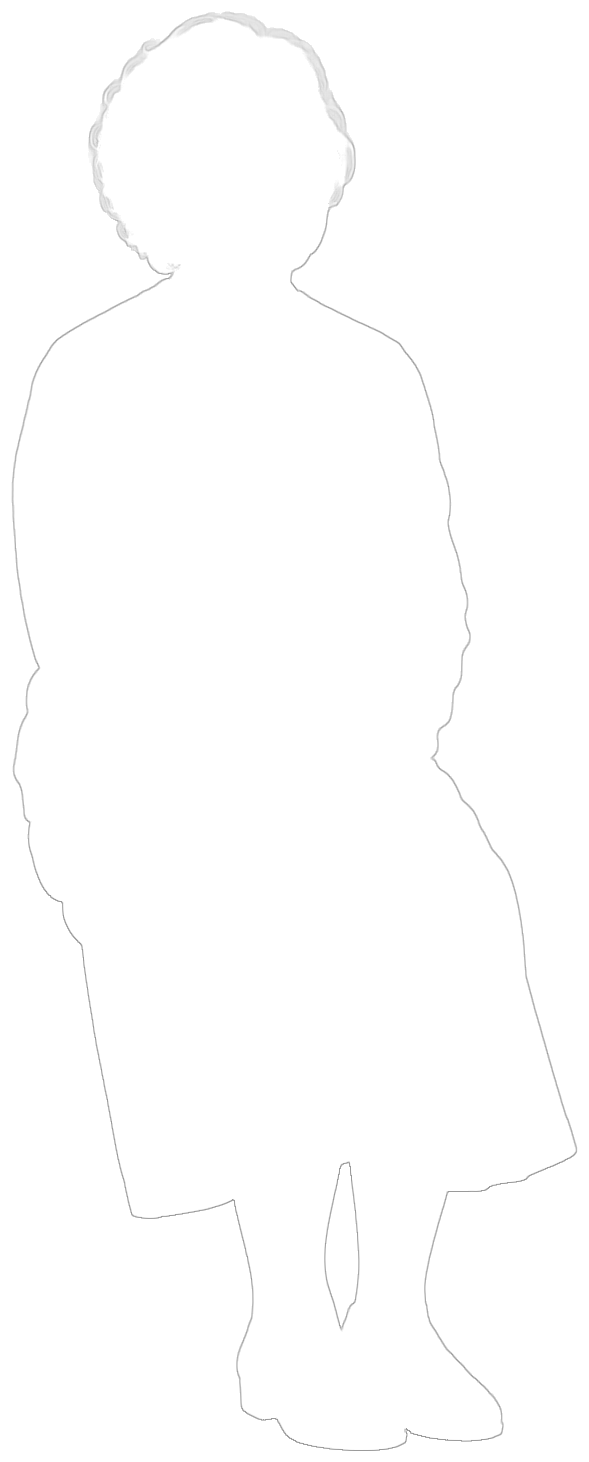
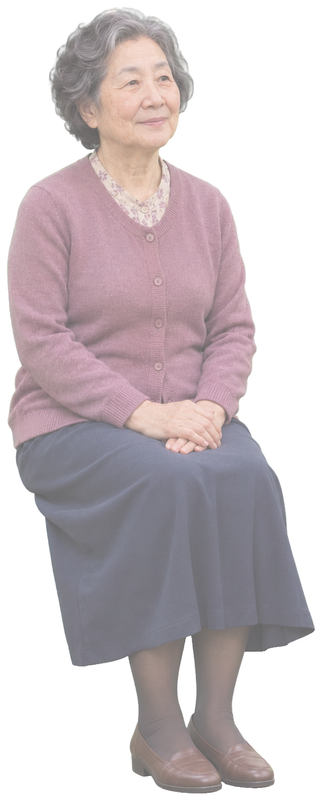
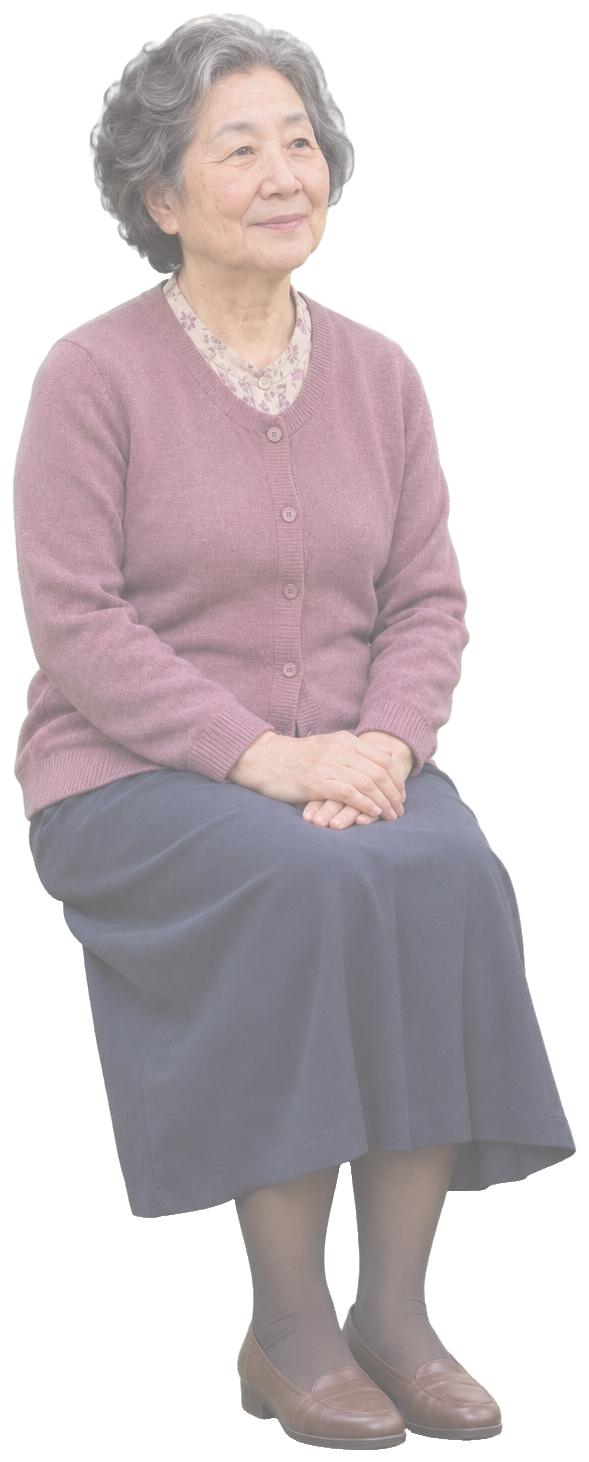
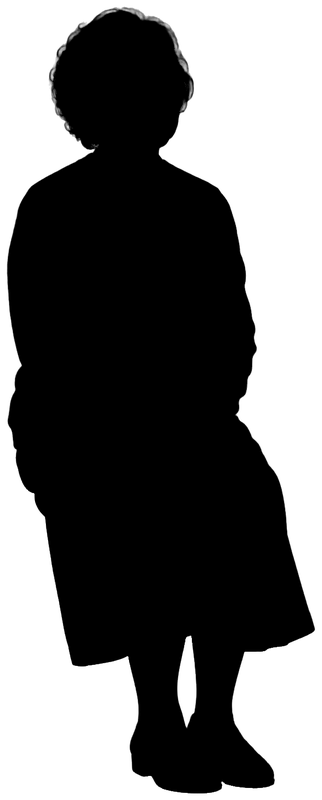
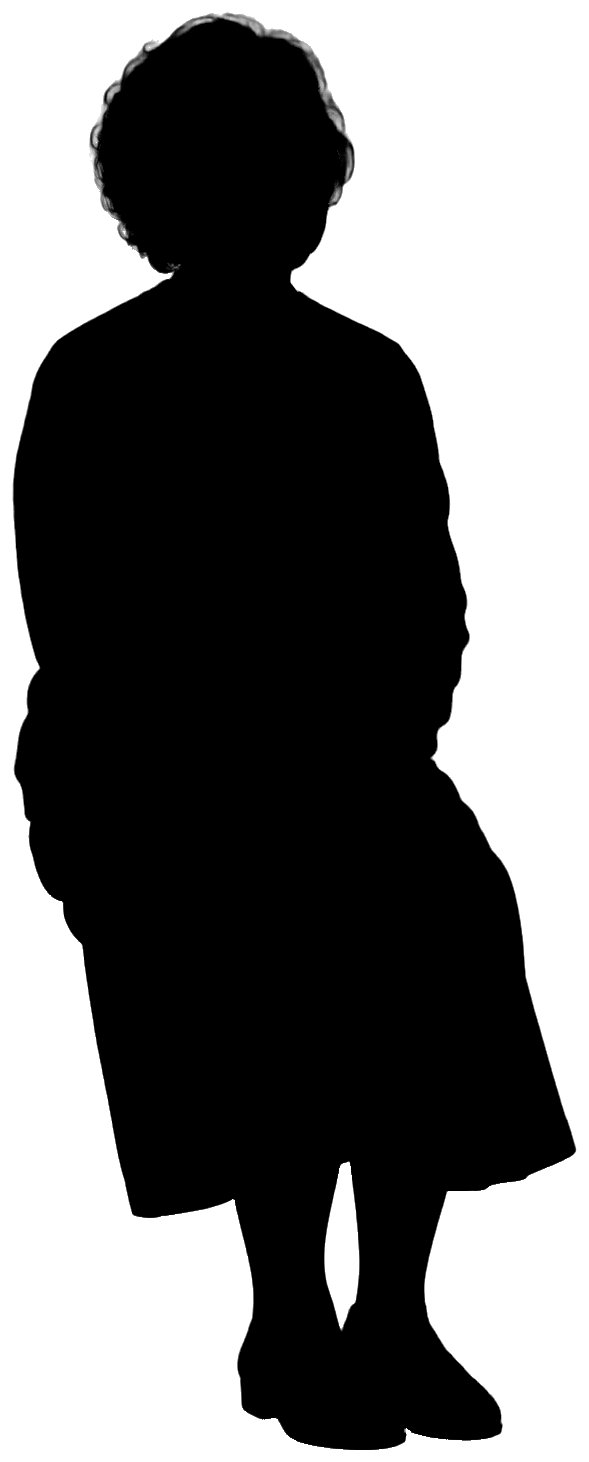
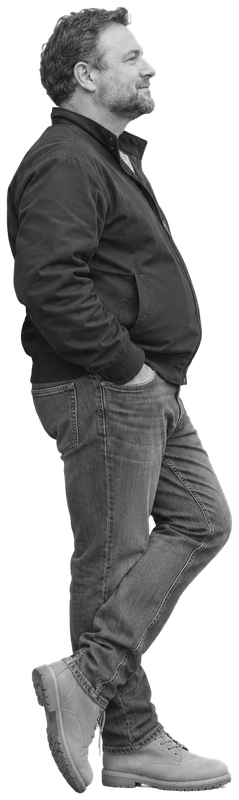
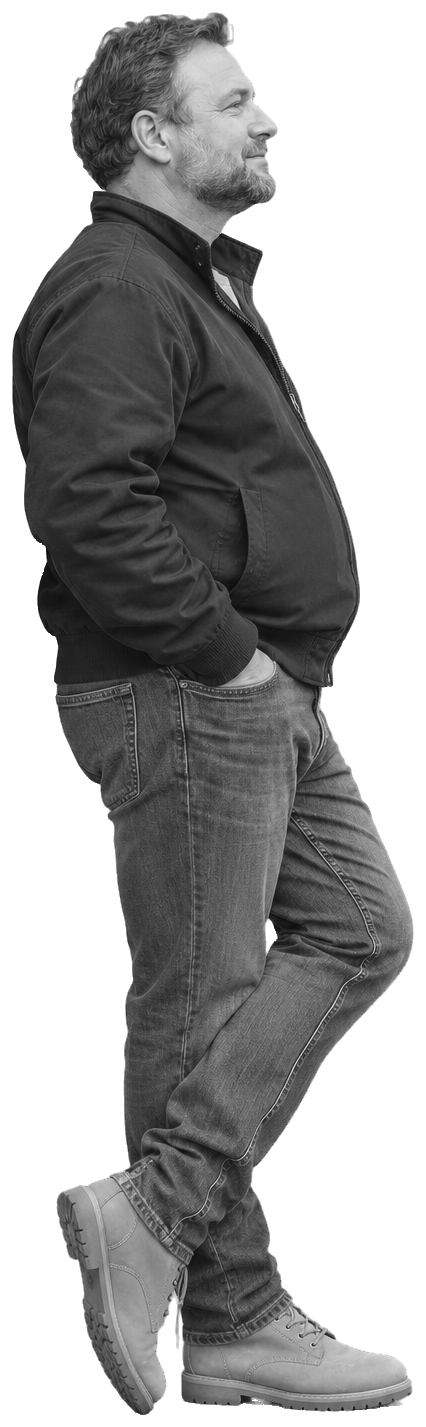
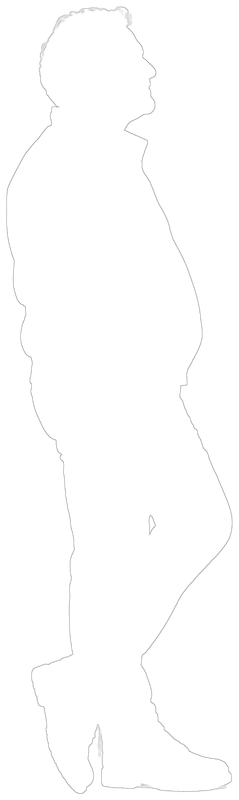
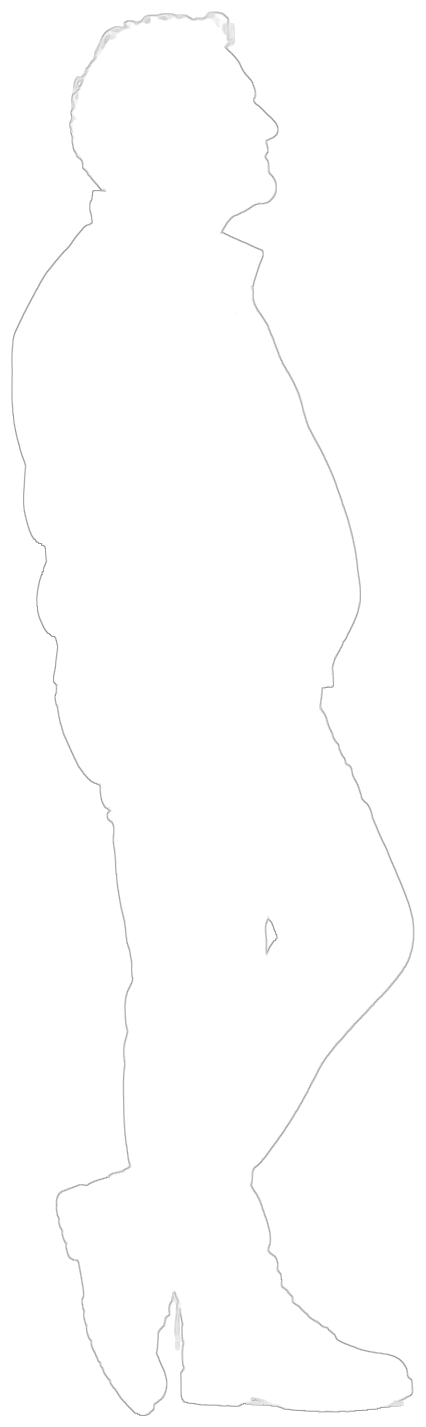
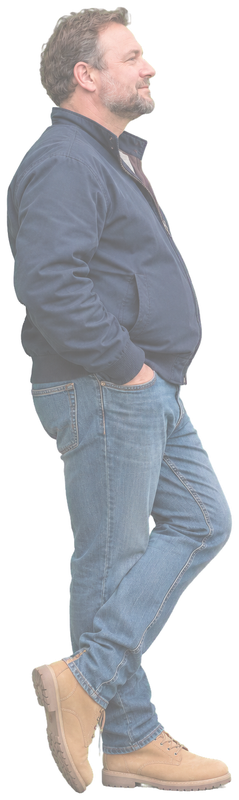
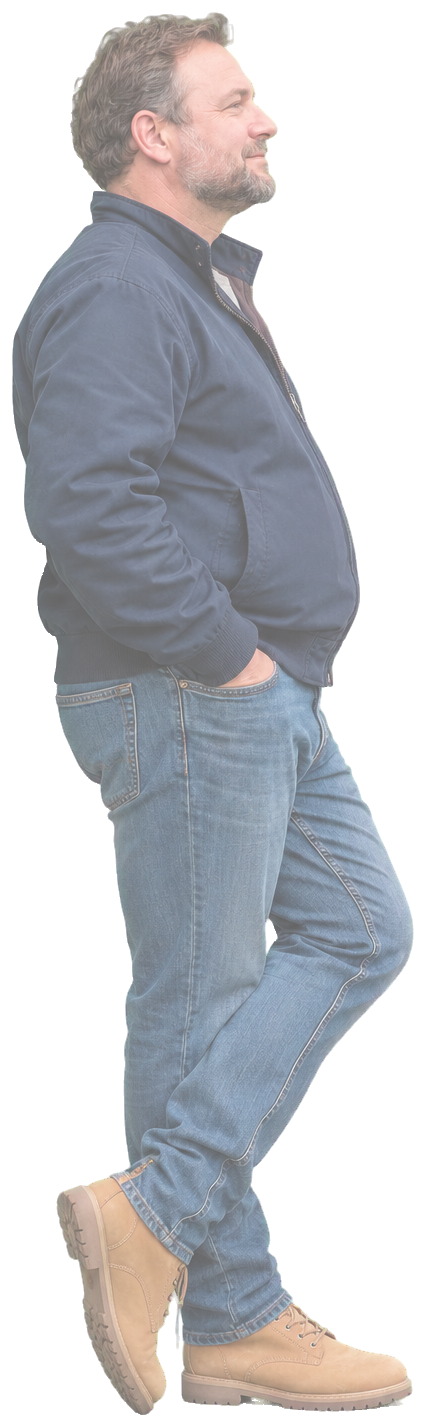
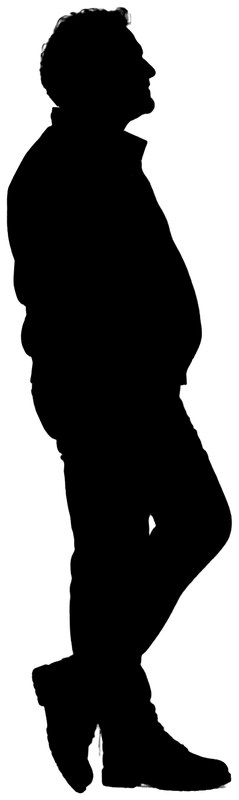
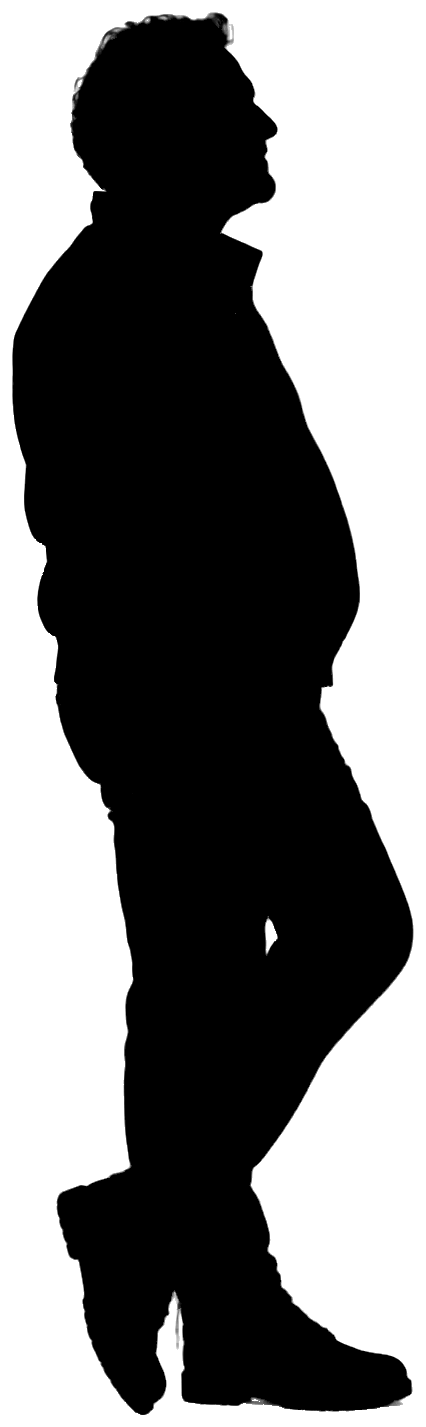
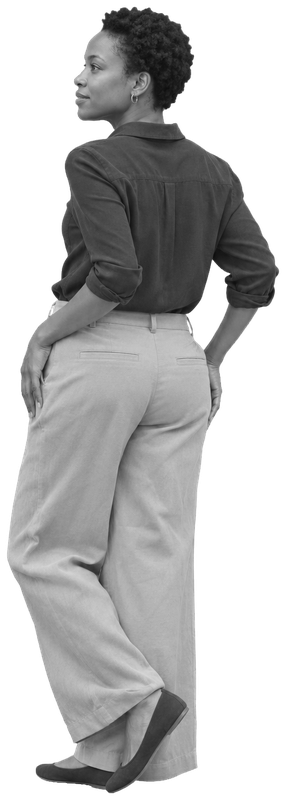
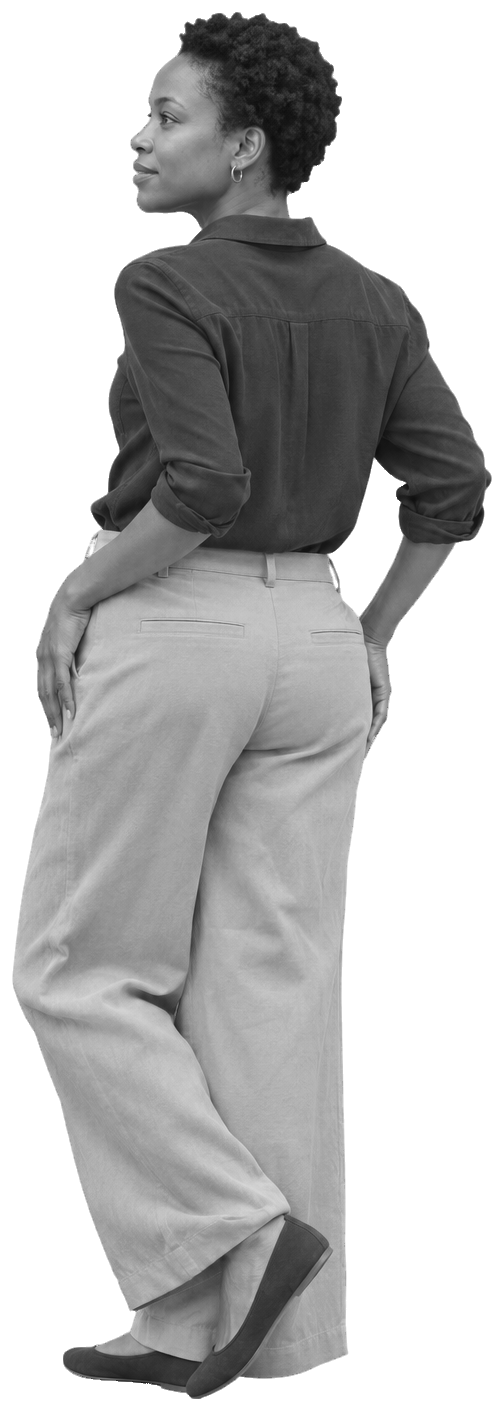
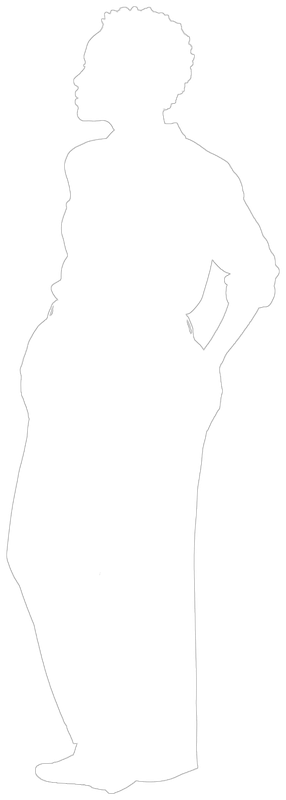
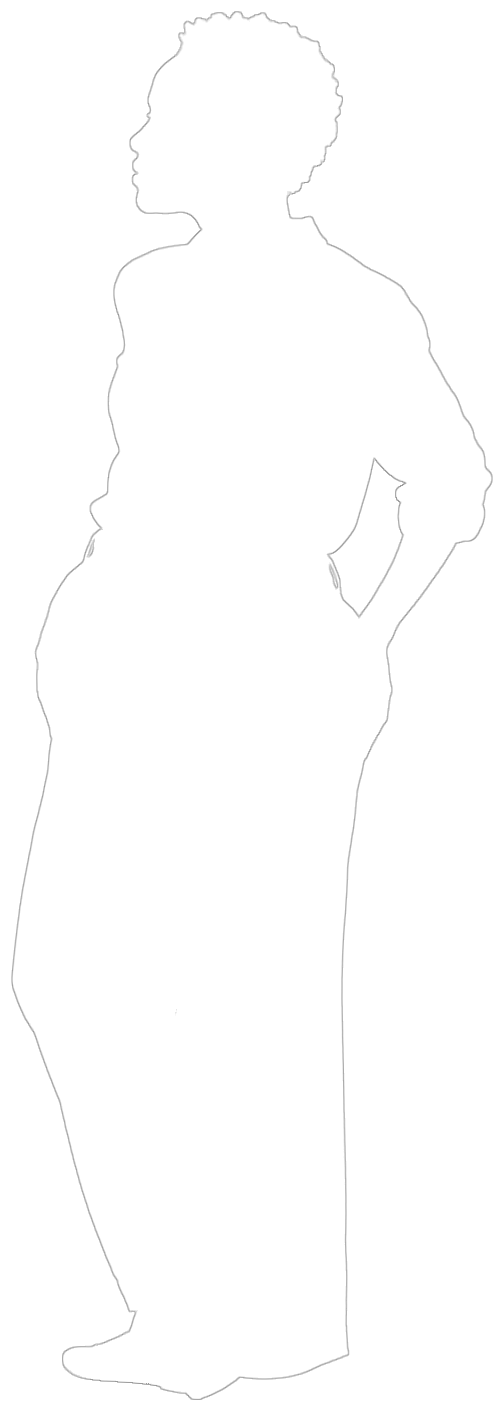
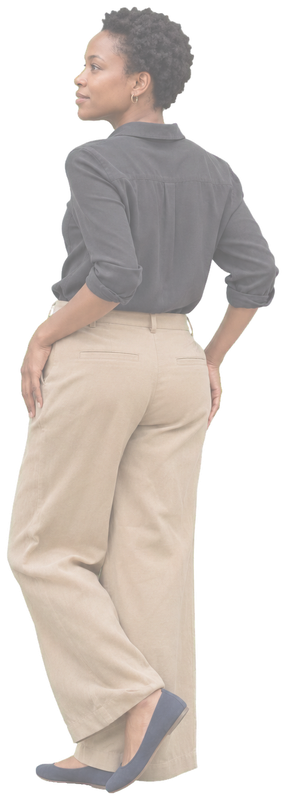
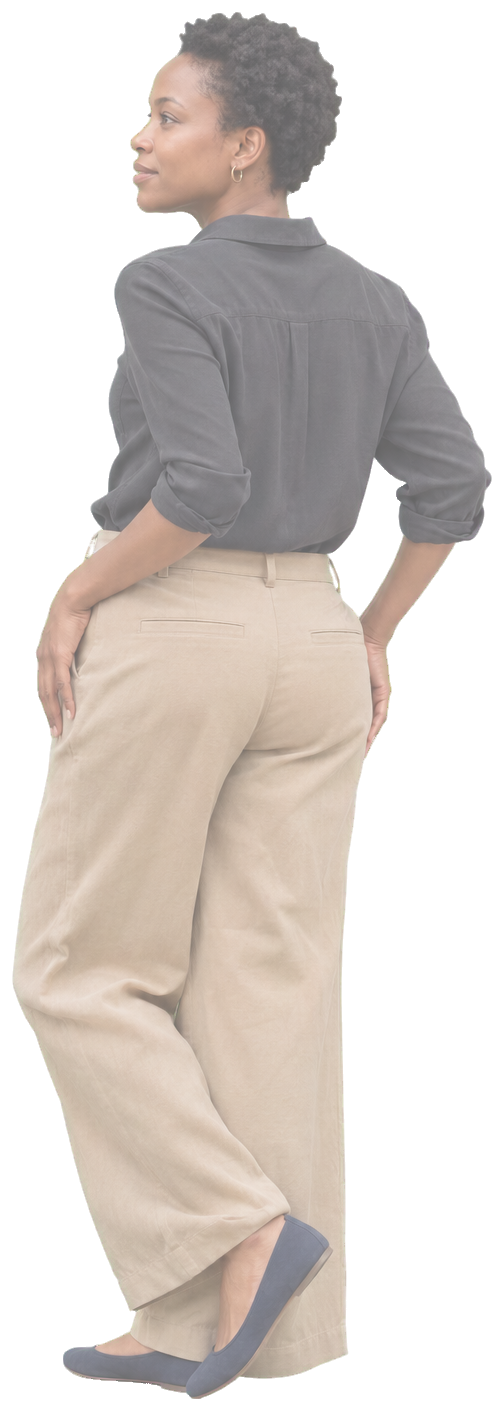
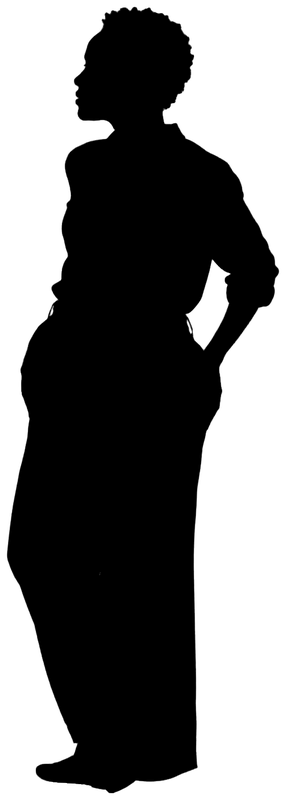
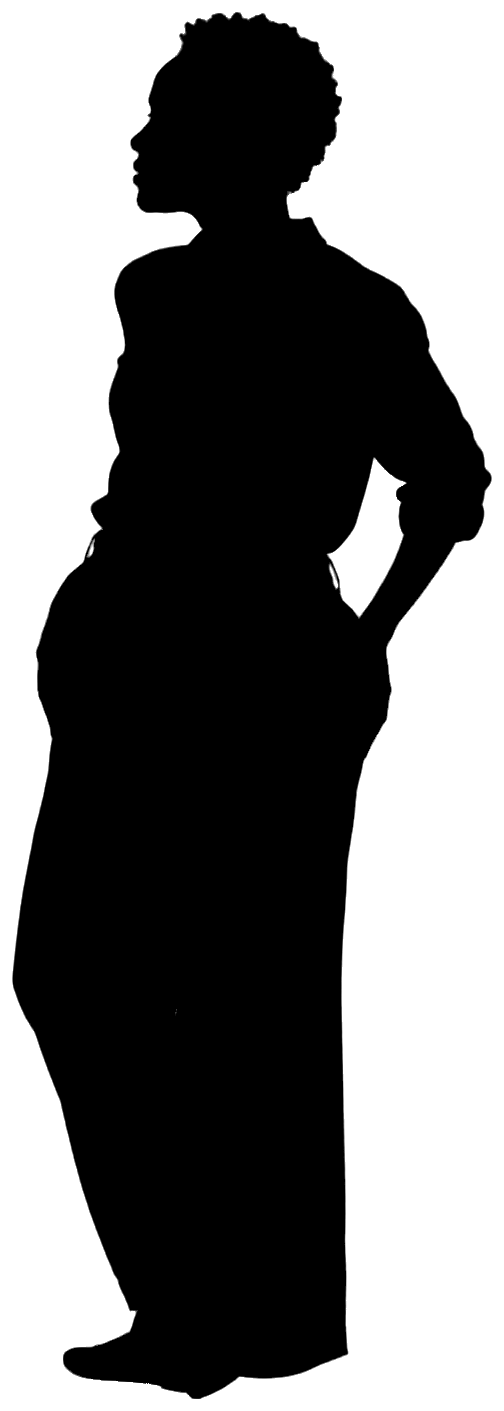
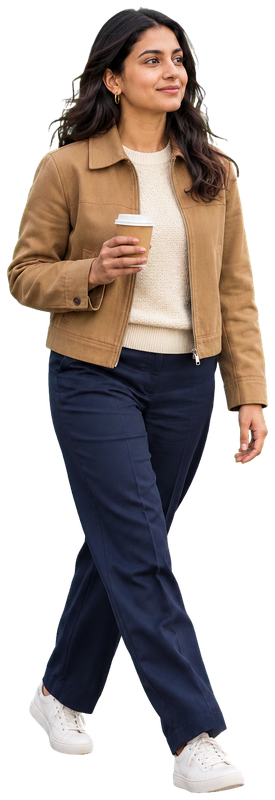
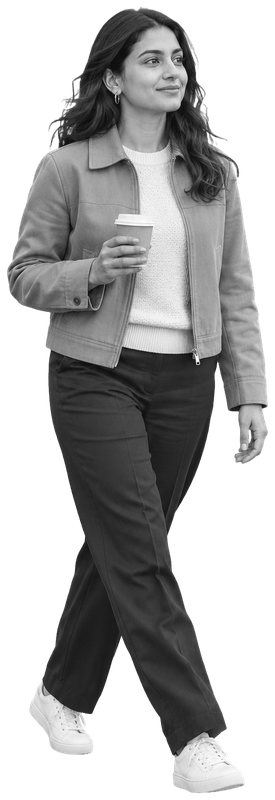
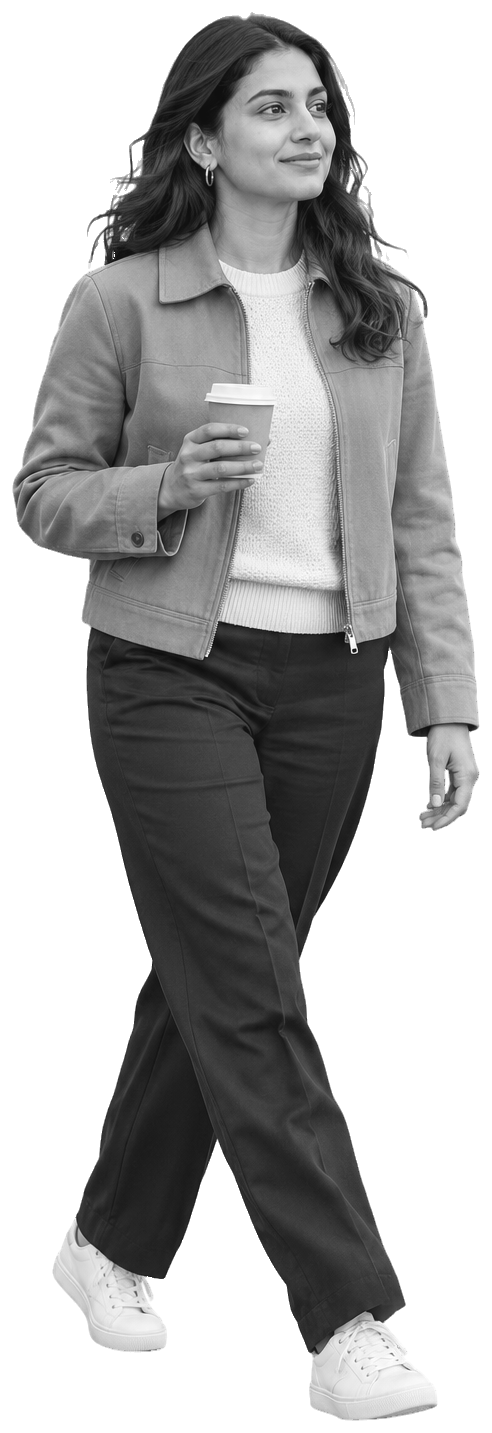
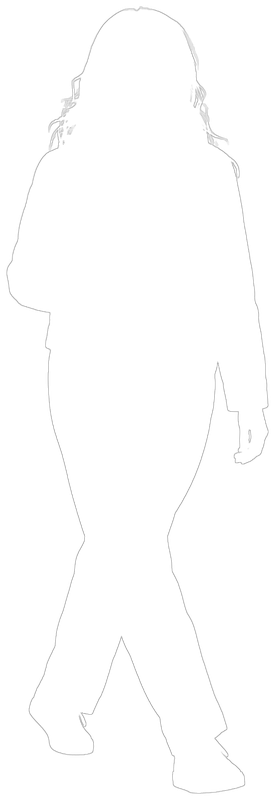
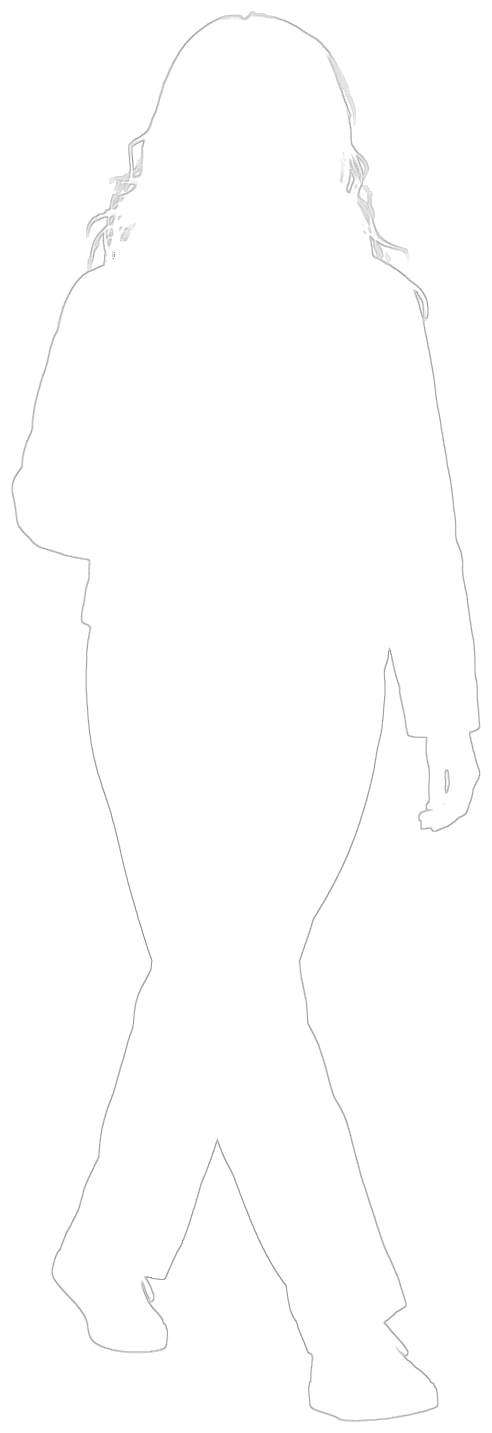
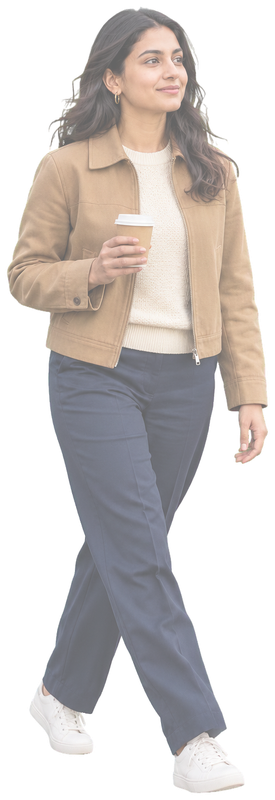
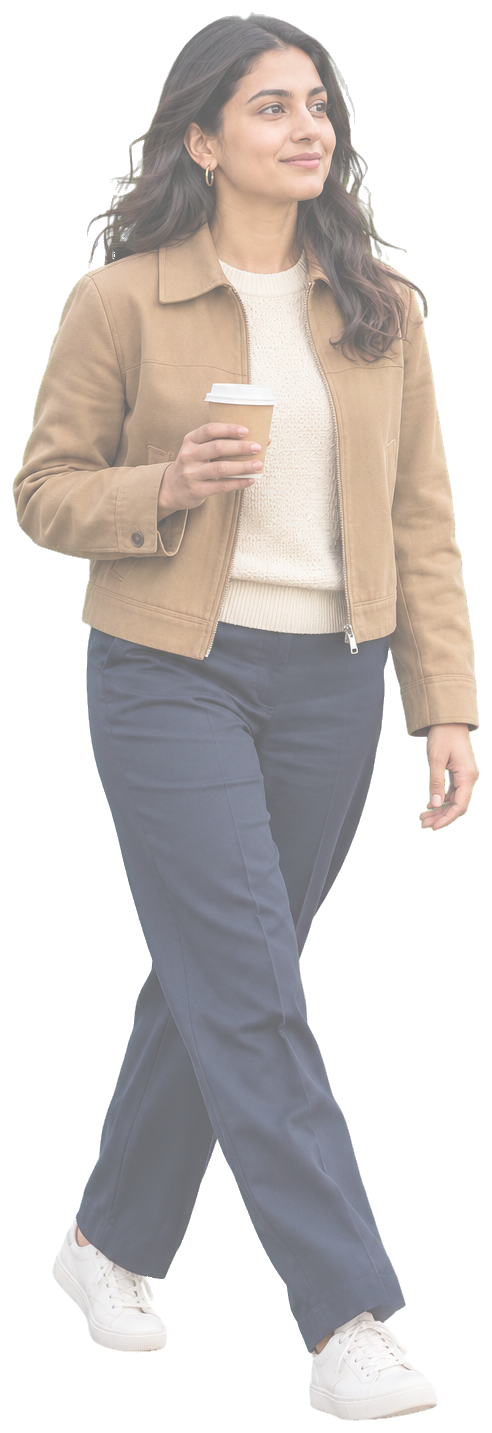
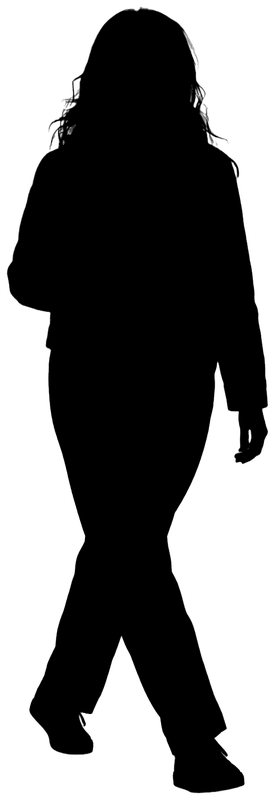
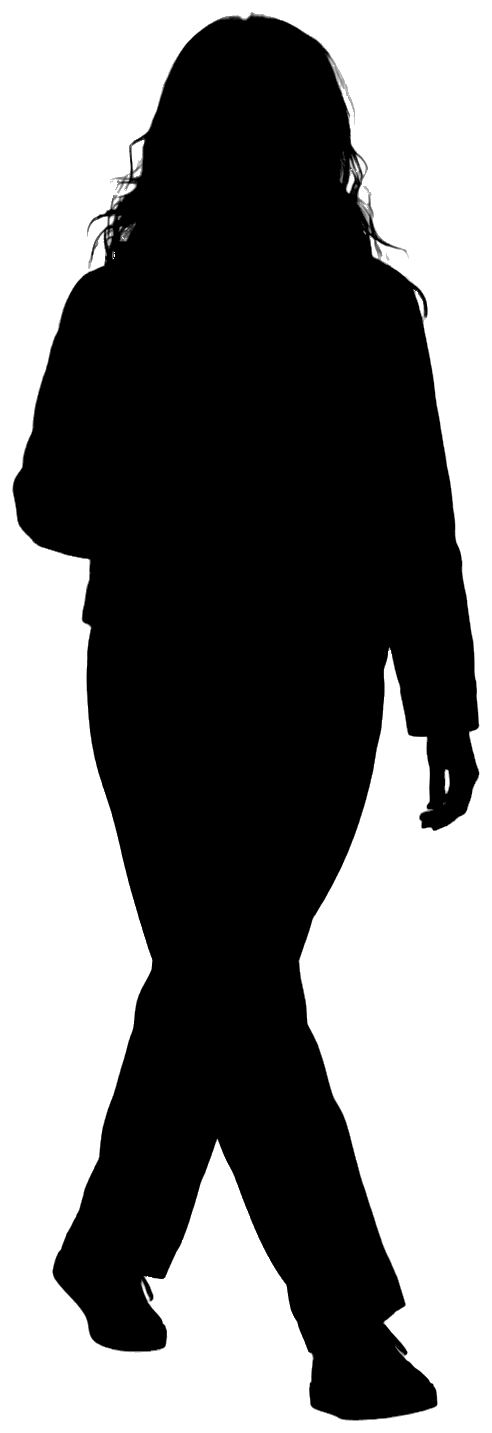
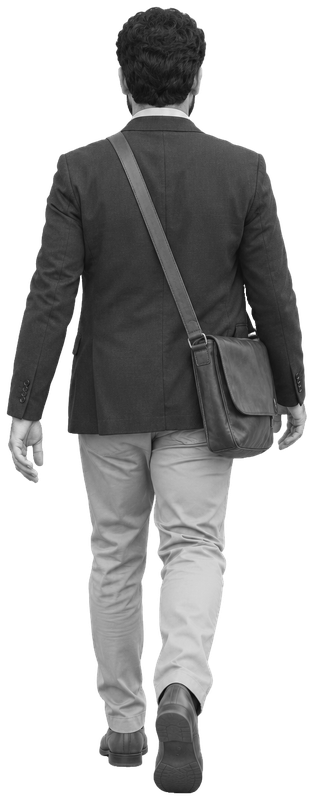
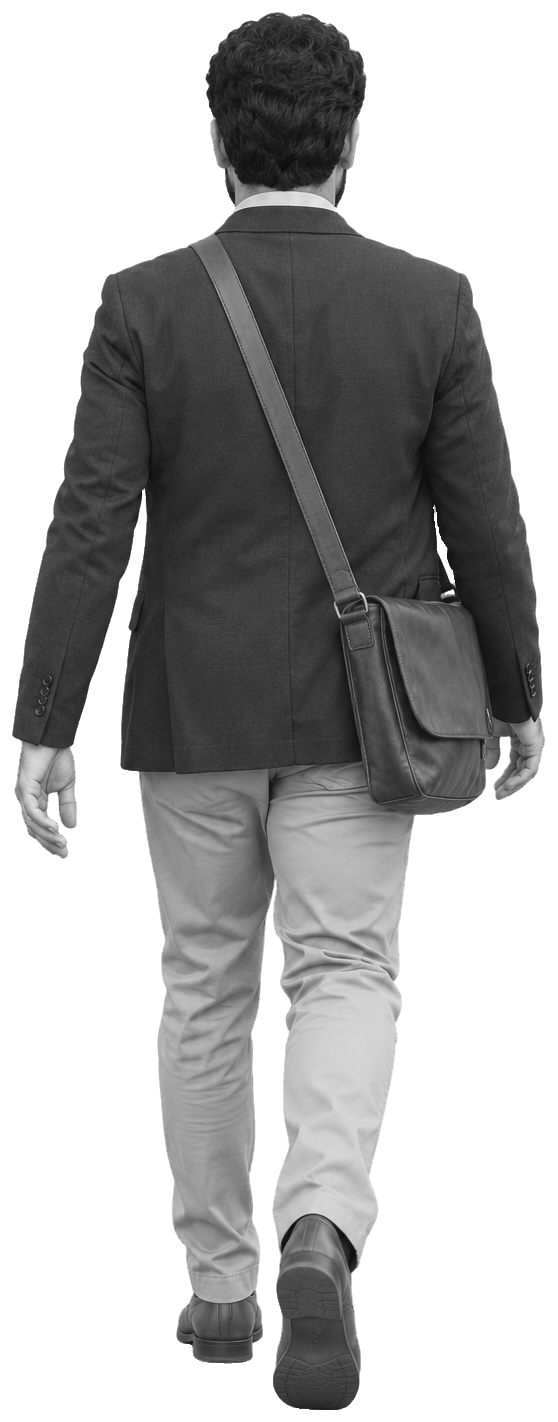
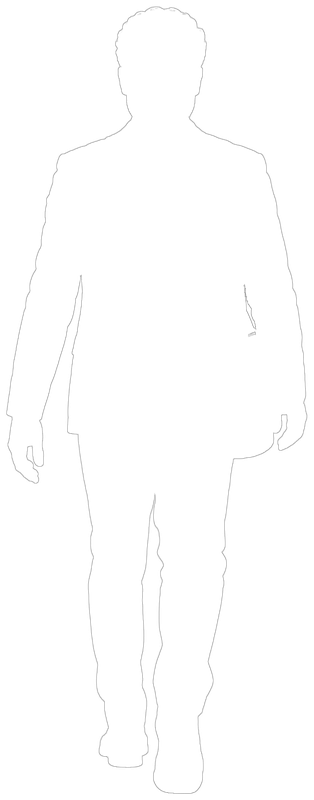
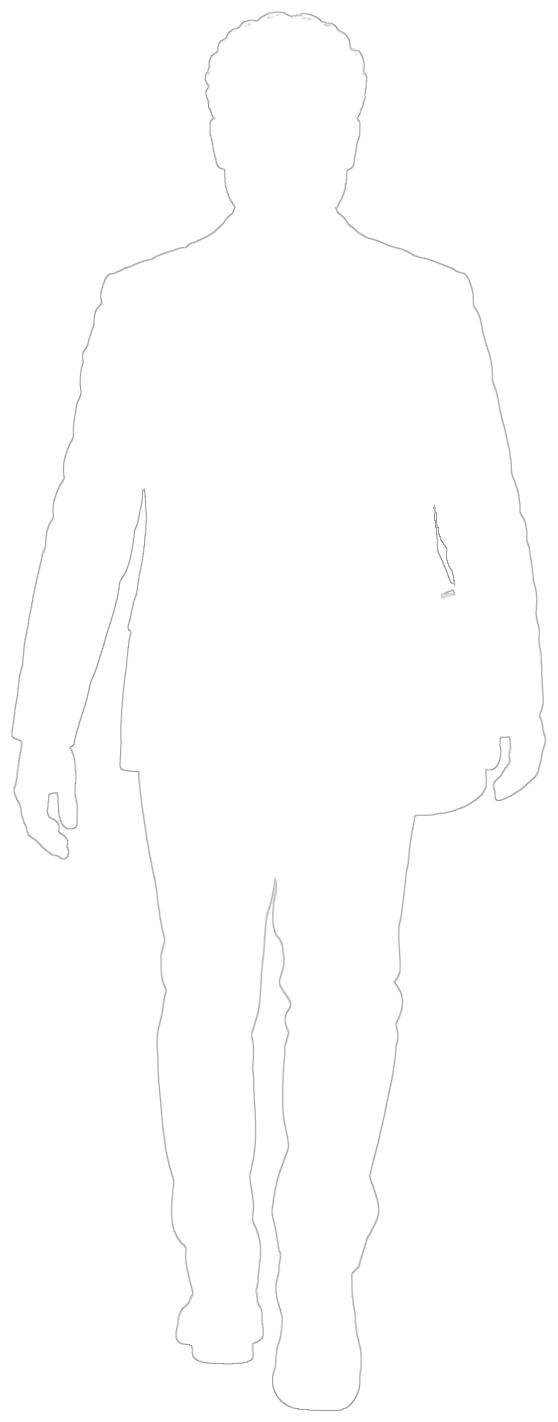
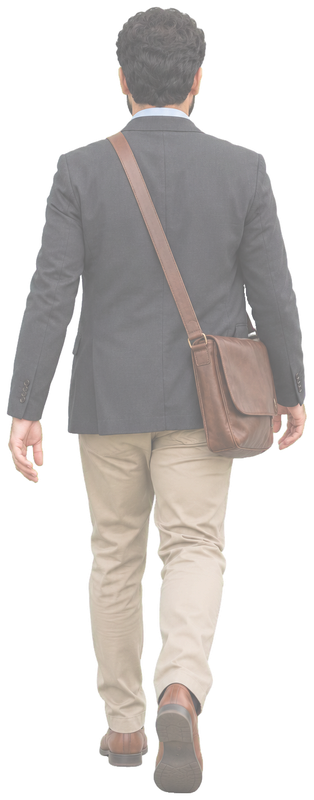
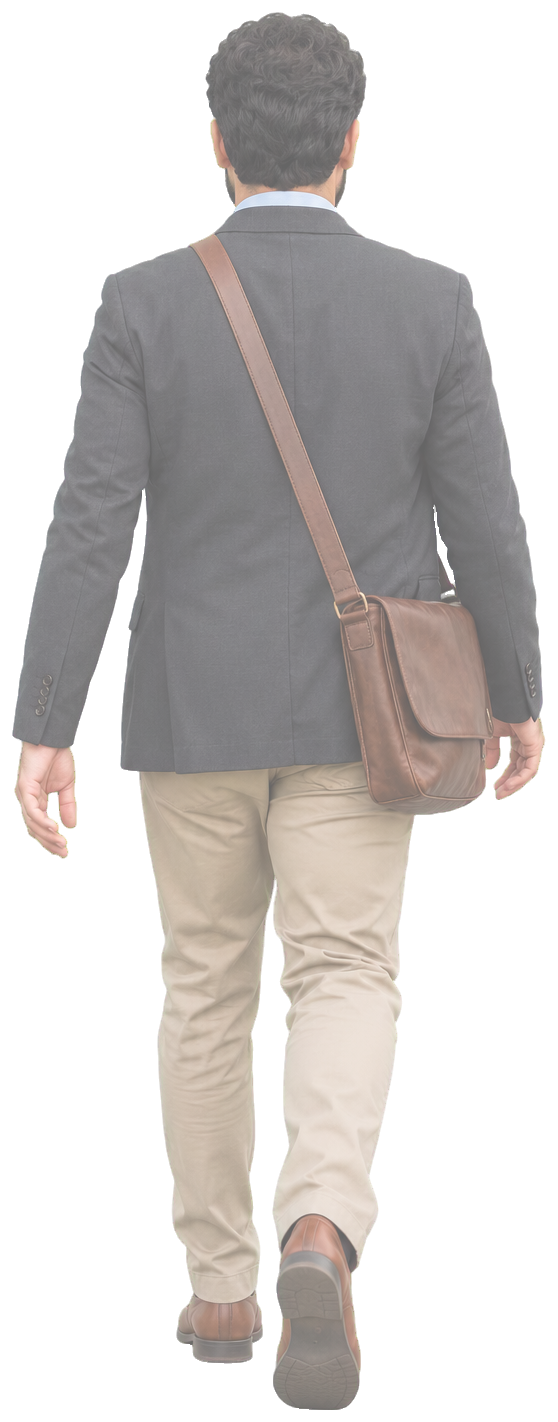
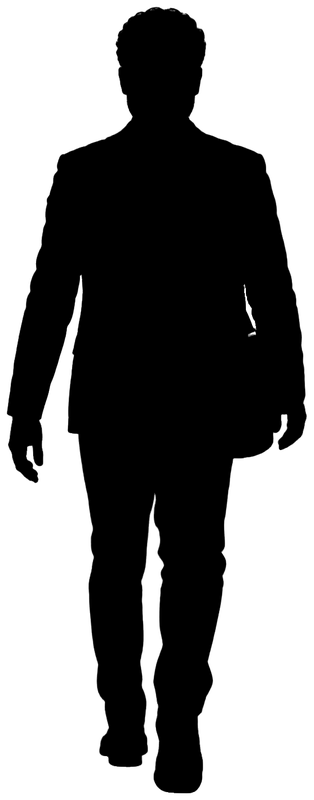
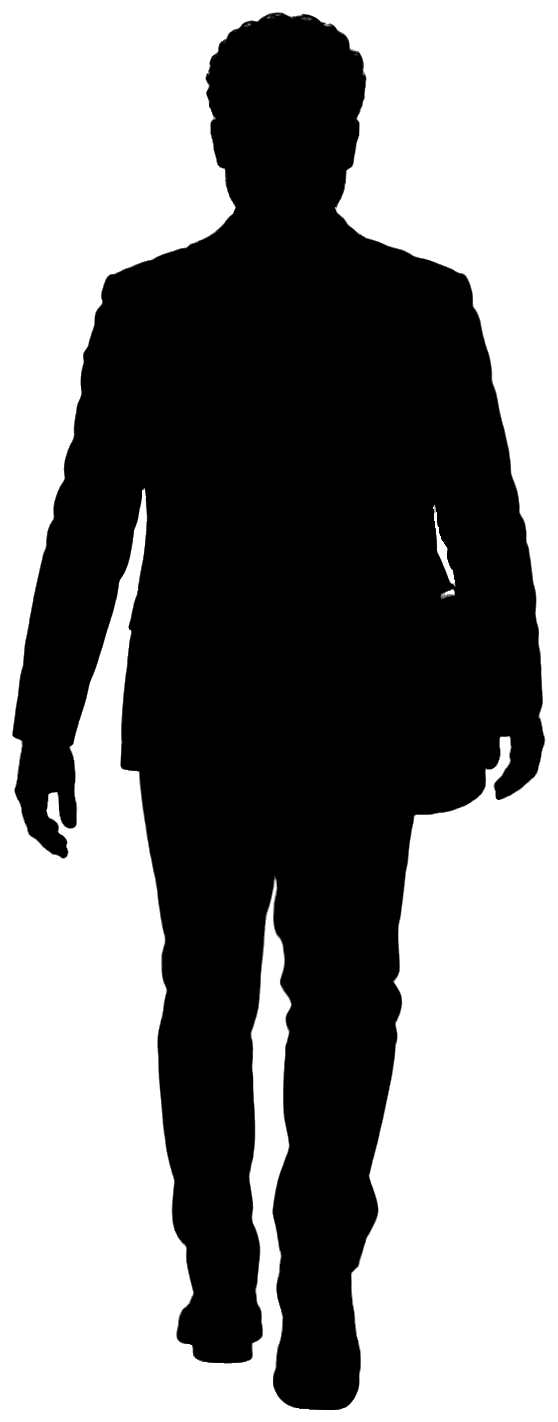
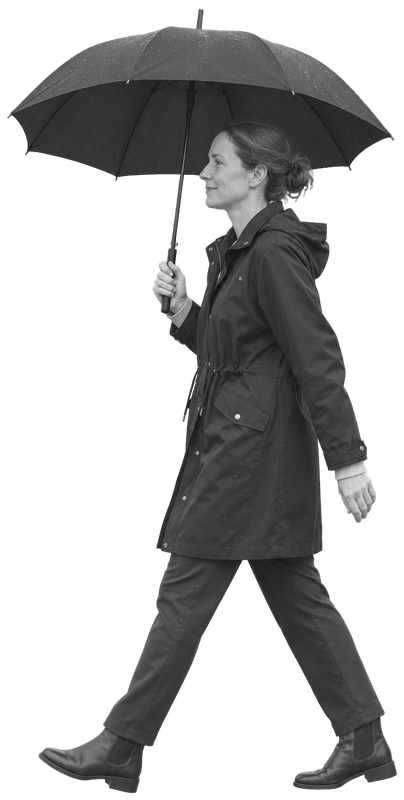
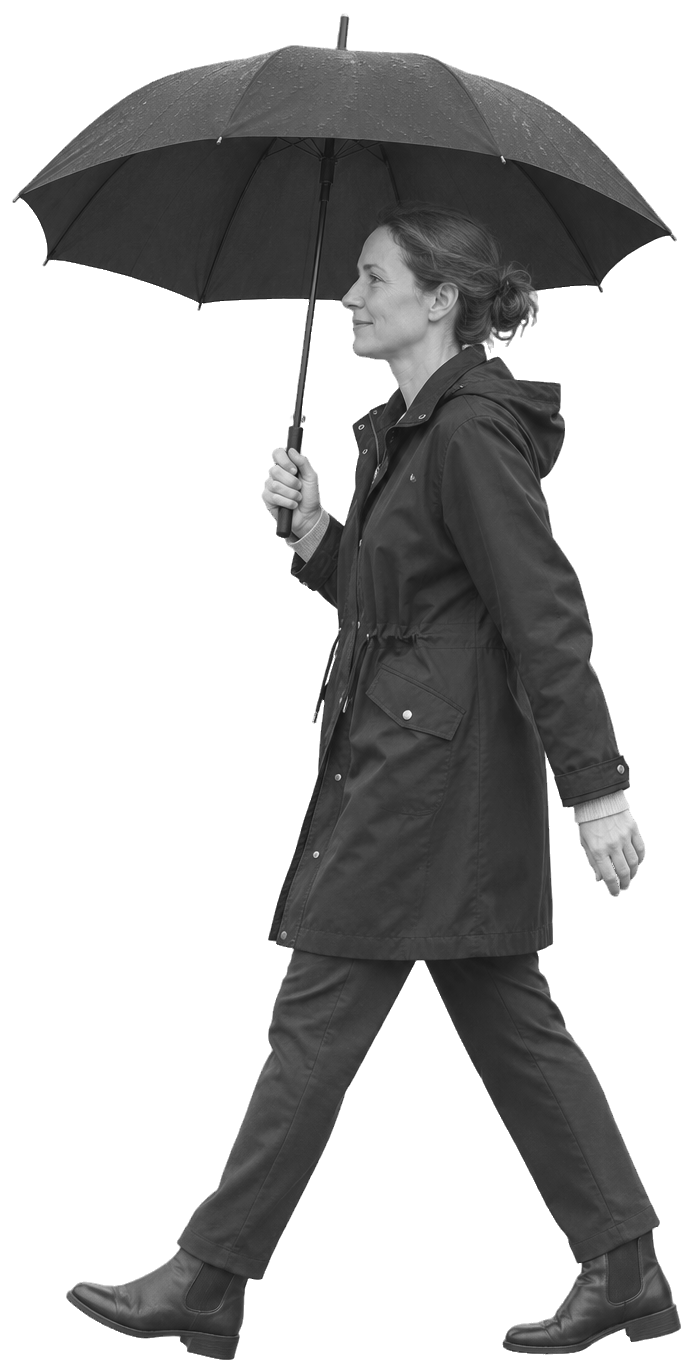
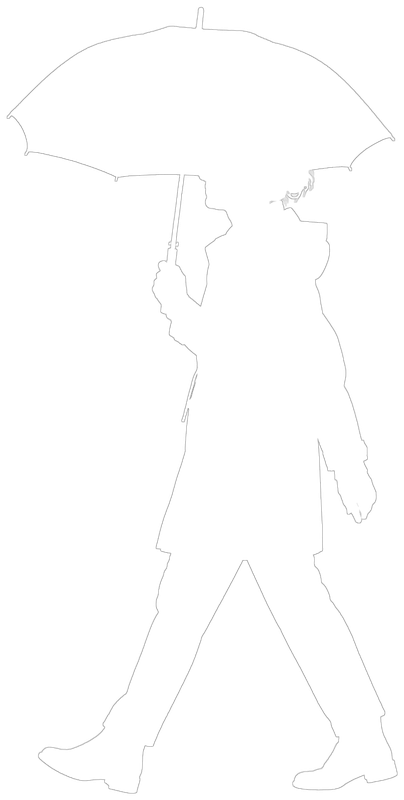
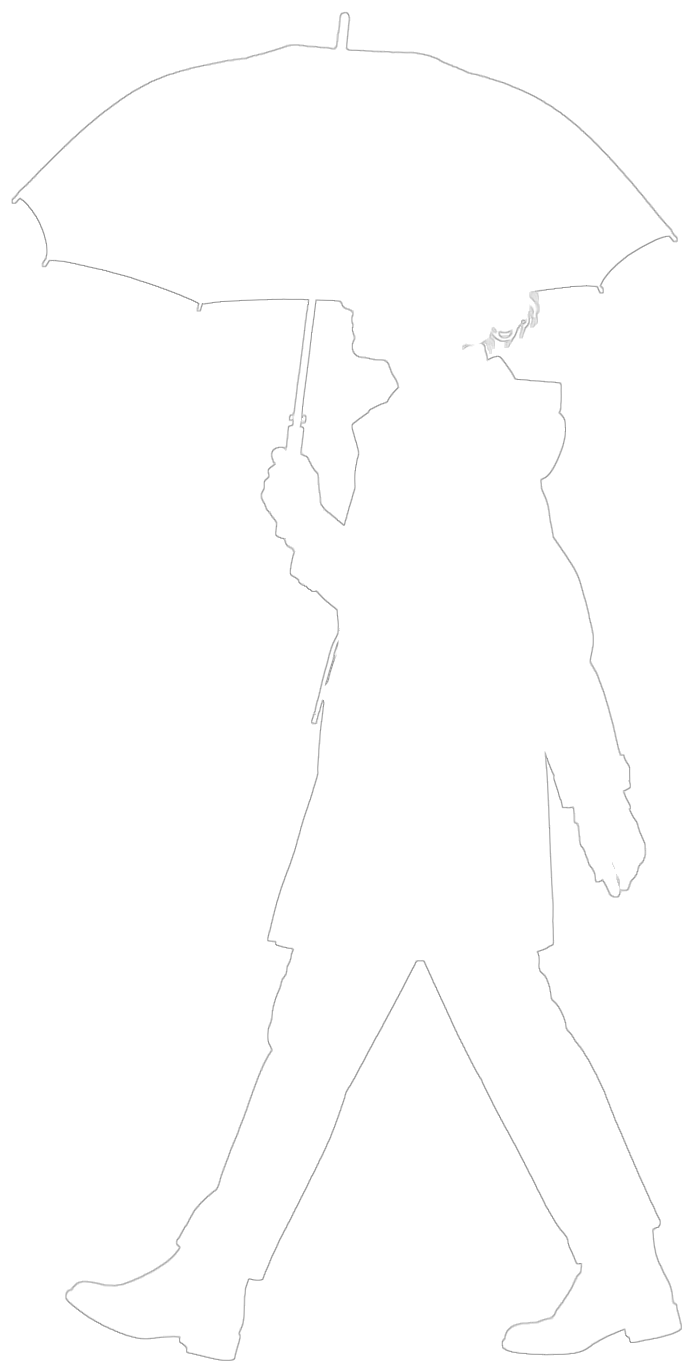
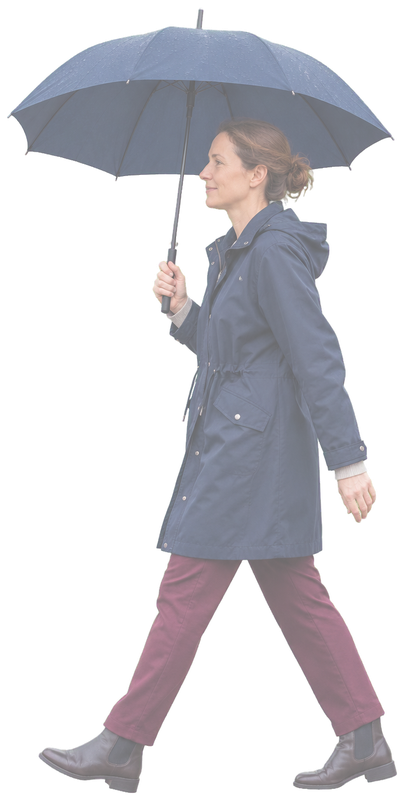
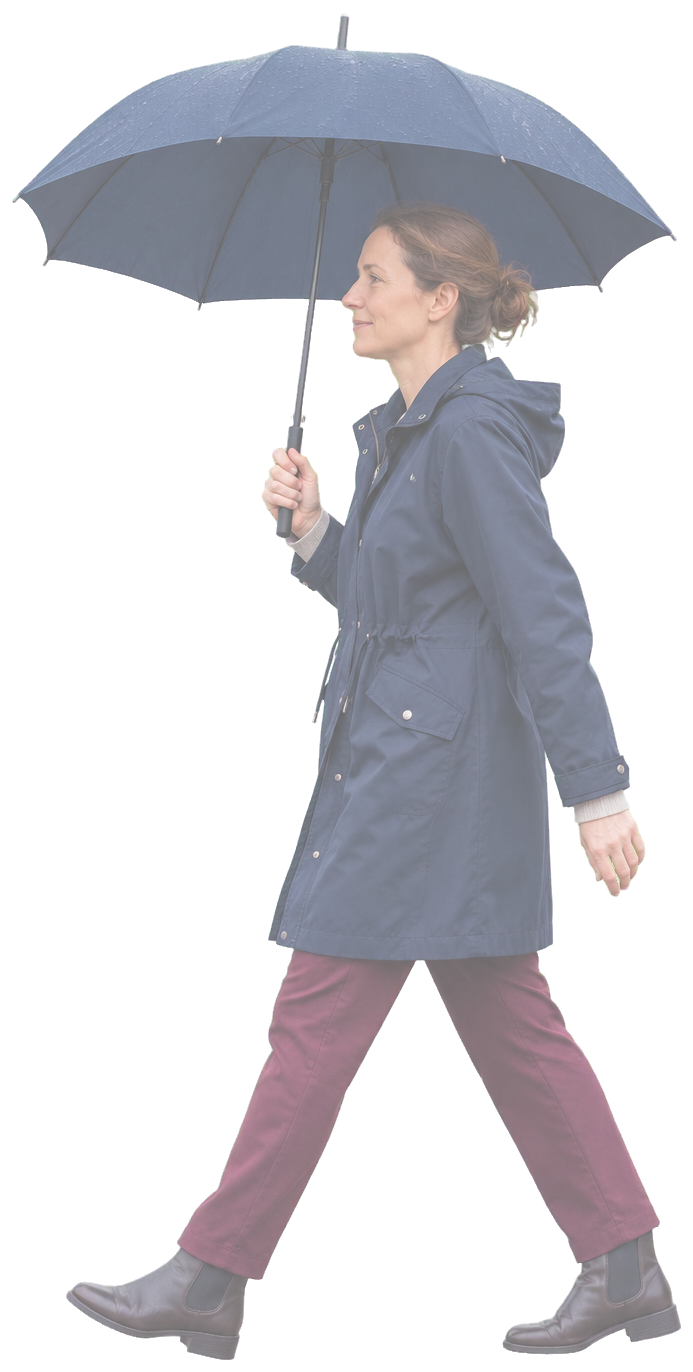
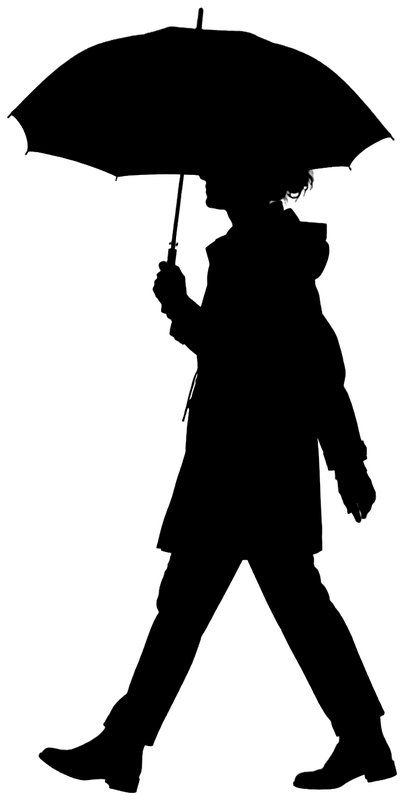
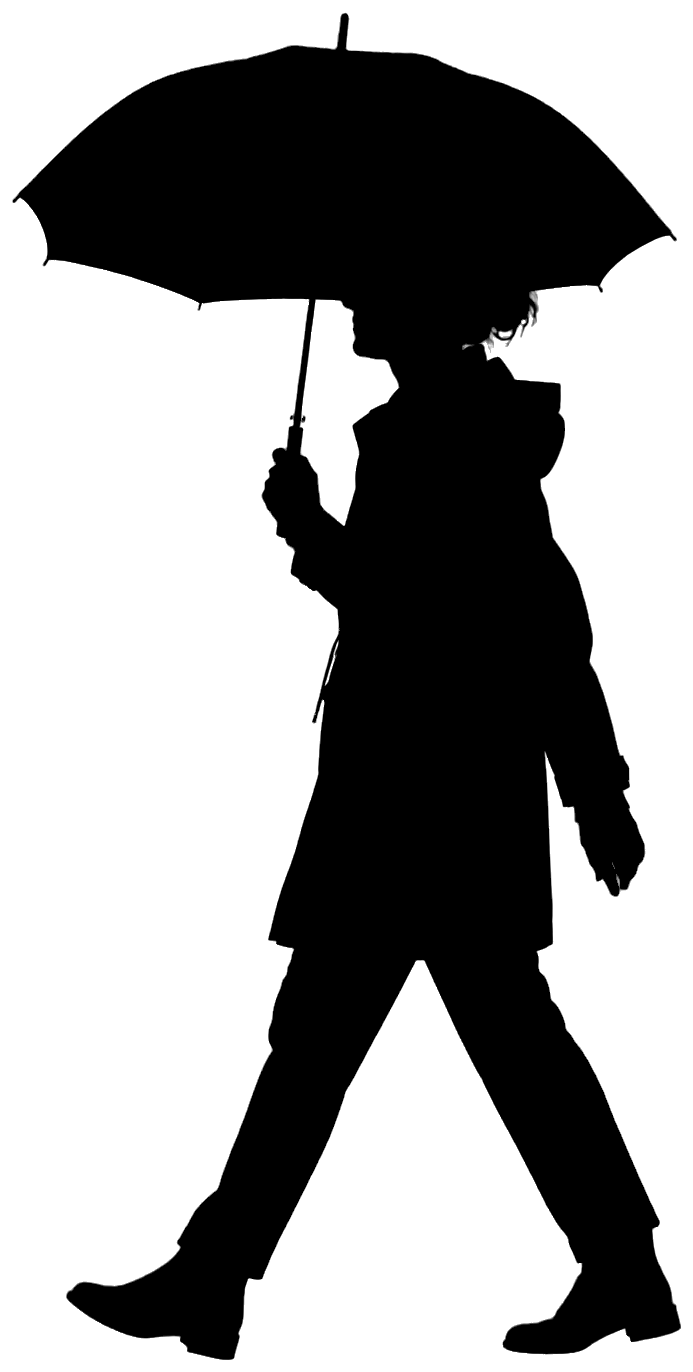
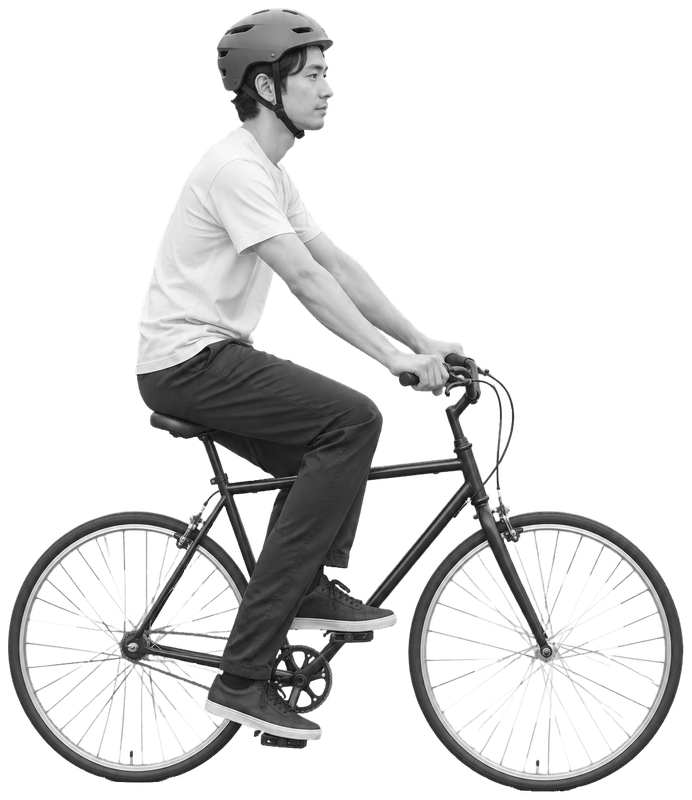
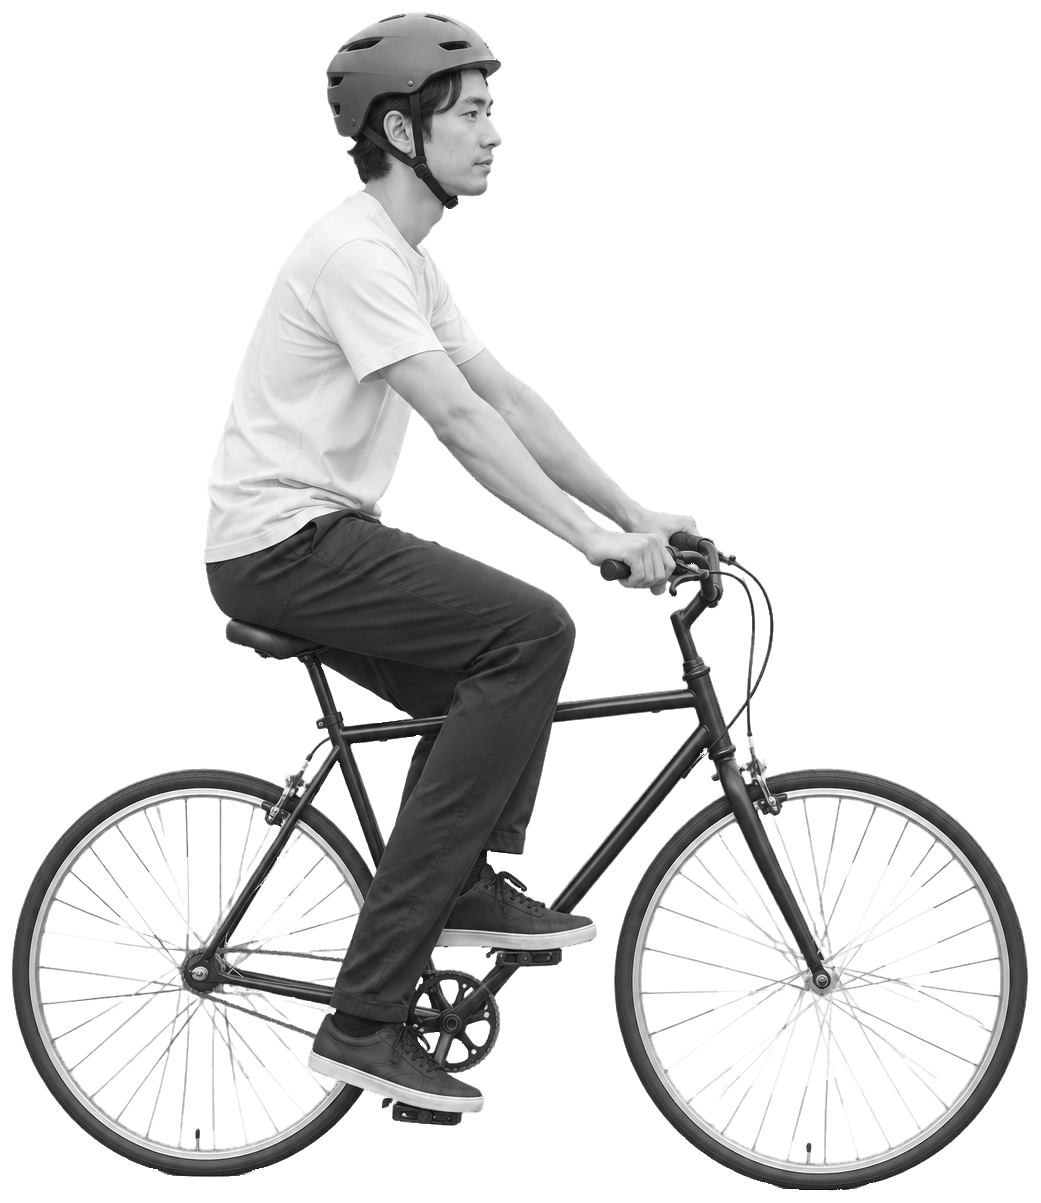
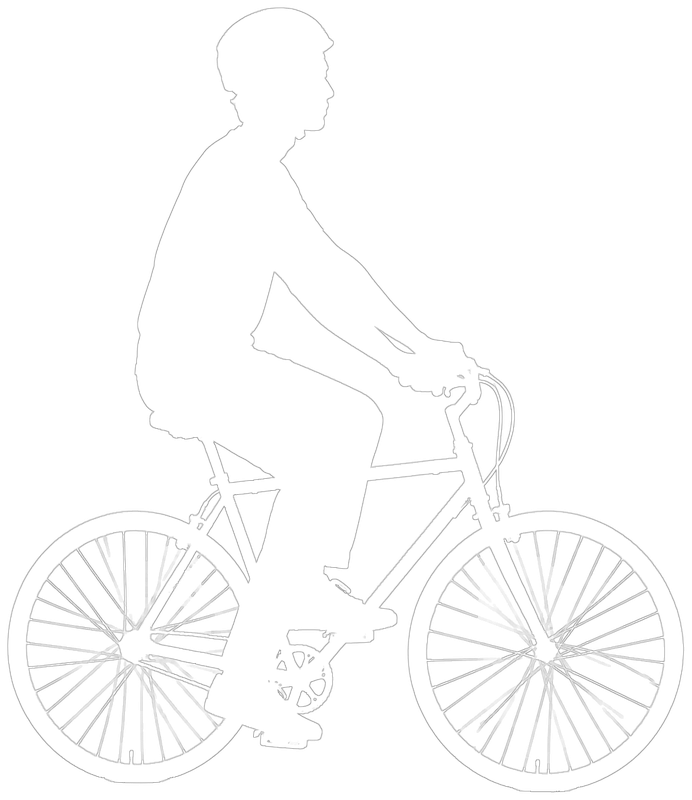
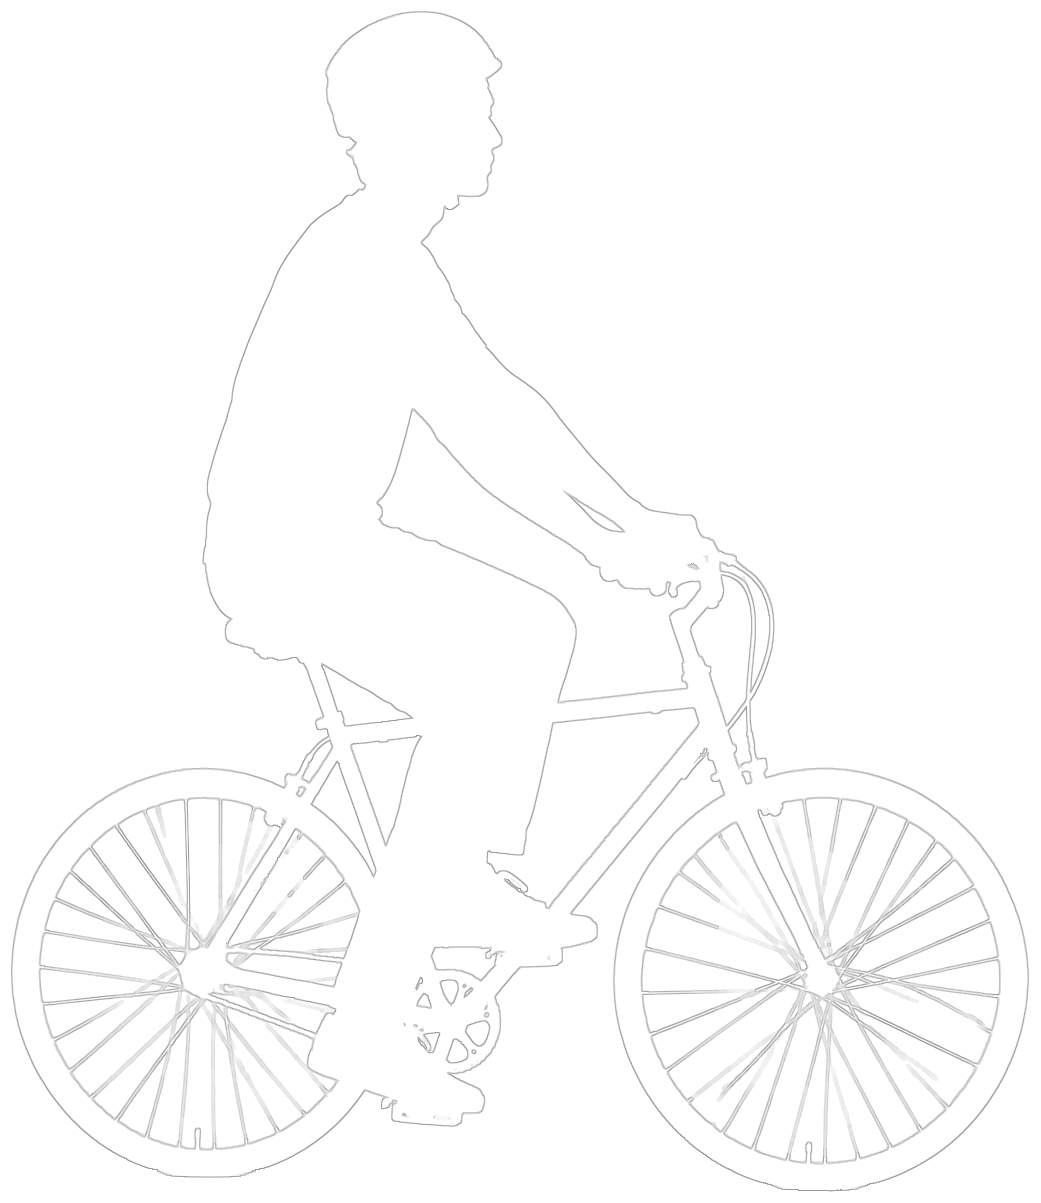
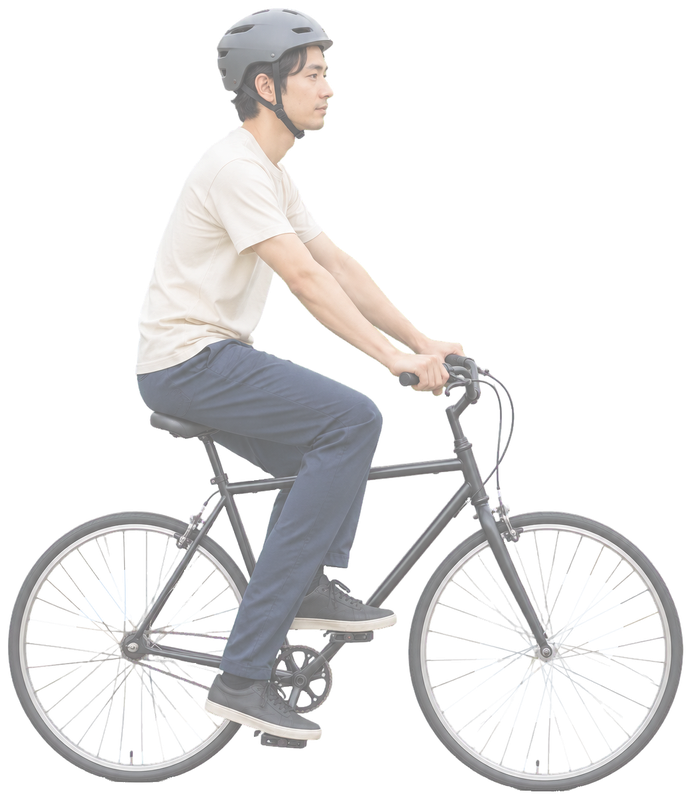
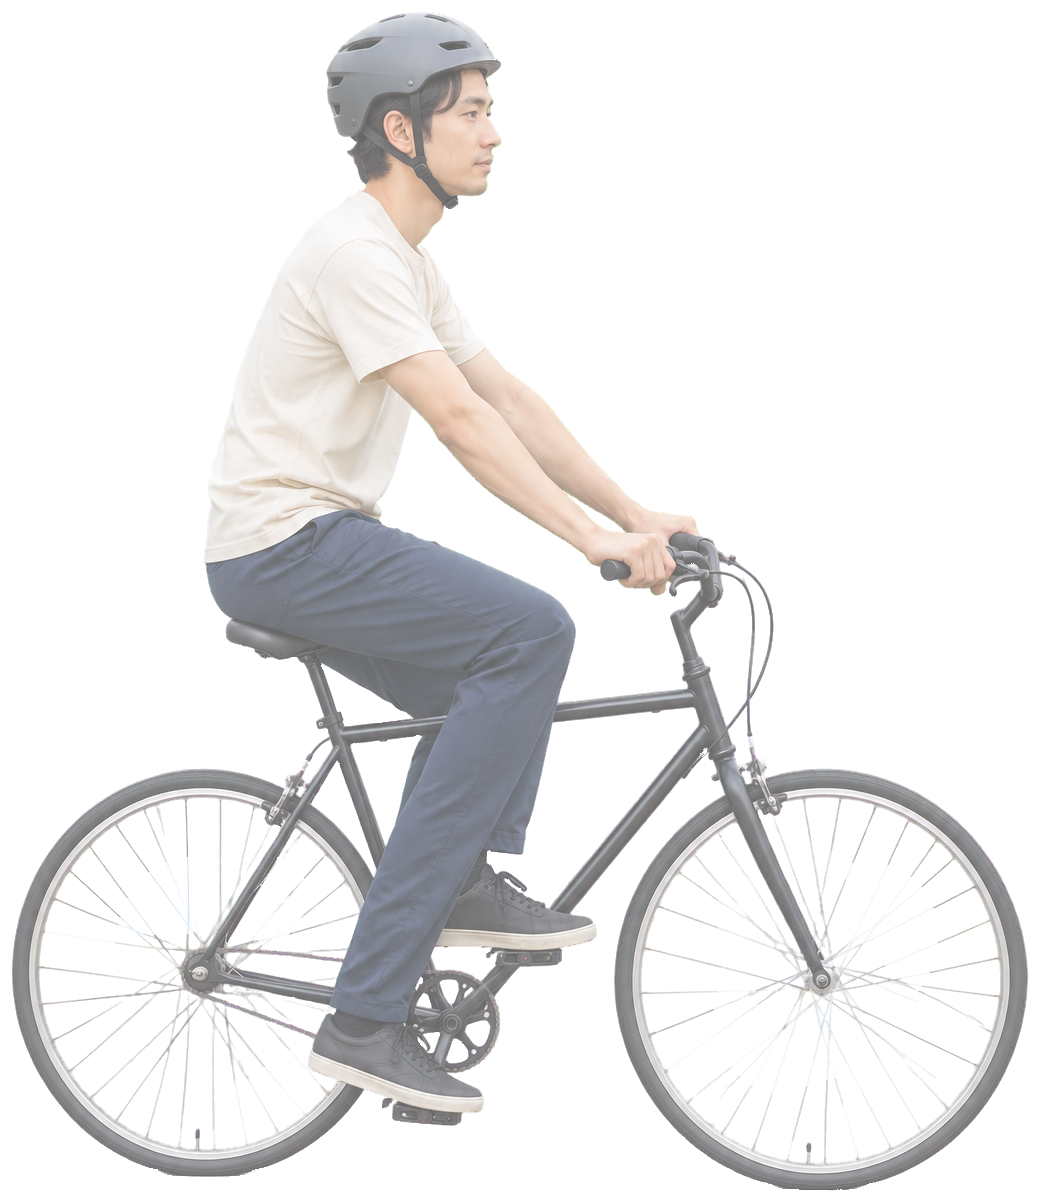
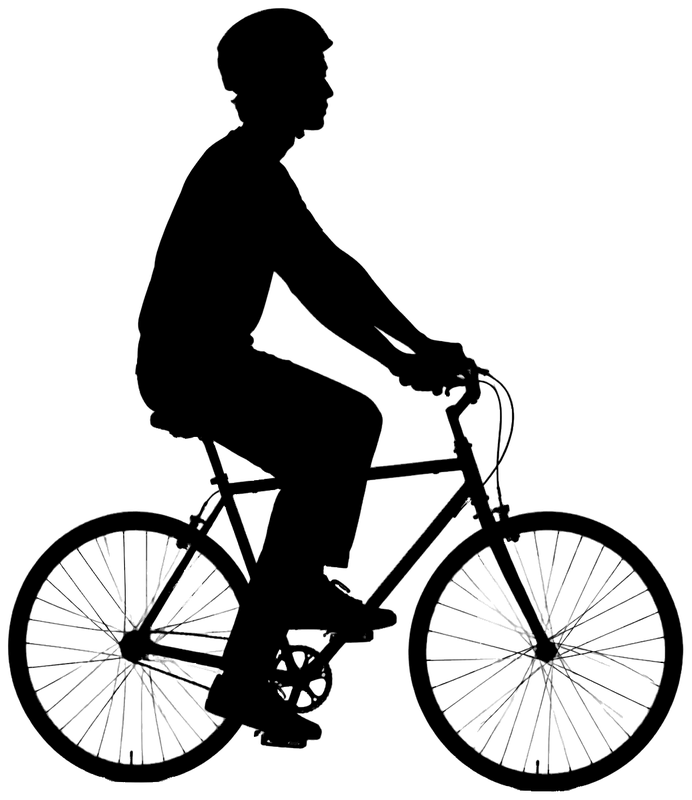
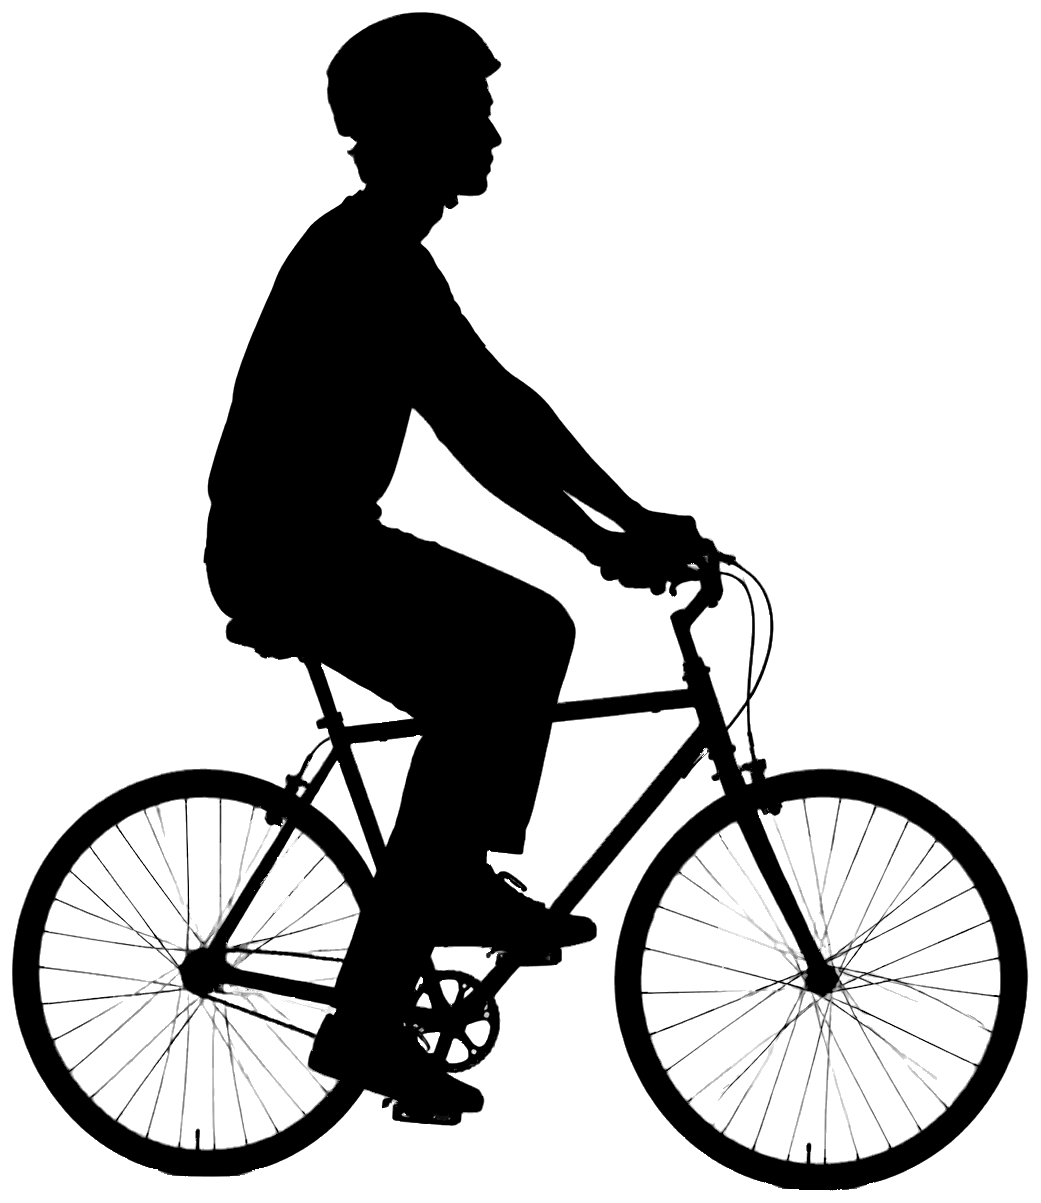
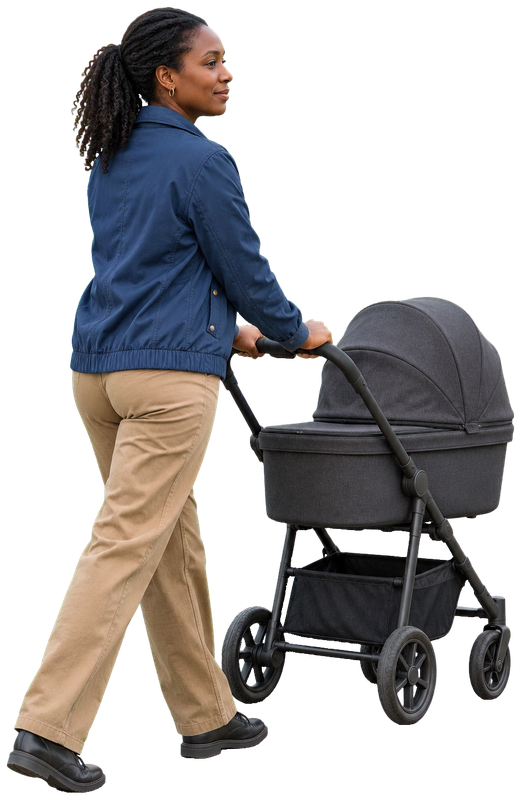
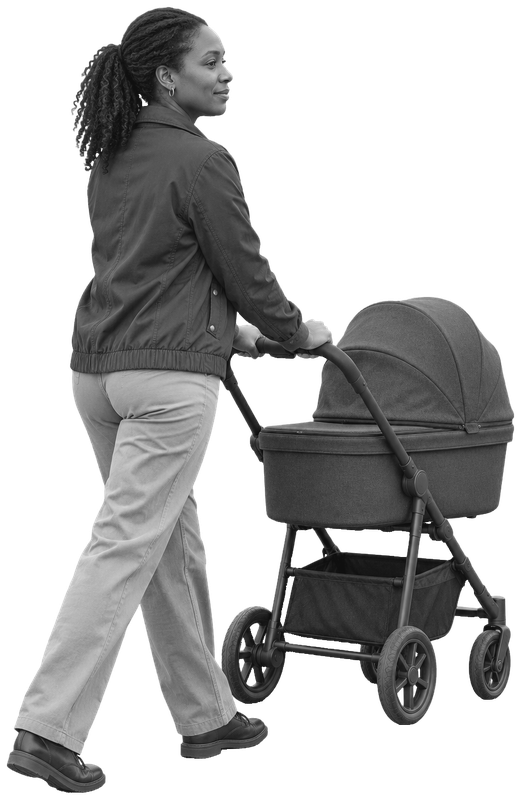
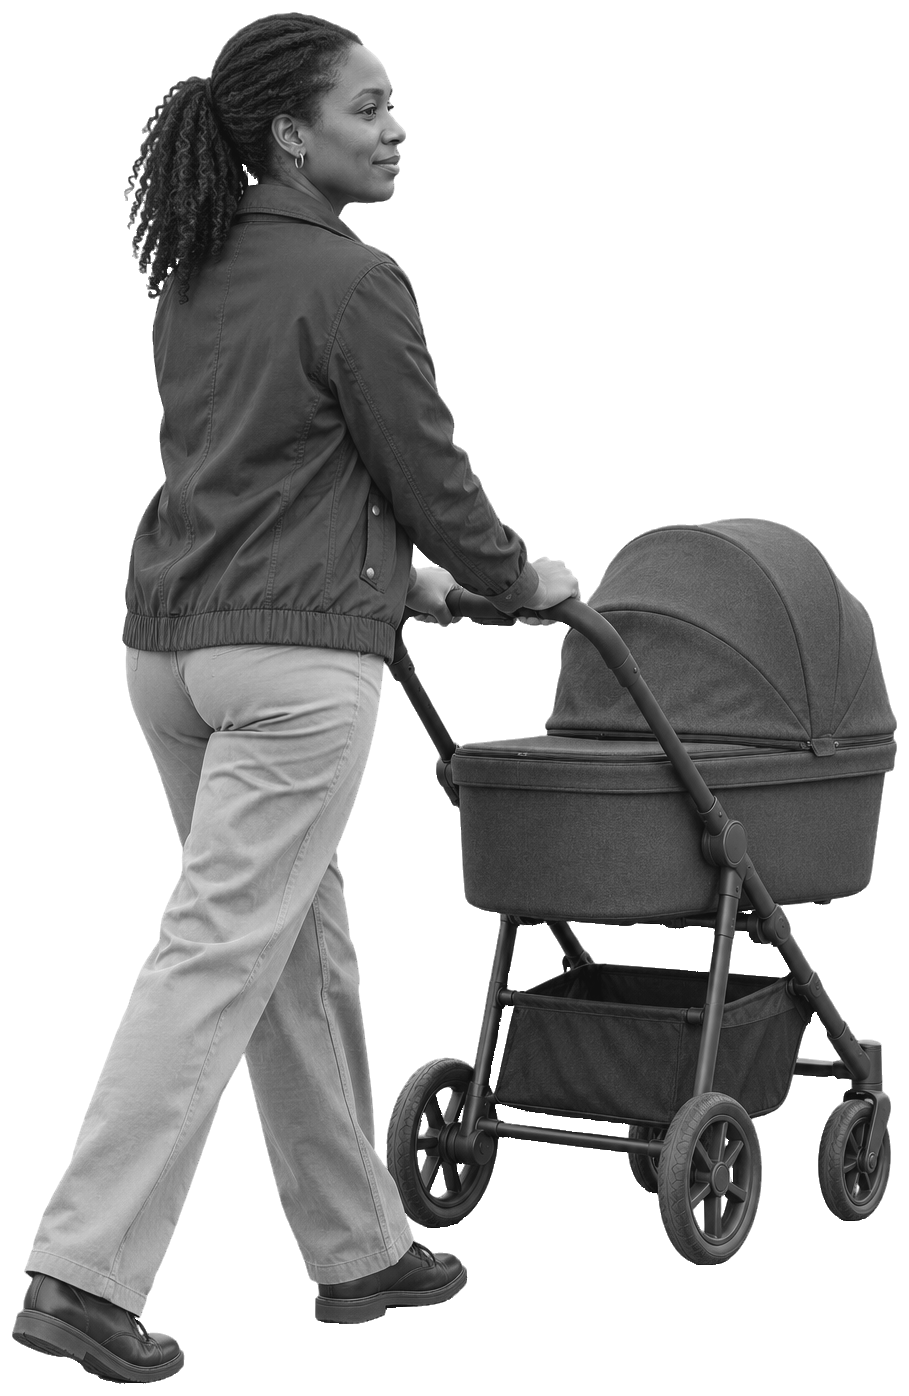
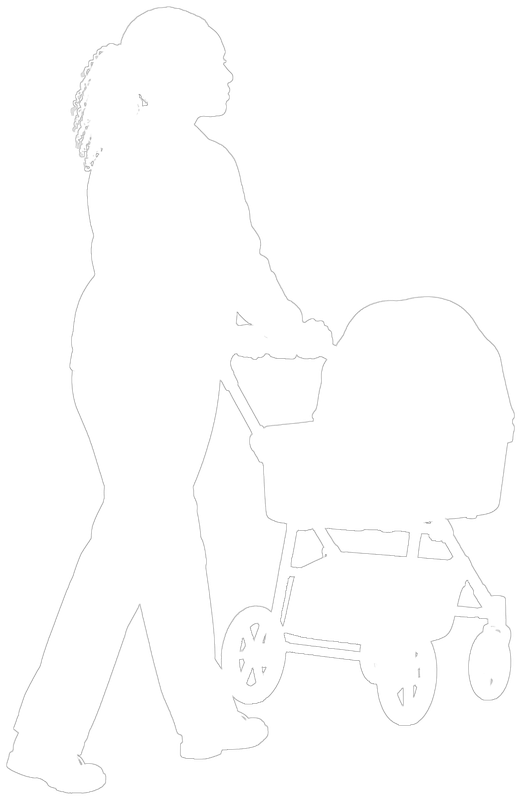
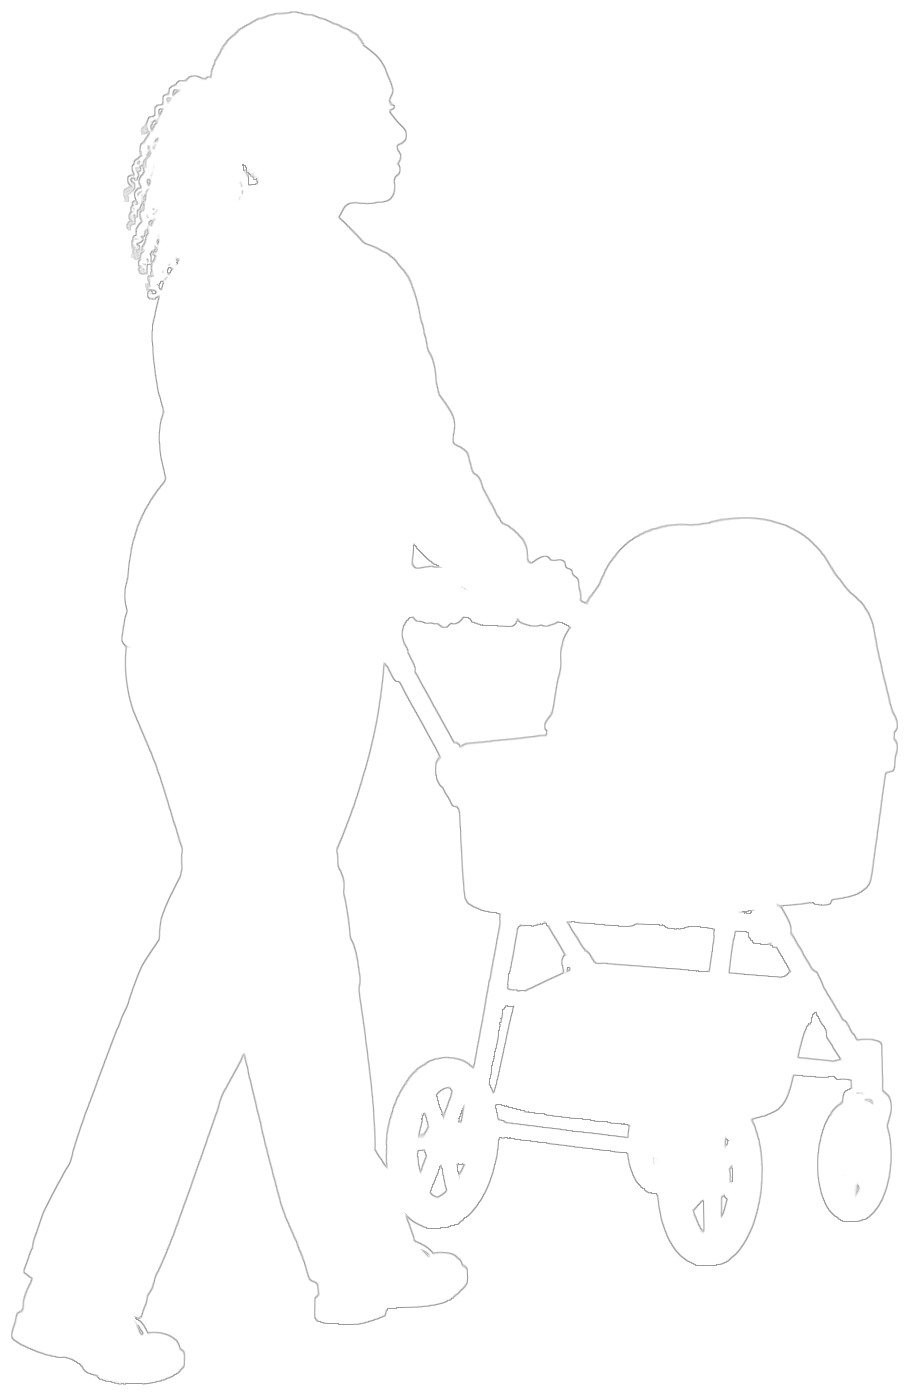
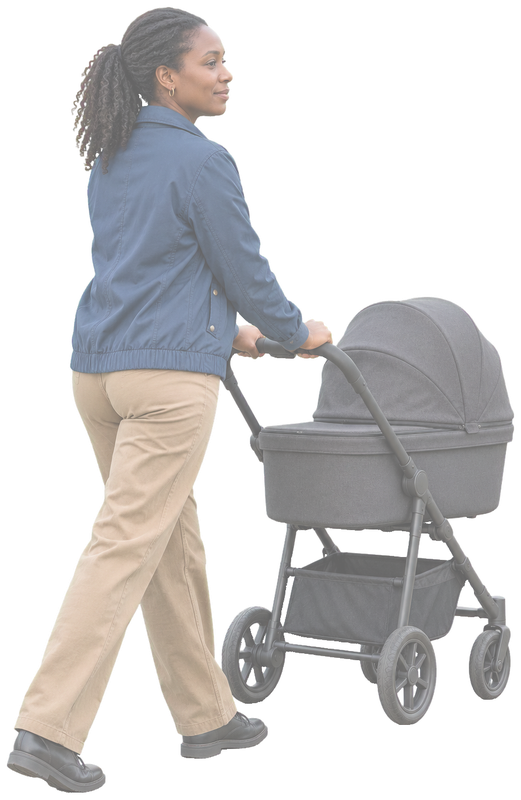
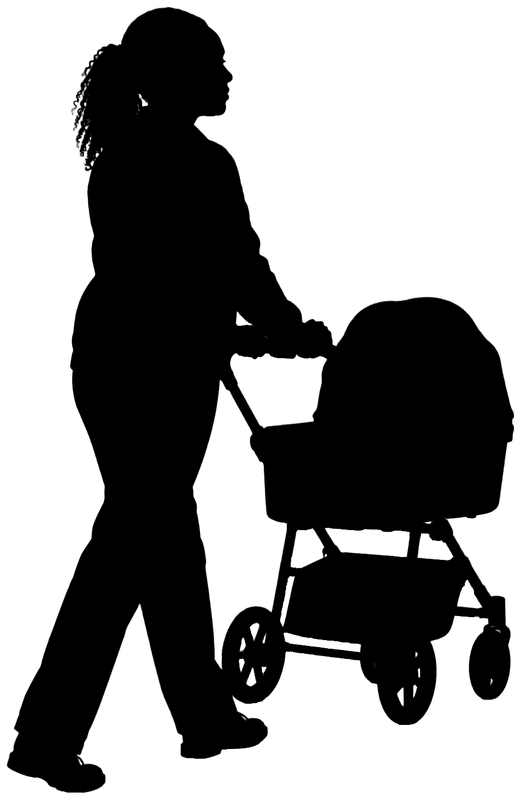
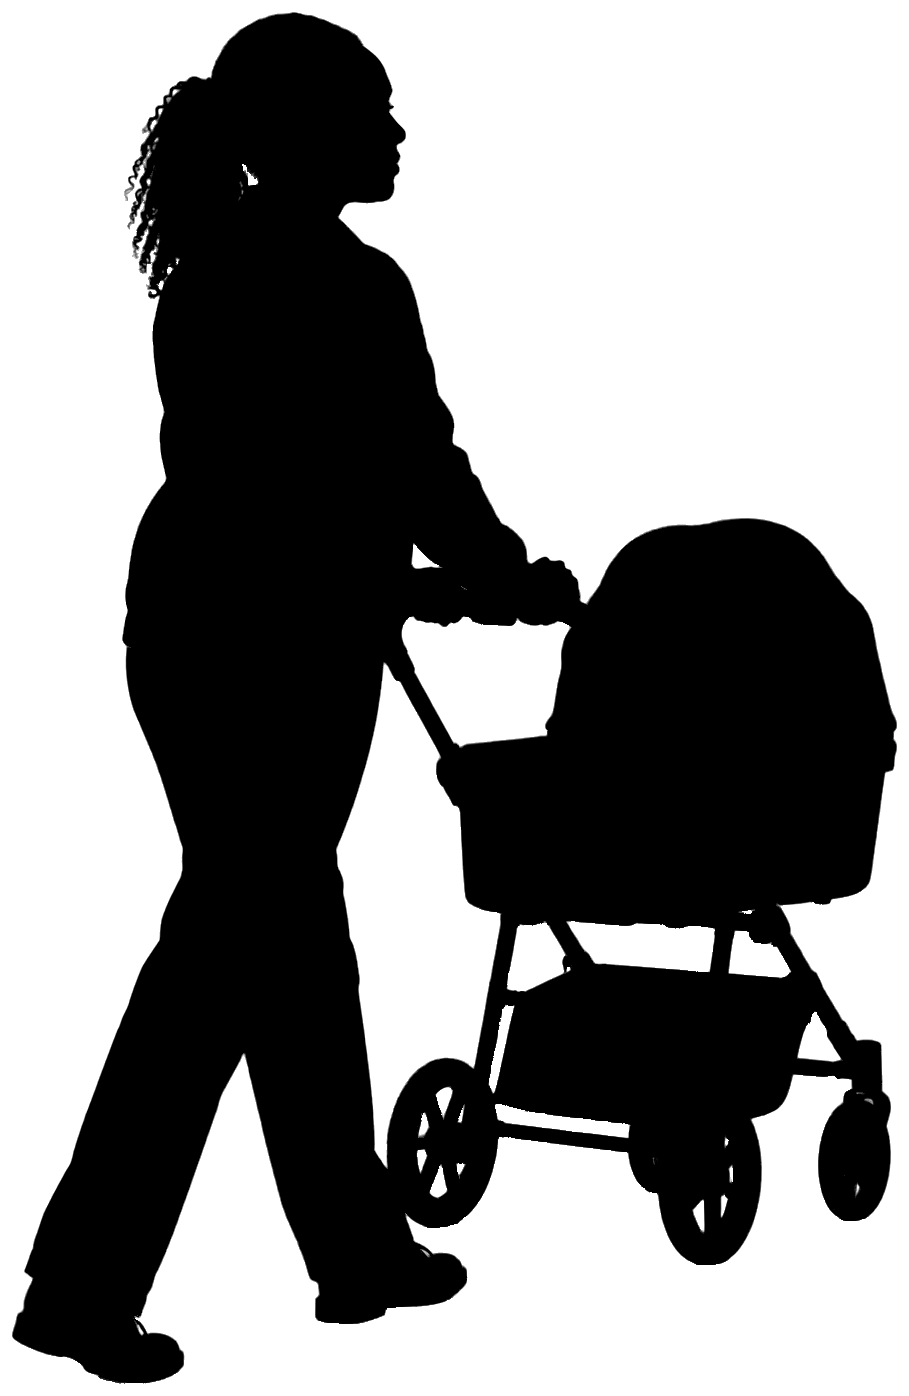
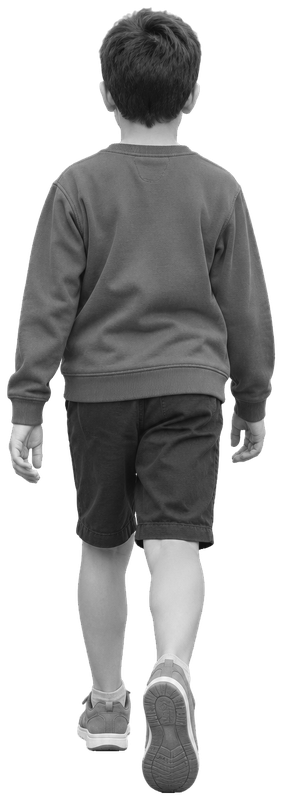
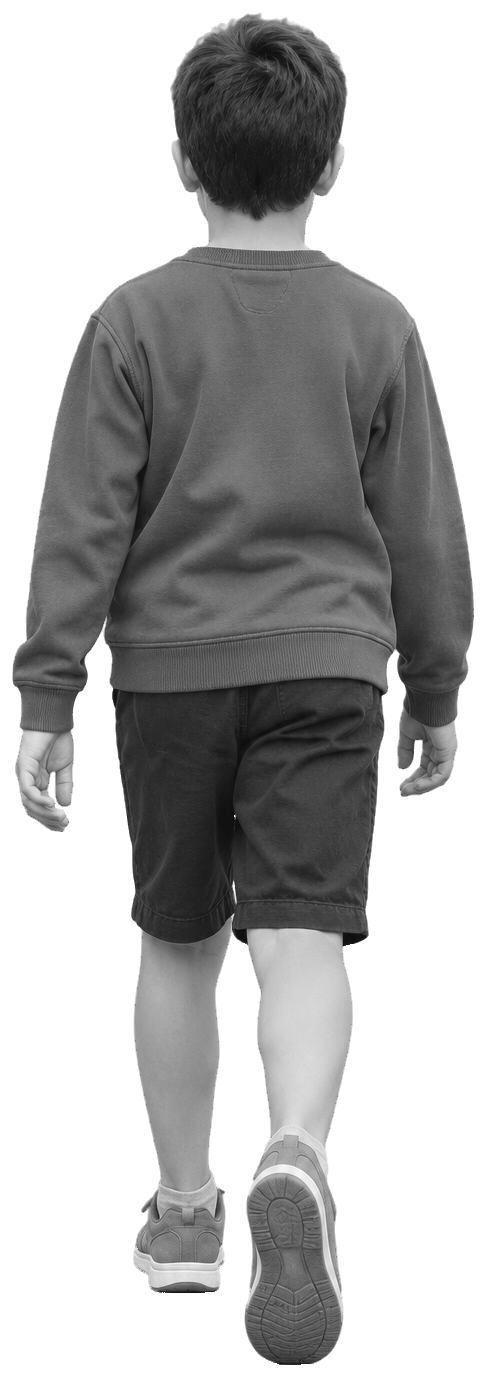
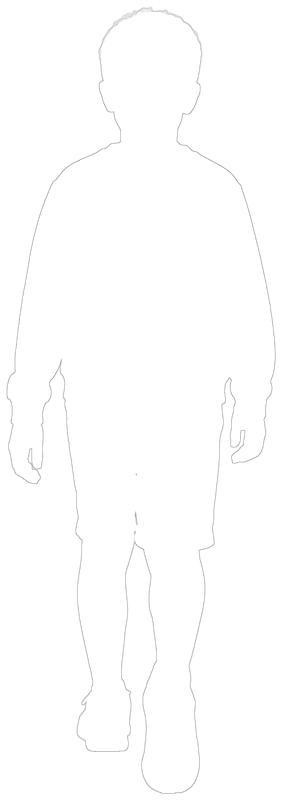
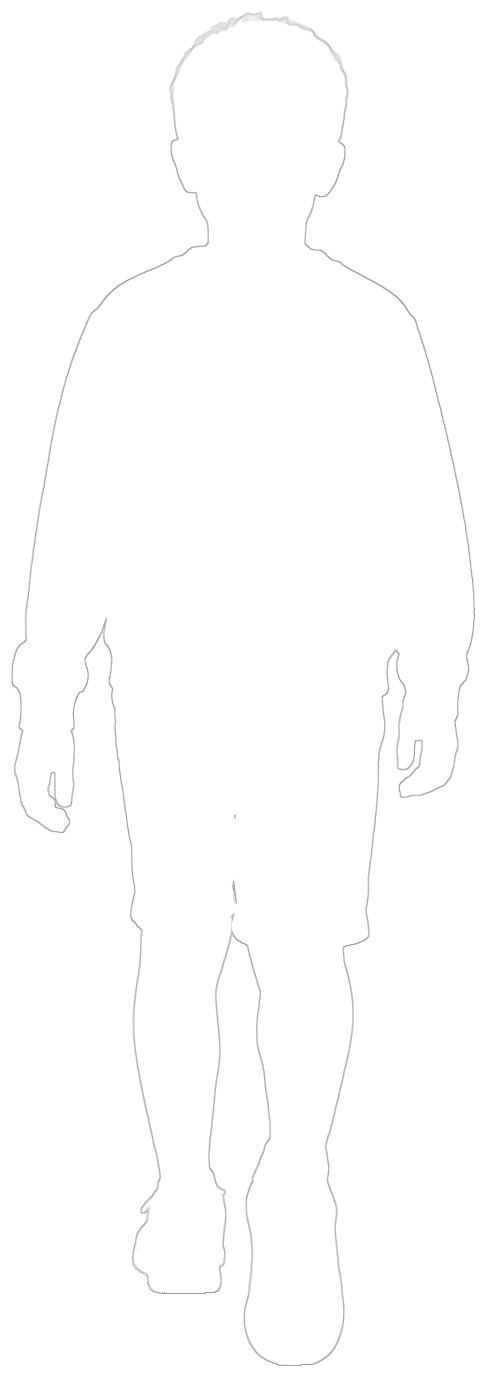
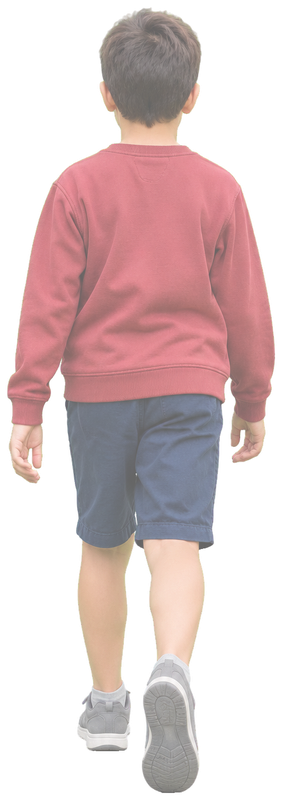
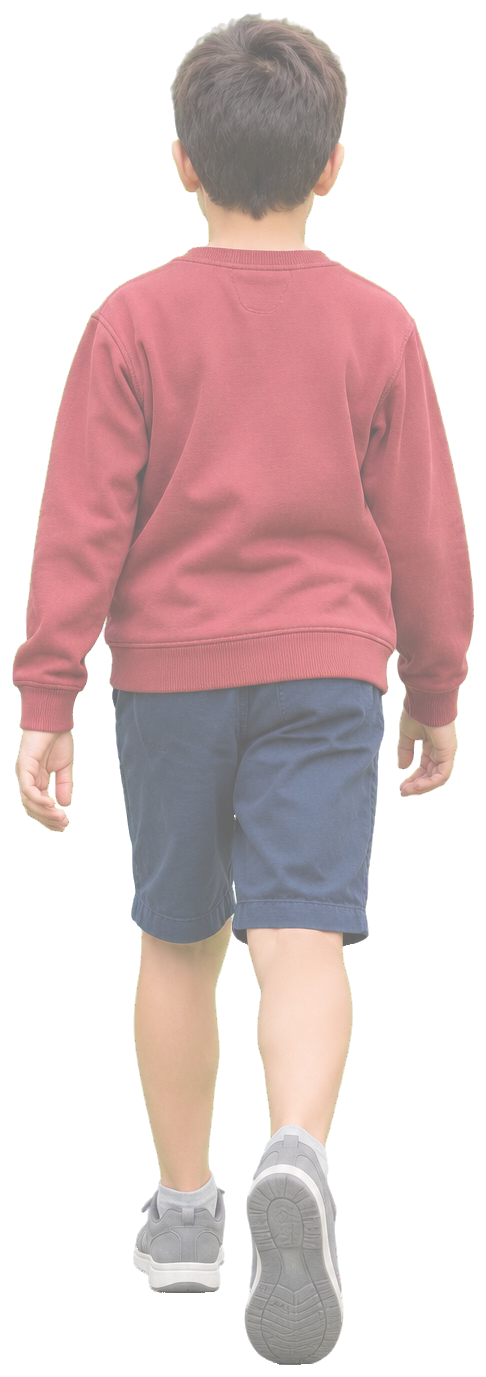
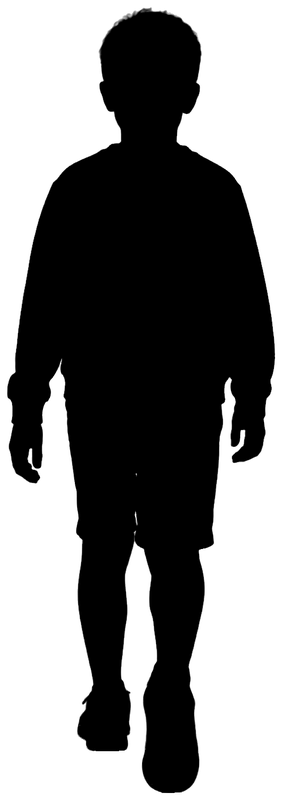
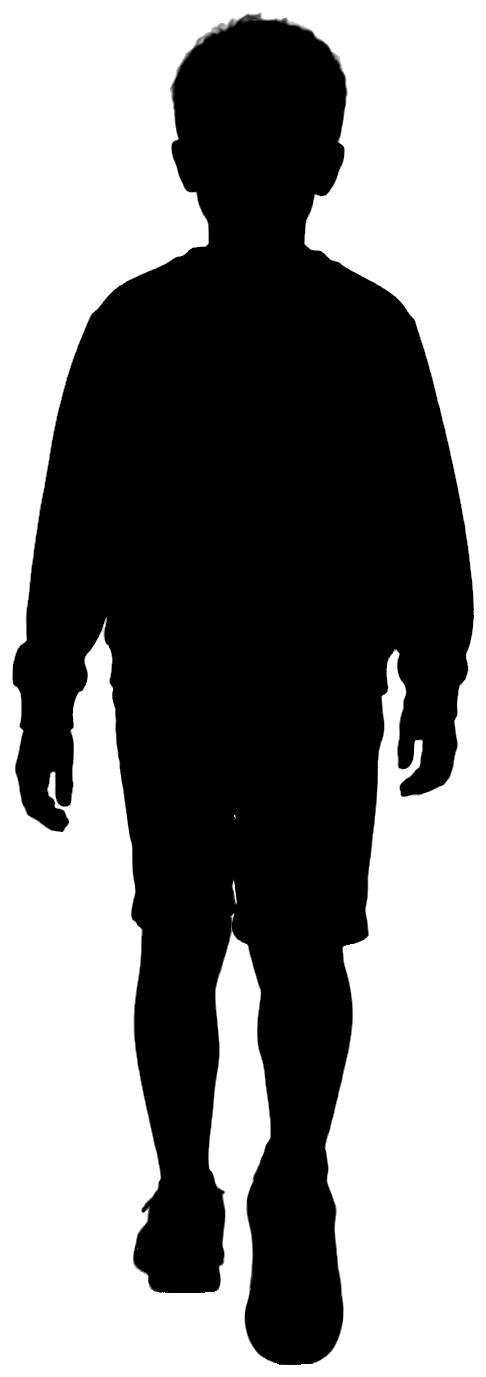
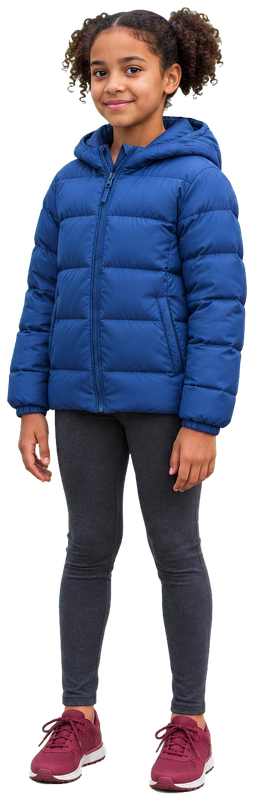
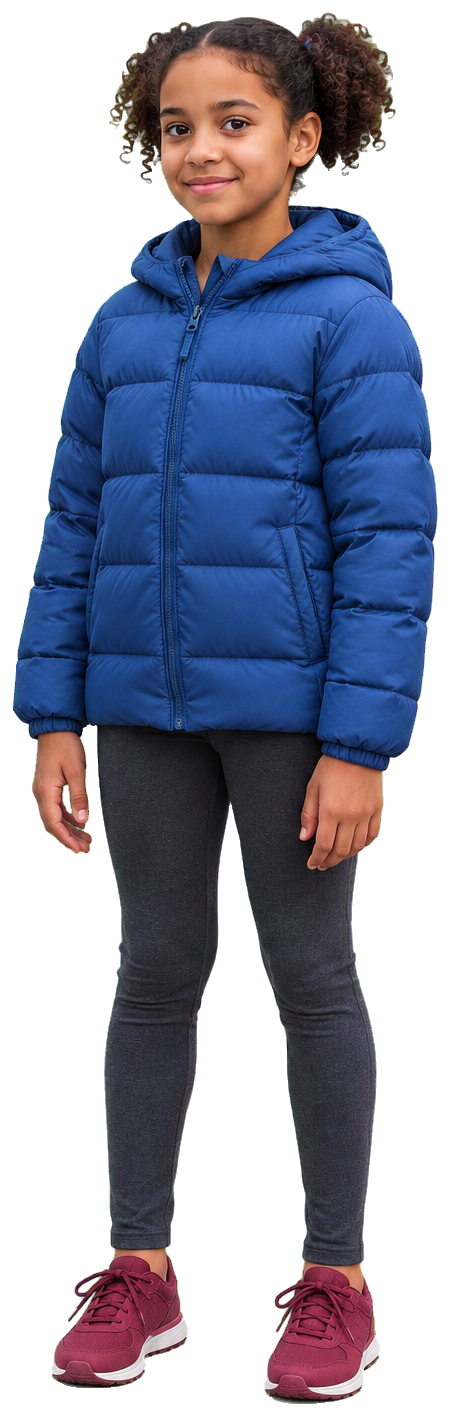
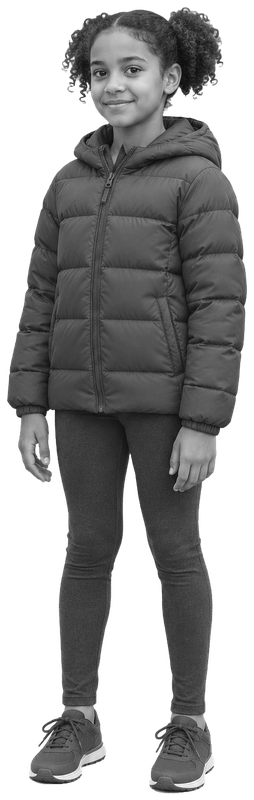
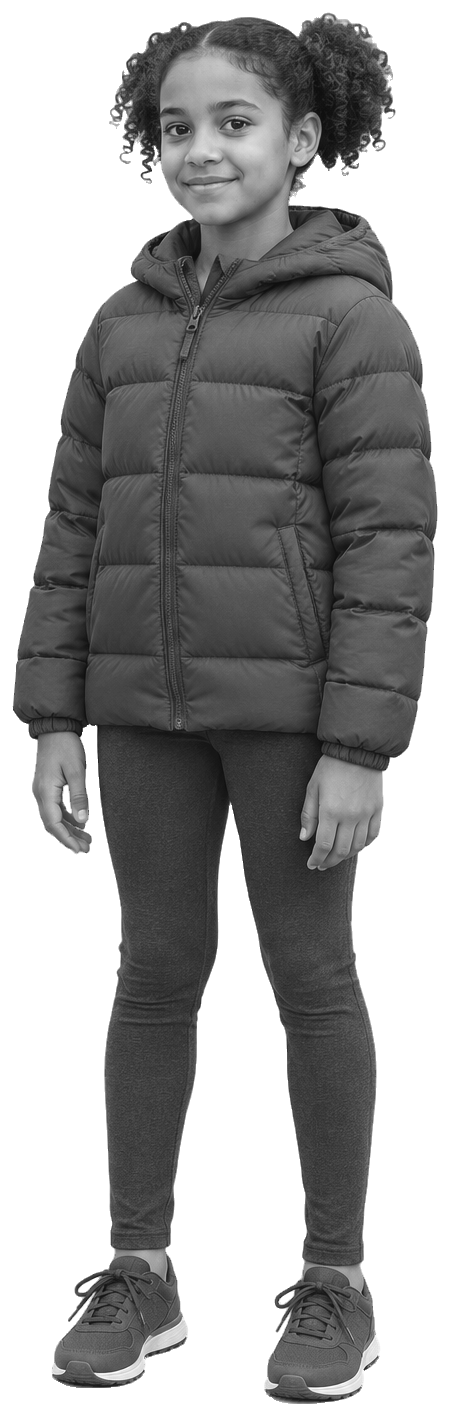
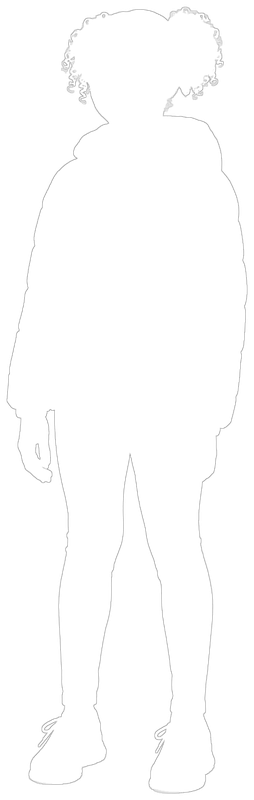
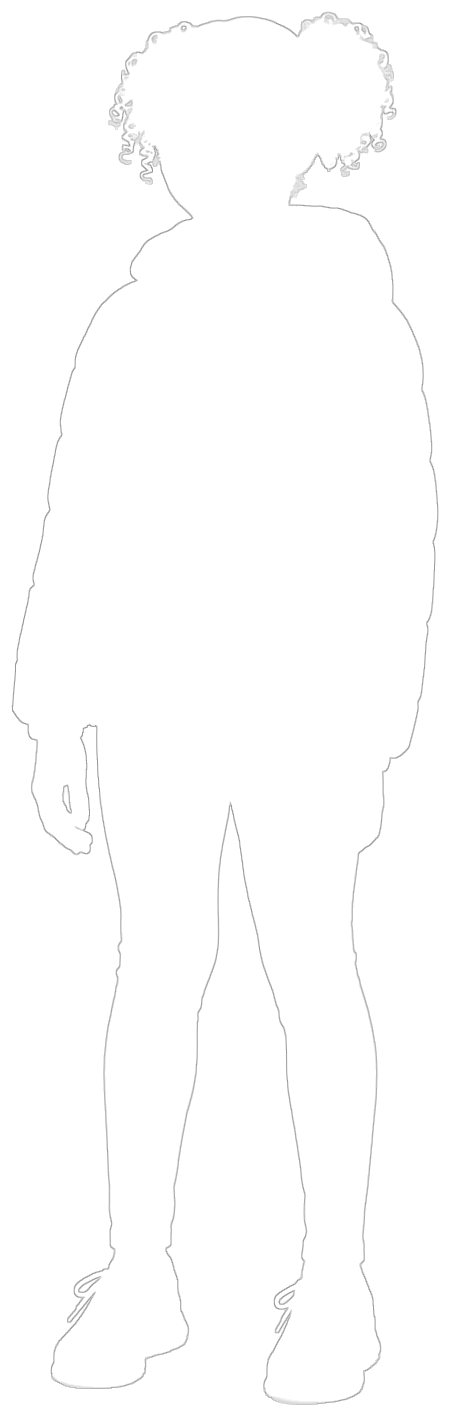
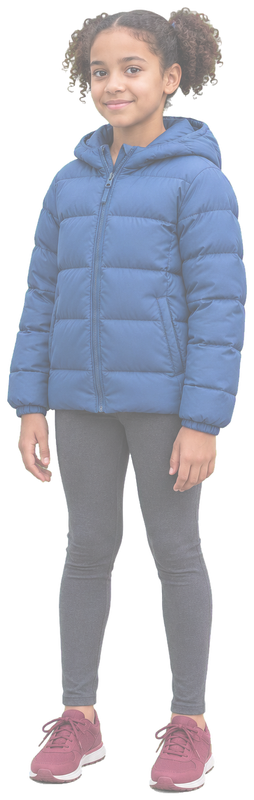
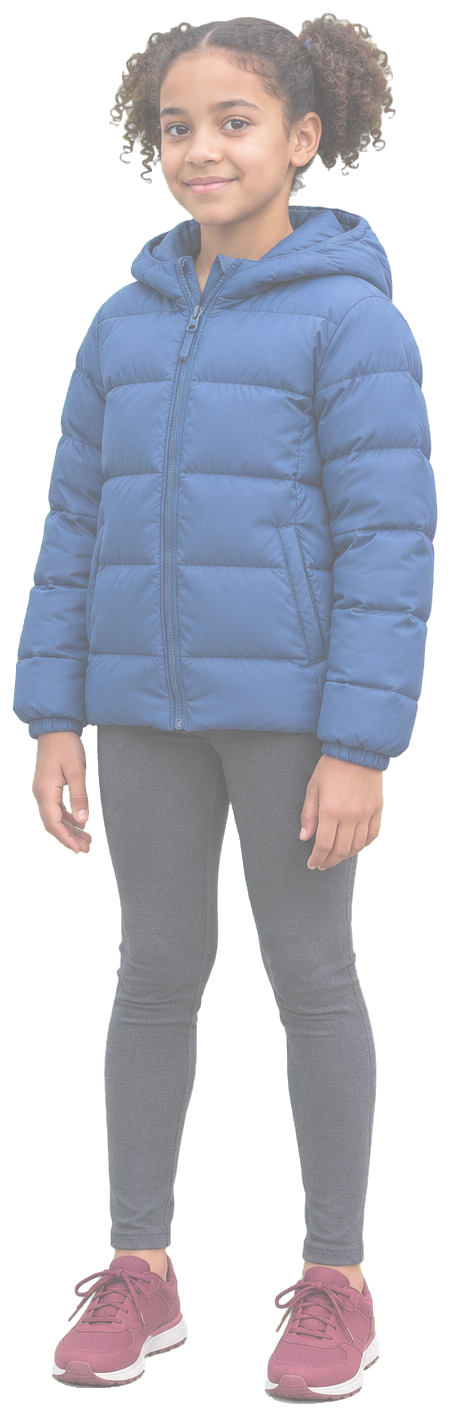
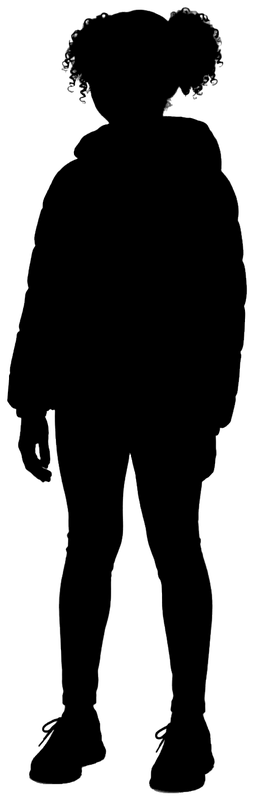
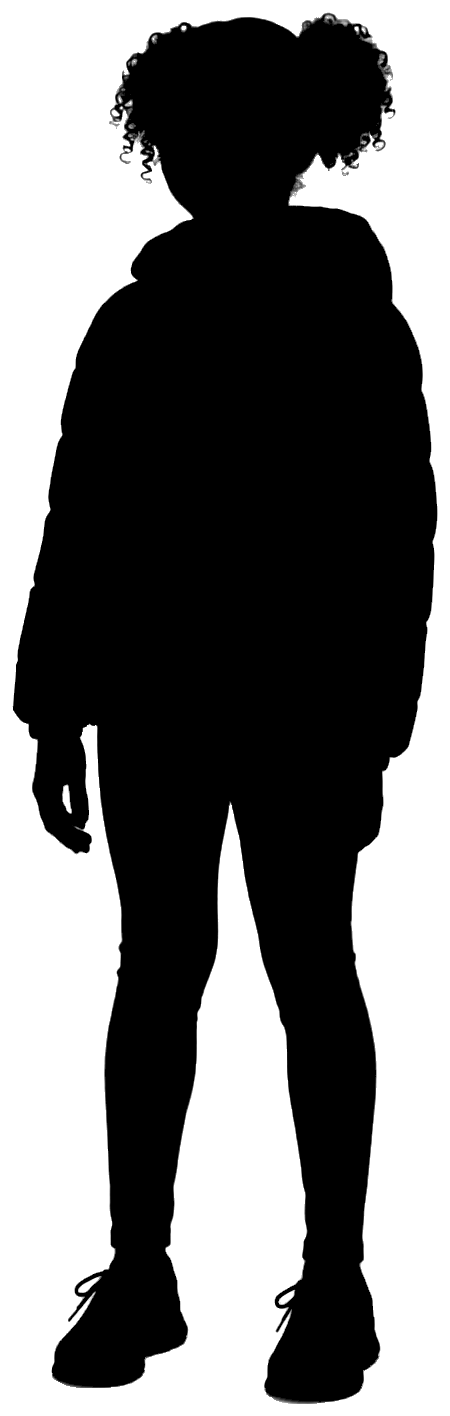
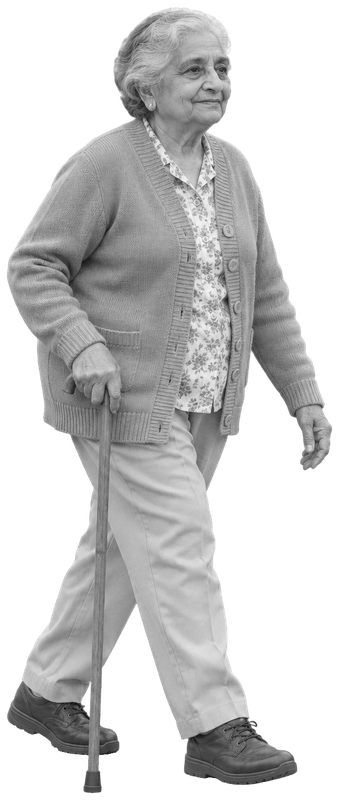
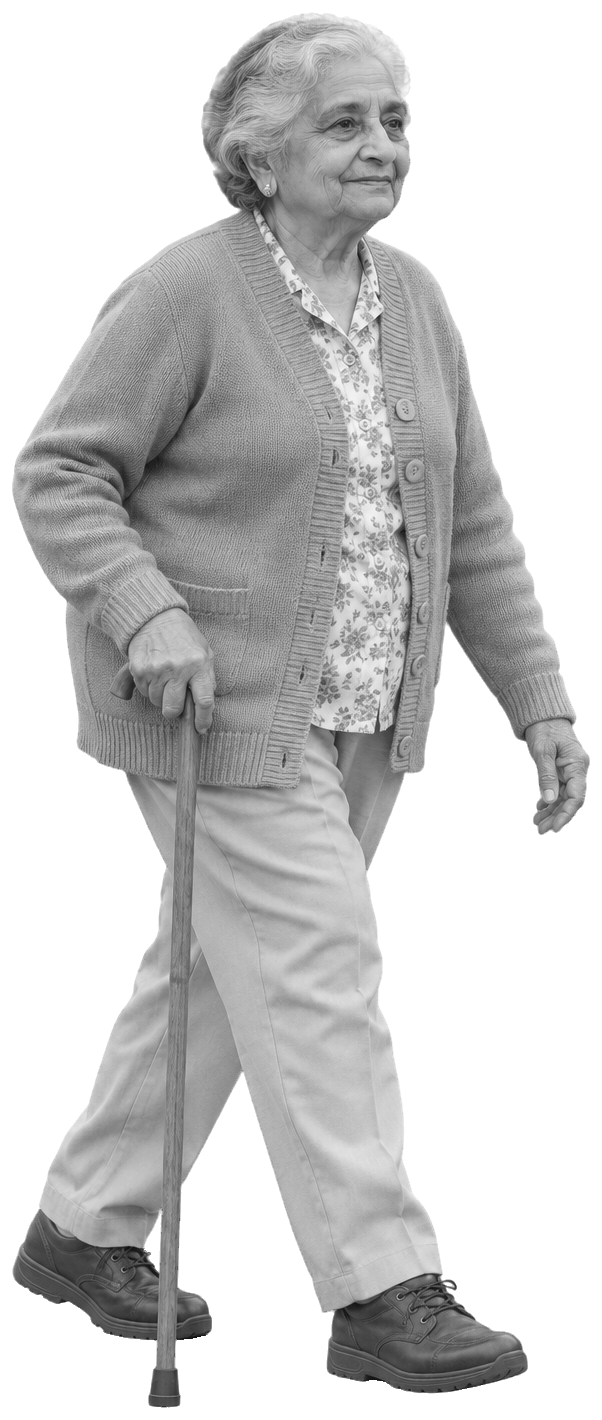
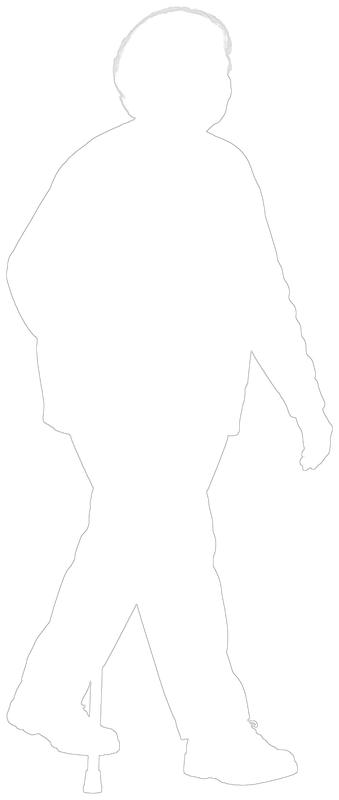
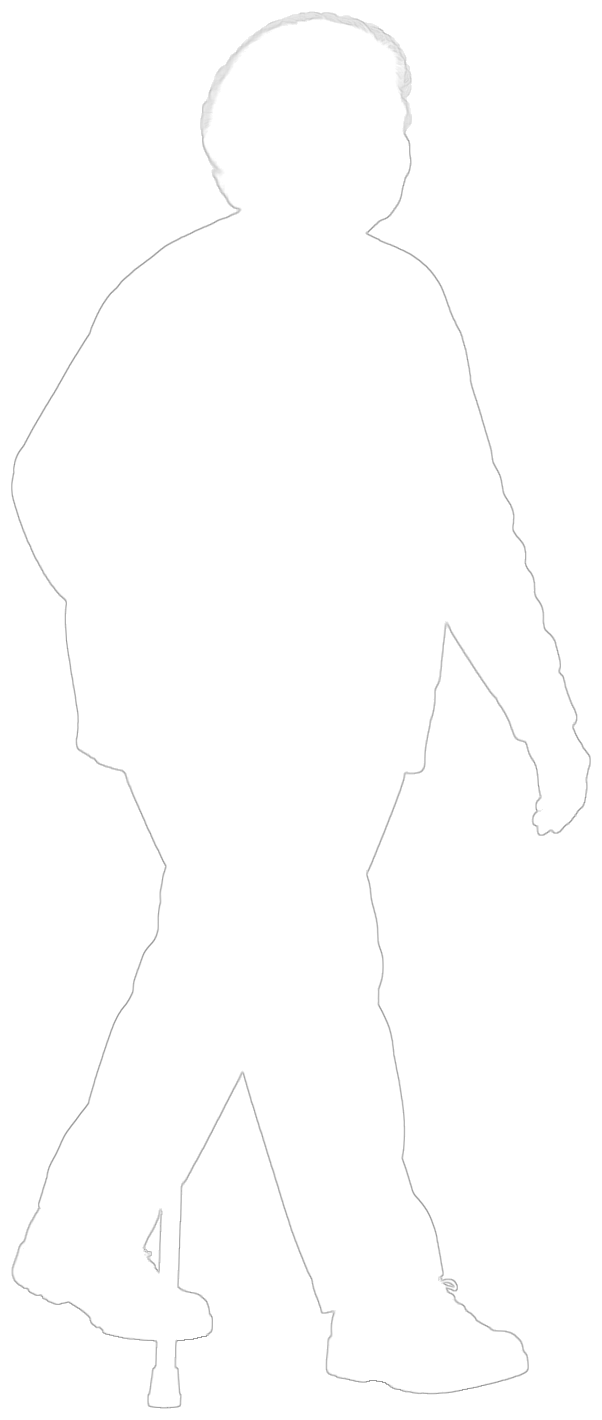
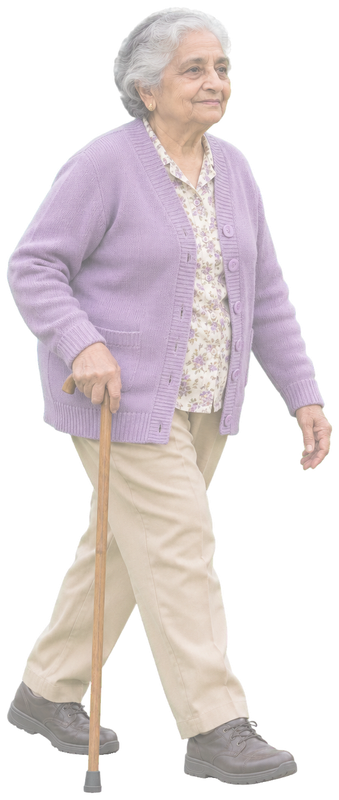
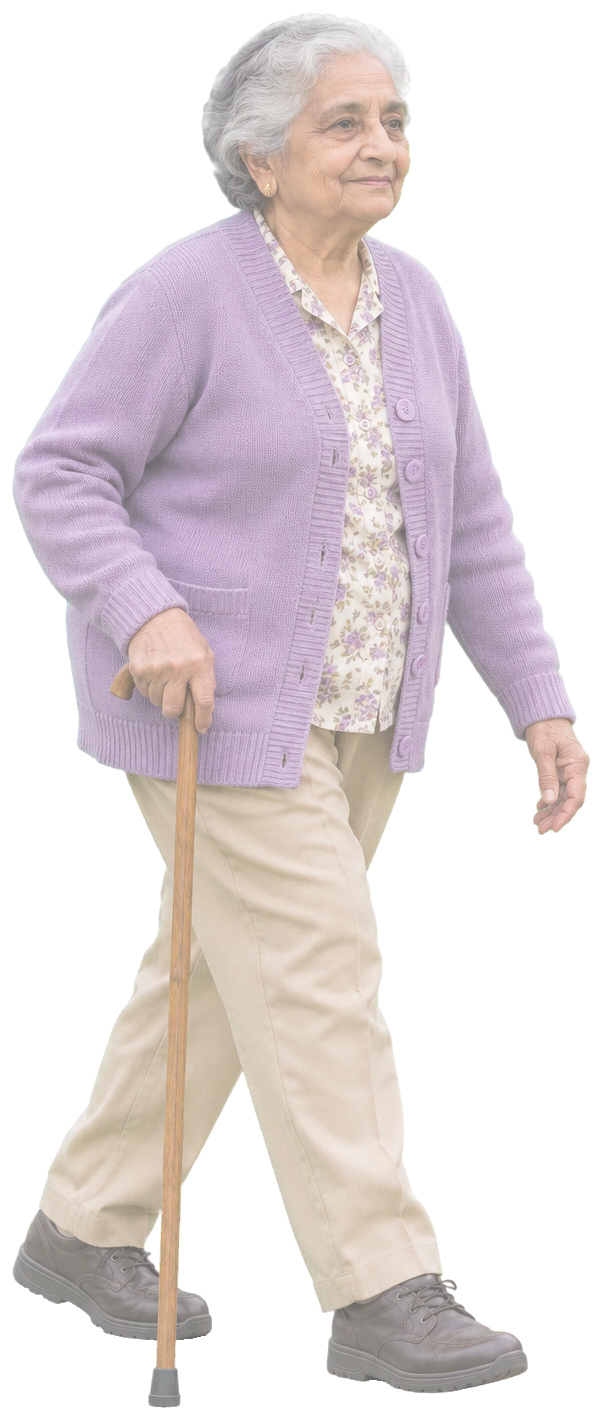
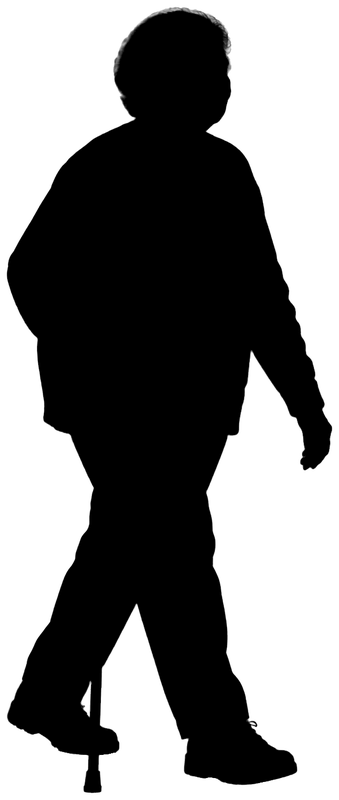
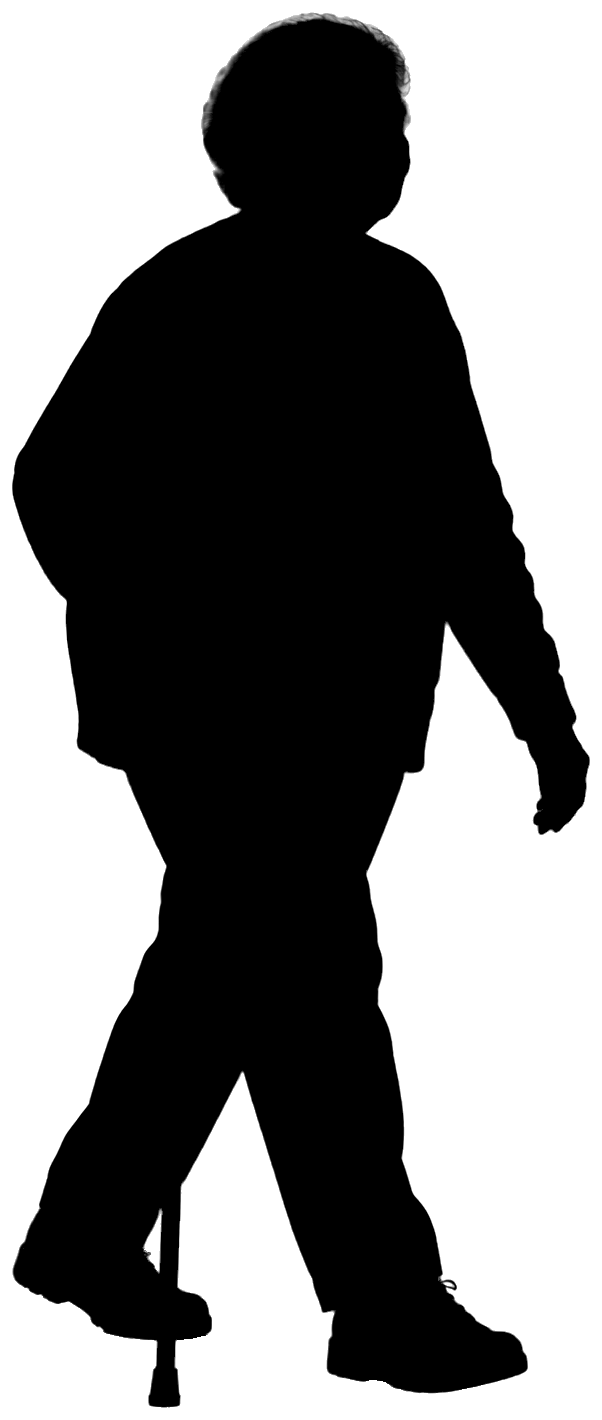
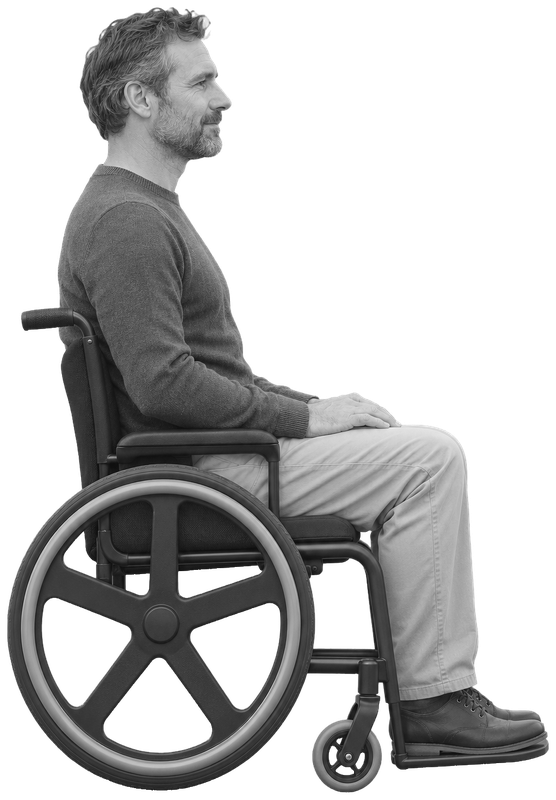
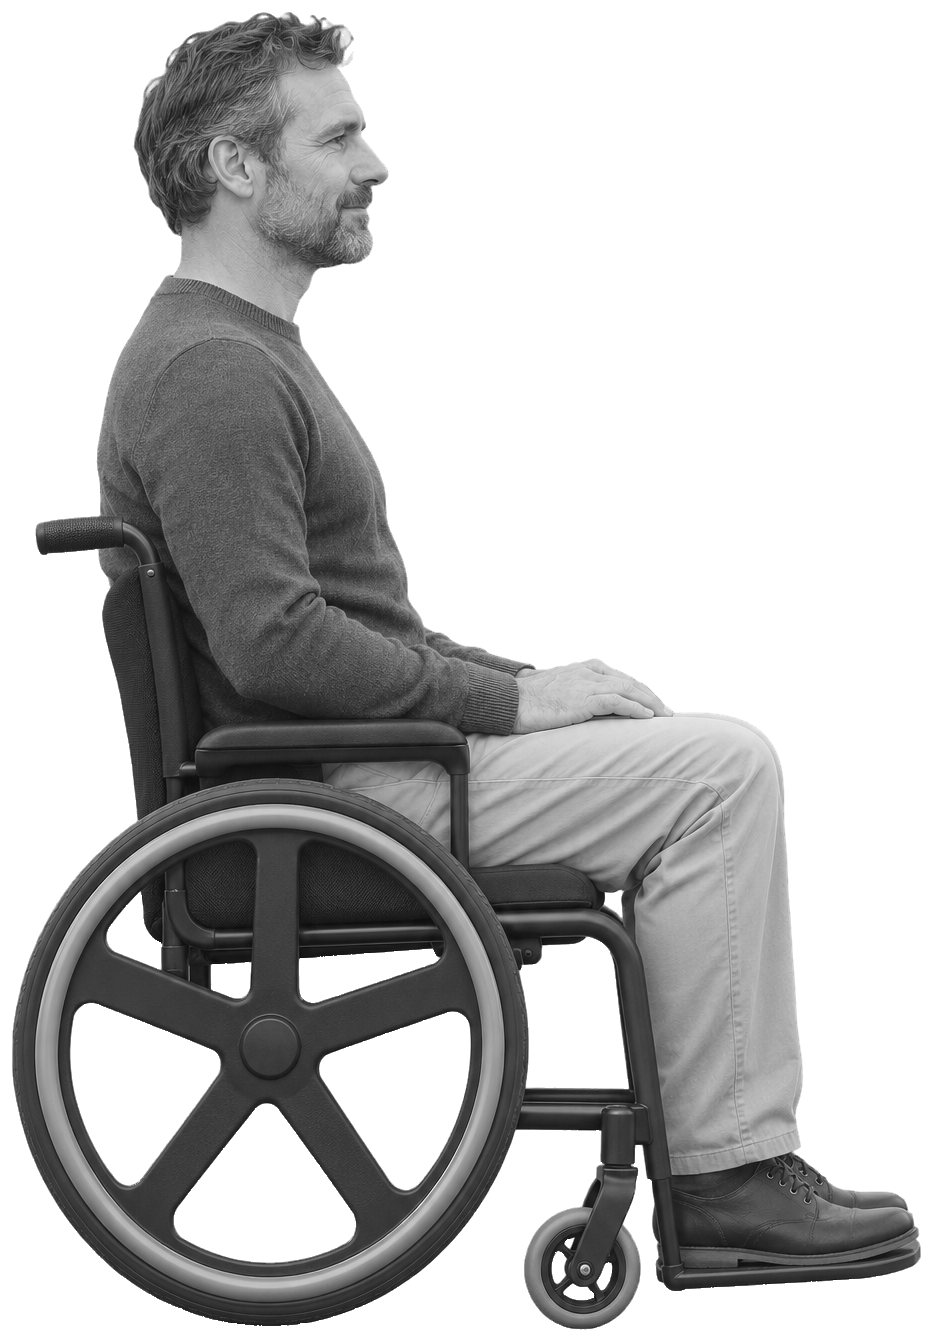
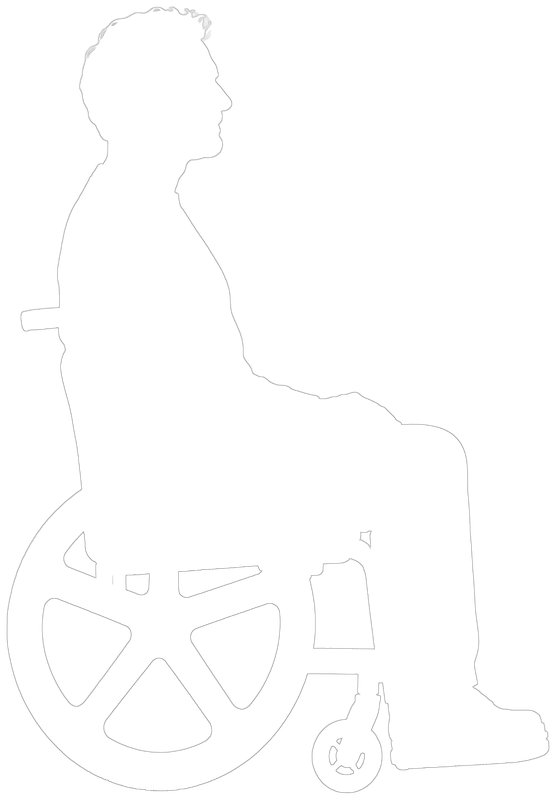
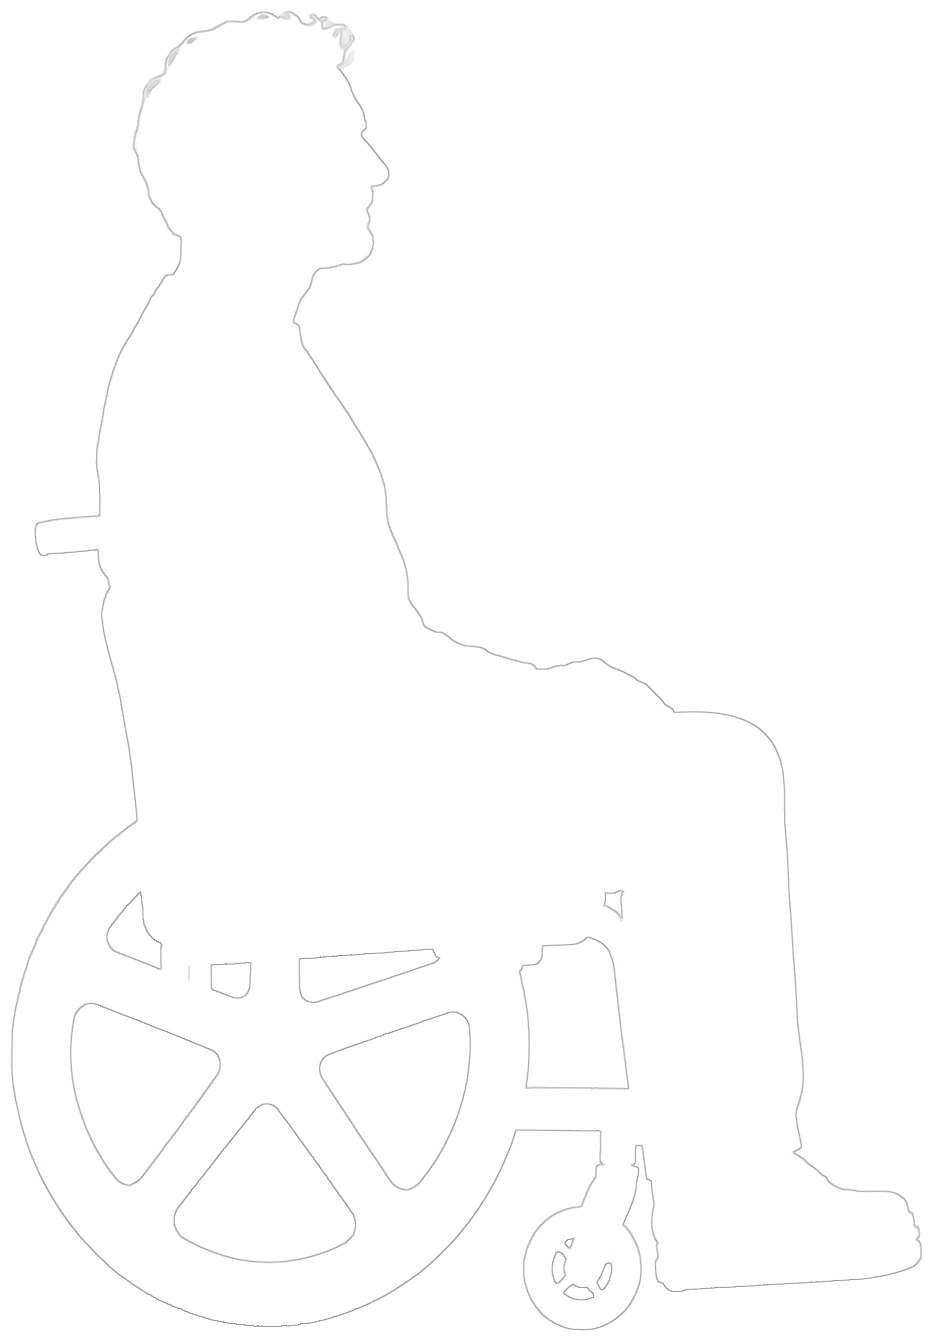
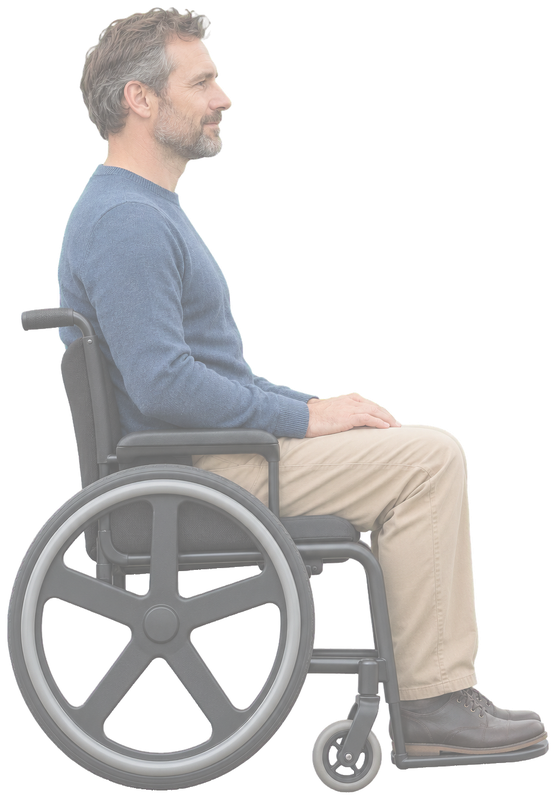
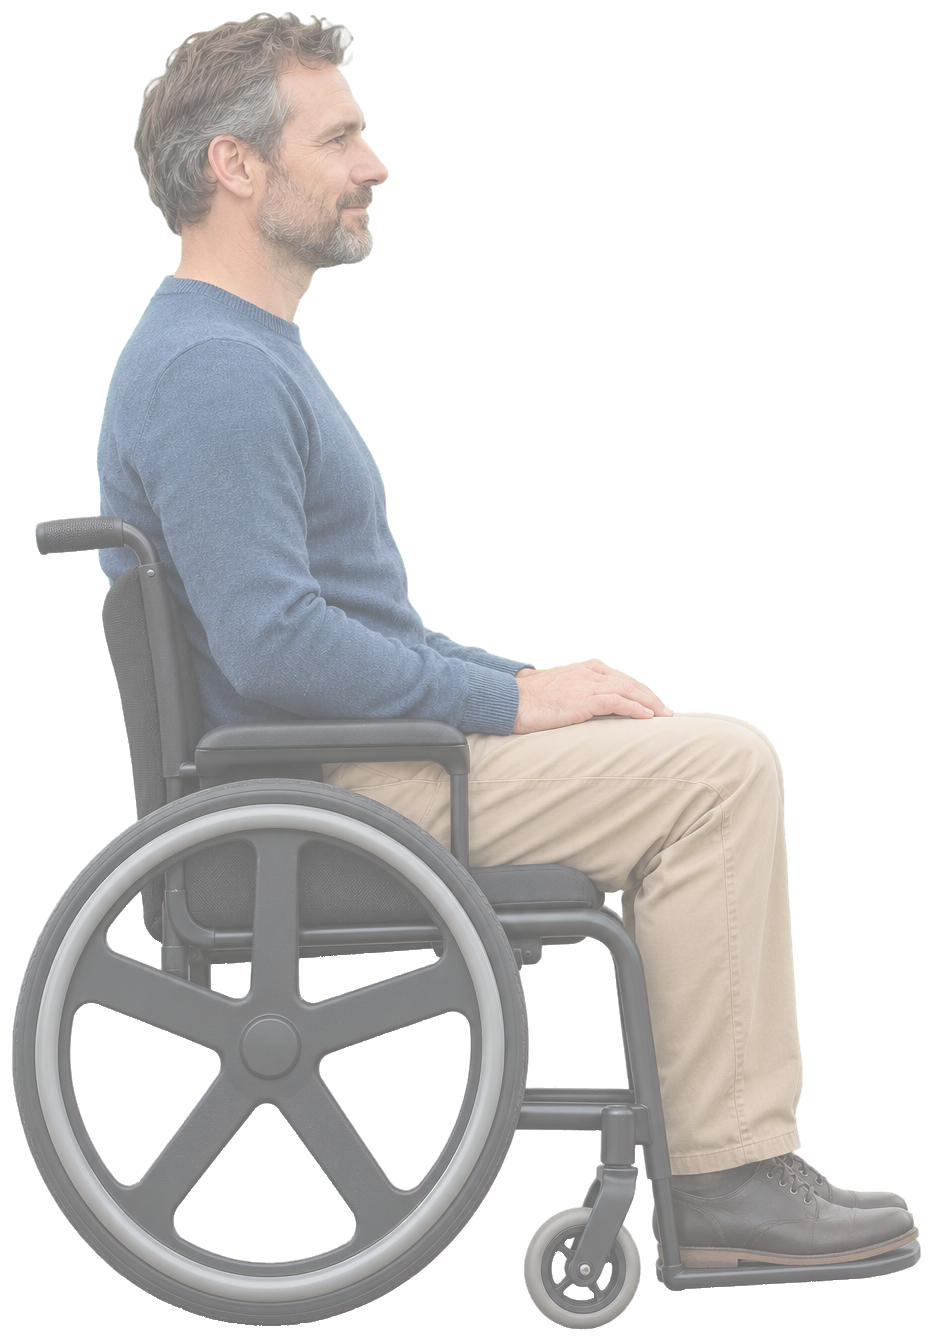
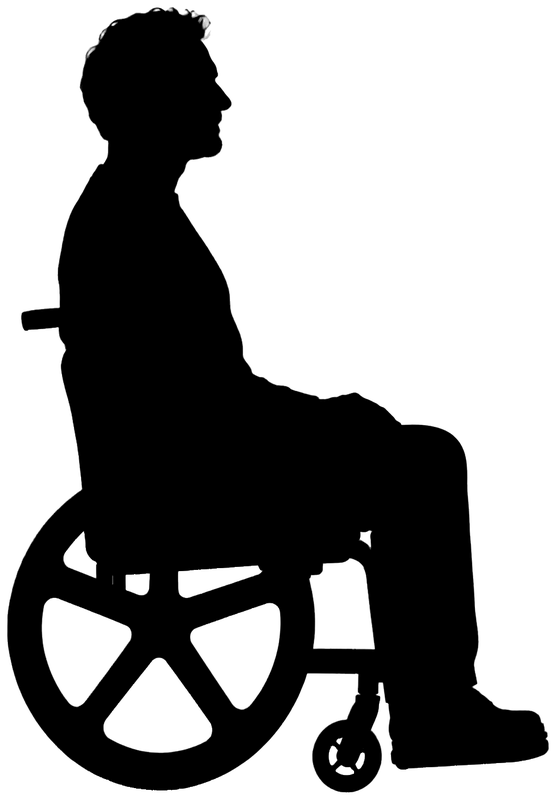
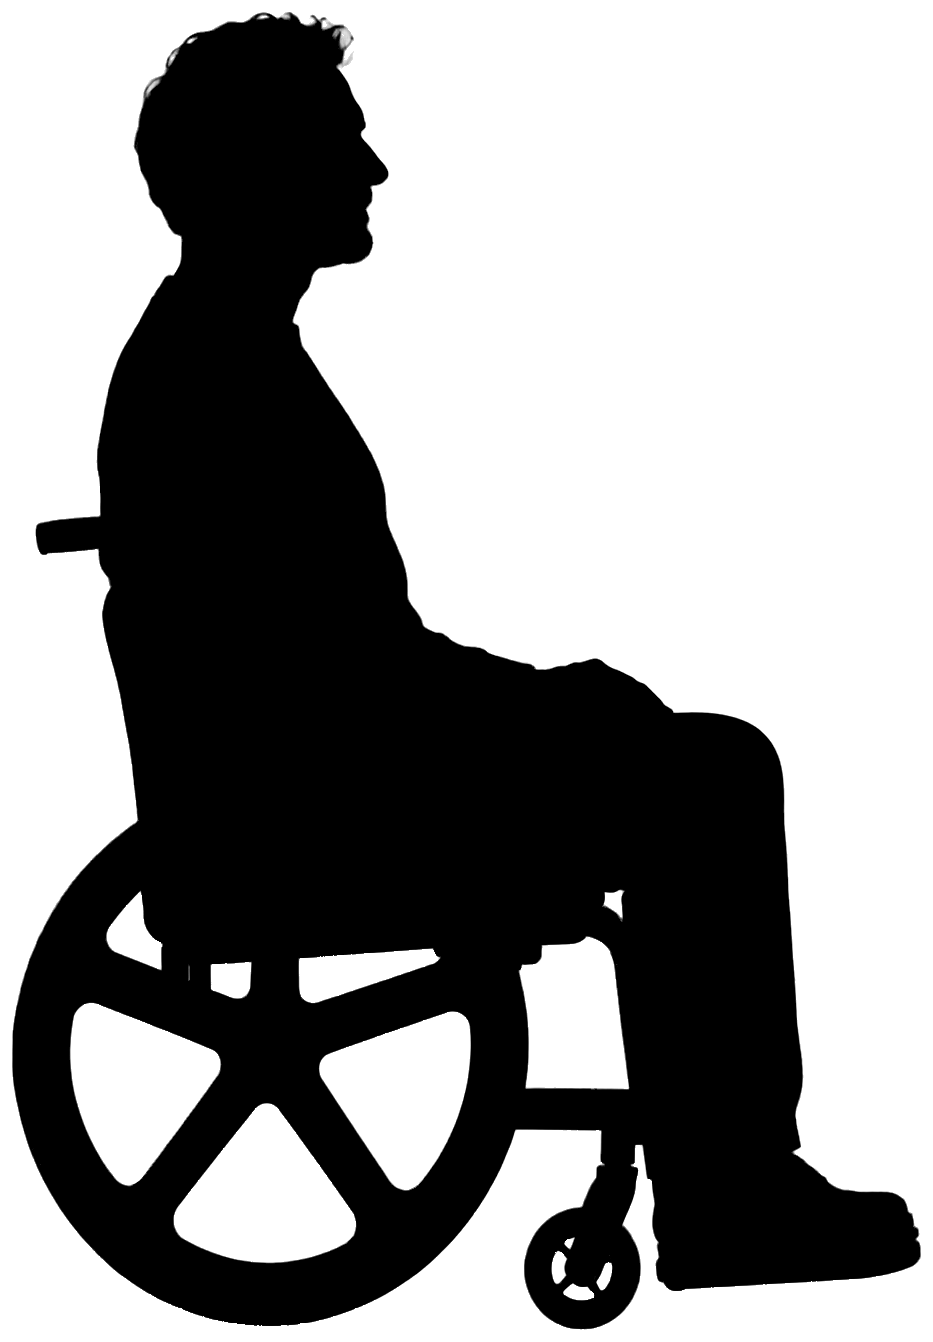
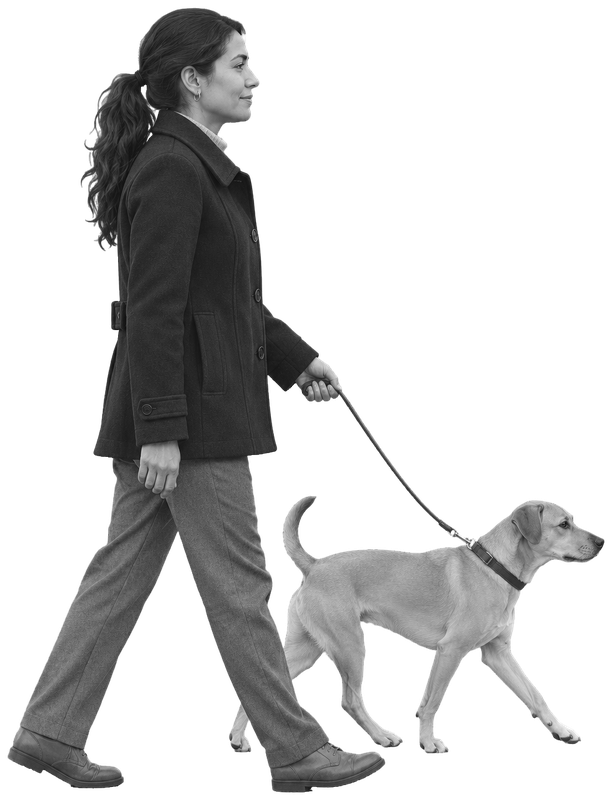
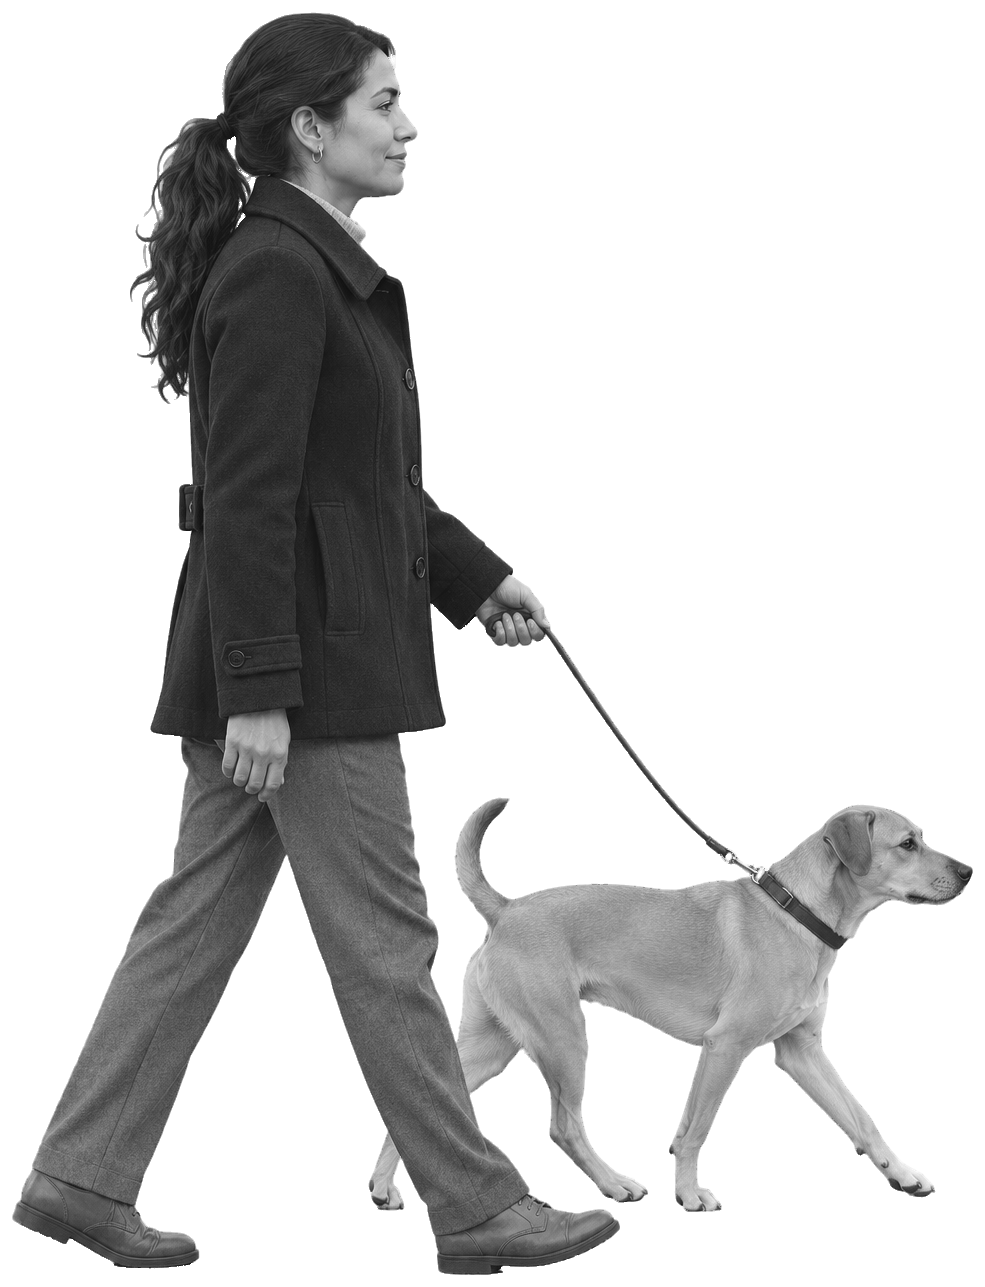
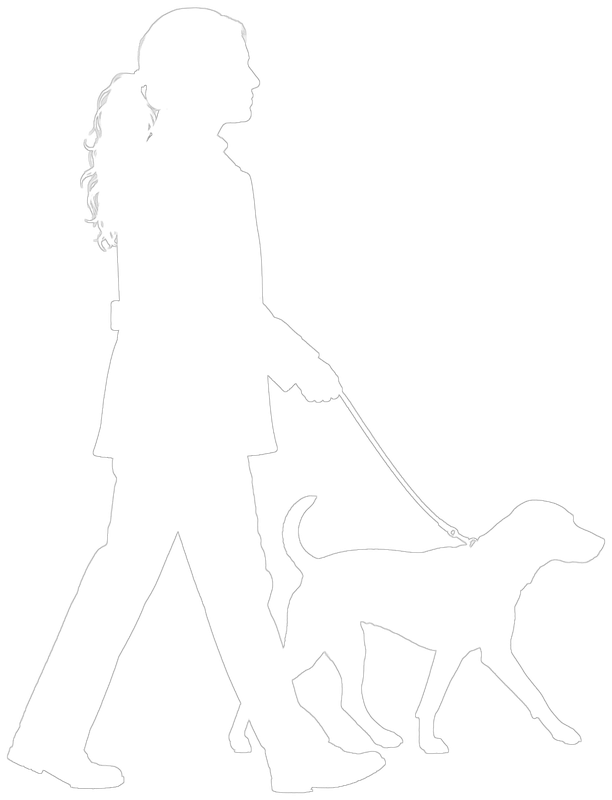
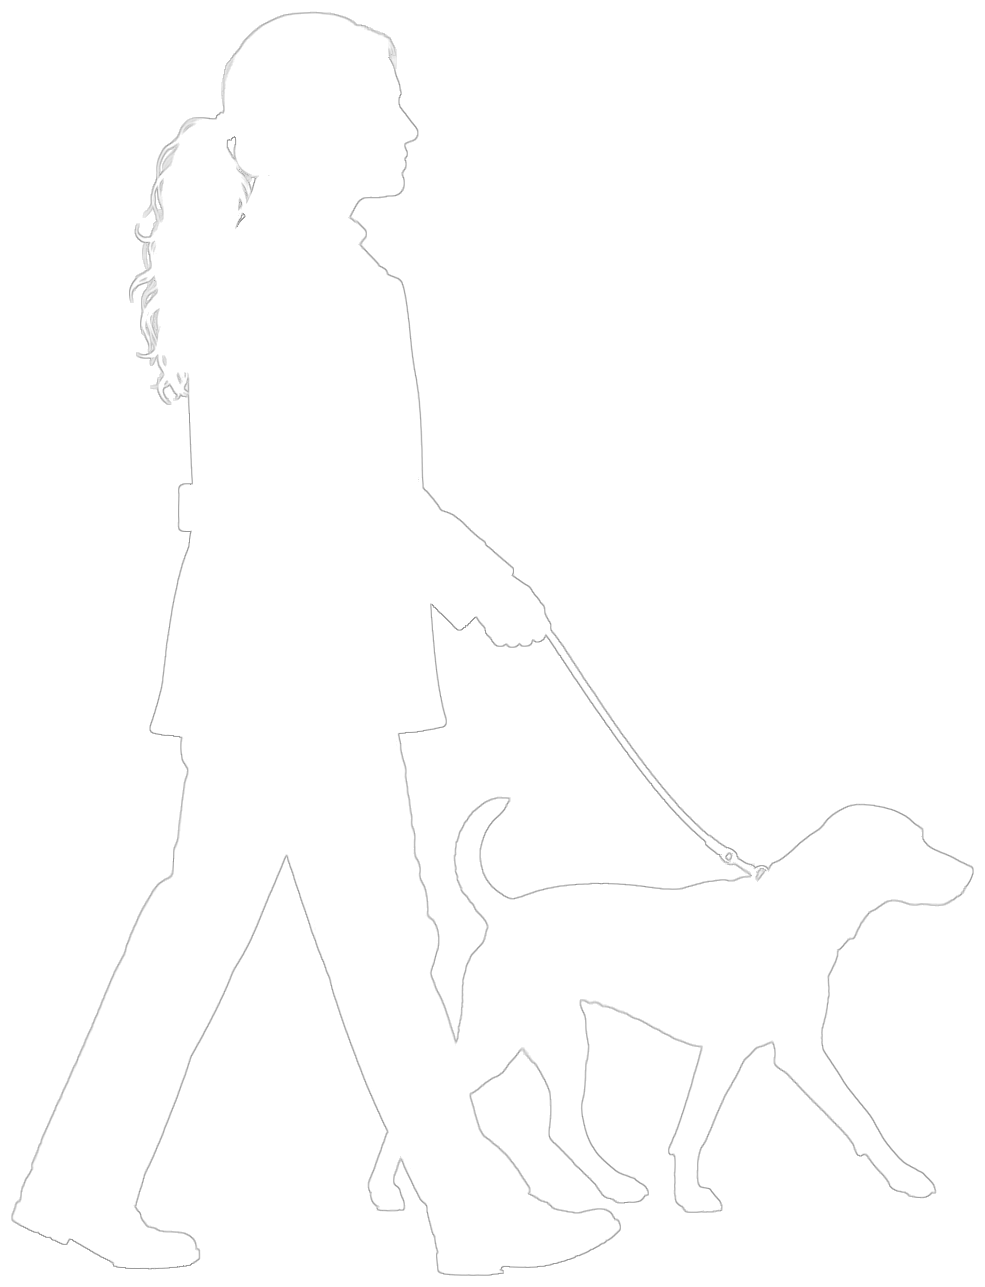
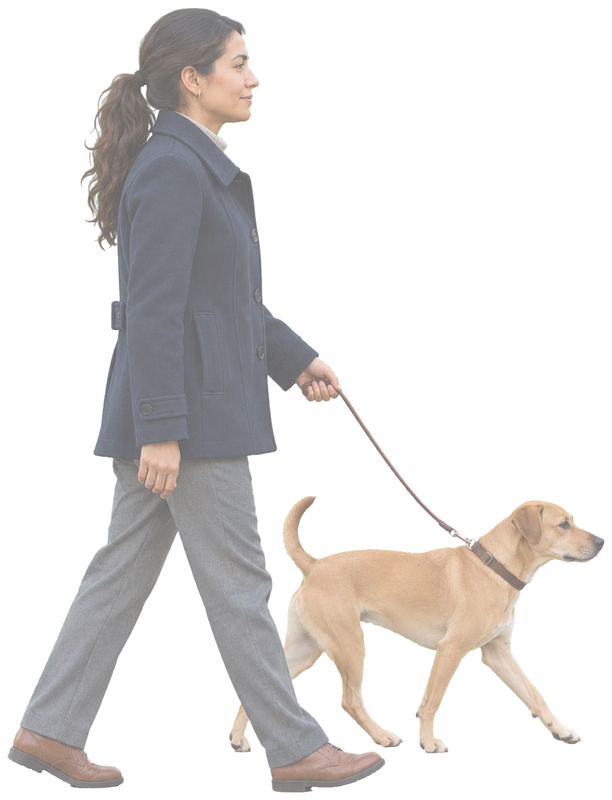
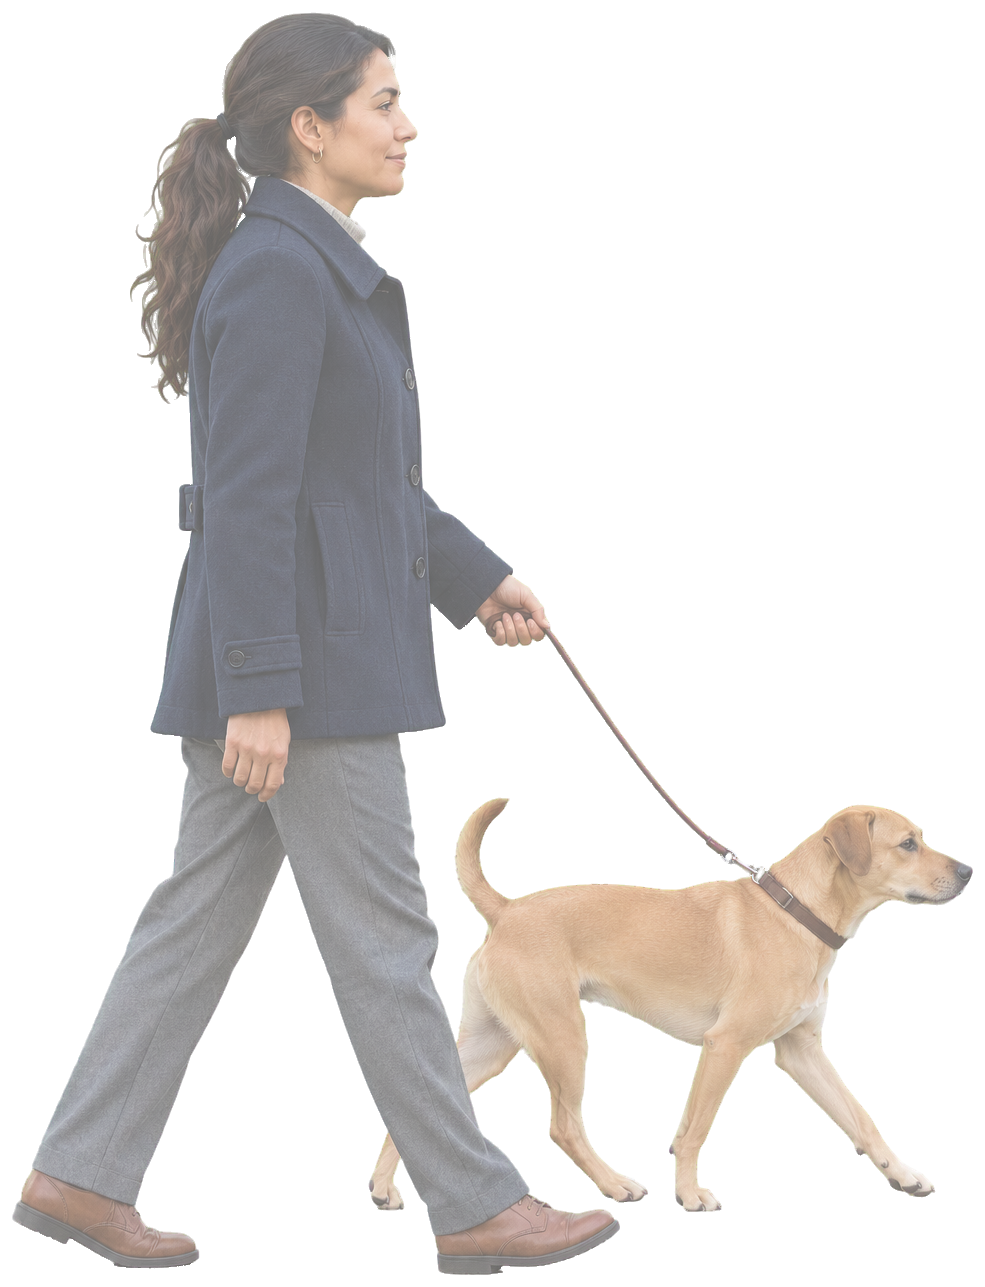
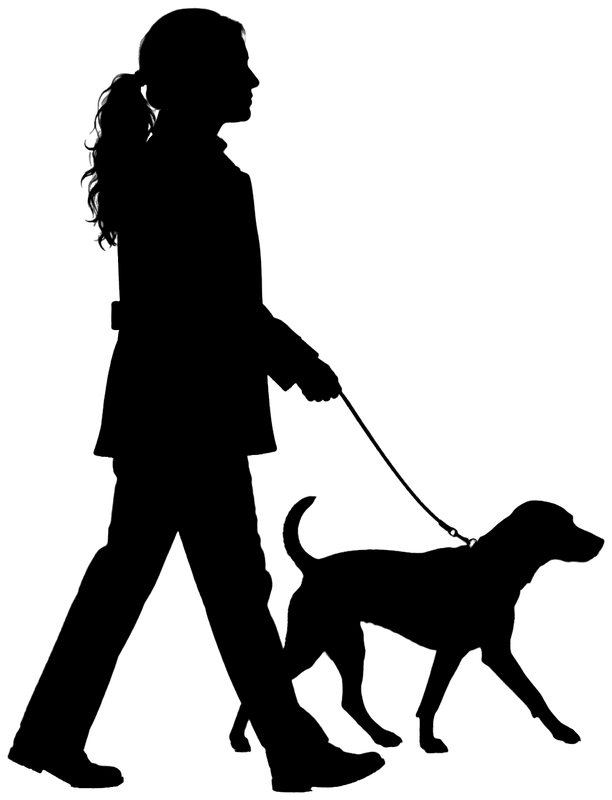
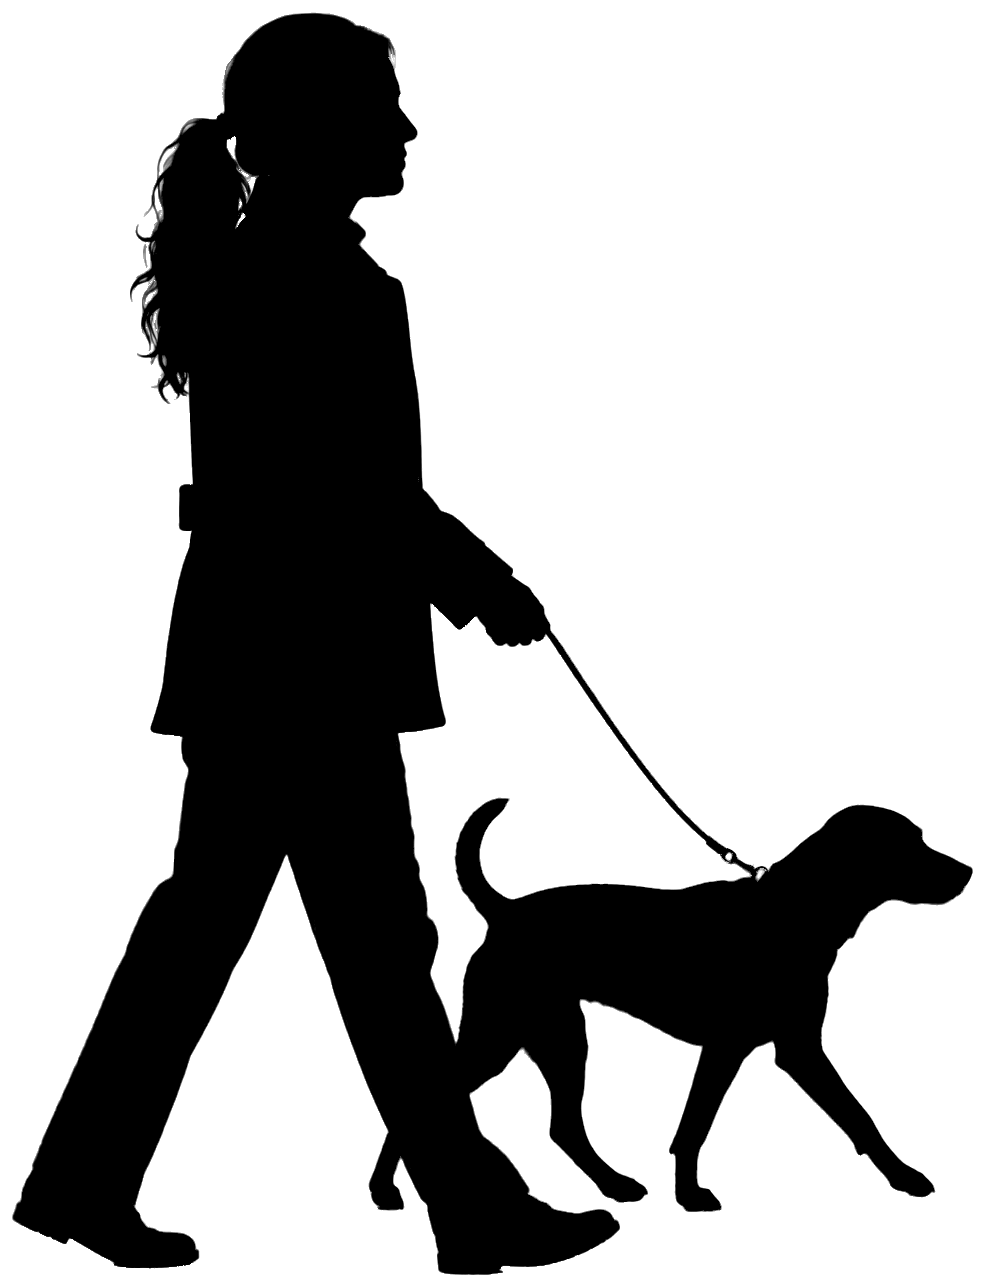
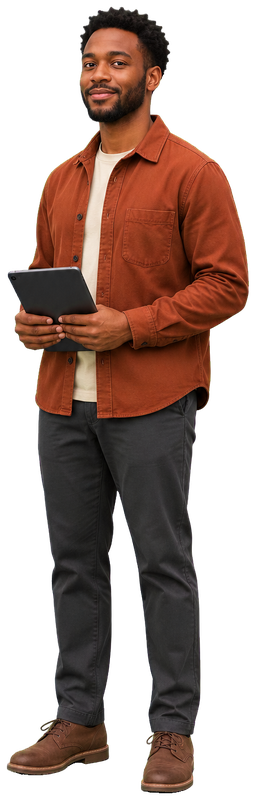
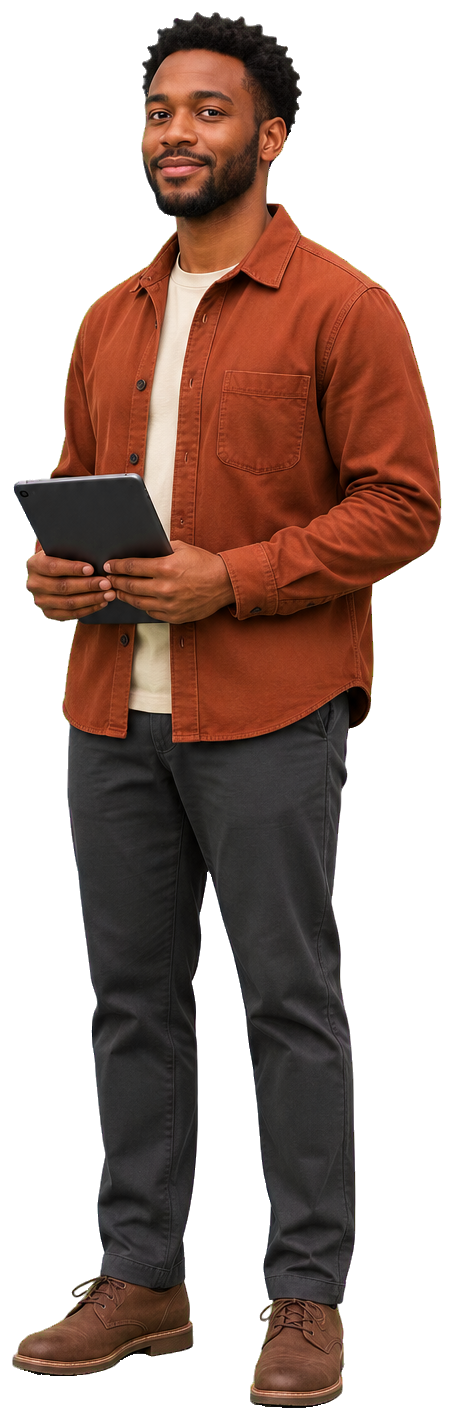
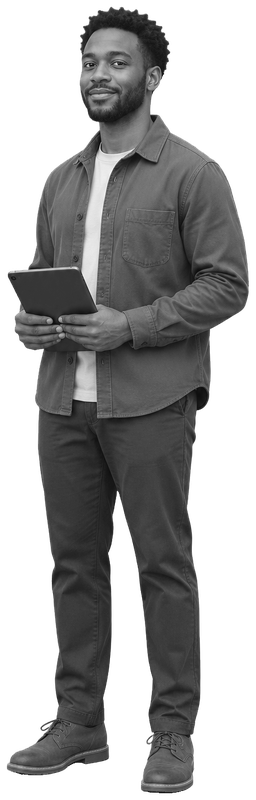
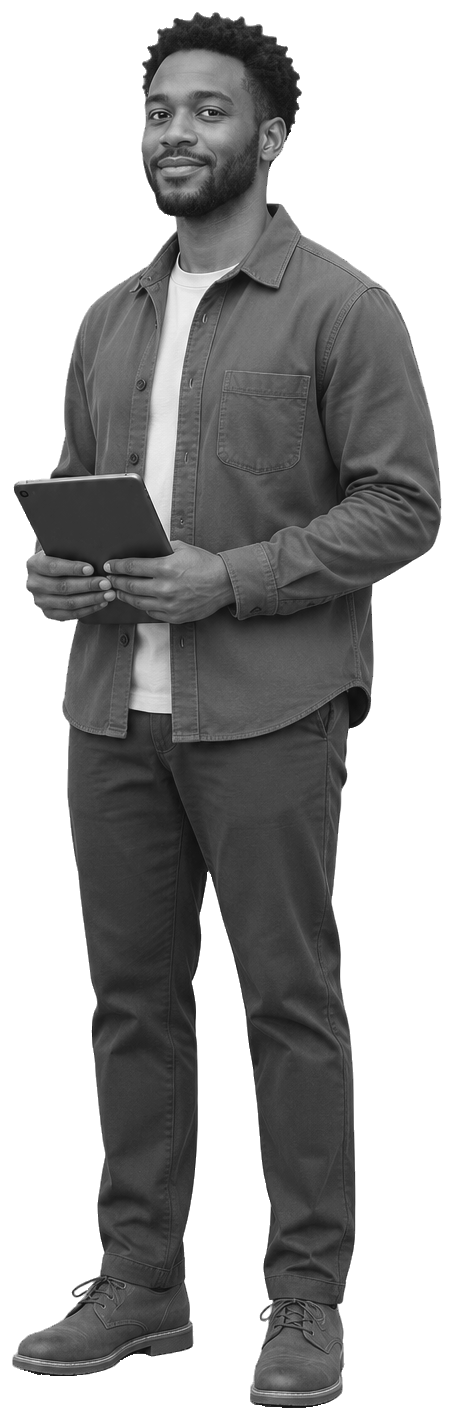
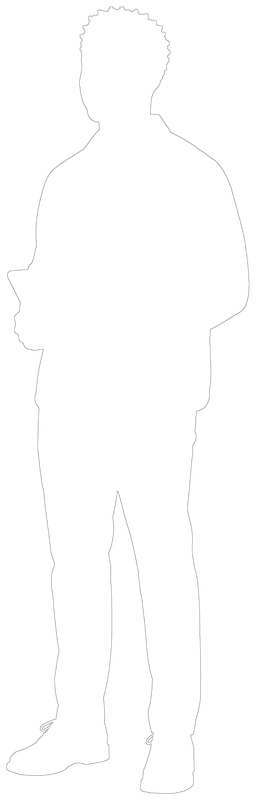
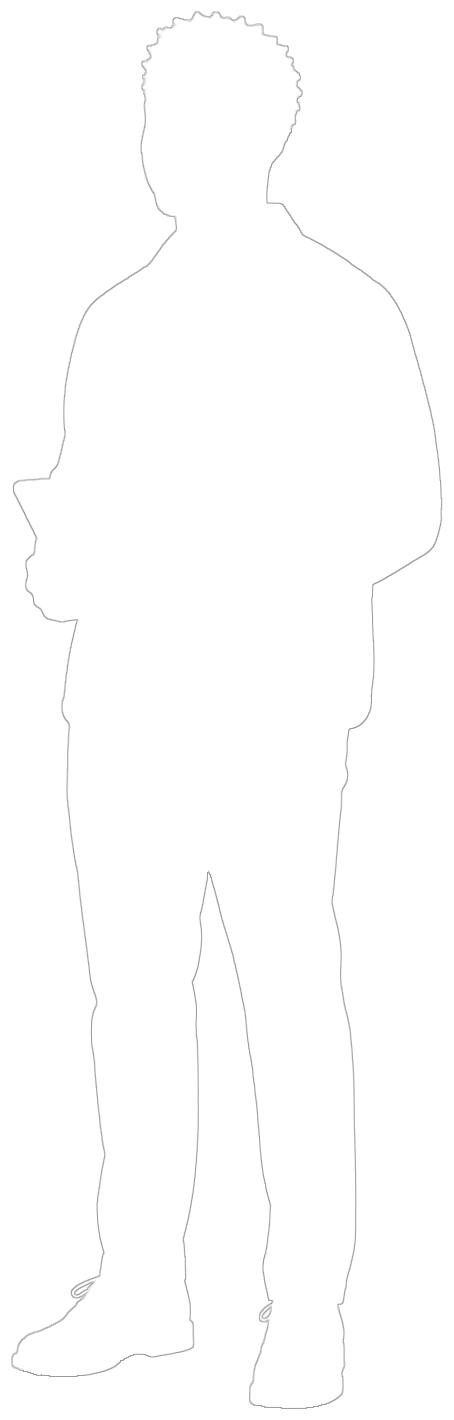
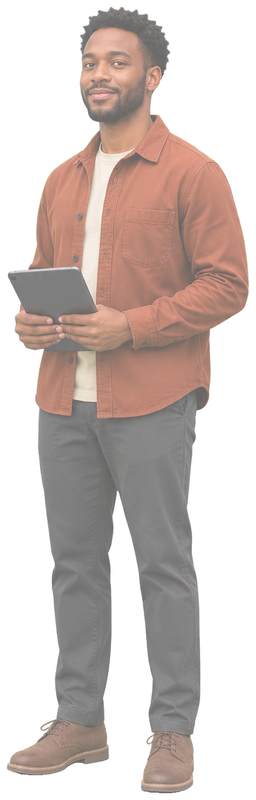
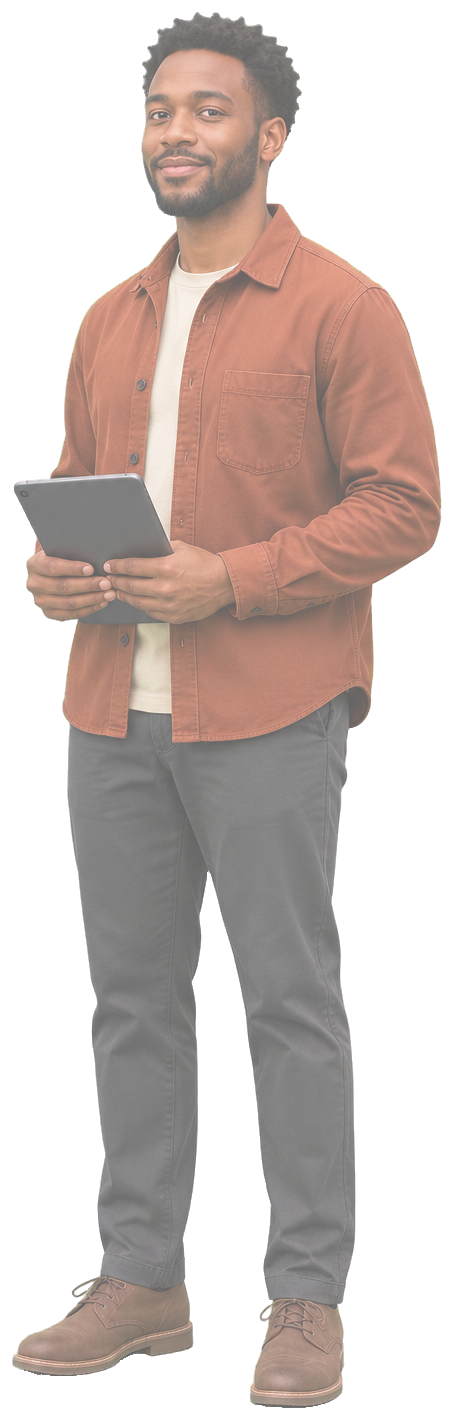
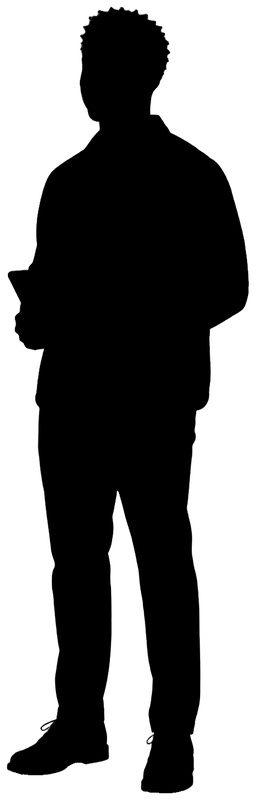
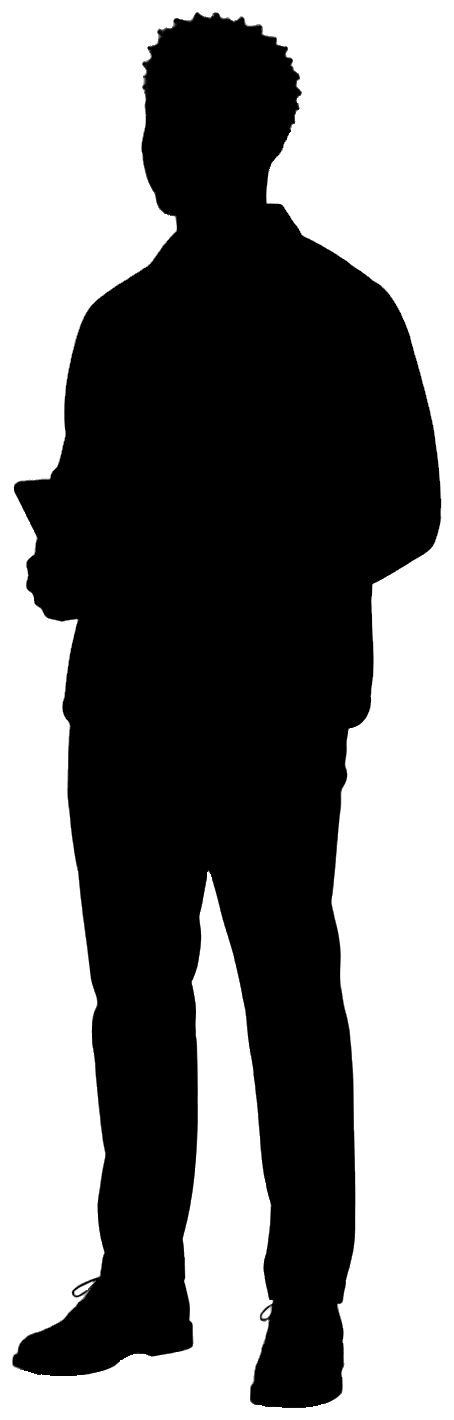
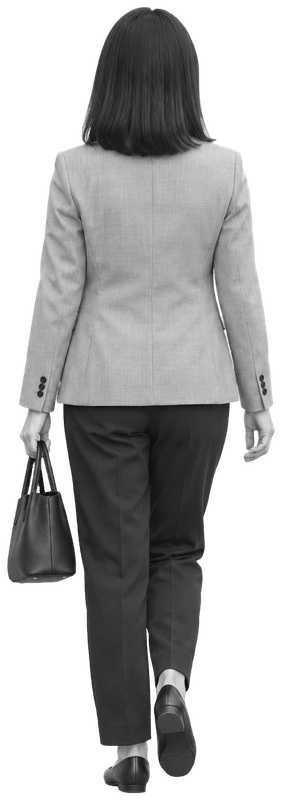
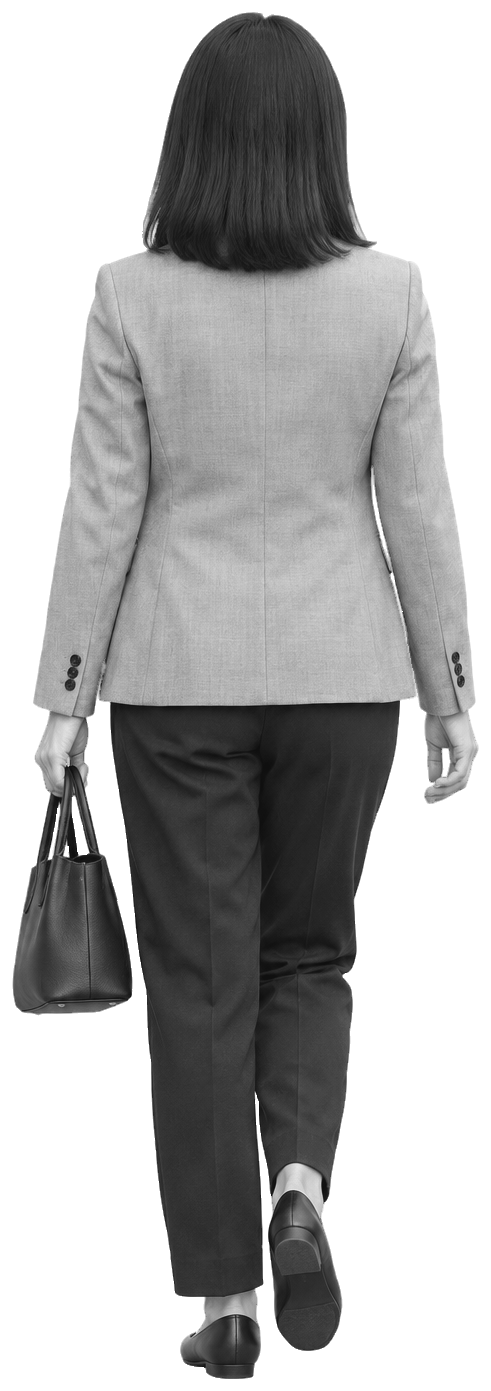
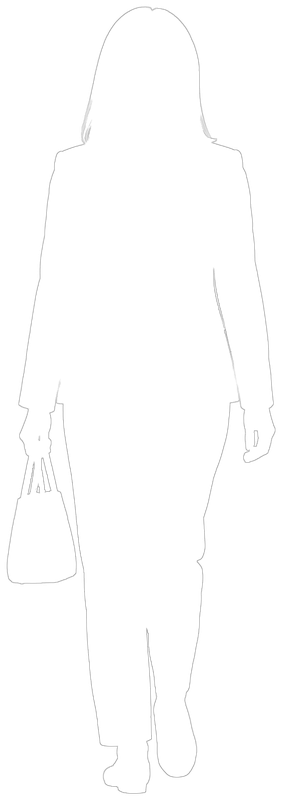
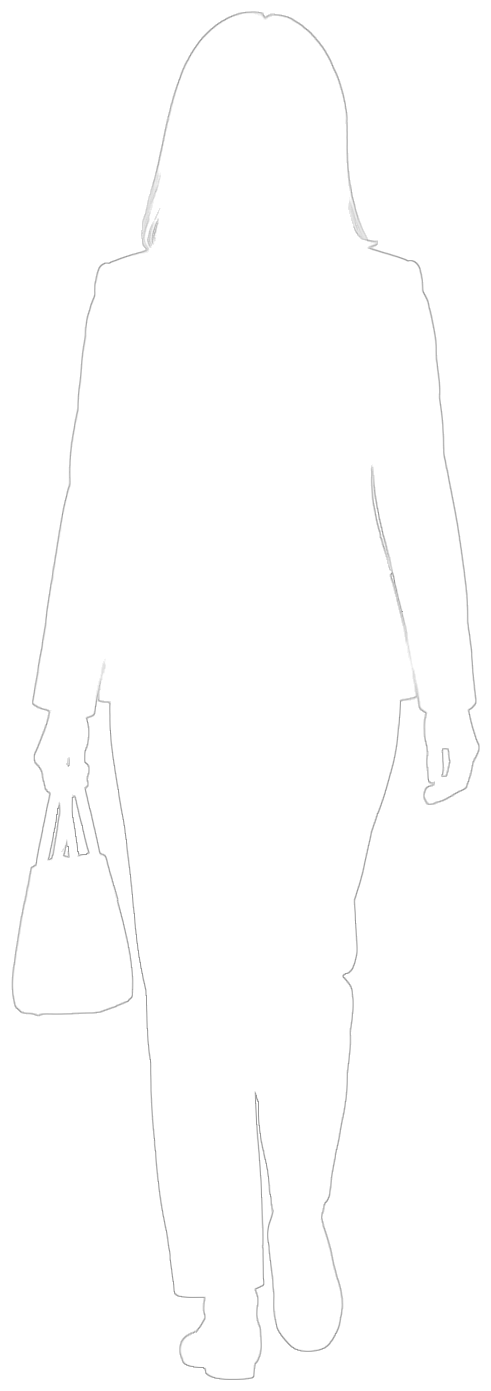
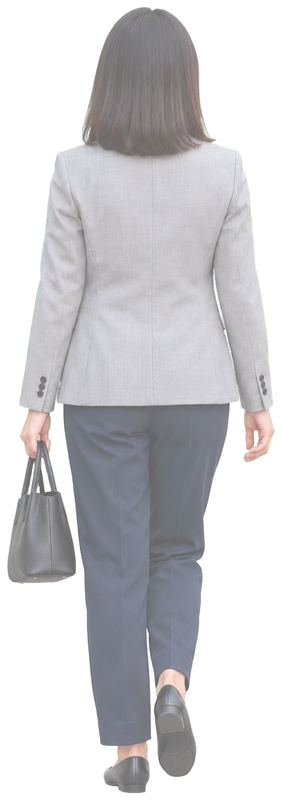
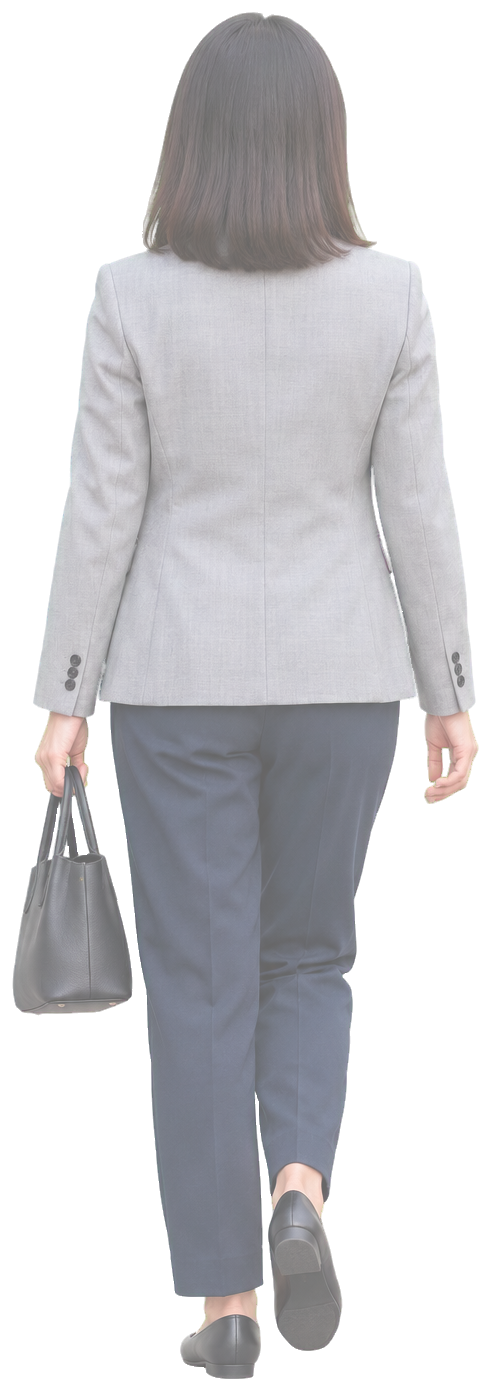
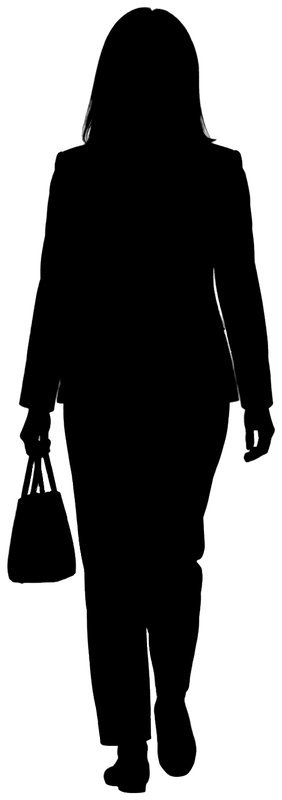
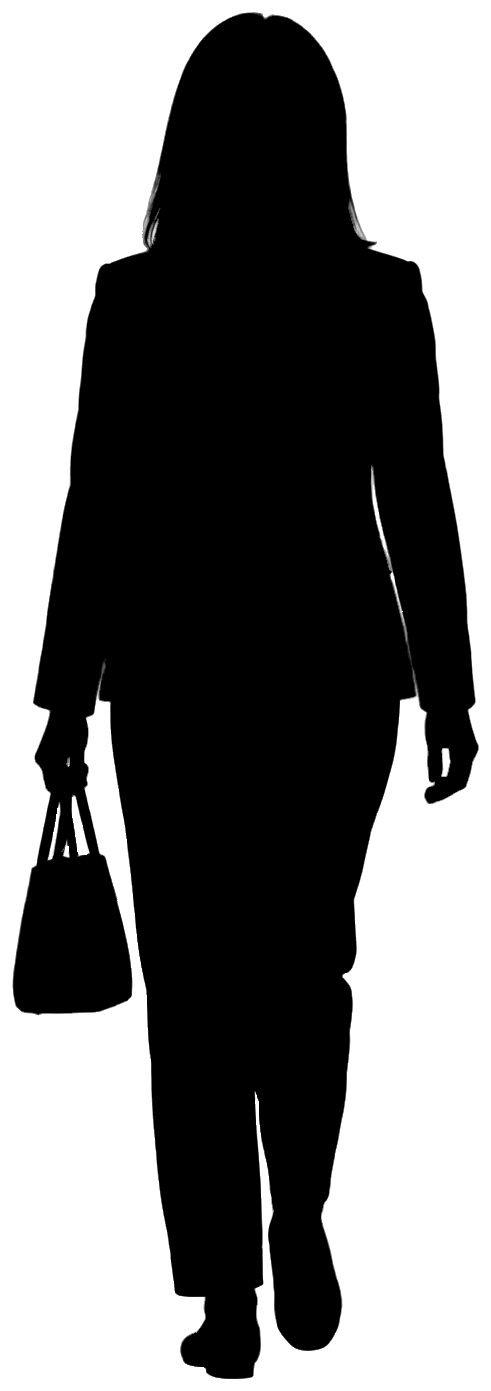
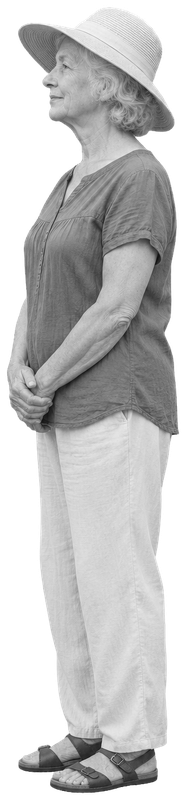
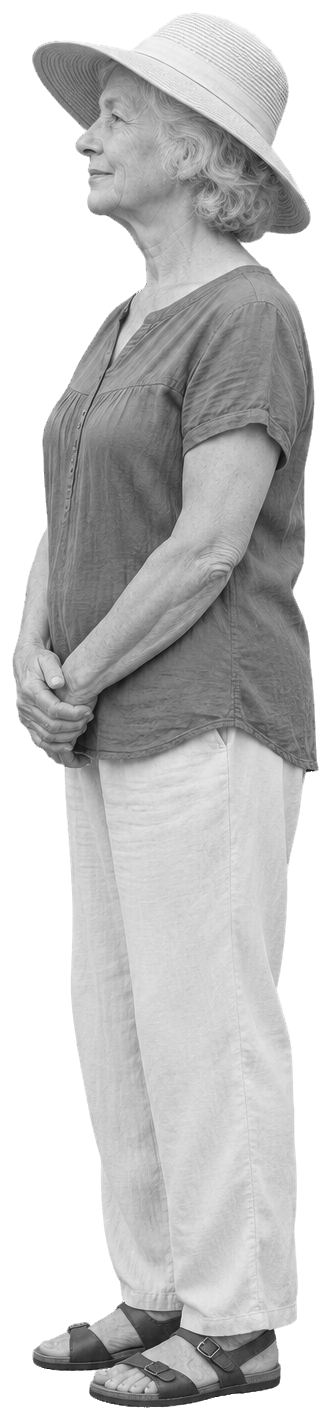
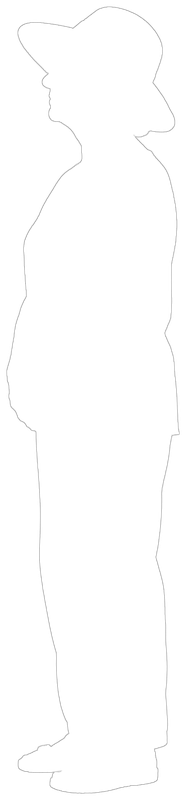
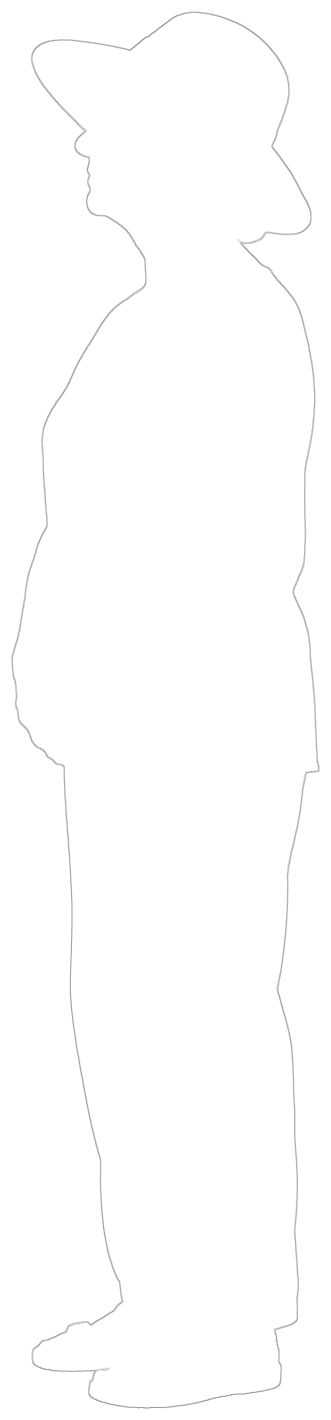
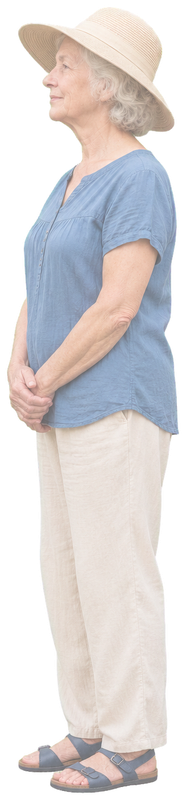
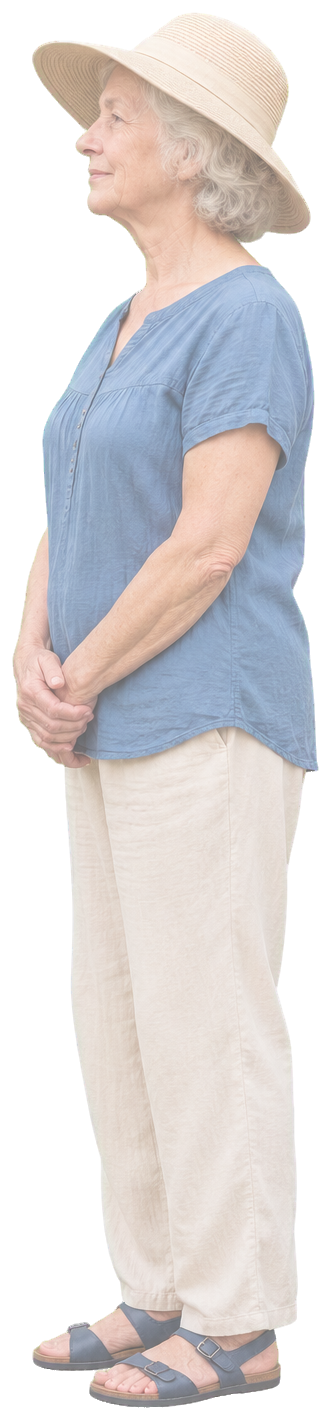
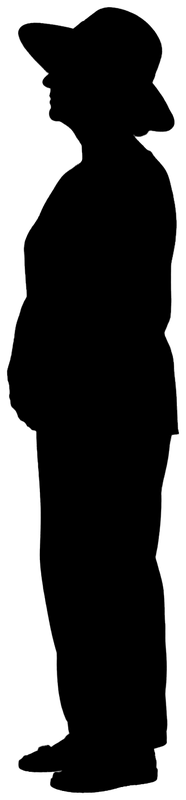
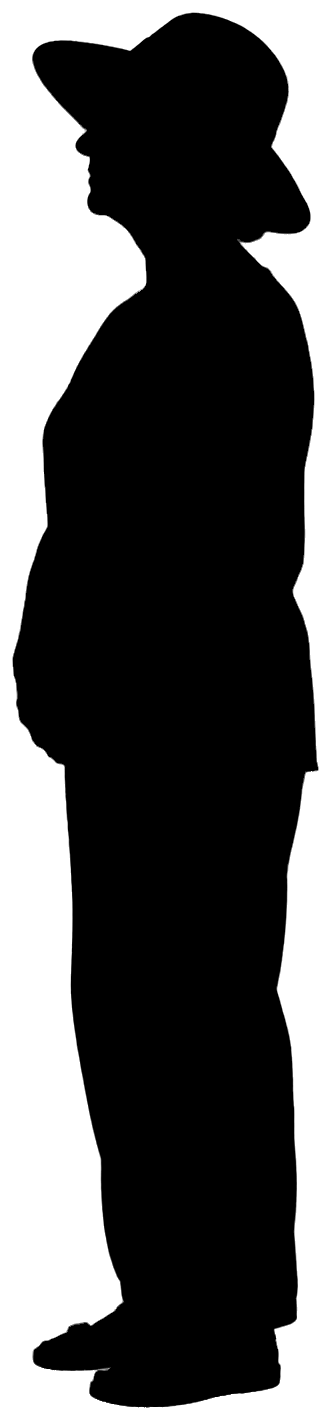
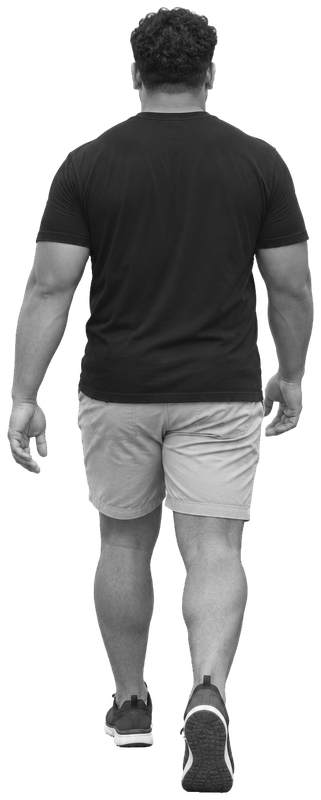
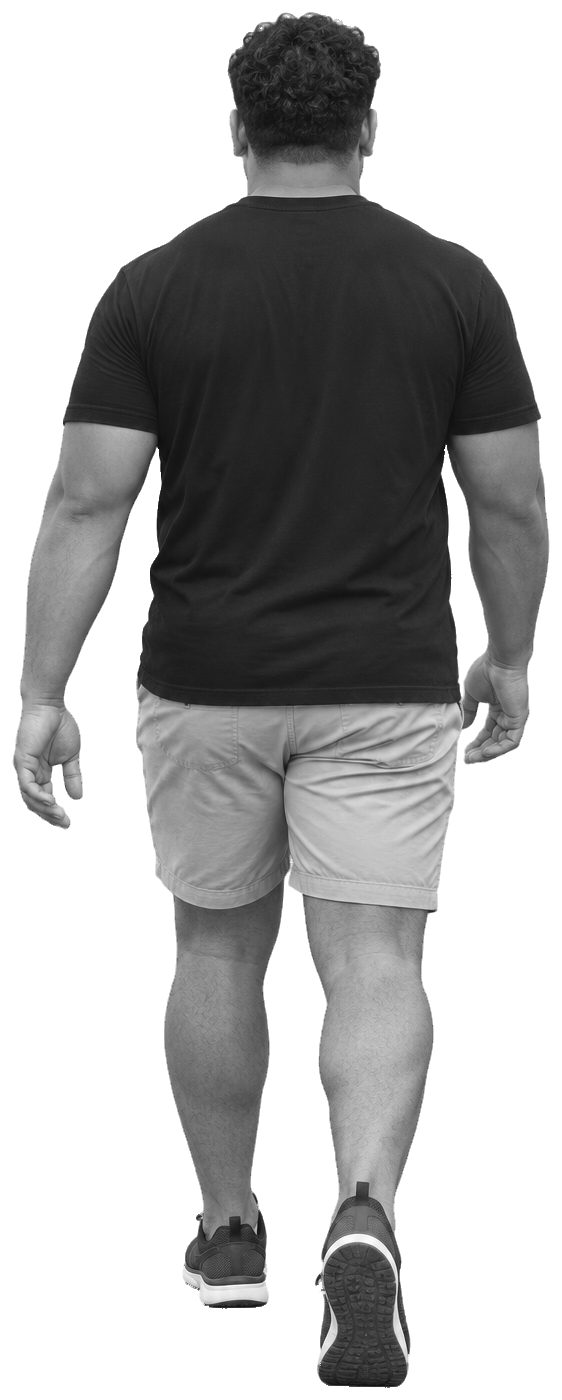
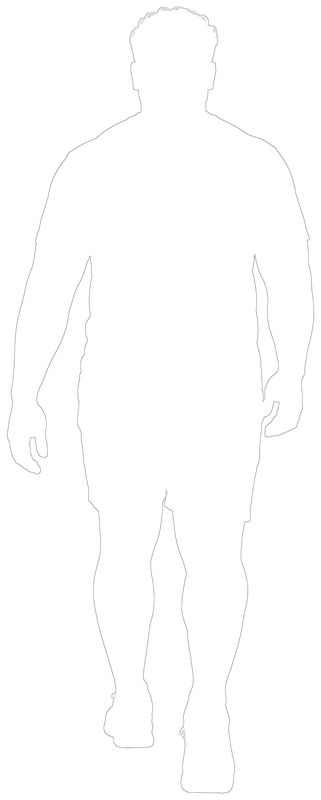
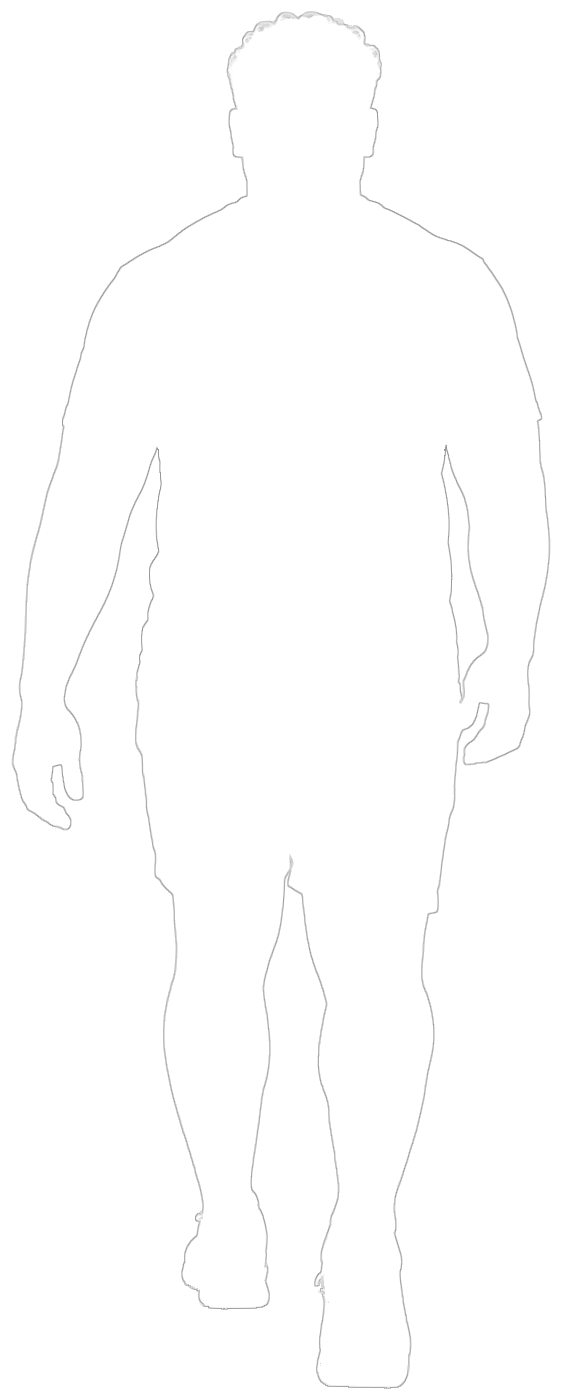
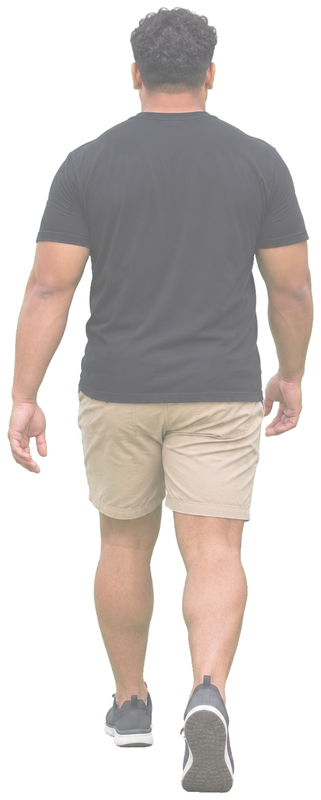
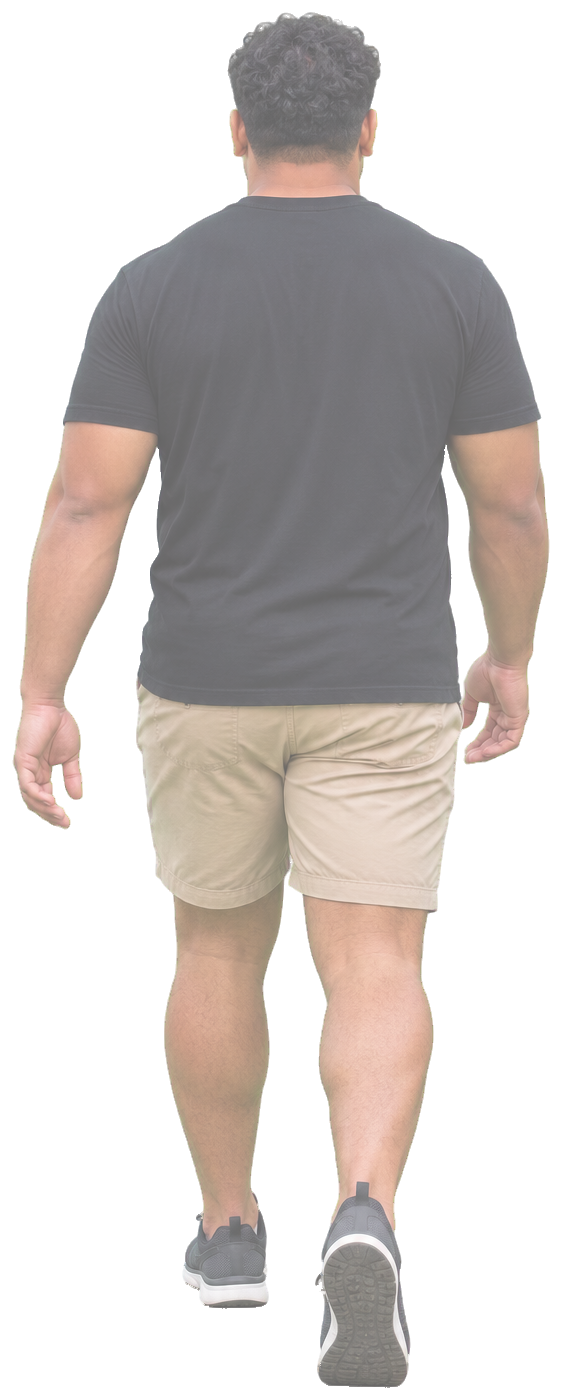
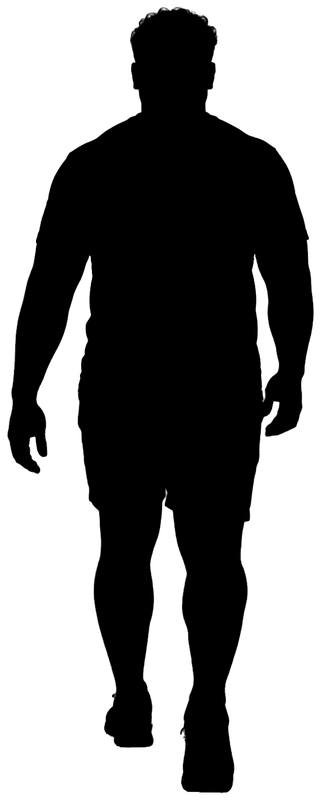
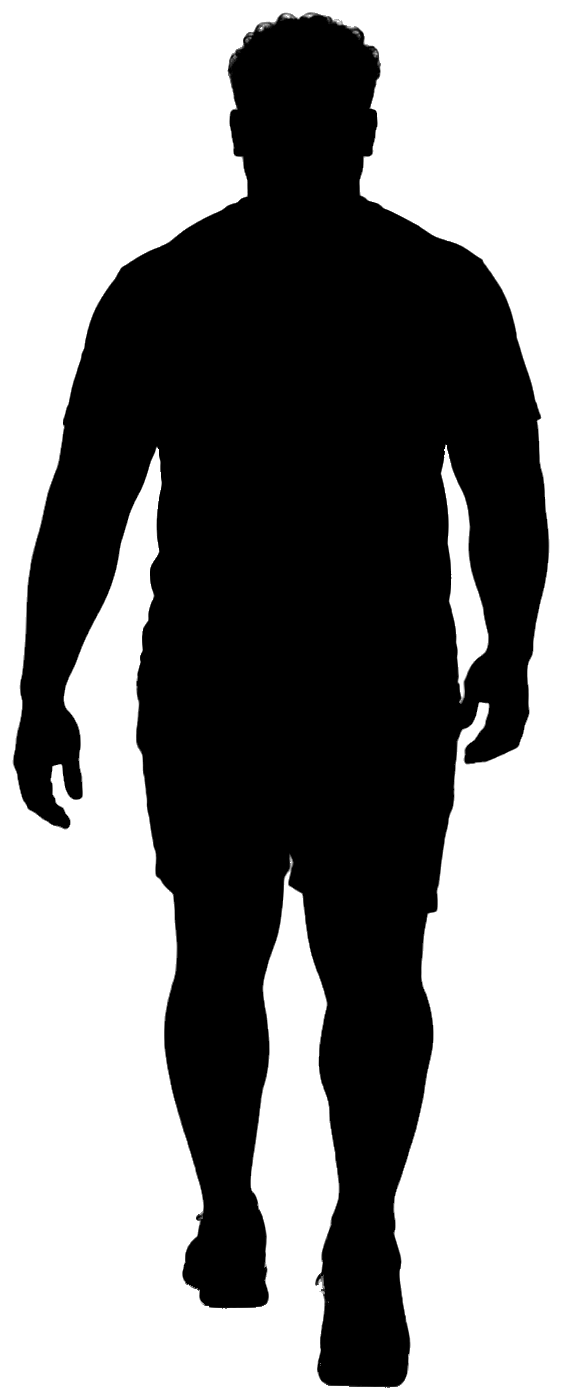
Use full colour where clothing and activity help describe the scene. Grey figures can sit quietly beside material studies or coloured building elements. White figures work on darker drawings and retain a fine grey outline. Ghost figures have reduced opacity, which helps keep attention on the building in a section or diagram. People silhouette PNG files give you a flat black shape when you need a clear scale reference.
Keep the treatment consistent within one image. Match saturation, contrast and shadow softness, and avoid mixing photographic detail with flat silhouettes unless the distinction has a clear purpose. You can pair these architecture people PNG files with floor plan symbols and hatch patterns in your drawings. Leave enough space around faces and gestures for the architecture to remain readable.
Choose pixels for the final output
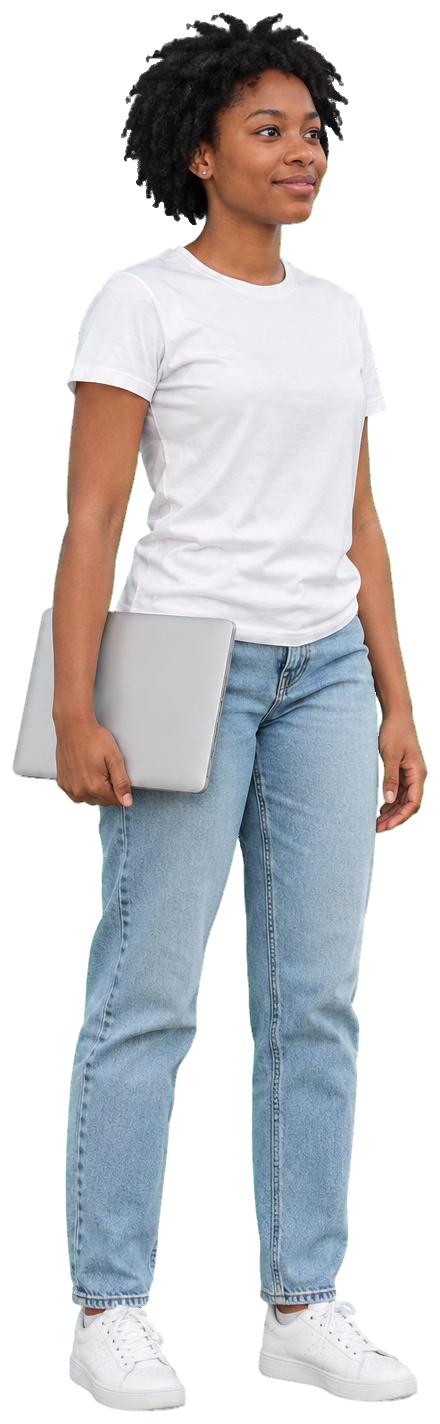
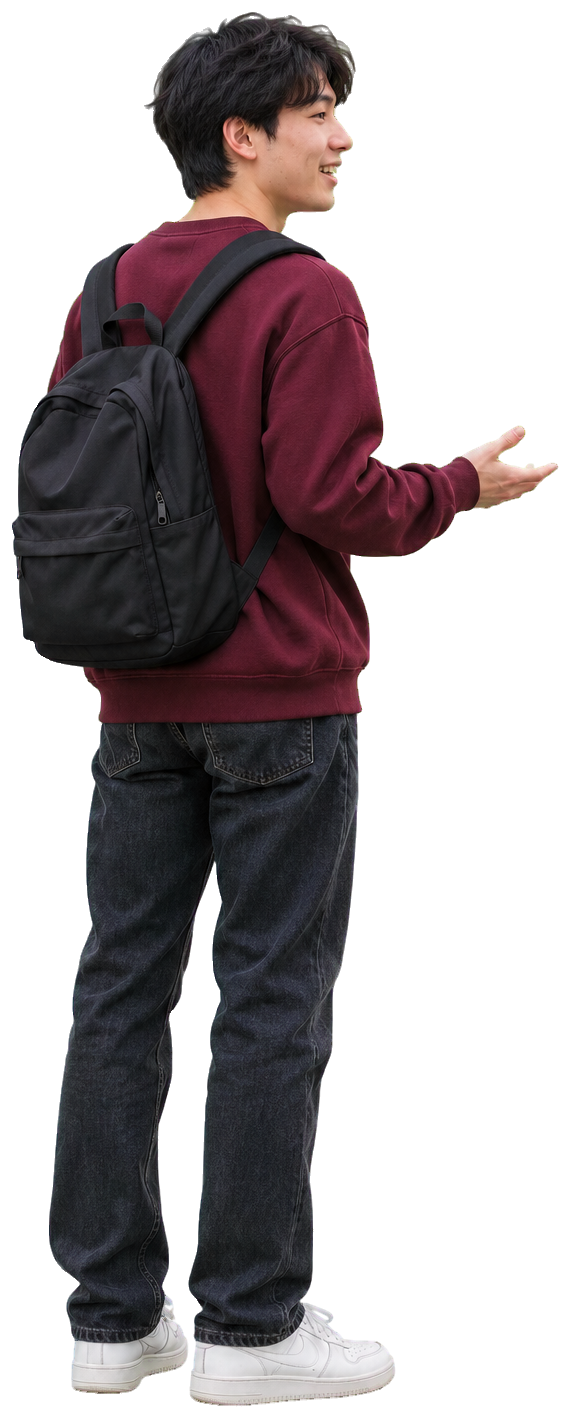
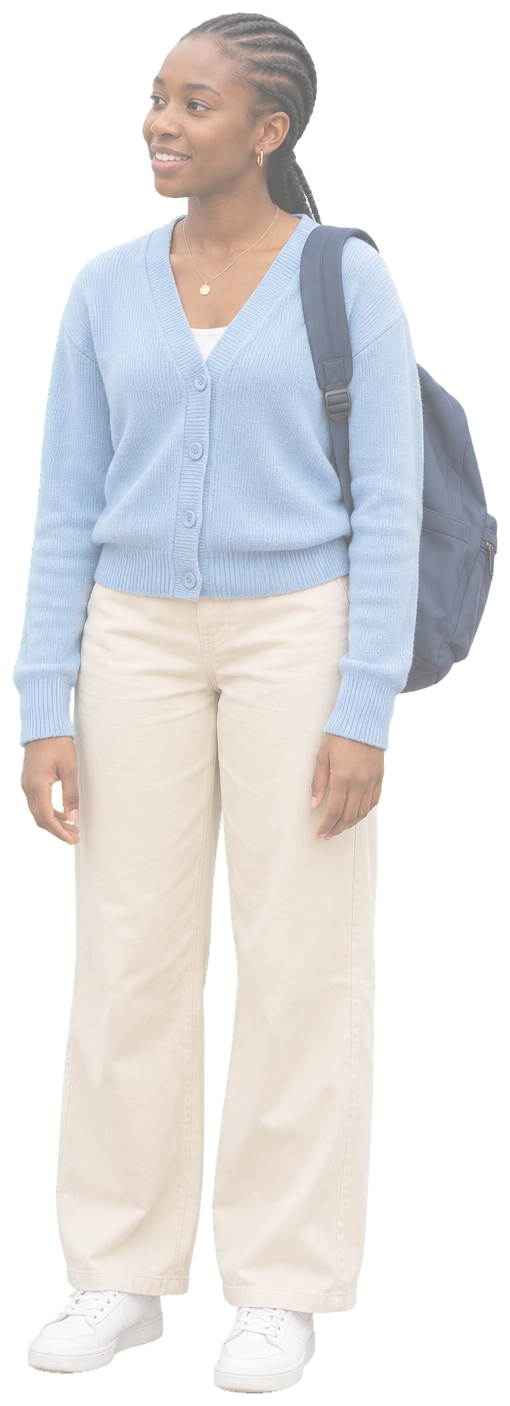
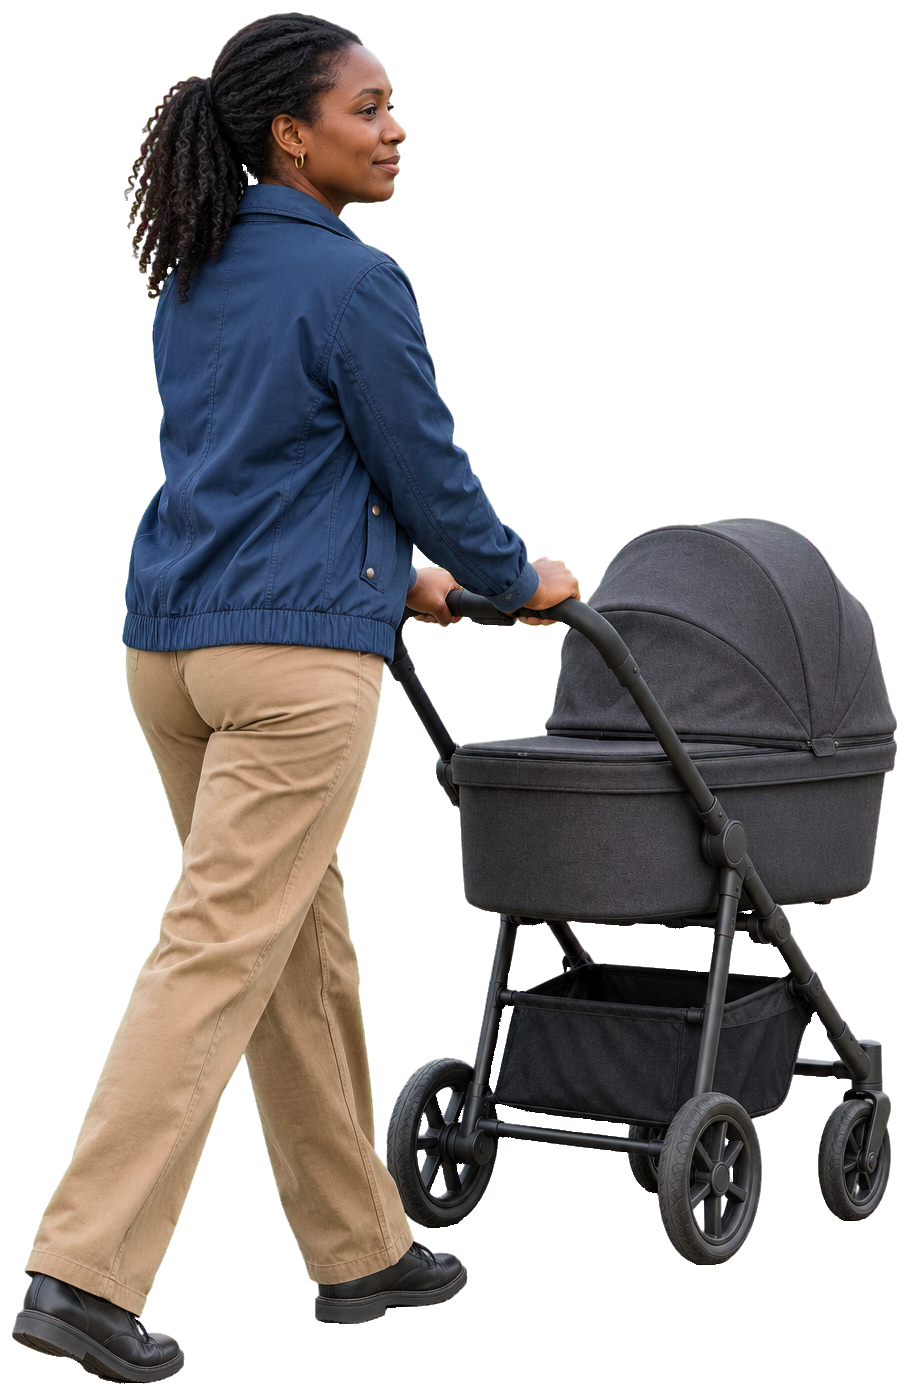
Start with the recommended 800 px packs for screen layouts and smaller placed figures. Choose native size when the figure will print larger or needs closer inspection. Native canvases are 1203 to 1462 px tall; the detail panel lists each exact size. Check effective image resolution at the placed size in your layout application. Enlarging a PNG cannot restore detail, so judge a print crop before exporting the whole sheet.
These figures were made with AI image generation for Skiaform. These are AI-generated fictional people for design visualisation. AI may draw, style and render geometry you modeled; it never adds to or changes your design. For a page layout to hold your finished drawings, see the Skiaform templates.
Free use in your design work
You may download and use these Skiaform cut-out people free of charge in personal and commercial drawings, architectural renders, diagrams, collages, presentations and other finished design work. You may crop, resize, recolour and otherwise adapt the figures for those uses. Attribution is appreciated but is not required.
You may share, publish, sell and deliver finished drawings and renders that incorporate the figures. You may include them within a project file delivered to your client as part of that project.
You may not resell, repackage, sublicense, upload or redistribute the isolated figures, their variants, or modified isolated versions as a stock asset, download library or asset pack, whether paid or free. Direct others to the Skiaform download page for their own copies.
These are AI-generated fictional people for design visualisation.
FAQ
Can I use these people PNG files in commercial renders?
Yes, you can use and adapt them in personal and commercial drawings, renders and presentations. You may deliver finished work and its project file to a client, but you may not resell or redistribute the isolated figures as a pack or library.
Are these real people?
No, every person is fictional and was made with AI image generation for Skiaform. No real person or celebrity was supplied as a reference.
How do I add people to a section drawing?
Place a transparent PNG above the drawing, lock its proportions and scale the visible person against a known height. Align the feet with the floor line, and provide a suitable seat or support for sitting and leaning poses.
What resolution are the cut-out people?
Every figure has an 800 px tall version and a native crop between 1203 and 1462 px tall. Width varies by pose, and the detail panel shows each native canvas size including its transparent margin.
Do they work in Photoshop, Illustrator, InDesign and SketchUp?
These are transparent PNG images that you can place in Photoshop, Illustrator and InDesign, or import as images in SketchUp where your edition supports it. They remain flat raster images, so check transparency and orientation in your chosen workflow.
Keep up with Skiaform
Occasional notes about drawing tools and templates.