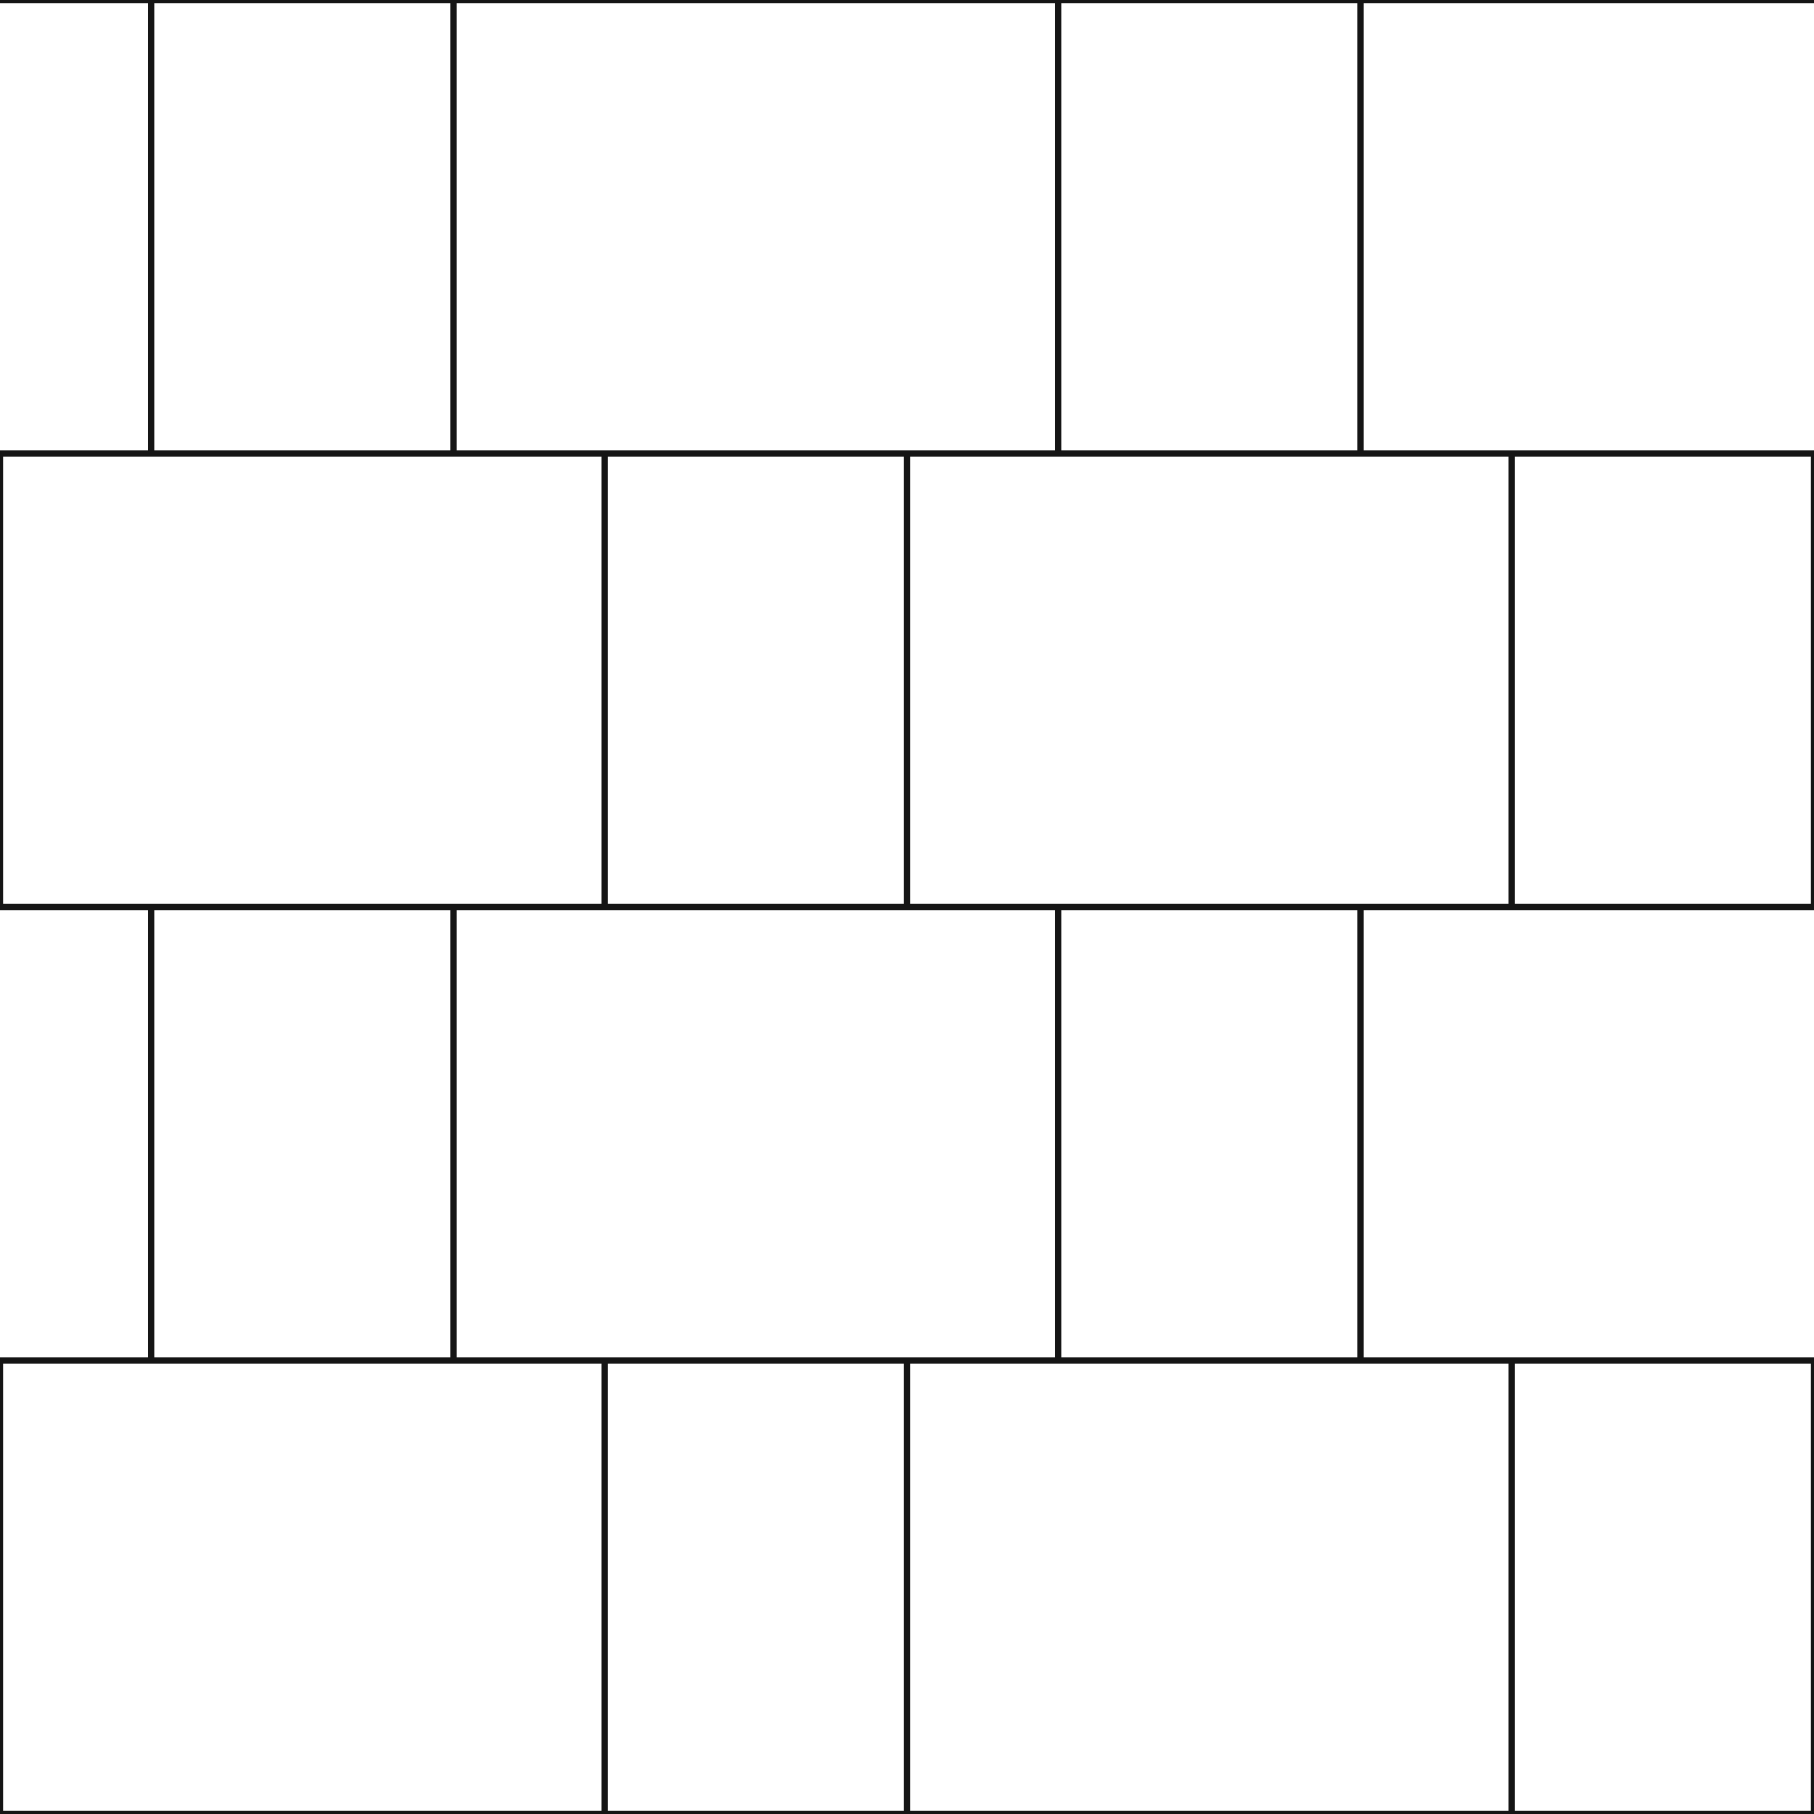
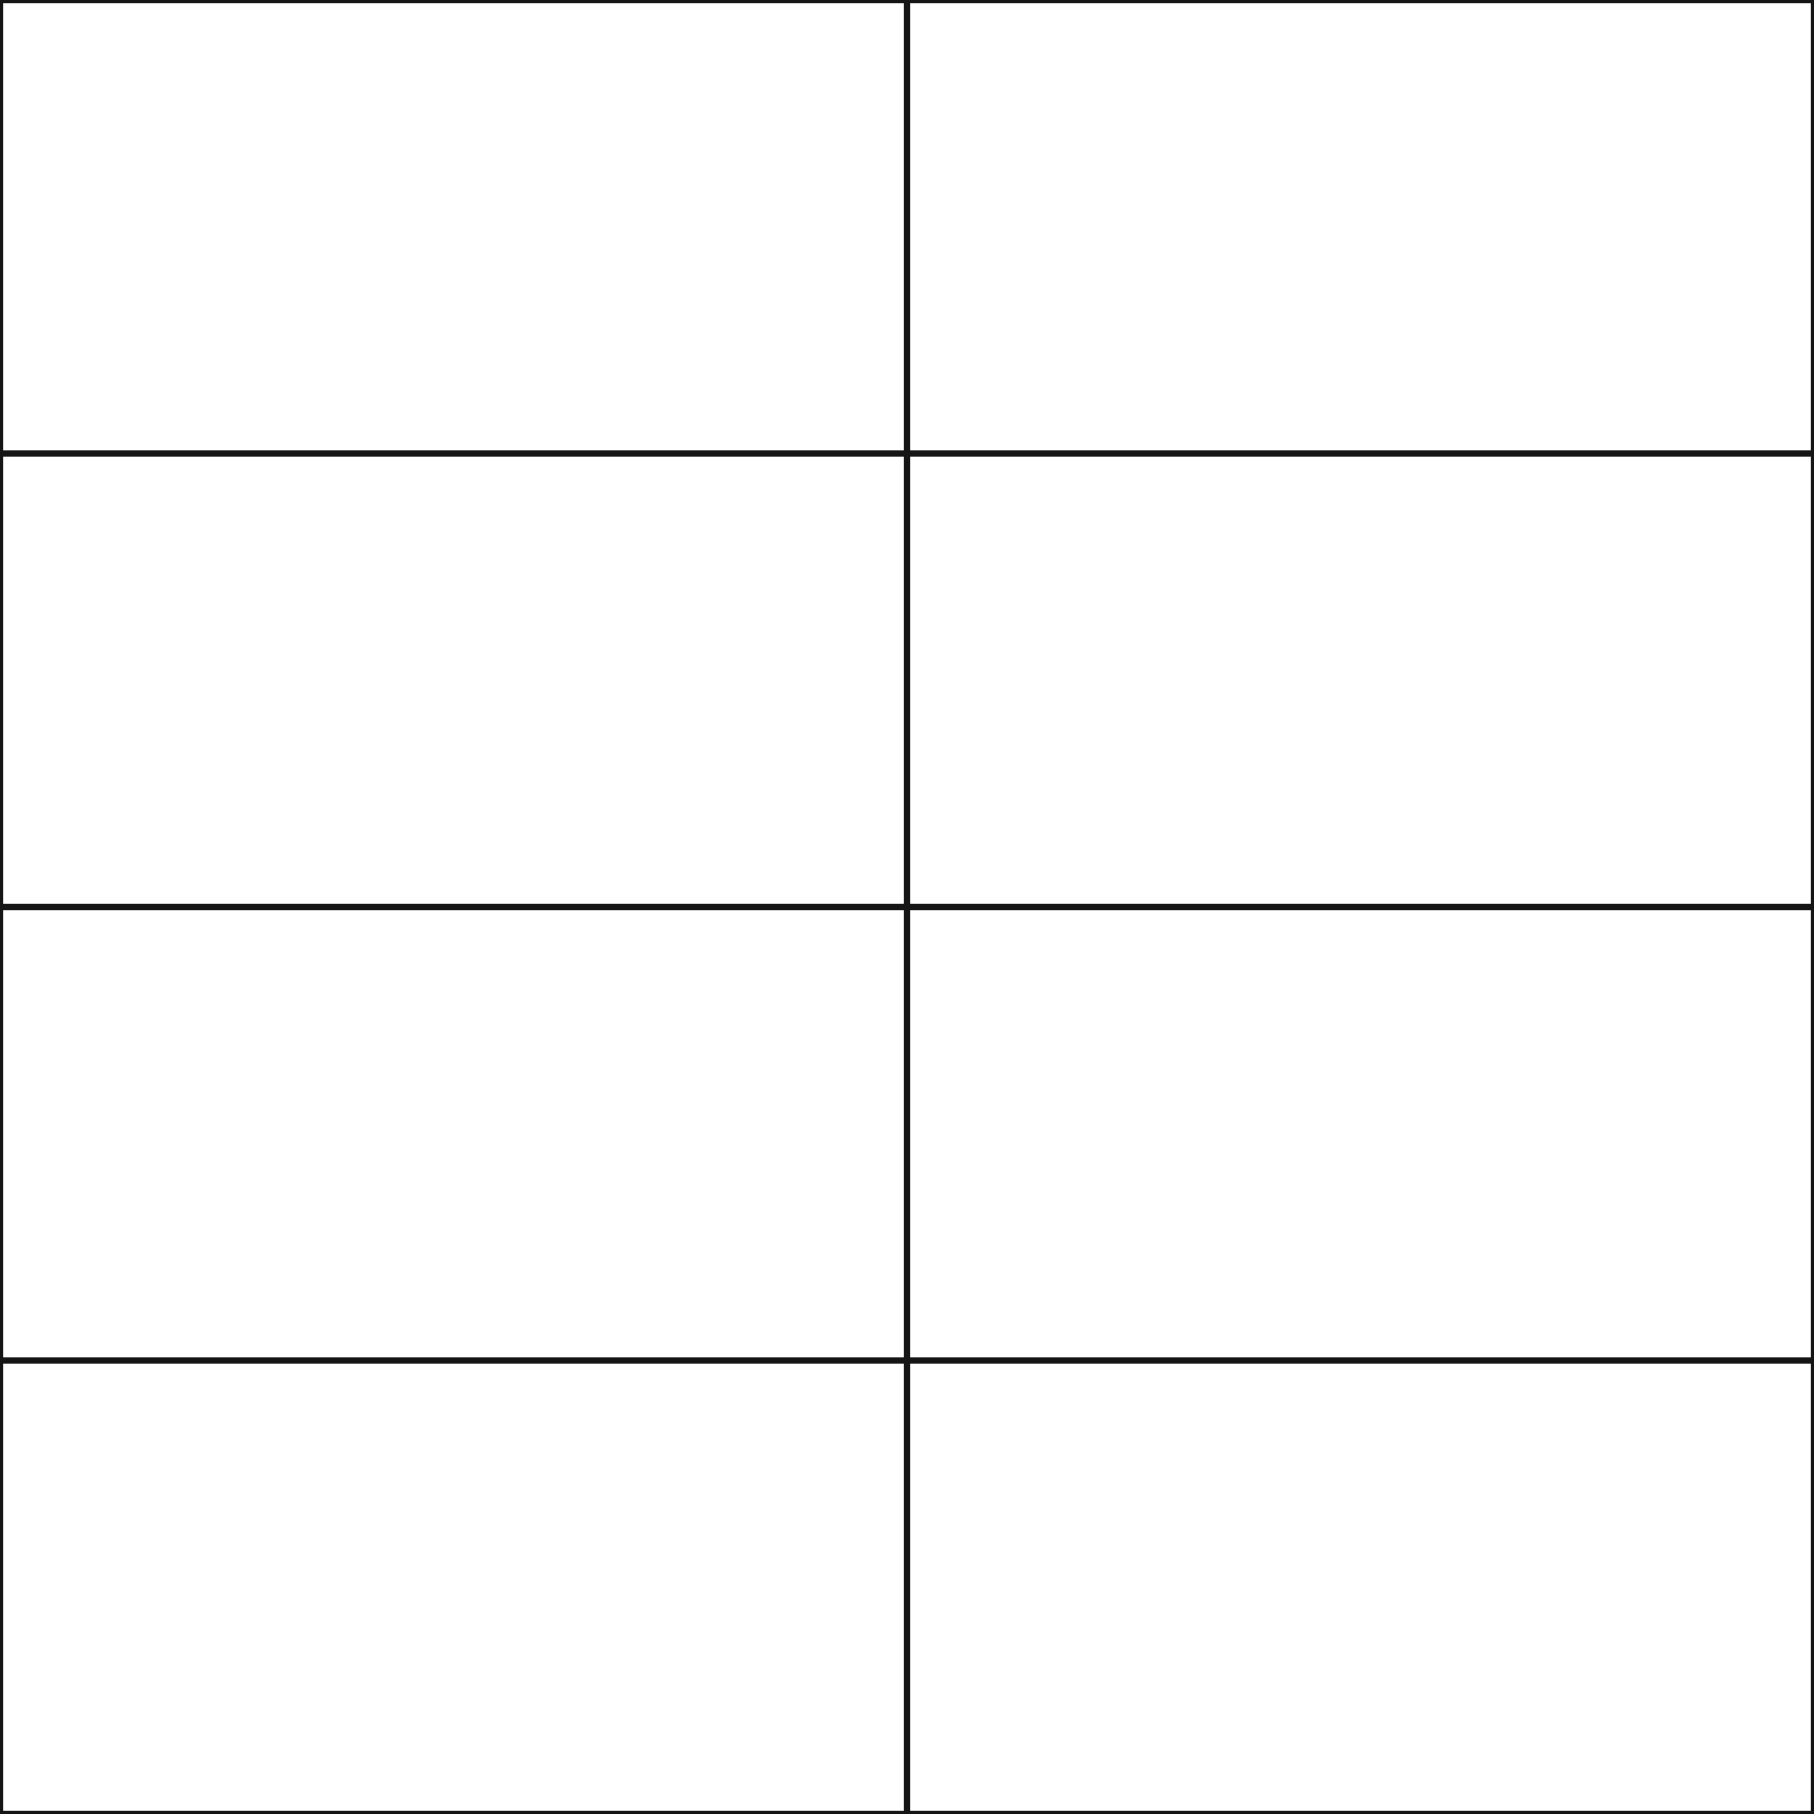
Load your AutoCAD hatch patterns
Unzip the pack before you start. Keep the individual AutoCAD PAT files in a permanent folder, then add that folder through Options > Files > Support File Search Path. Open Hatch > Pattern > Custom and choose the pattern name. Depending on your AutoCAD interface, the custom list may open inside the hatch palette or its pattern dialog. You can check the file setup against Autodesk's custom hatch guidance.
Keep each file name and the name inside its first definition line together. AutoCAD uses that match to find an individual custom pattern. The combined PAT file collects the definitions for a library you maintain yourself; use the separate files for the simplest installation. Back up any existing library before adding definitions, and keep the downloaded folder somewhere you can find it again.
Import Revit hatch patterns
Open Manage > Additional Settings > Fill Patterns. Choose Model or Drafting, create a new pattern, select Custom, then use Browse to import the PAT file from the matching folder. Select its definition and check the import scale before you confirm. The exact import controls can vary with your version; Autodesk's fill pattern instructions show the dialog sequence.
Choose a model pattern when your tile joints or masonry courses need a size in the model. Choose a drafting pattern for a graphic material symbol that should keep its paper spacing as the view scale changes. Both variants use the same motif. These Revit drafting files have their dimensions divided by 100, so an import scale of 1 gives the model motif's appearance at a drawing scale of 1:100.
Set scale and line weight
The AutoCAD files use millimetres. Start at hatch scale 1 when one drawing unit is one millimetre. In an inch drawing, start at 1/25.4; in a metre drawing, start at 0.001. Check the repeat listed on the card against your drawing units before adjusting the pattern for a particular material. A graphic hatch does not specify a product or an assembly.
Set line weight separately from hatch scale. The PAT file defines the line geometry; your CAD layers, material settings and plot setup determine how dark it prints. On a plan, let the material marks sit behind cut walls, openings and annotation. In a section, give the cut boundary enough weight to separate the assembly from the finer texture inside it.
Use poché and material hatch deliberately
Poché is the filled tone of a cut element. A material hatch adds a convention for the substance inside that cut, such as insulation or concrete. You can use a solid fill to make a wall read clearly, then reserve a patterned fill for a detail where the material matters. Keep a legend when similar marks could describe different materials.
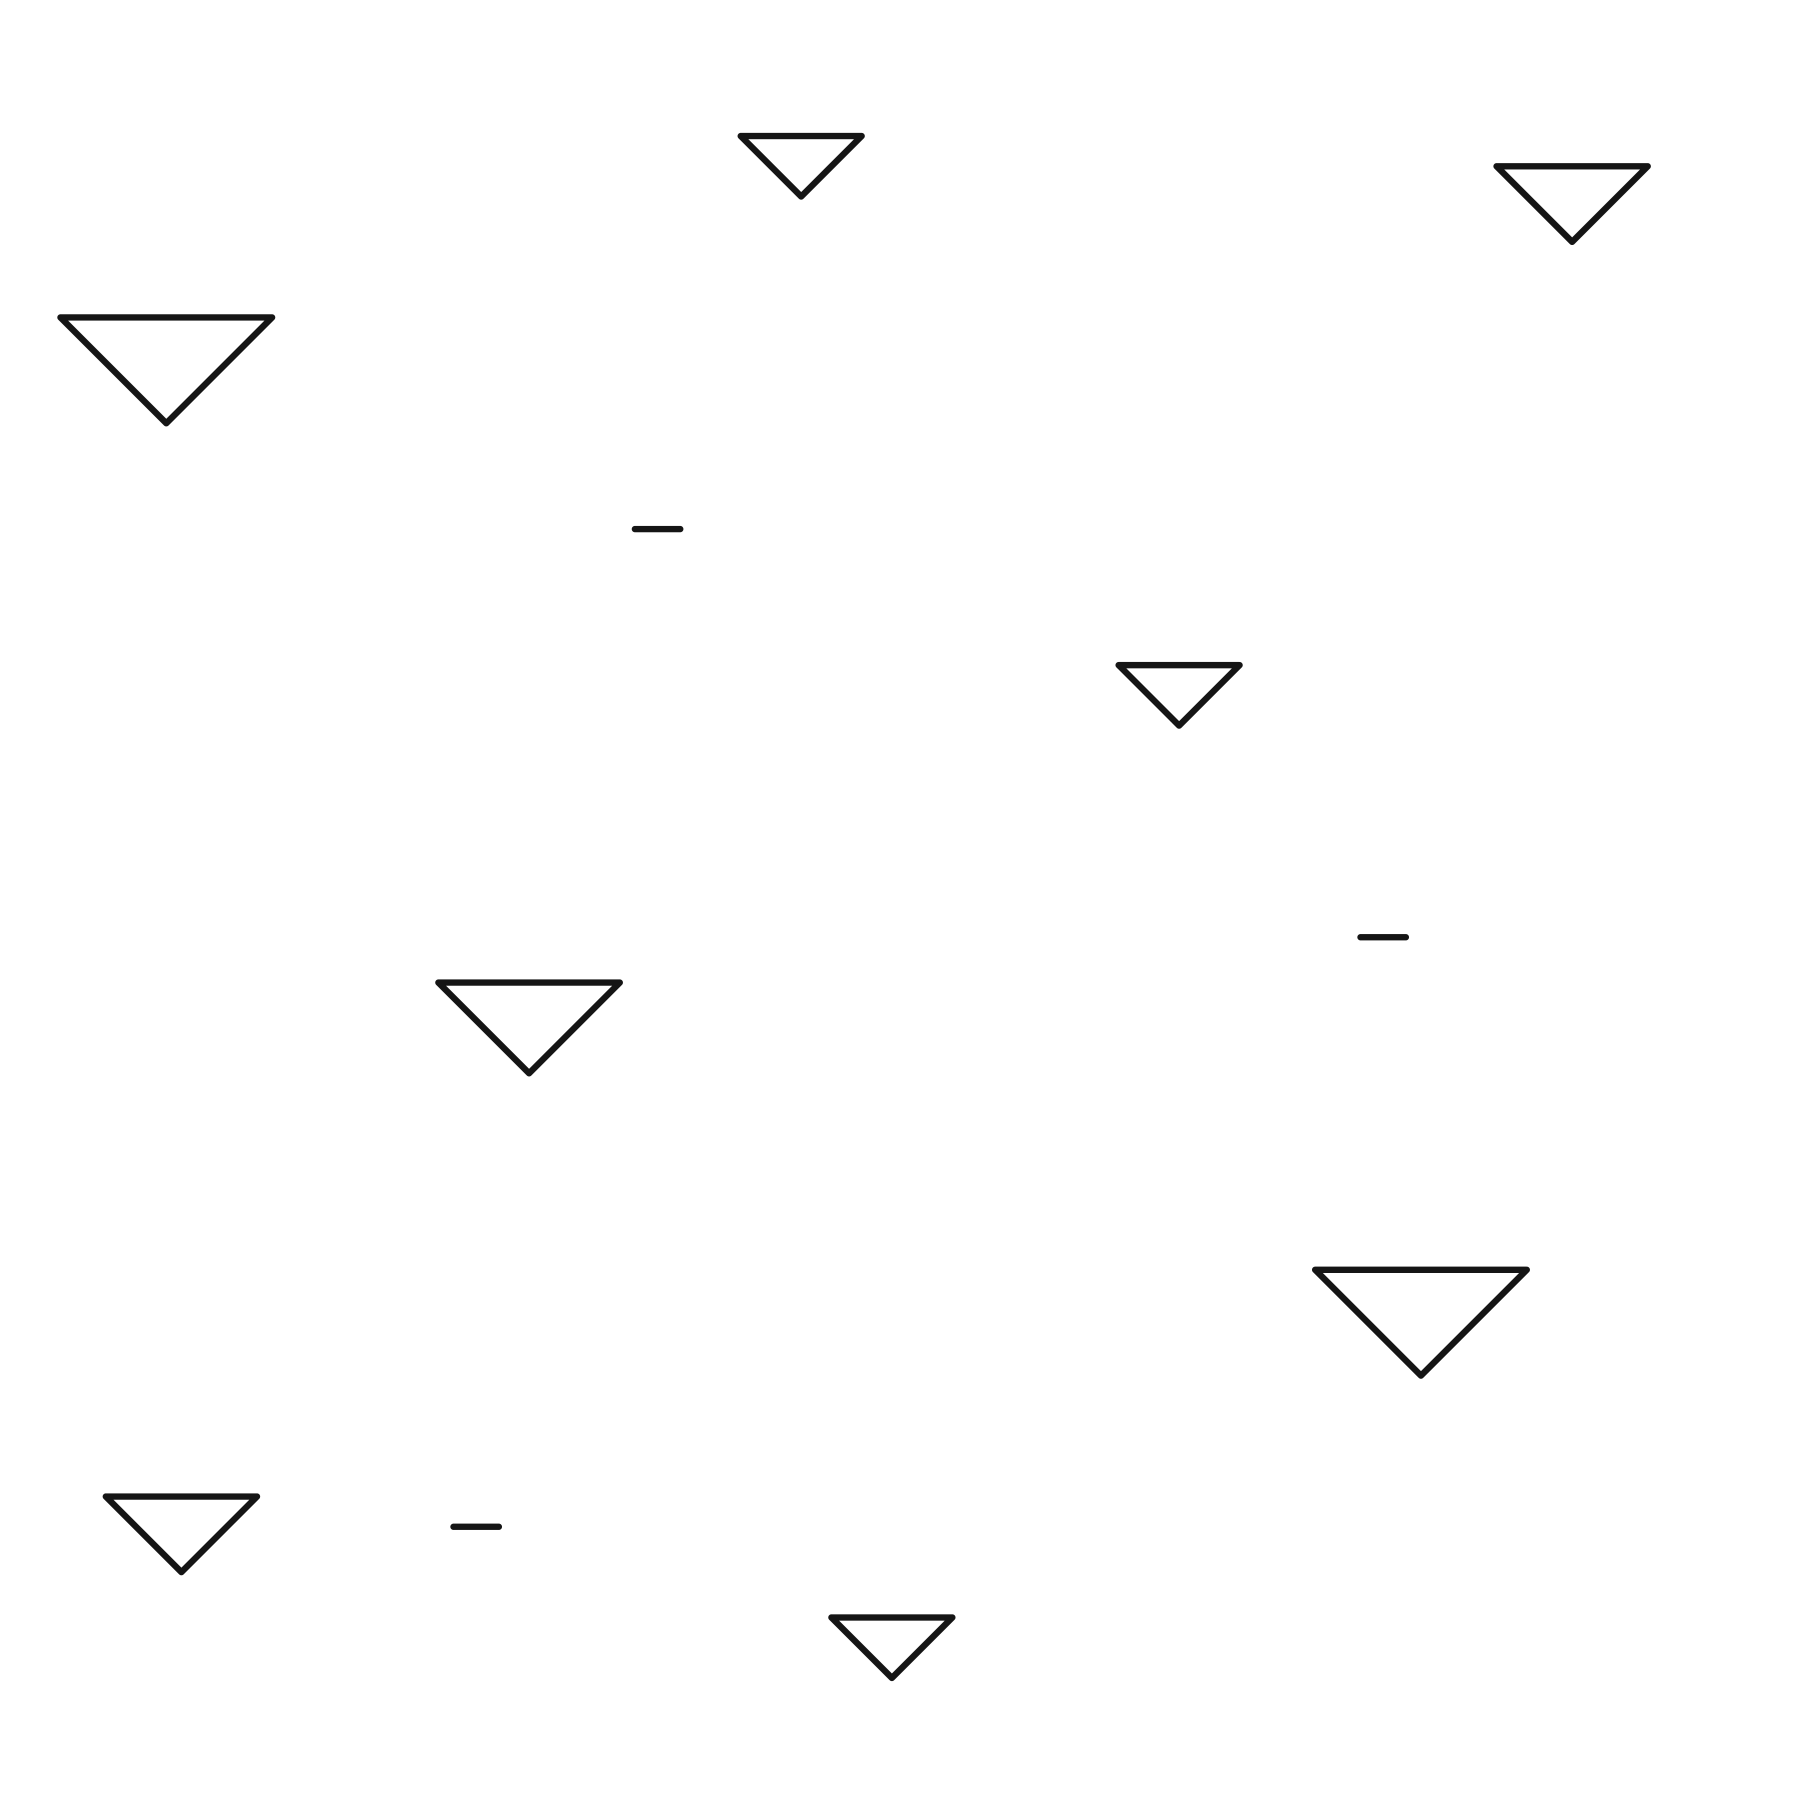
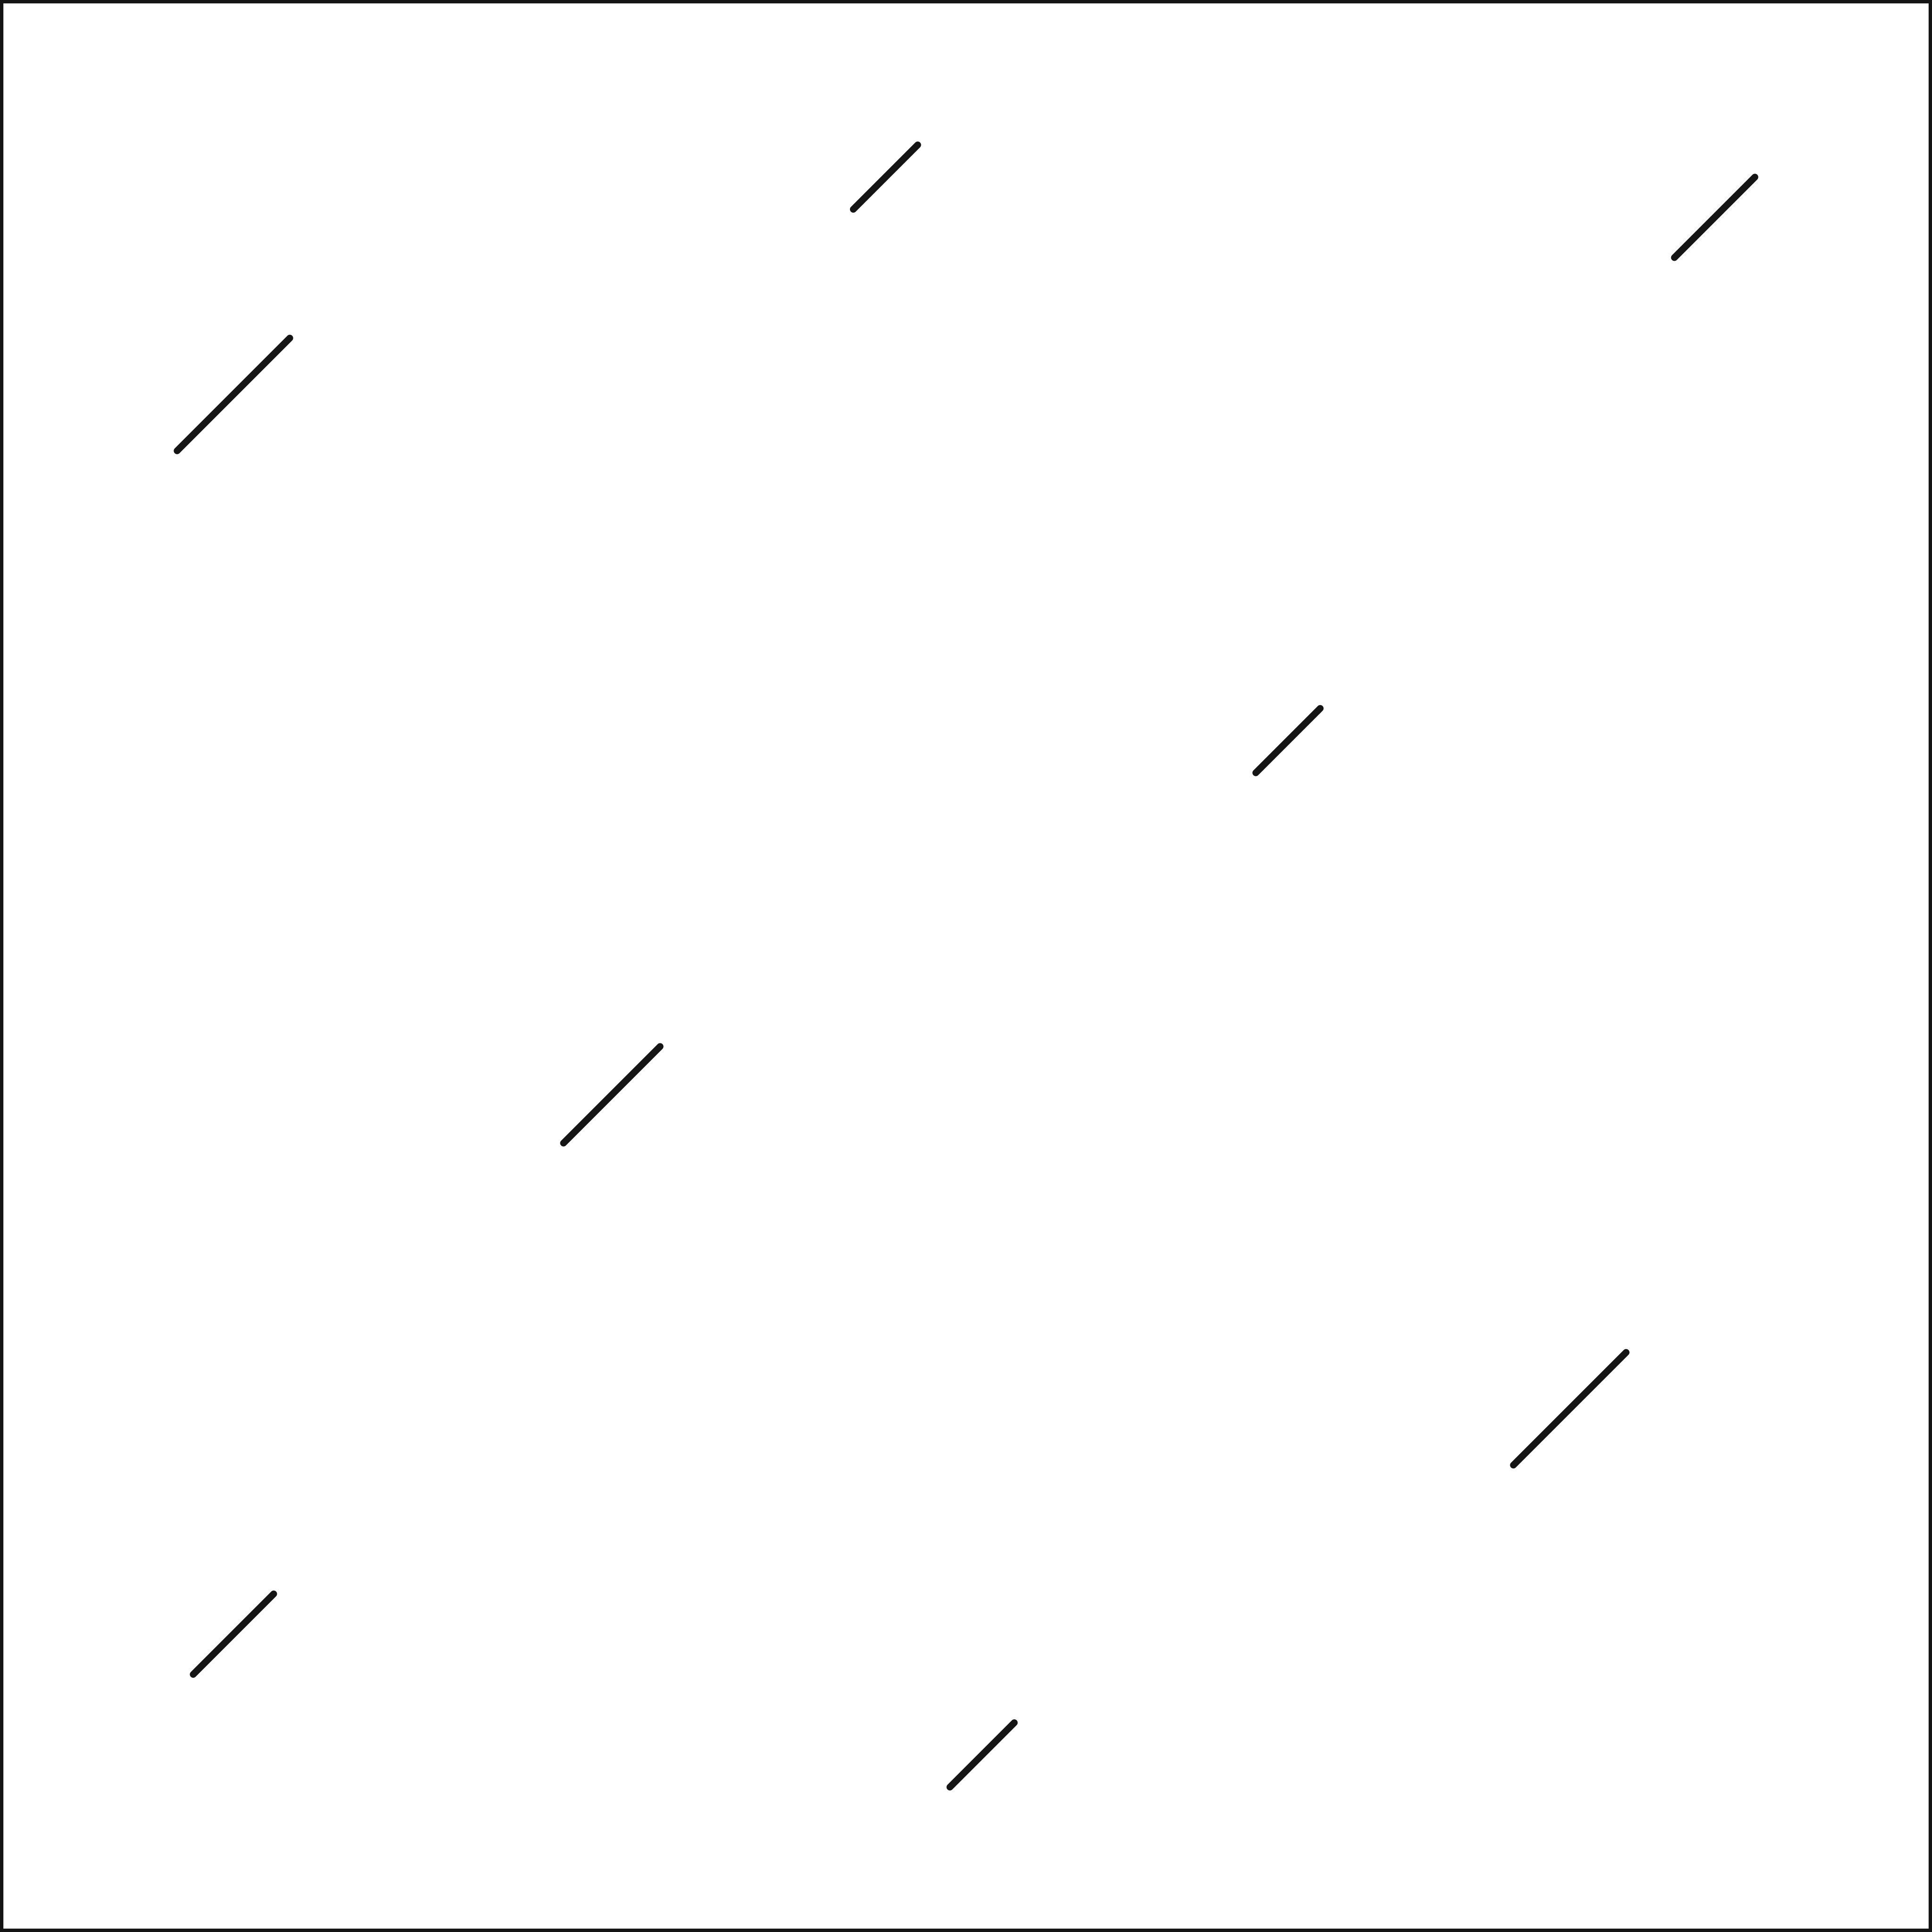
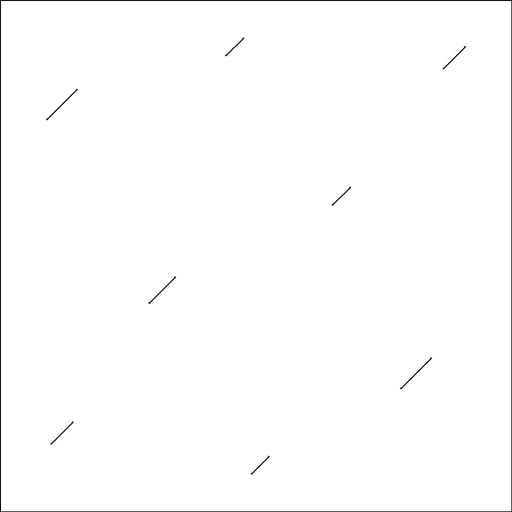
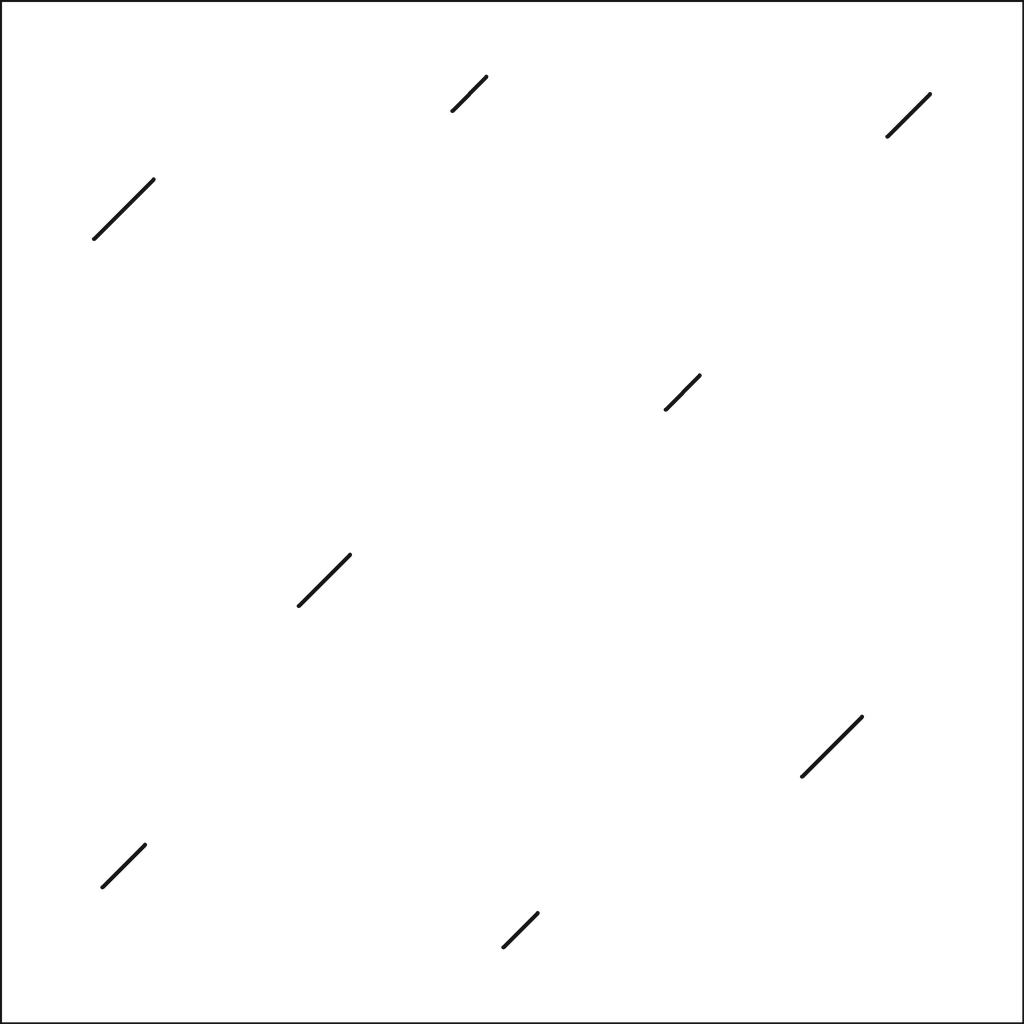
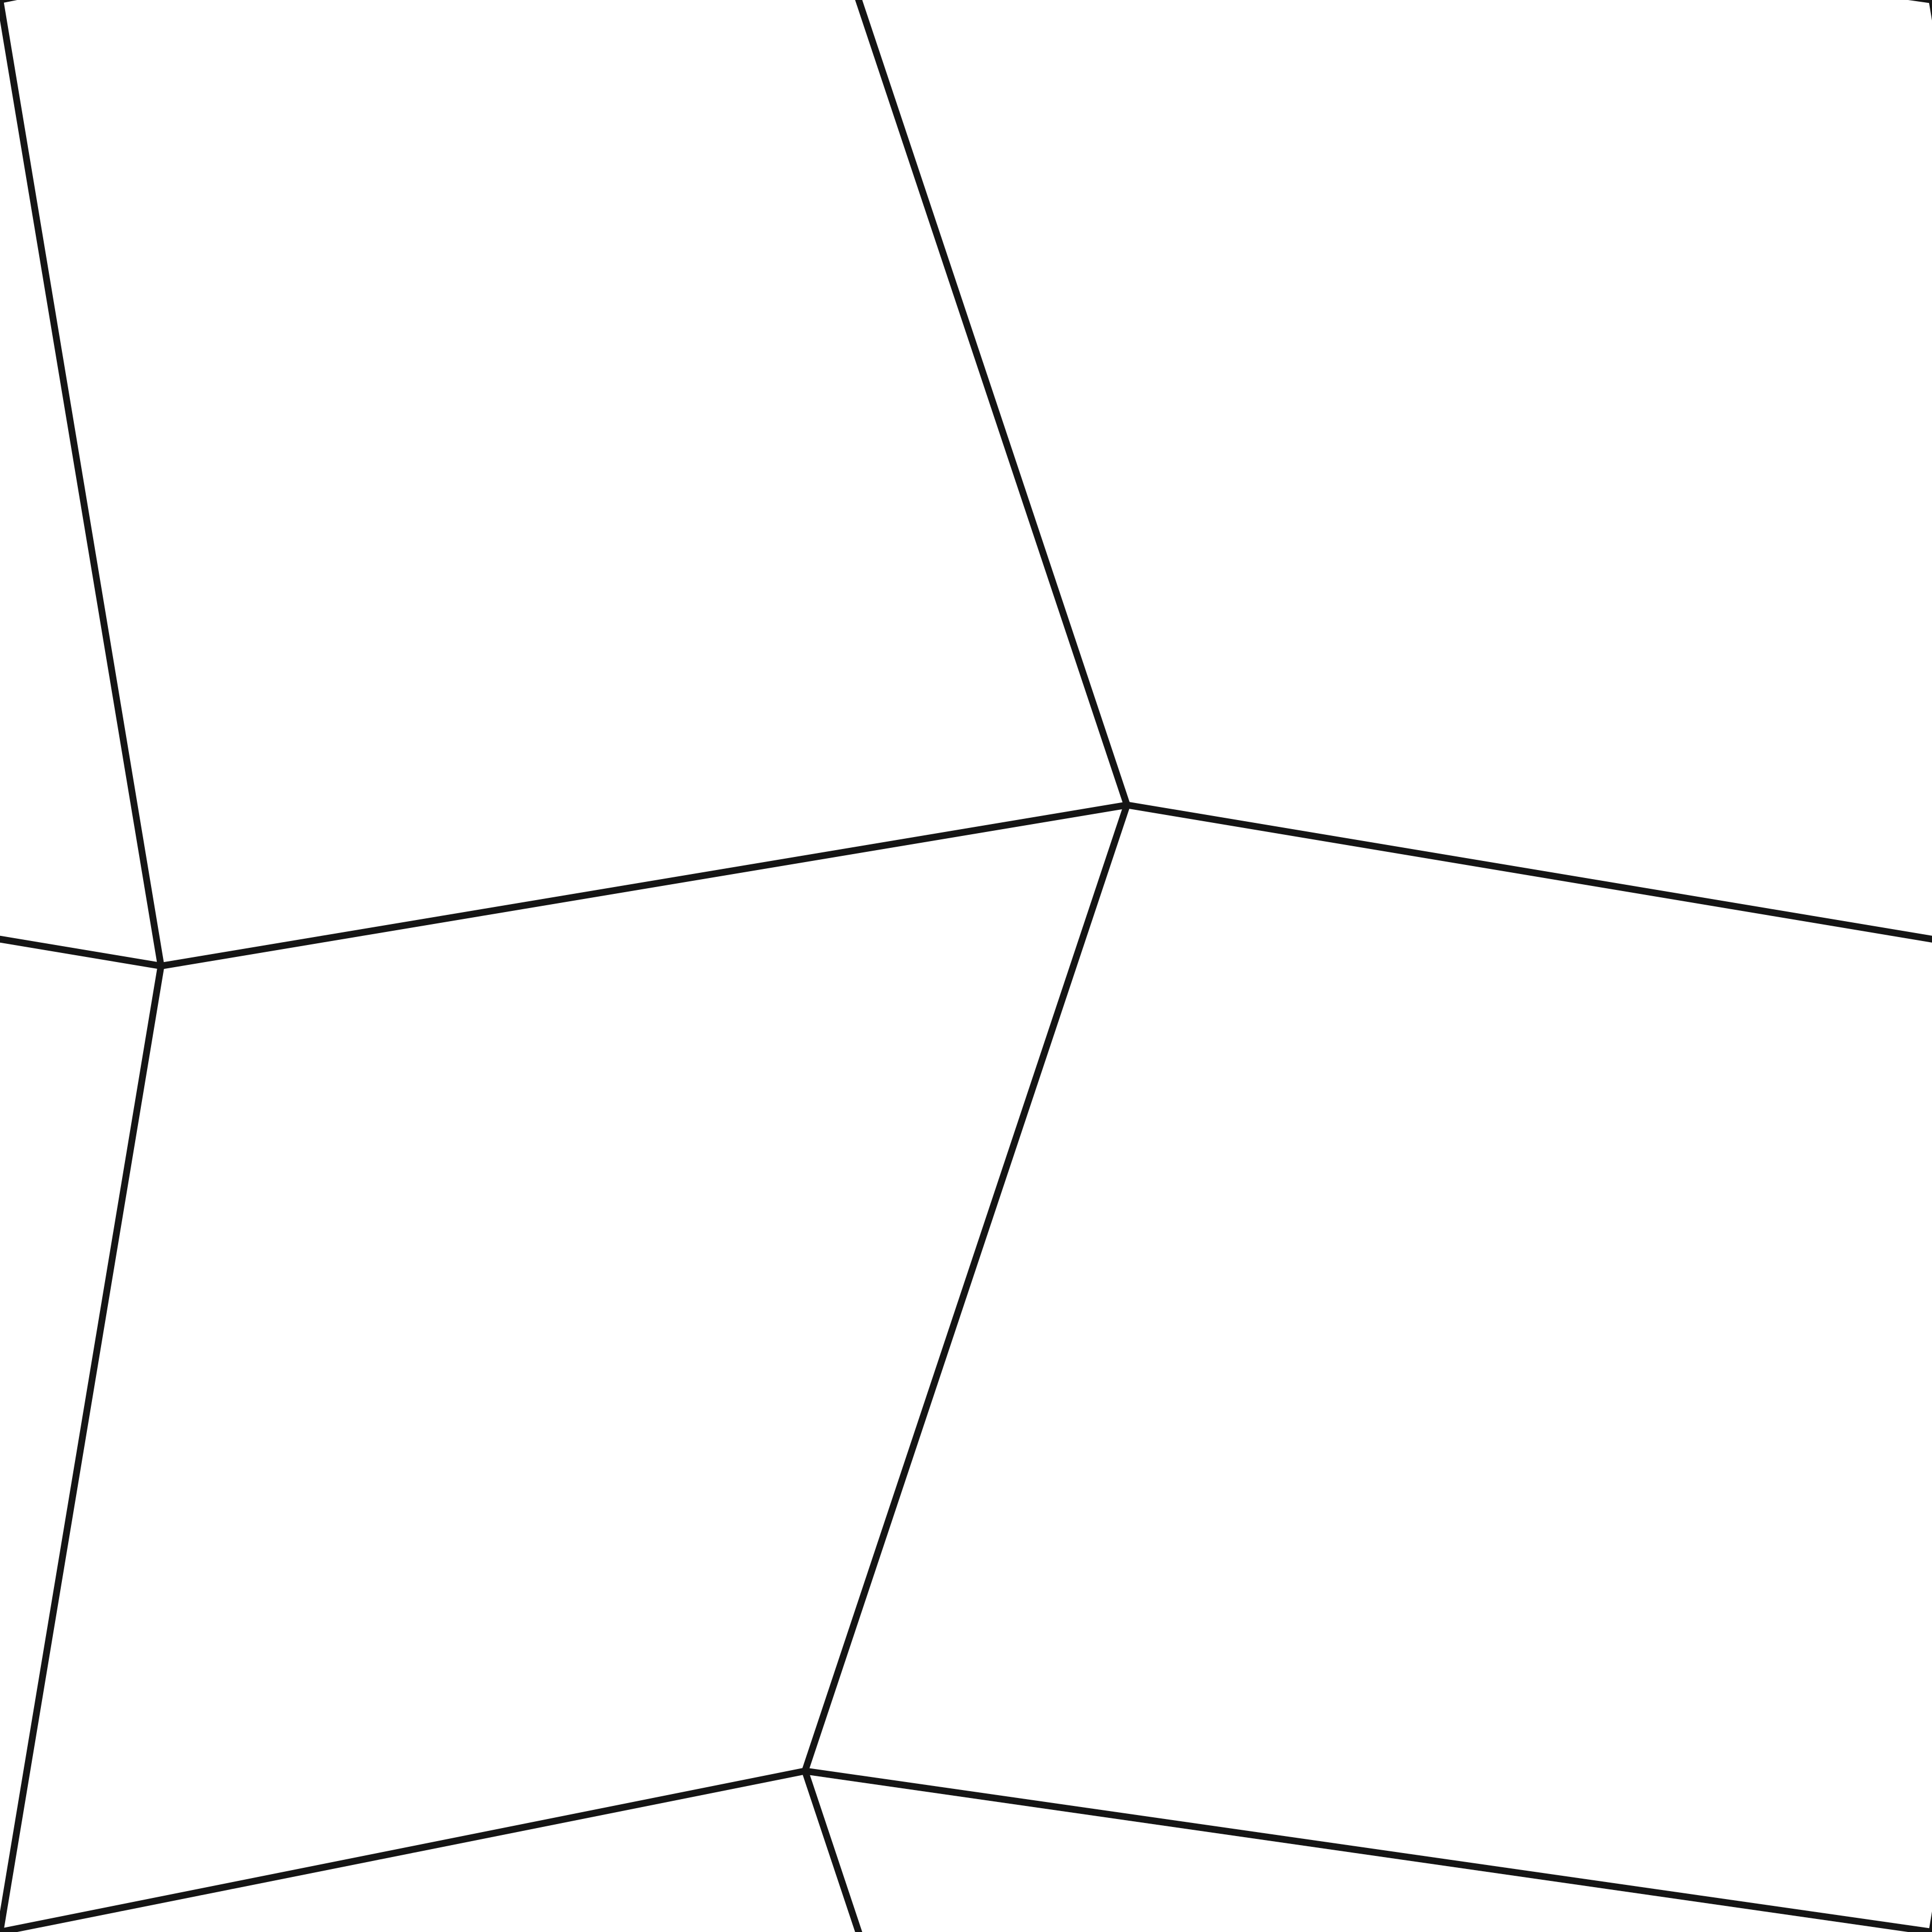
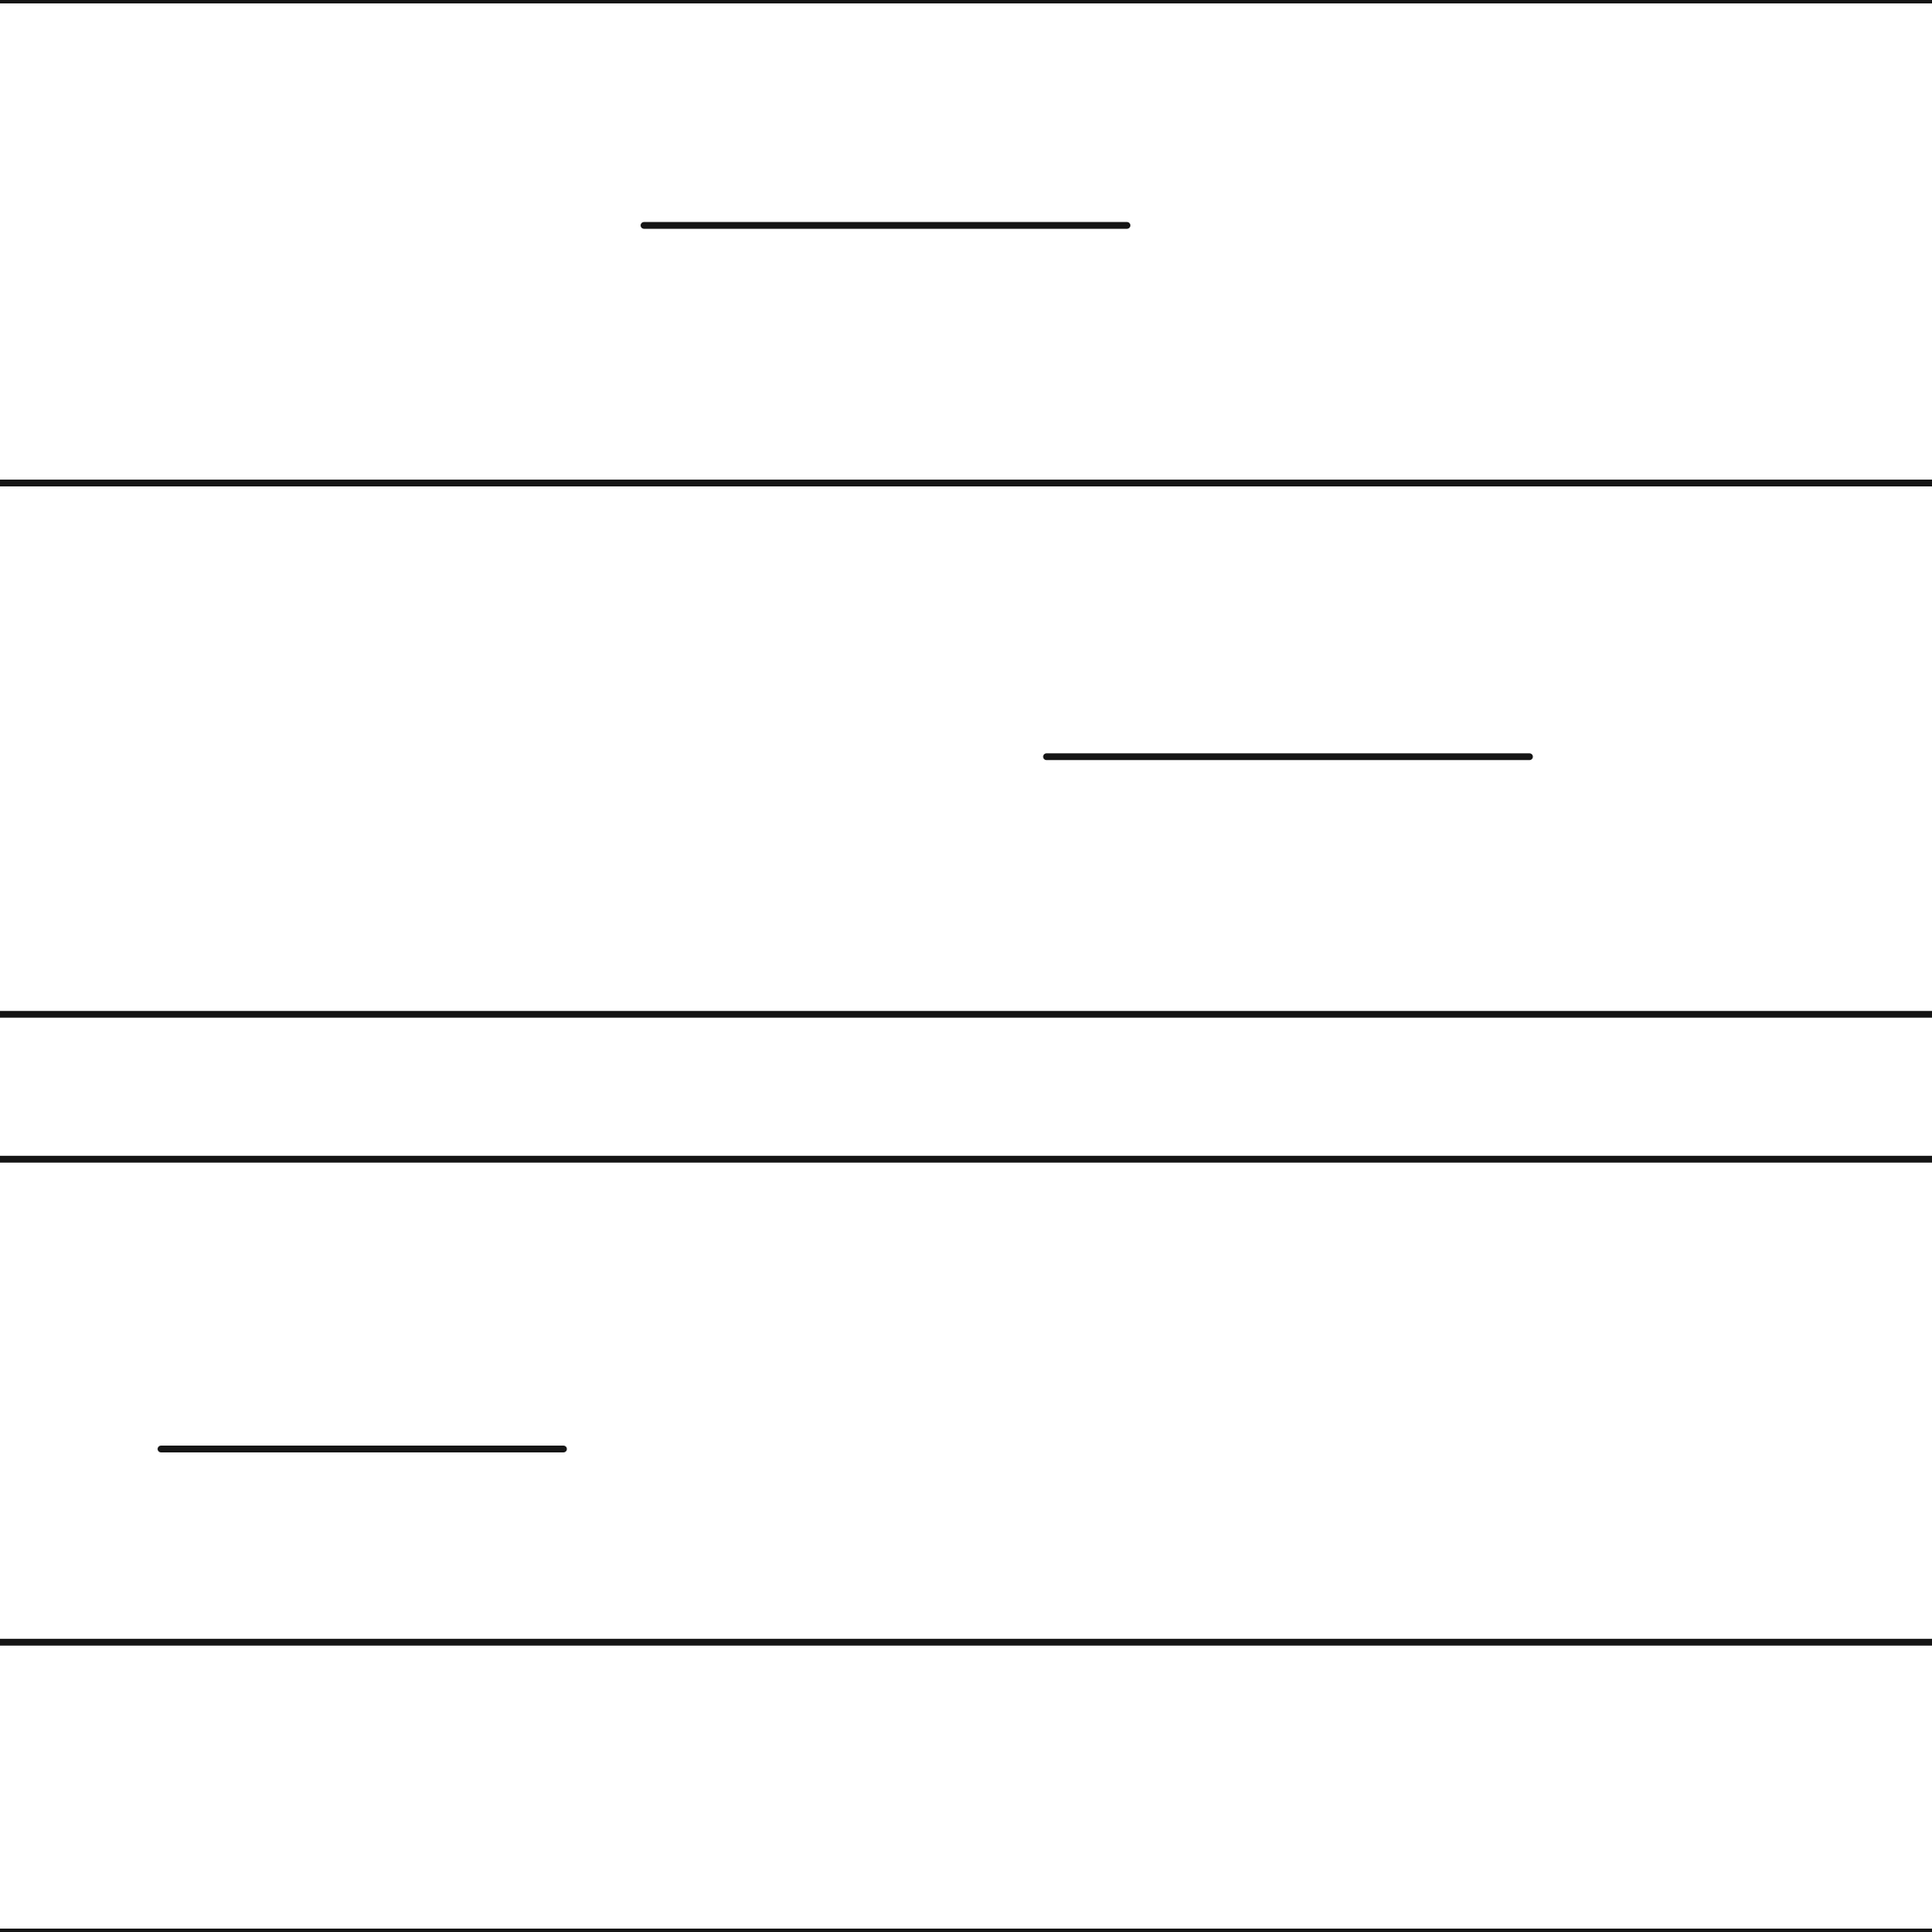
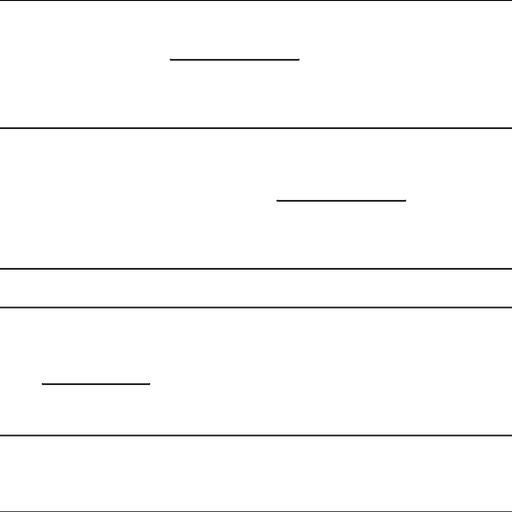
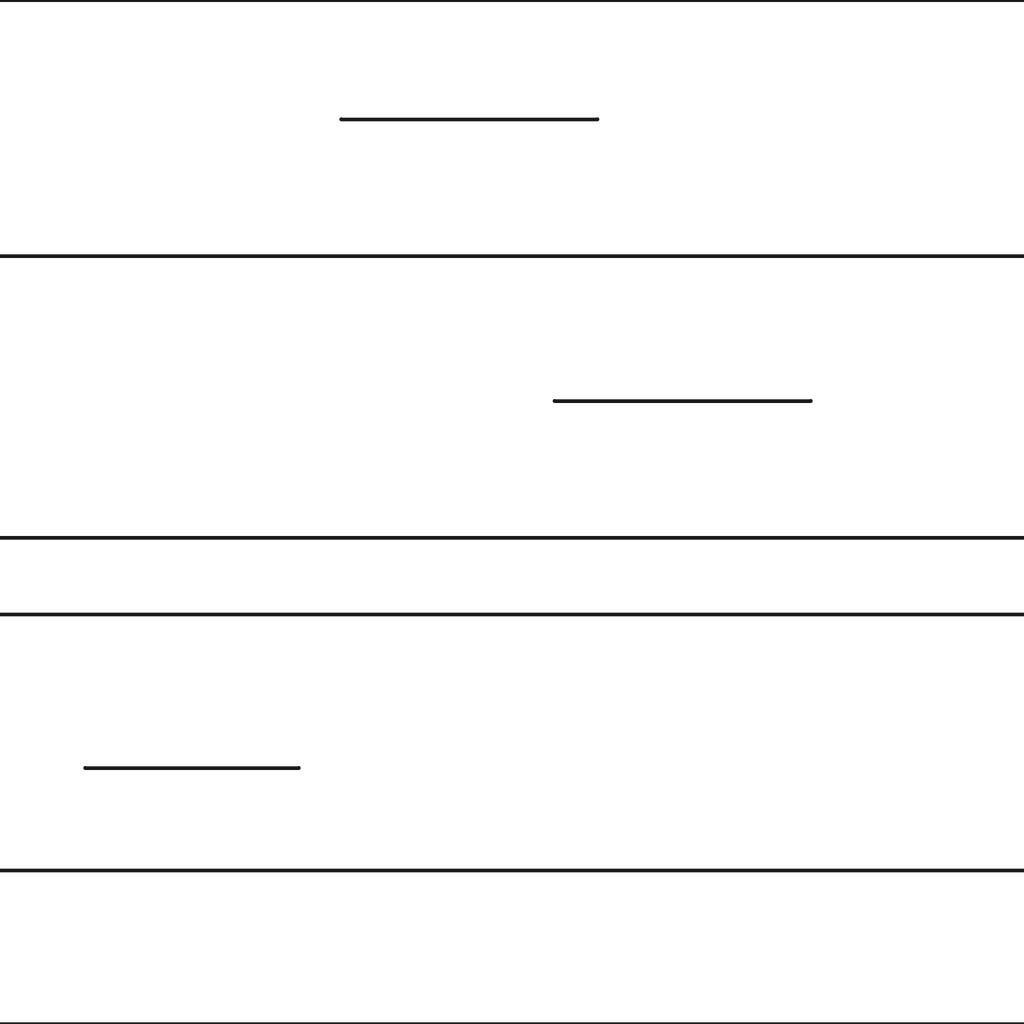
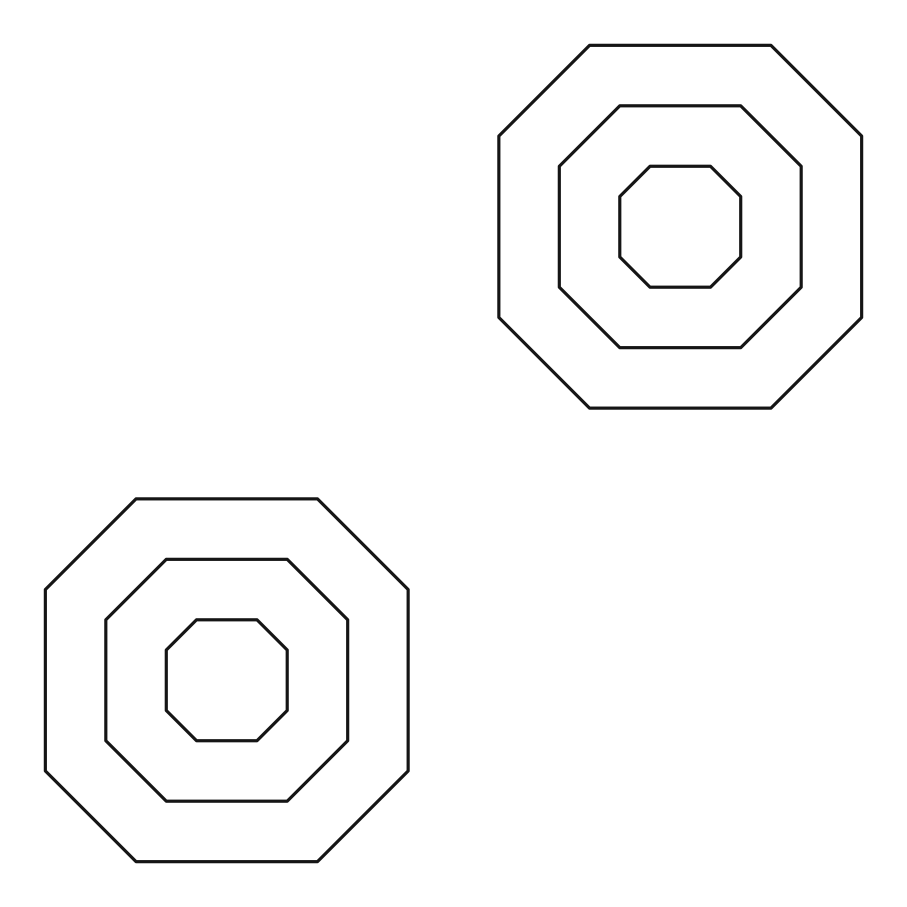
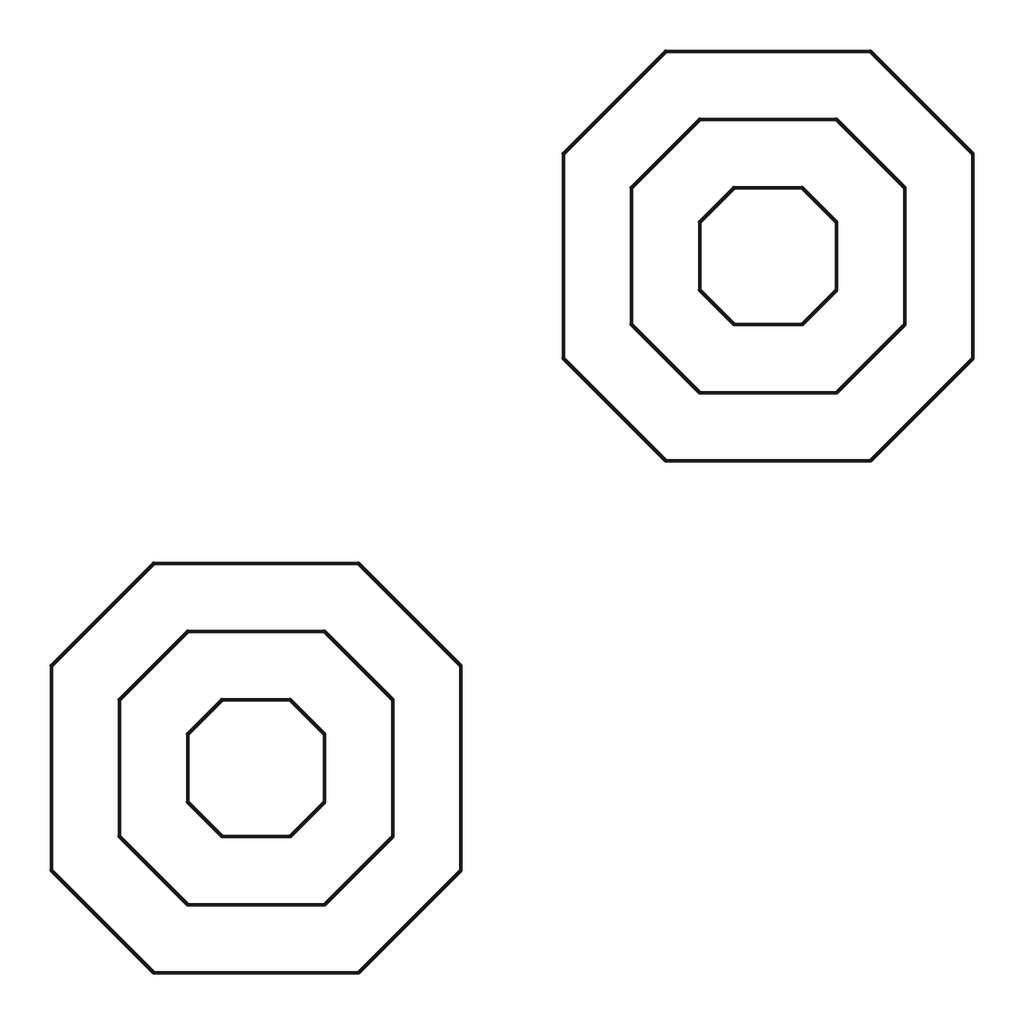
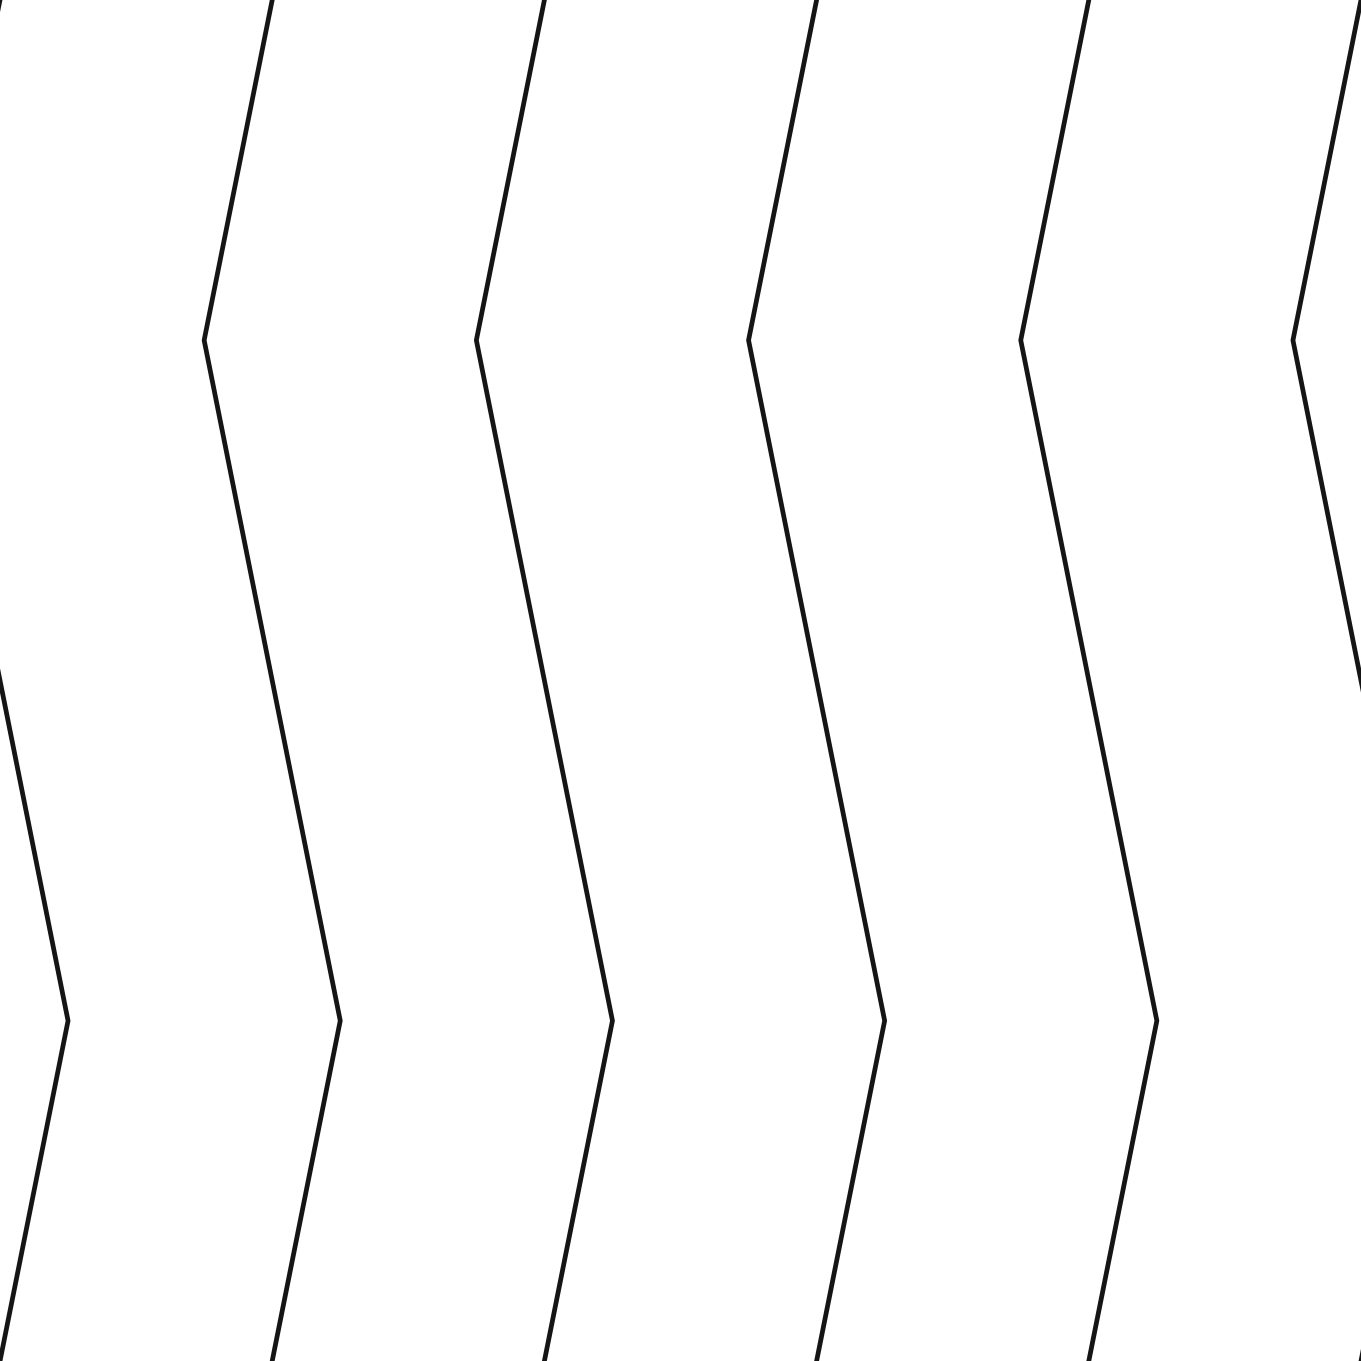
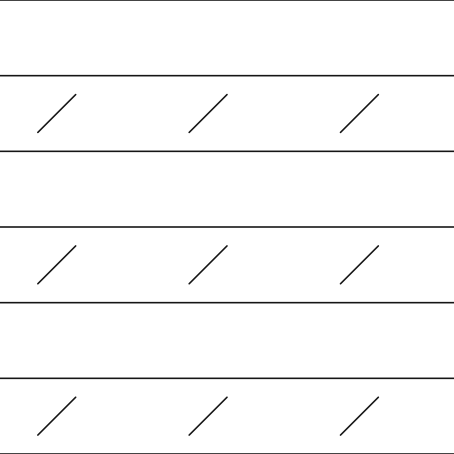
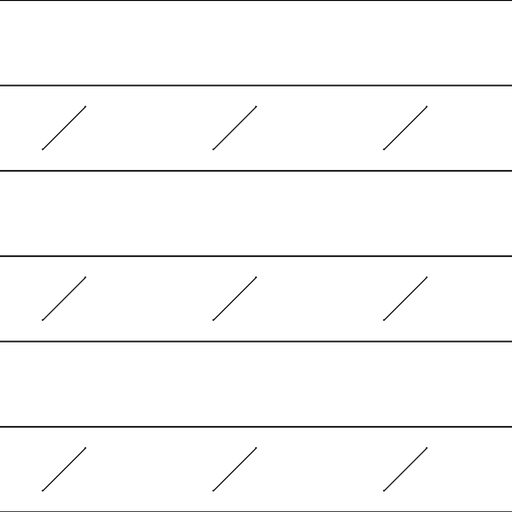
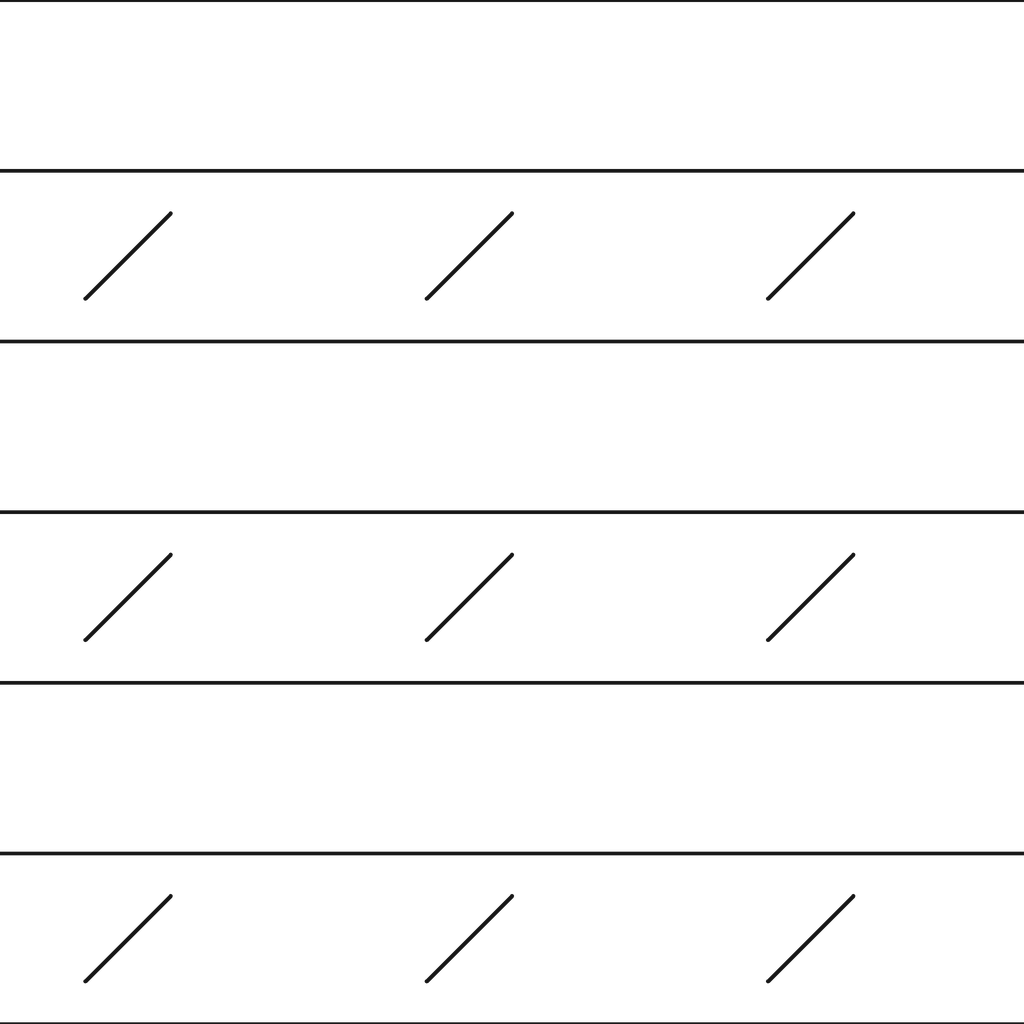
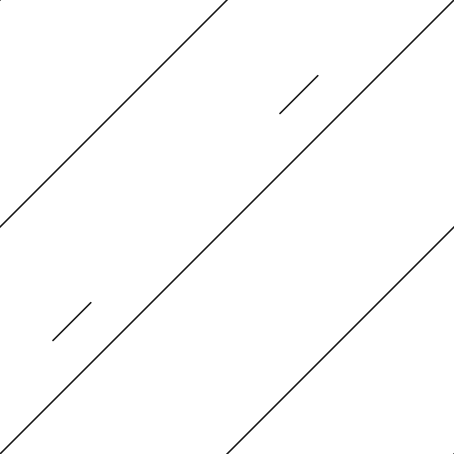
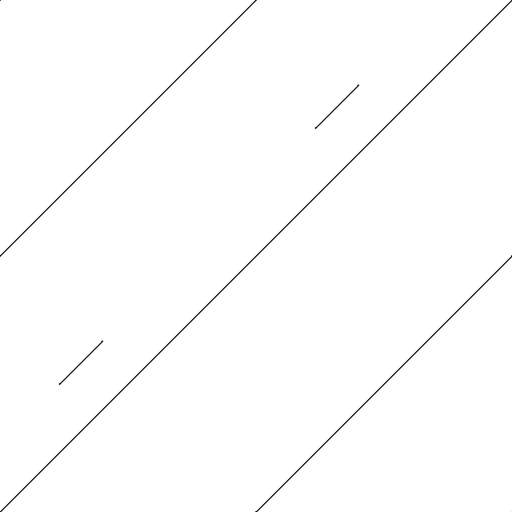
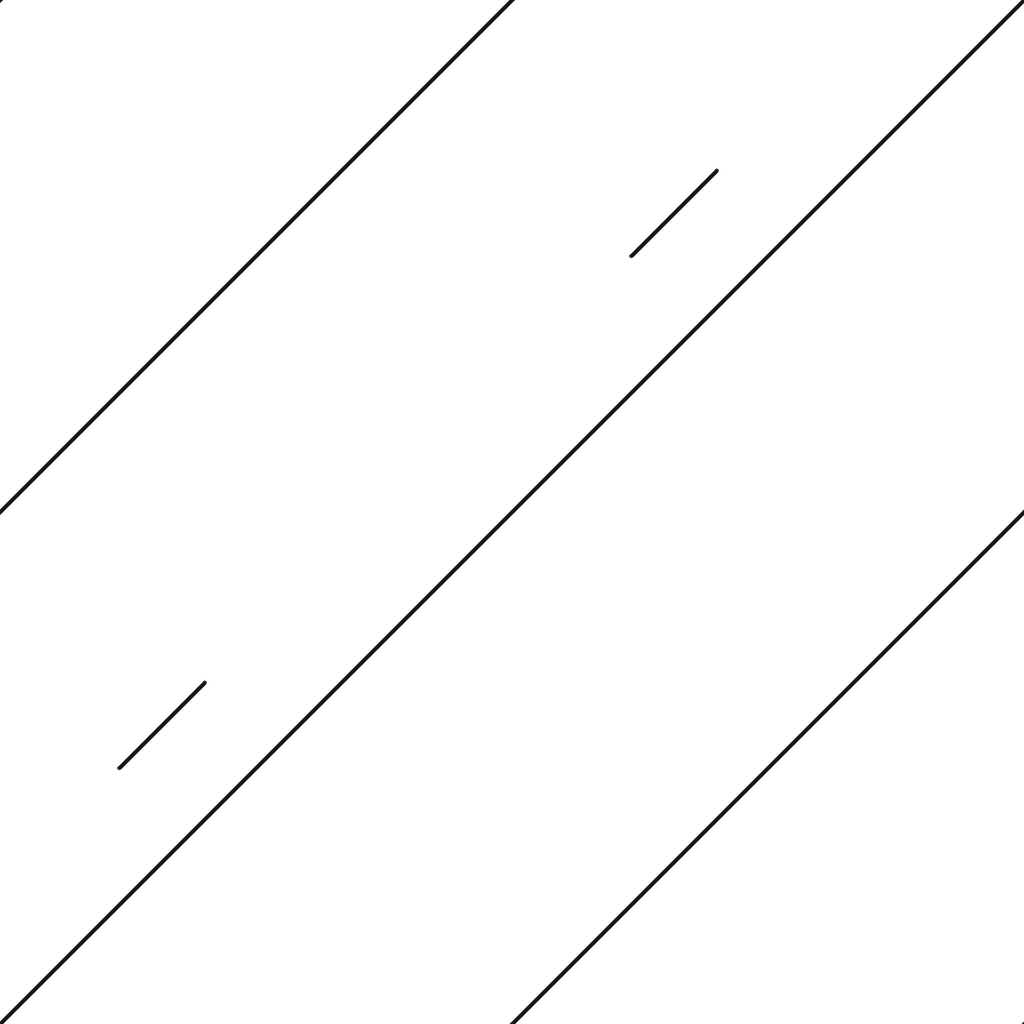
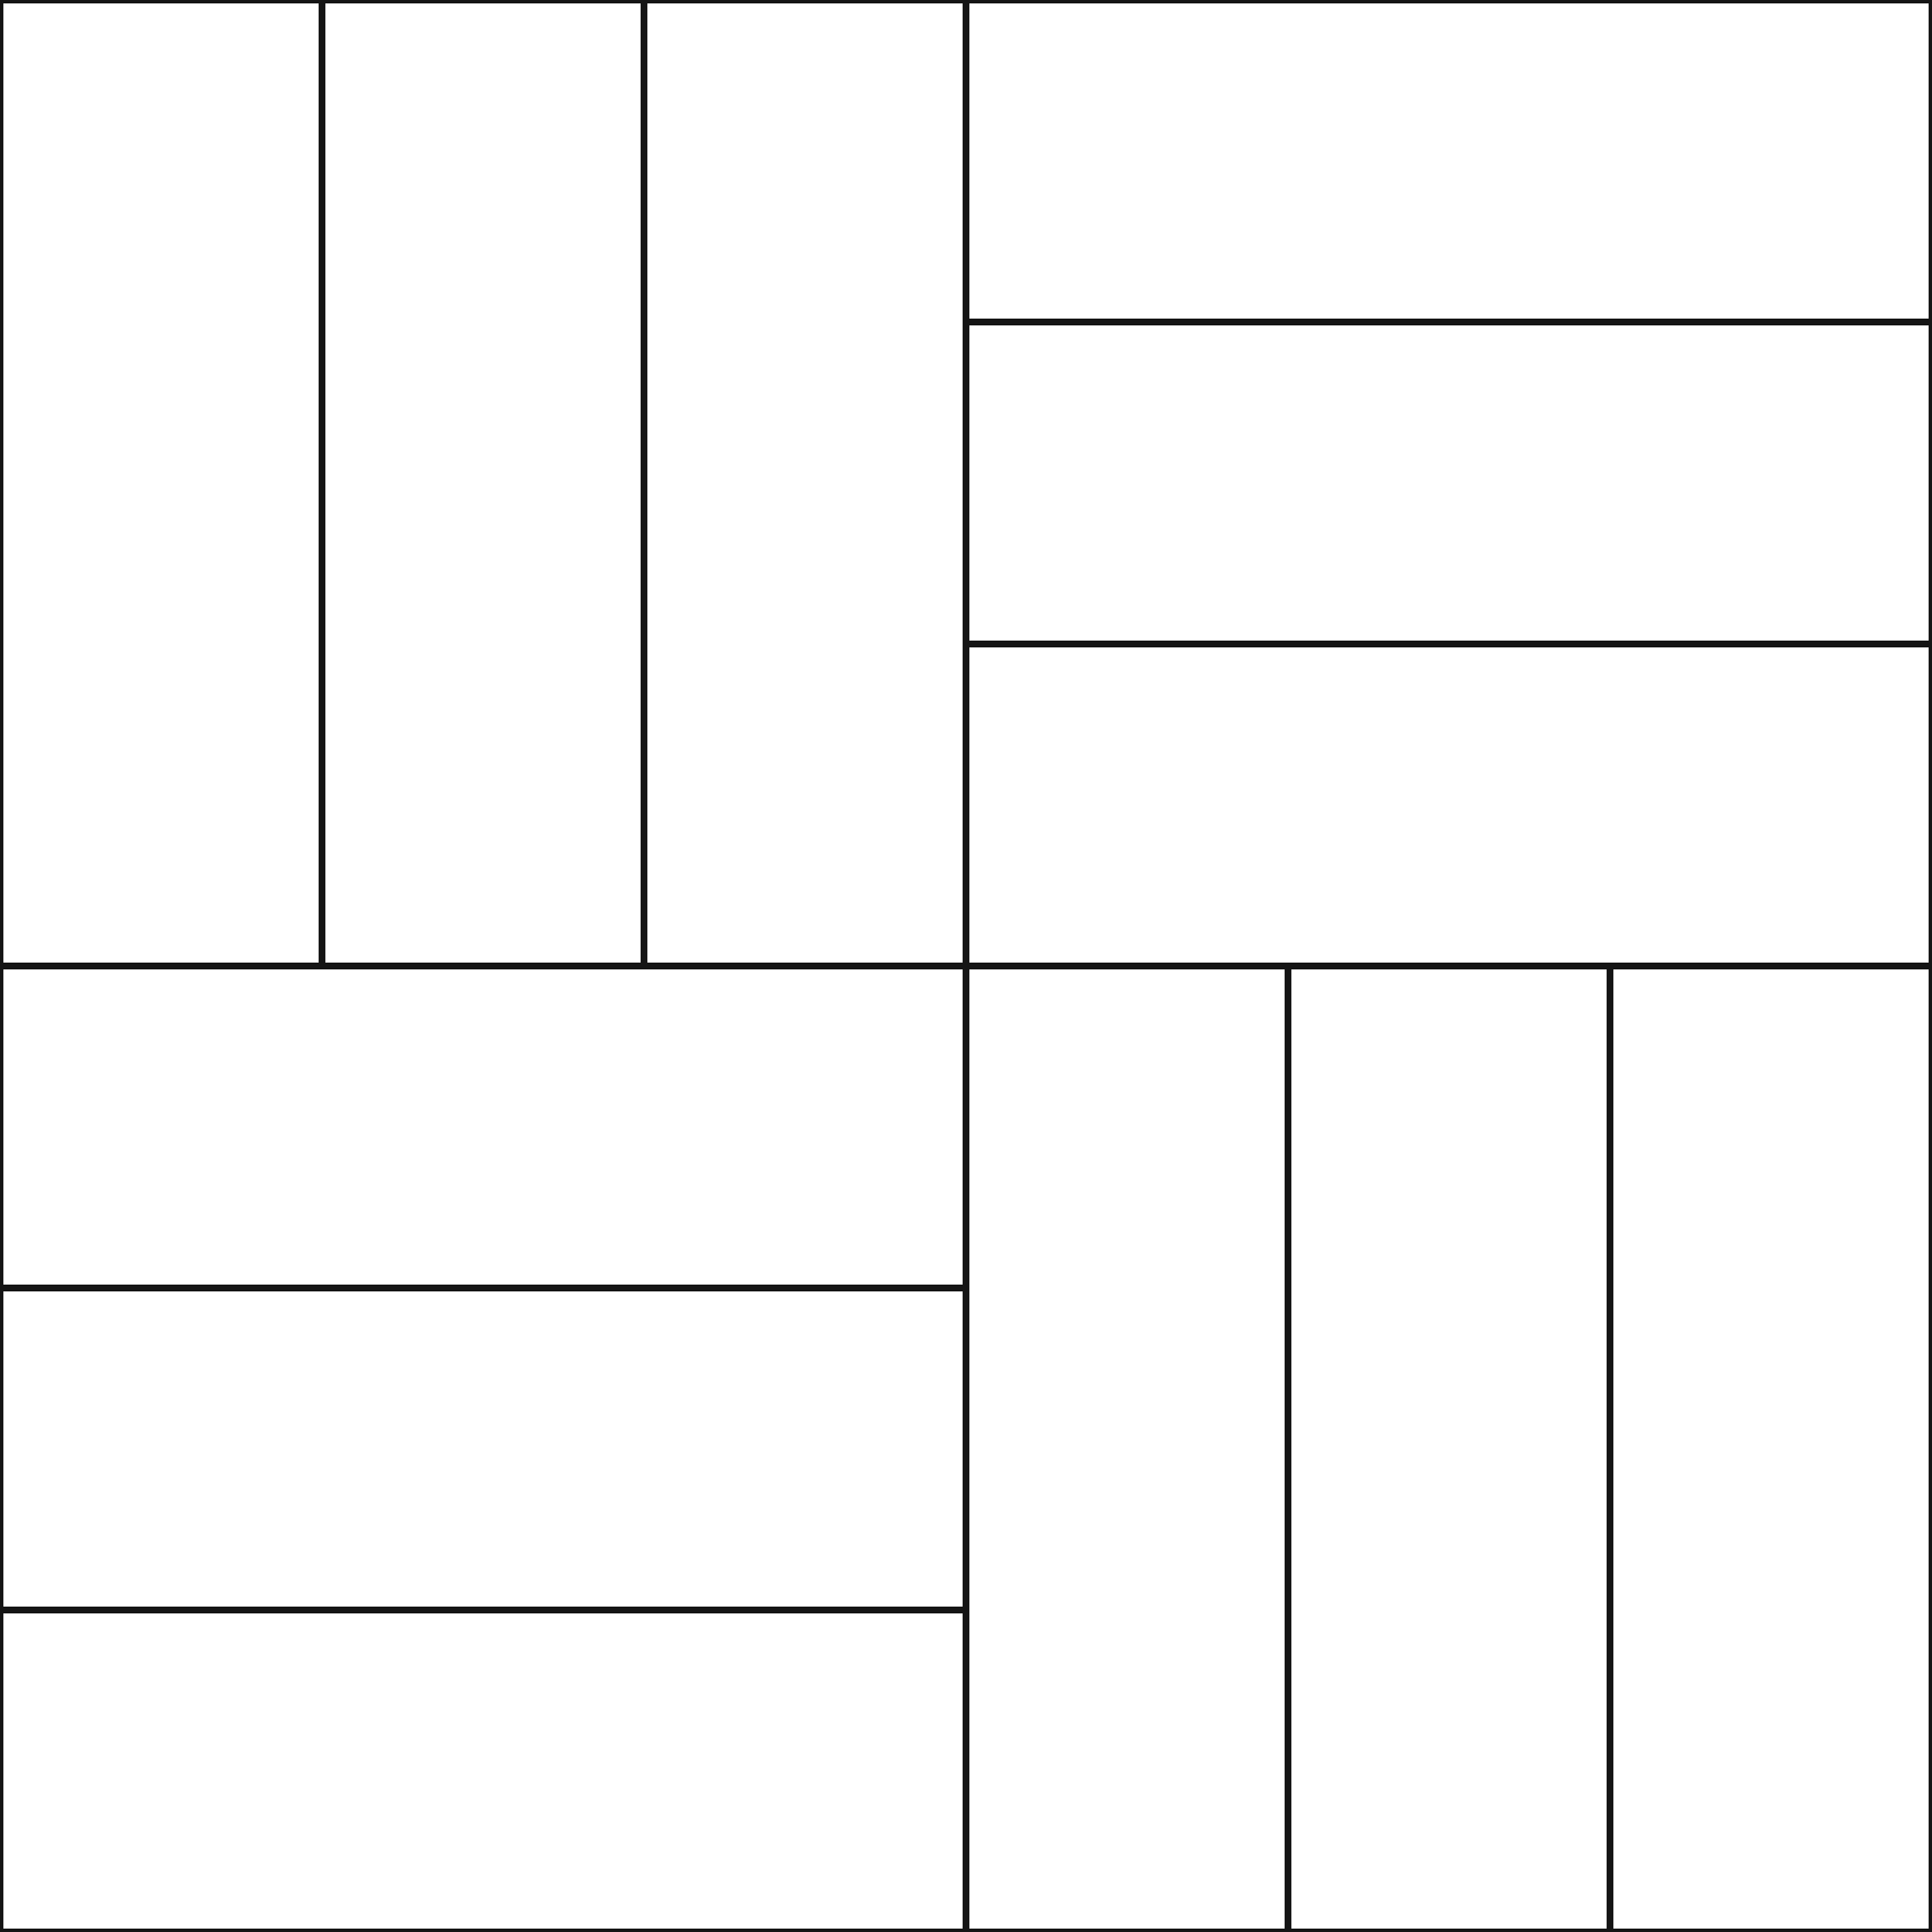
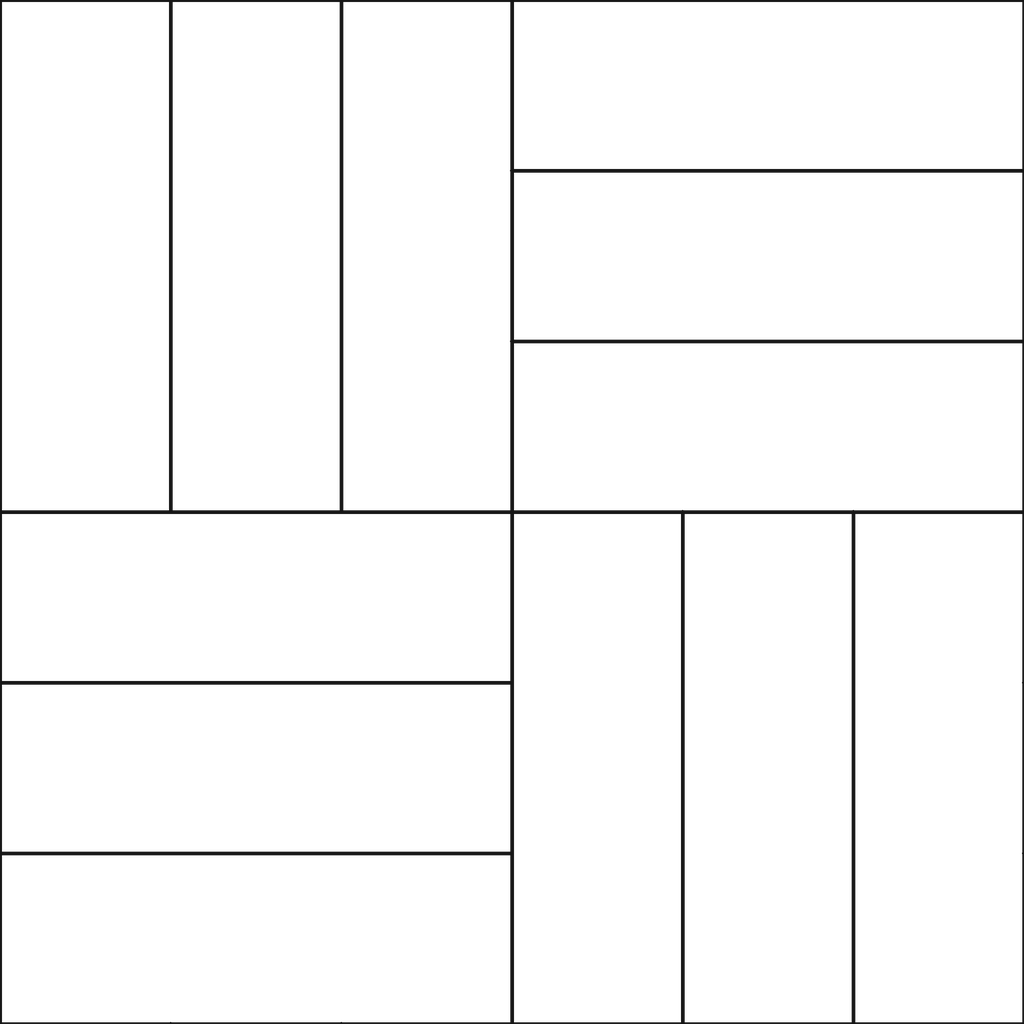
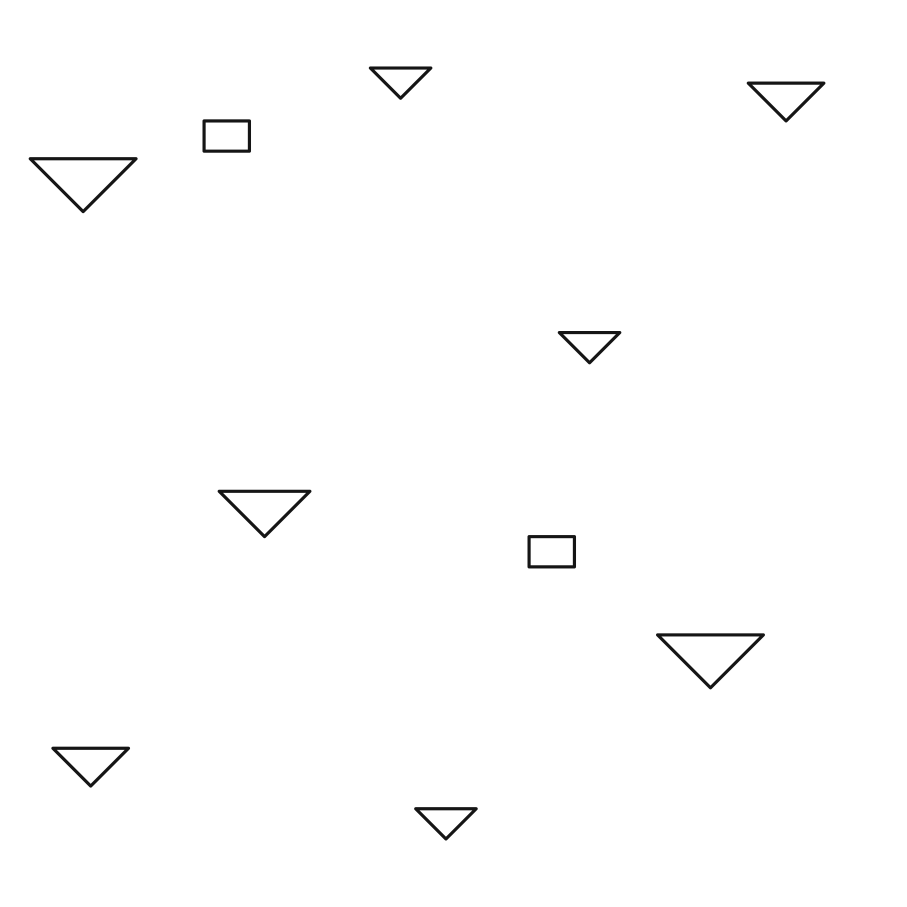
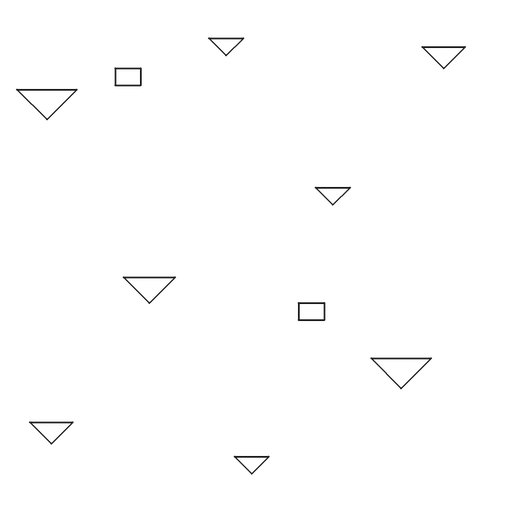
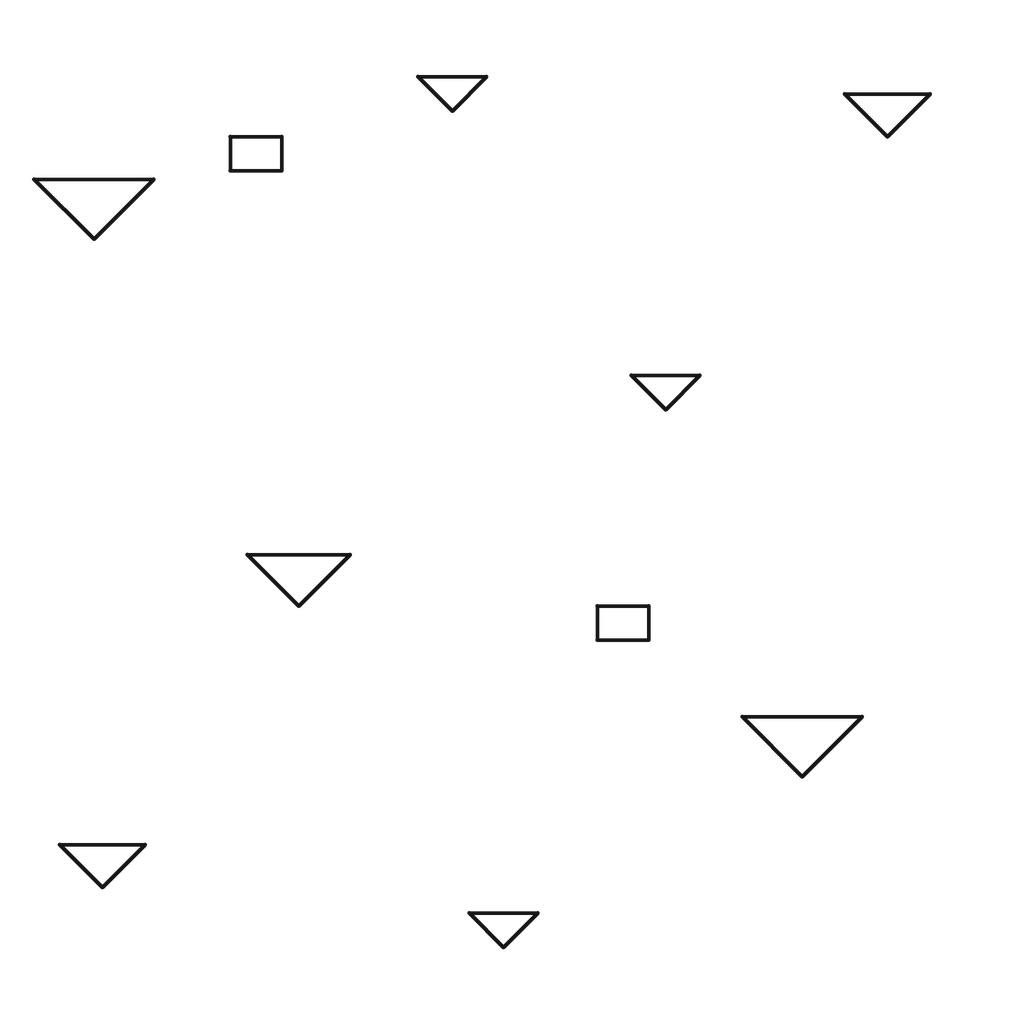
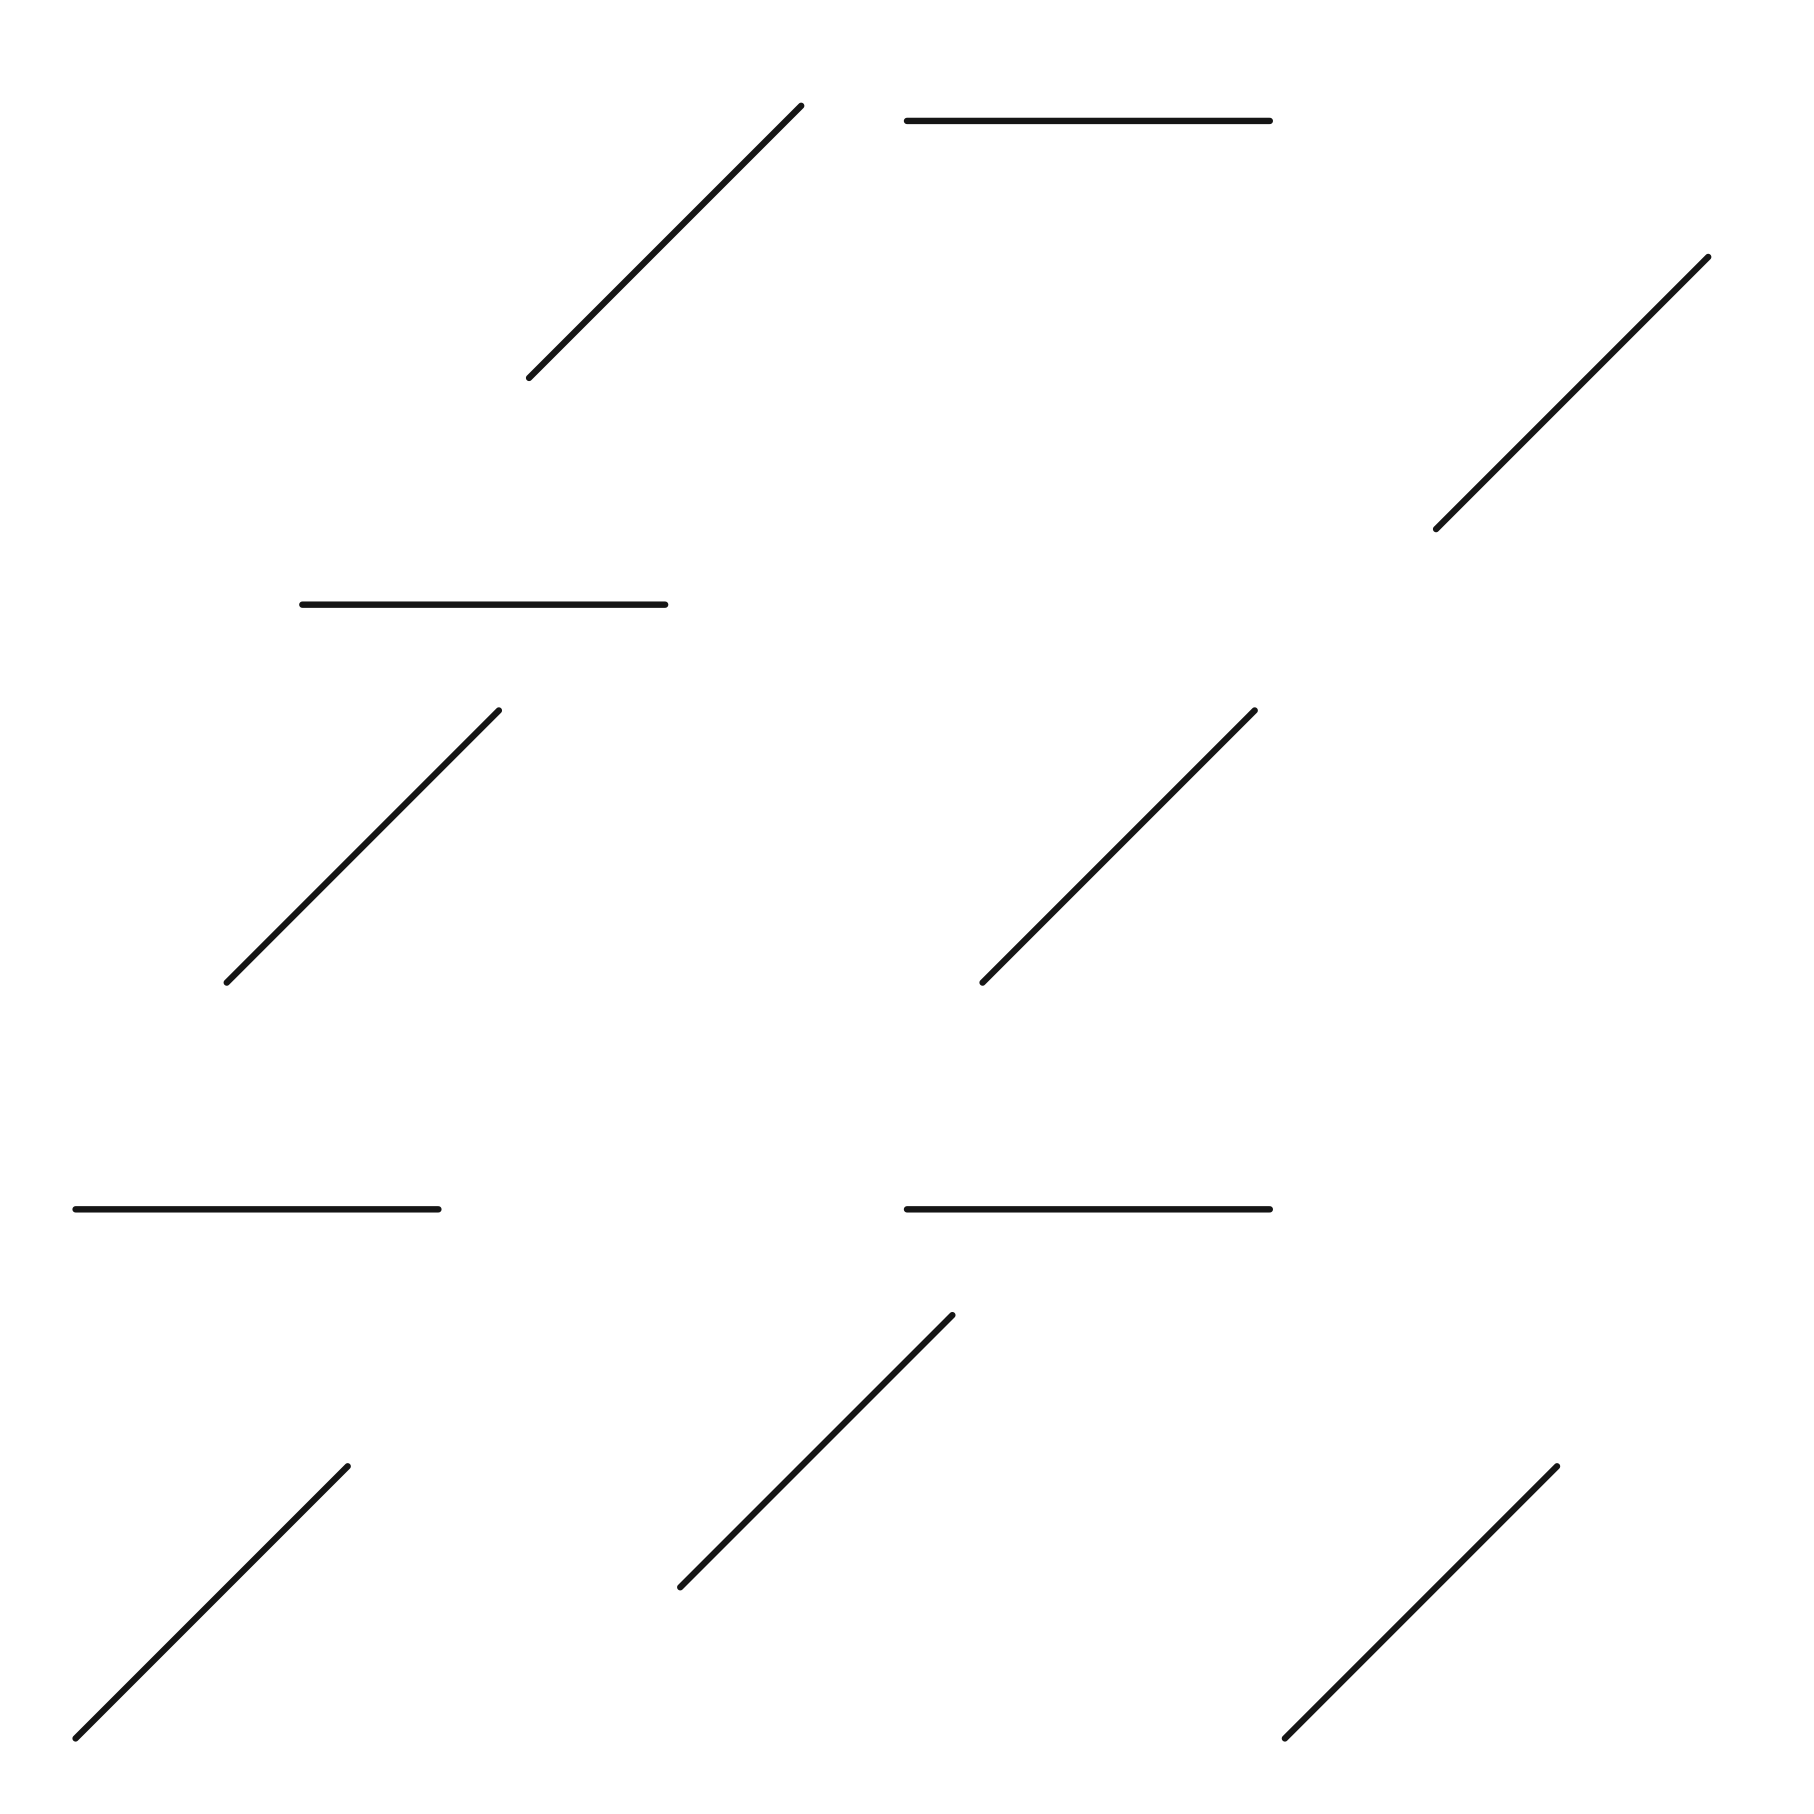
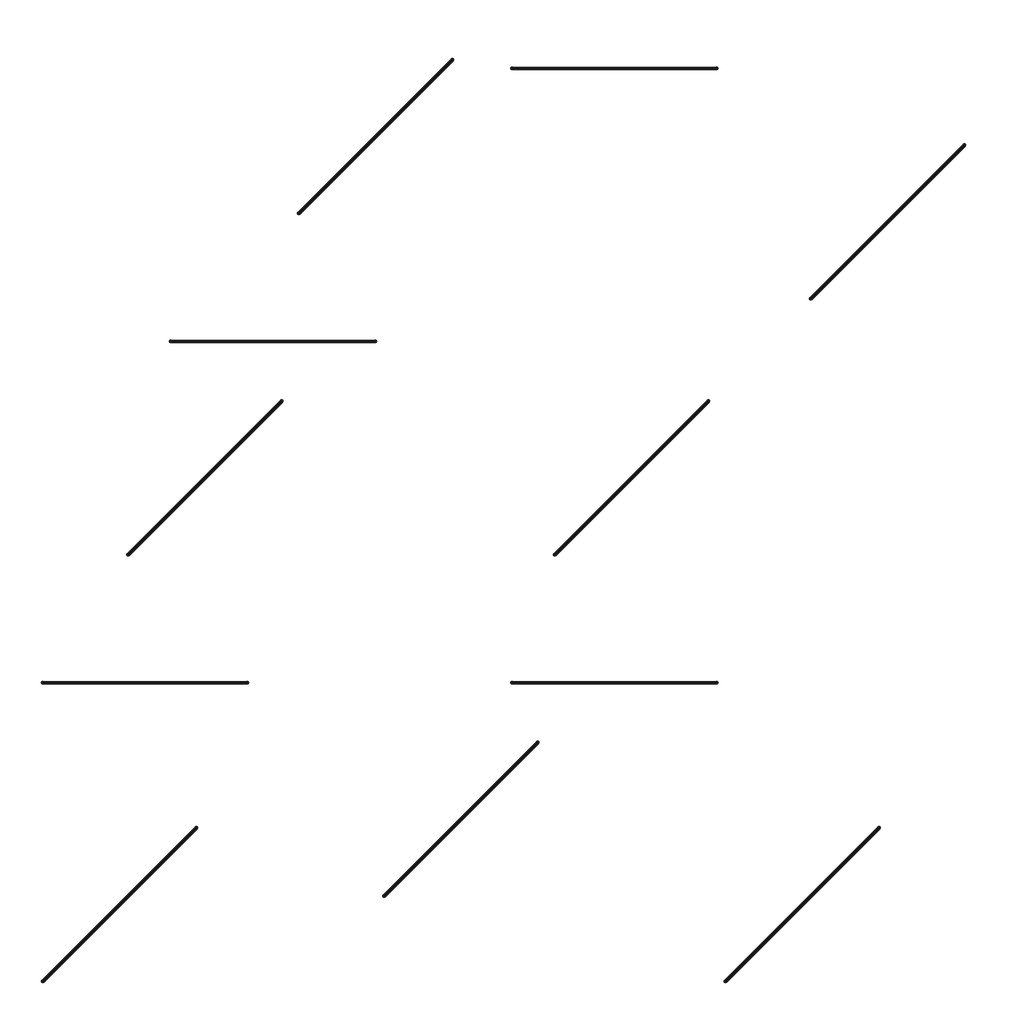
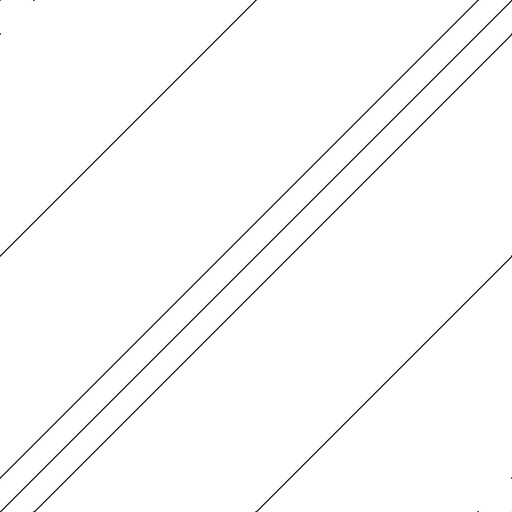
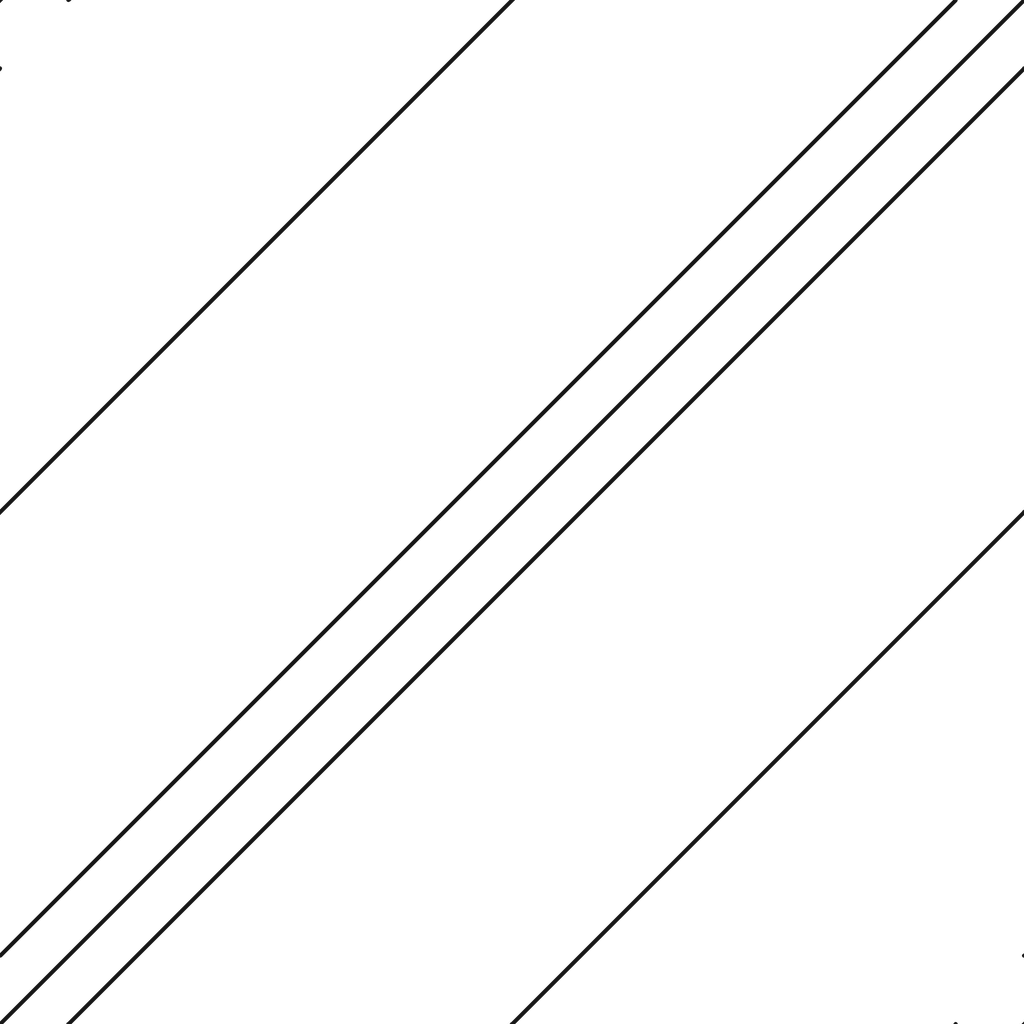
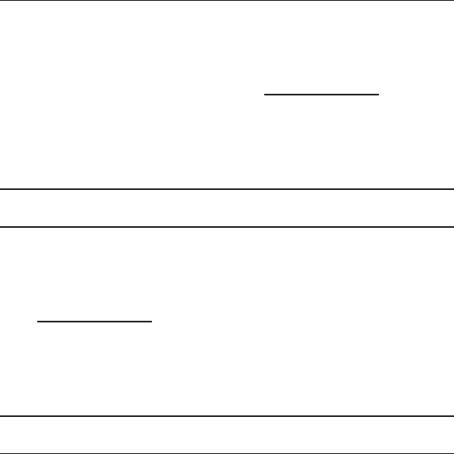
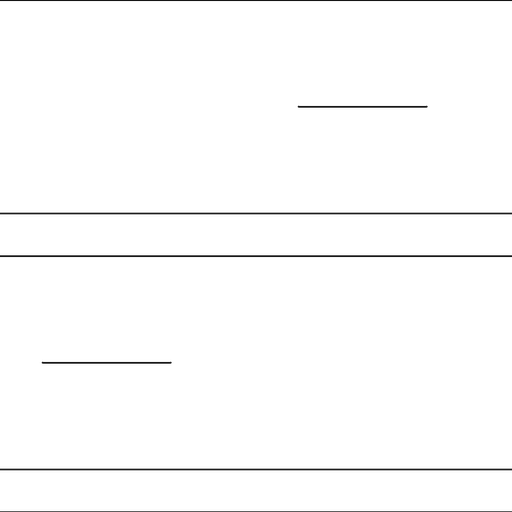
Use a brick hatch pattern or a wood hatch pattern where its direction helps explain the surface. Rotate the grain with the piece you are drawing. Batt insulation here uses short straight segments, so it remains editable as a PAT definition. These patterns match Skiaform's drafting style in the templates, with quiet material lines inside stronger drawing outlines.
Check the printed sheet
Print a crop at the final sheet size before filling every view. If small gaps close up, increase the spacing or lighten the hatch rather than shrinking labels around it. Check corners, thin wall layers and areas behind dimensions. Recheck after reducing a sheet for a work sample, since a pattern that reads at full size can turn into a dark patch.
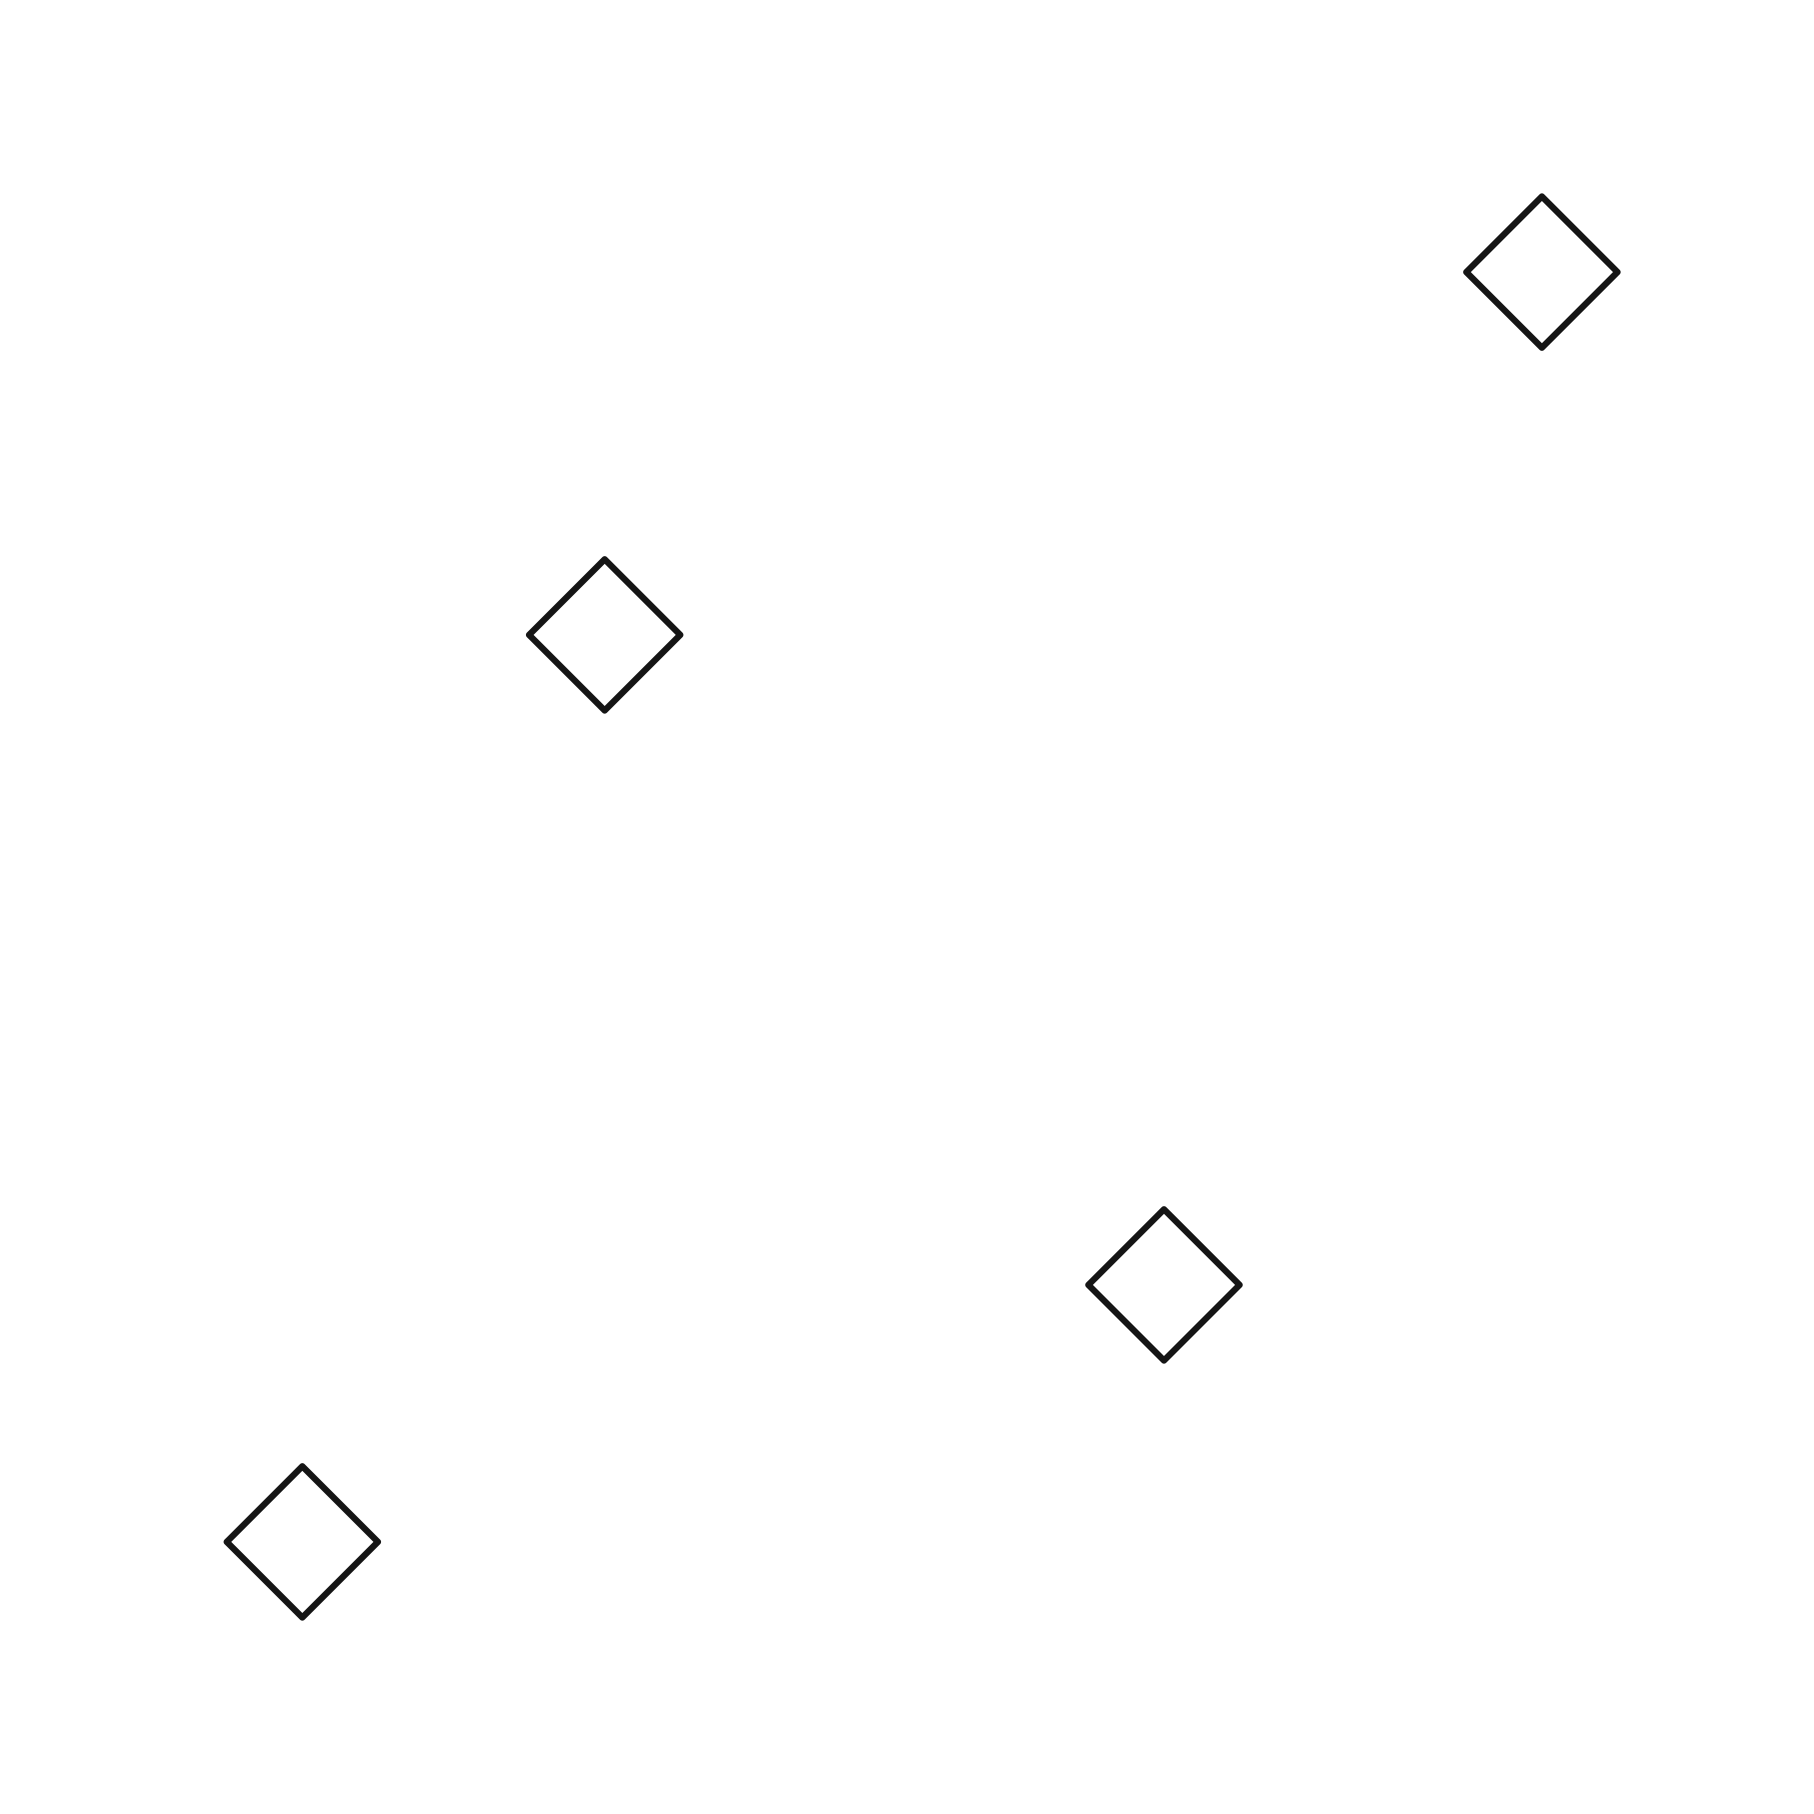
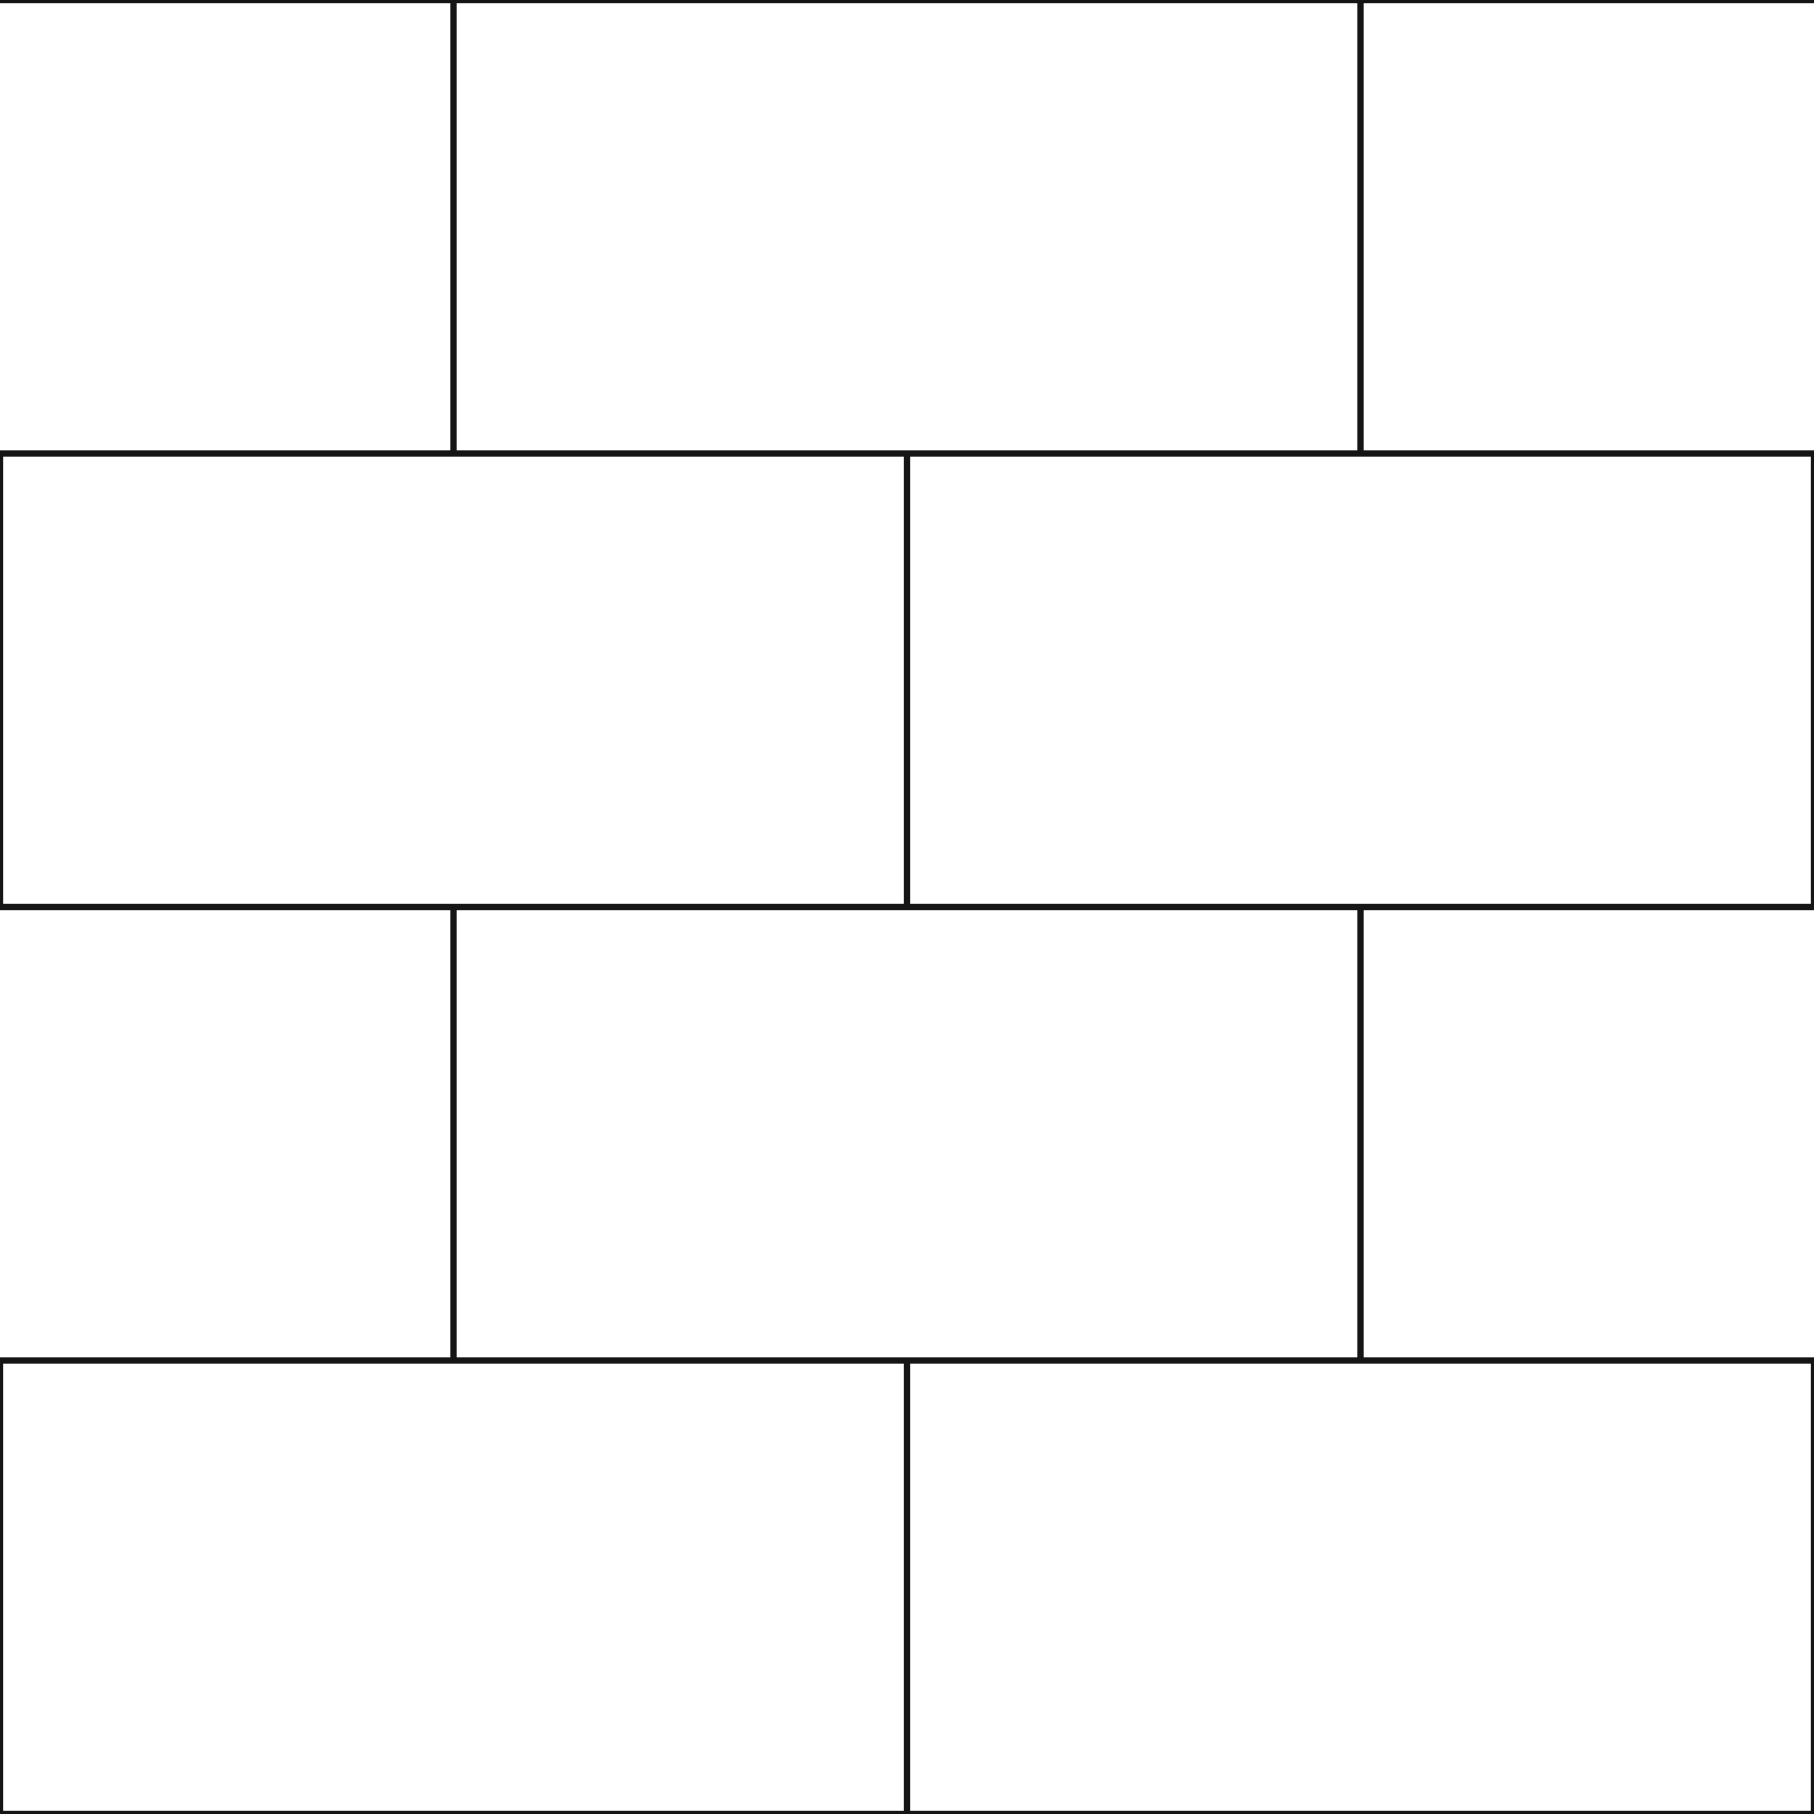
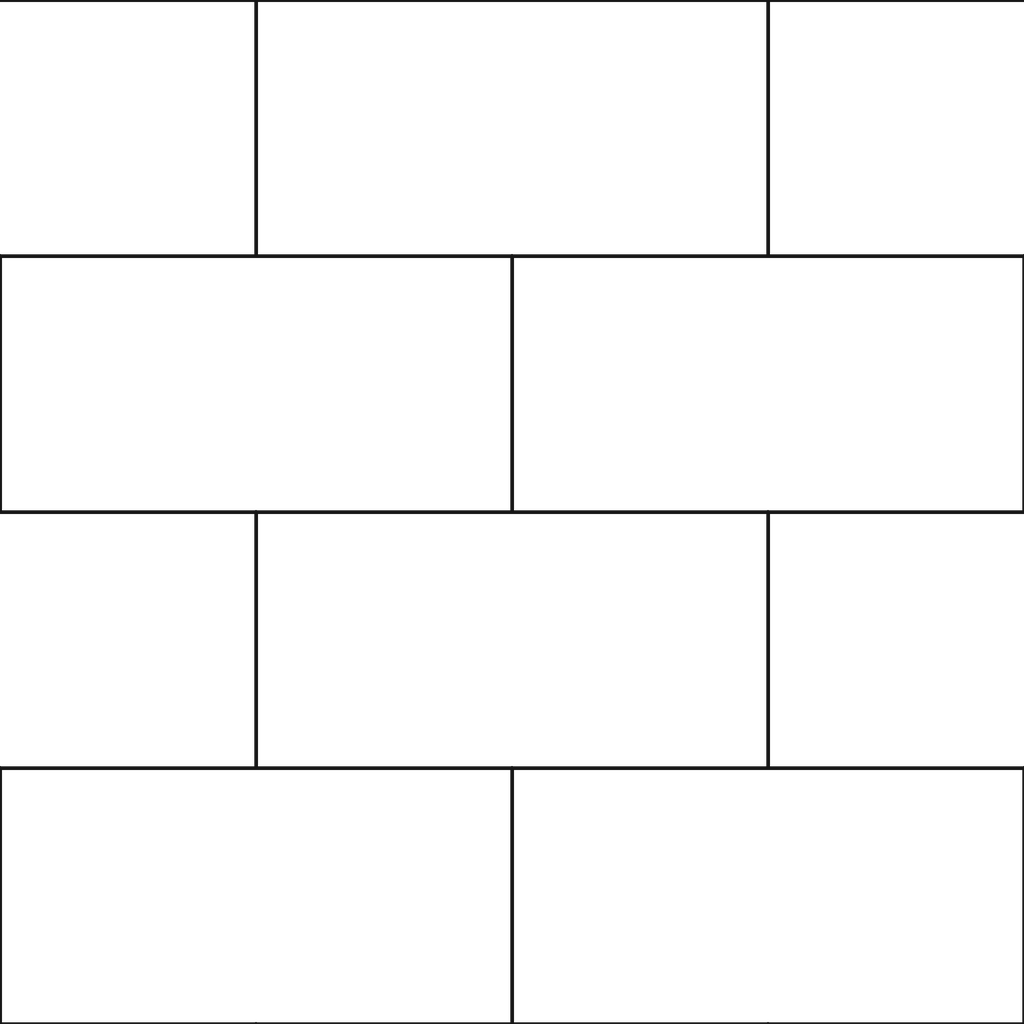
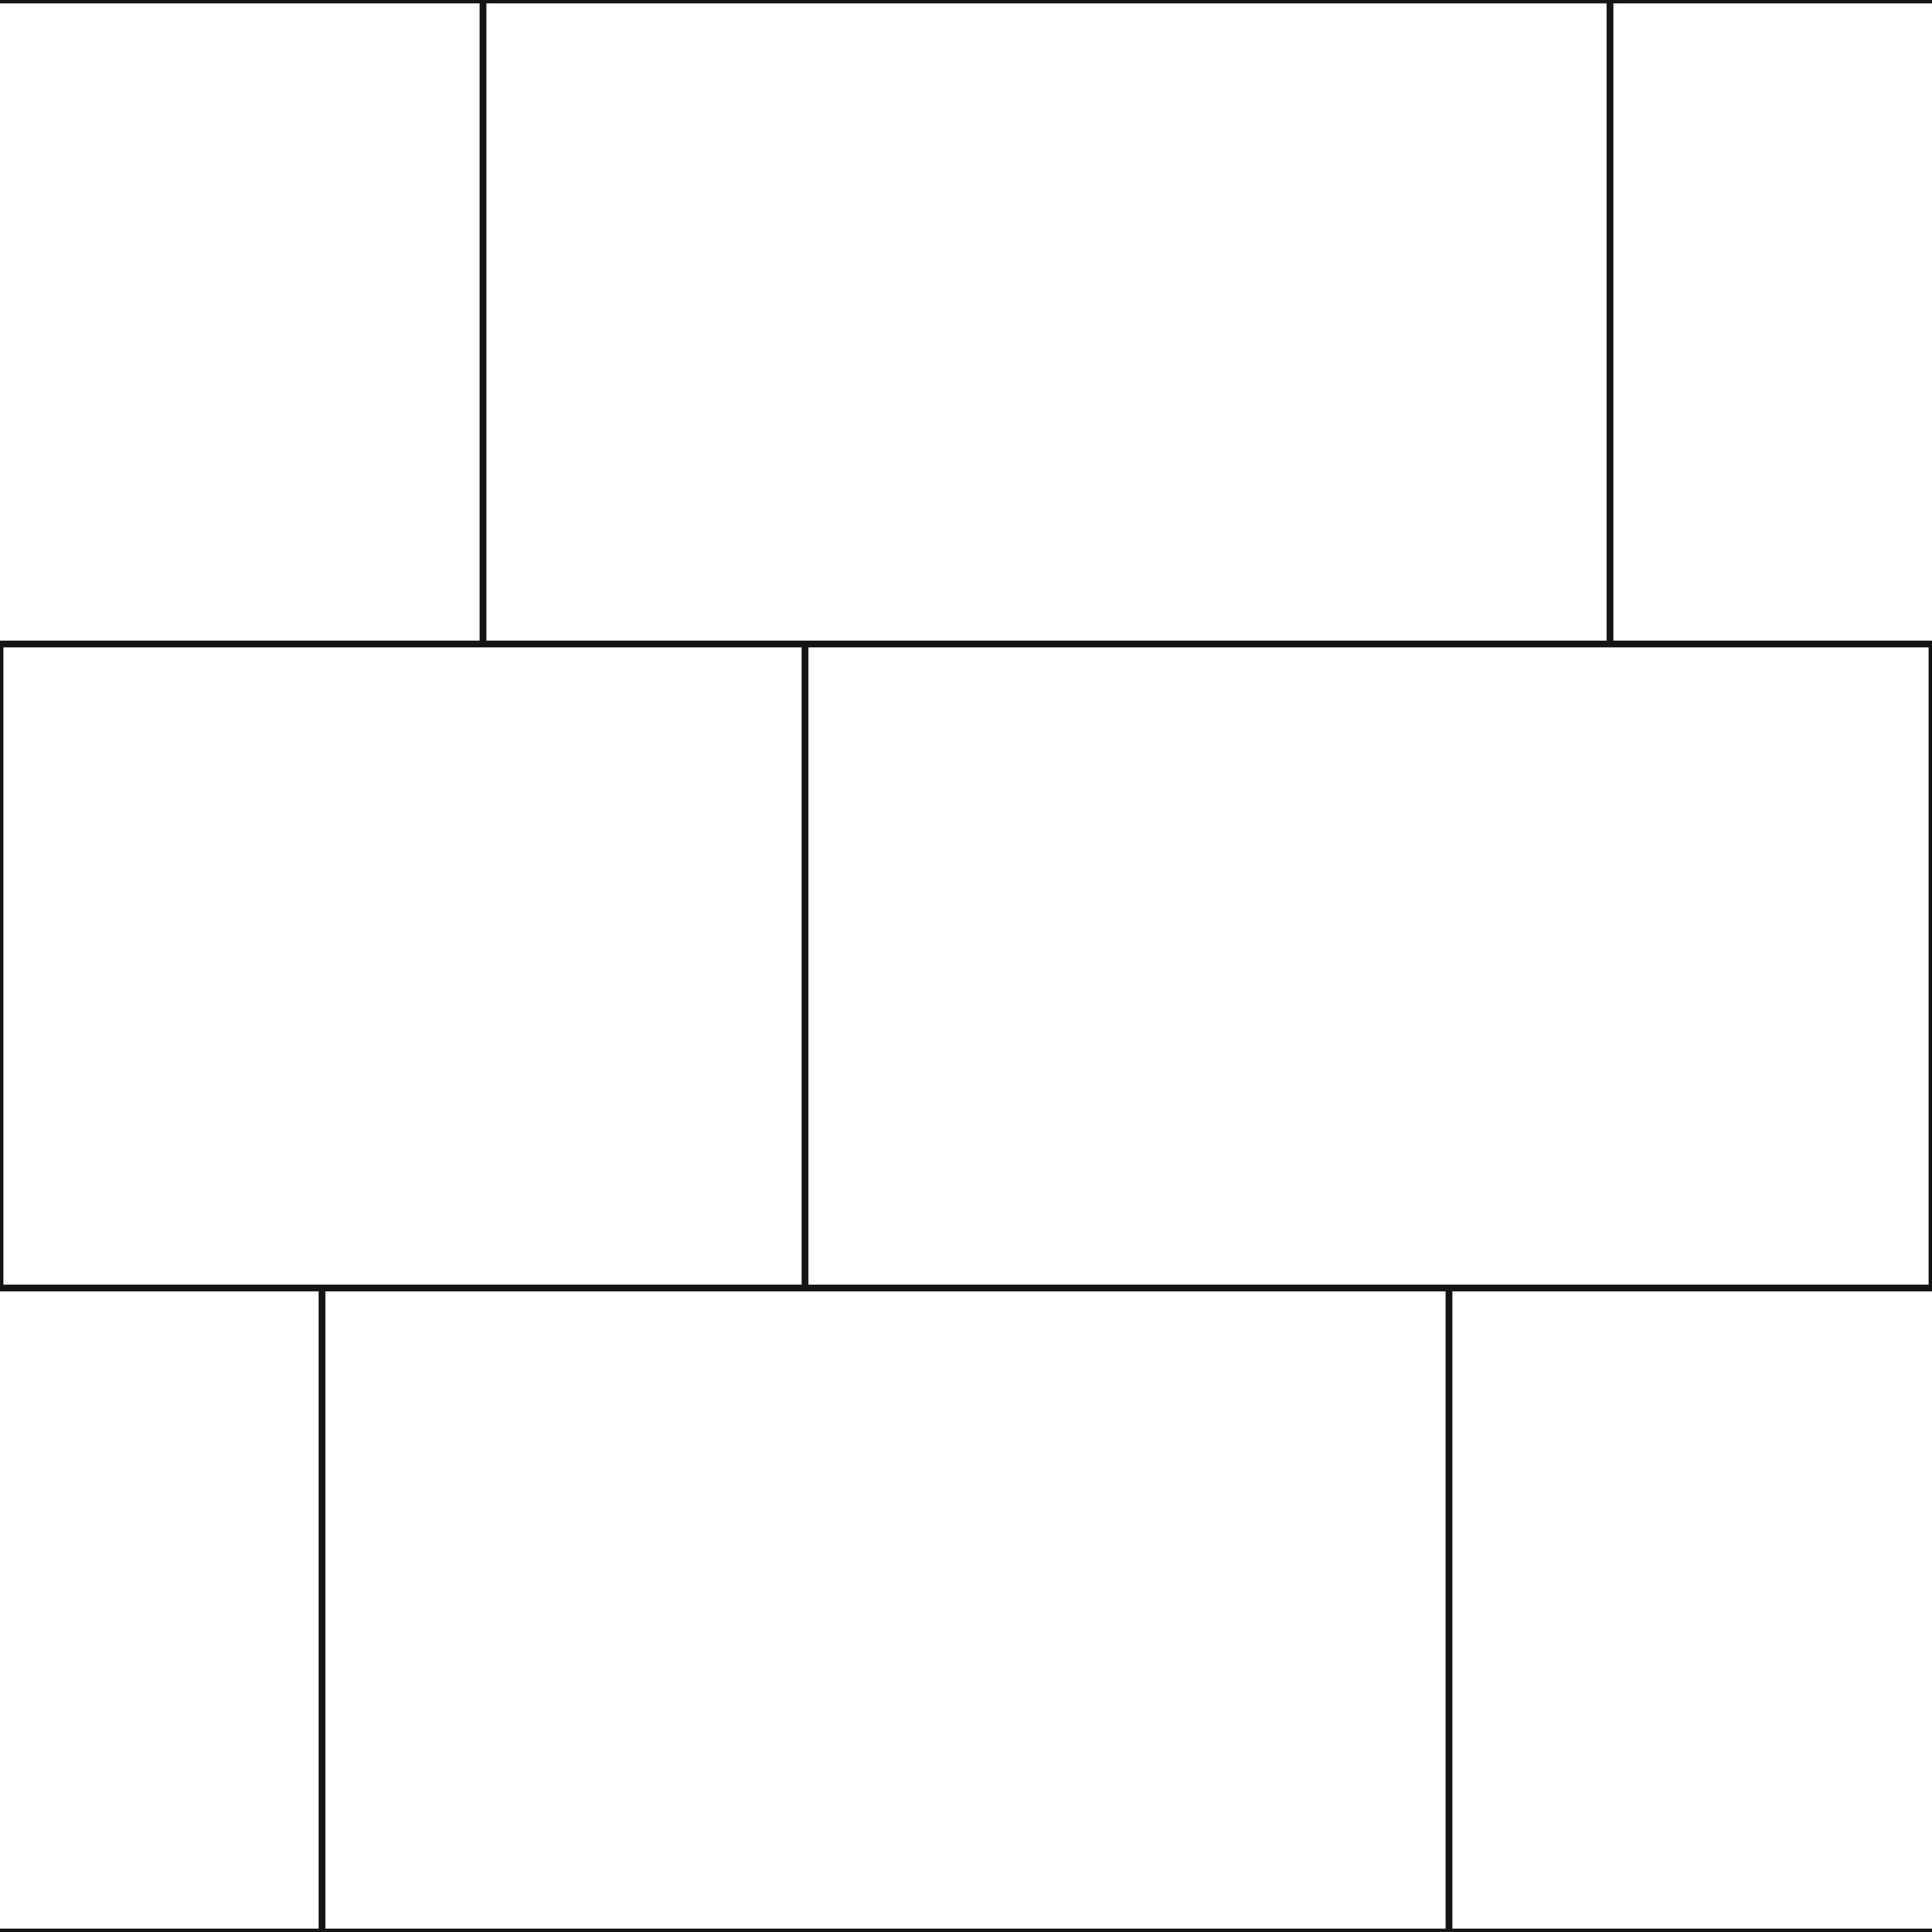
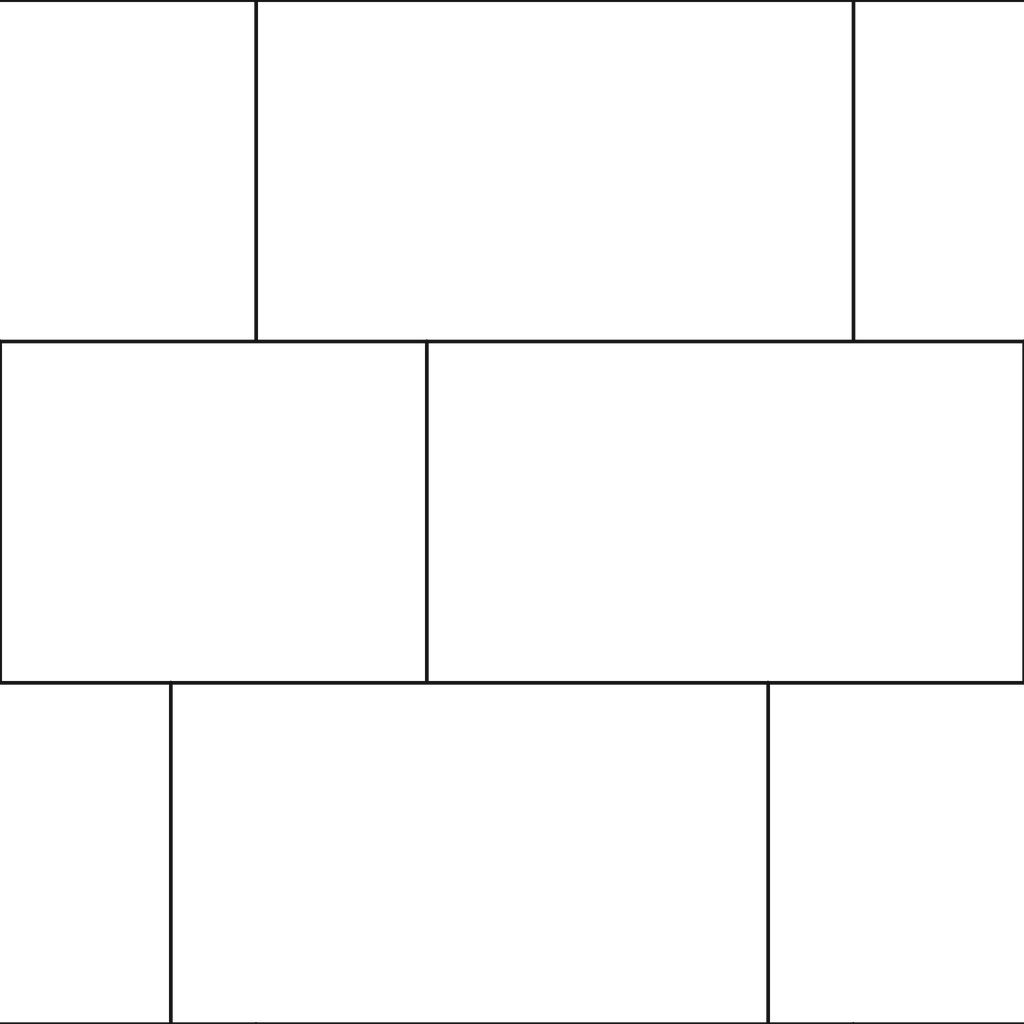
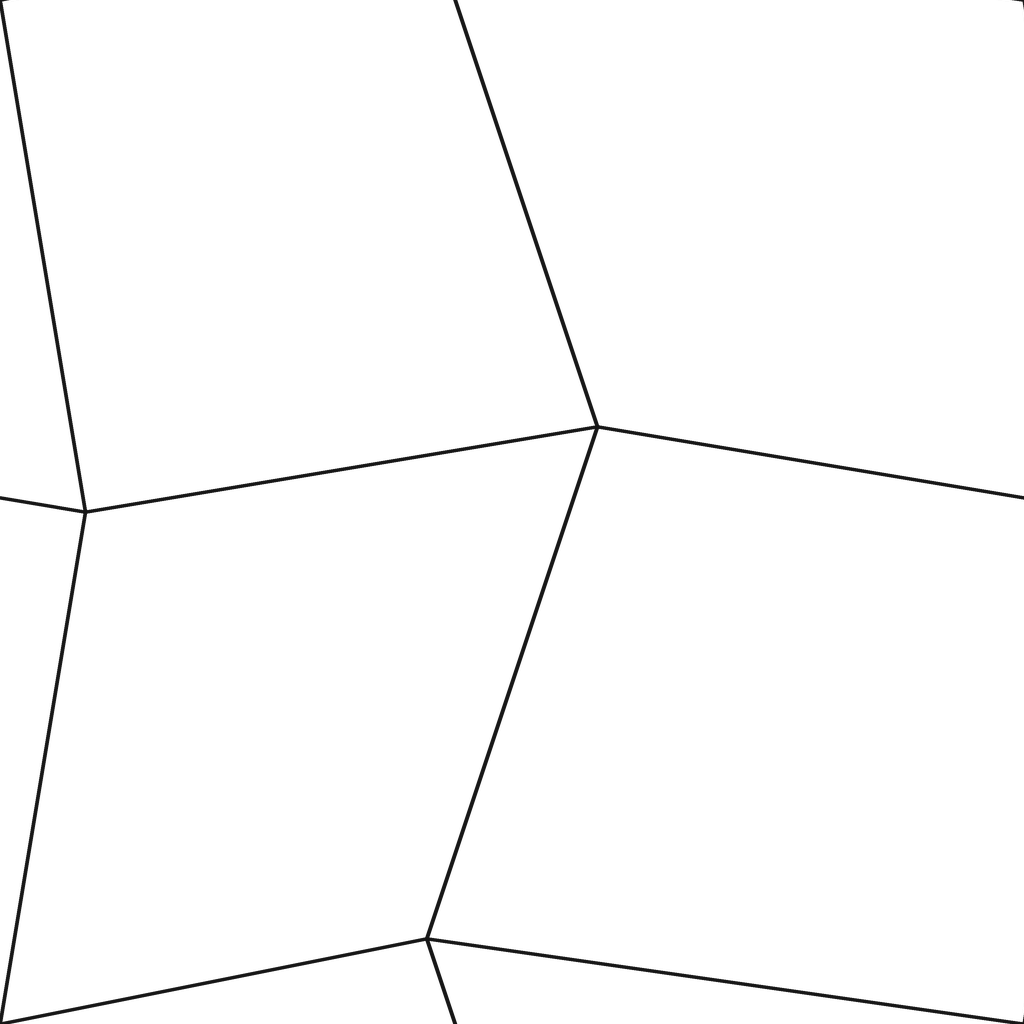
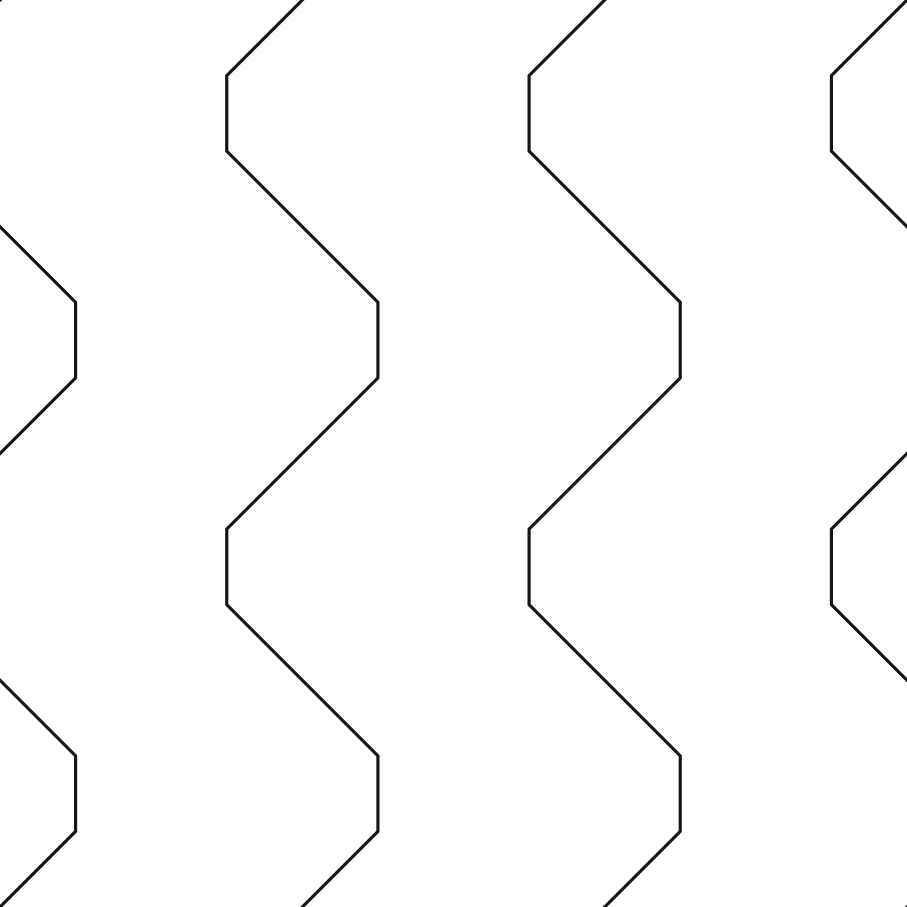
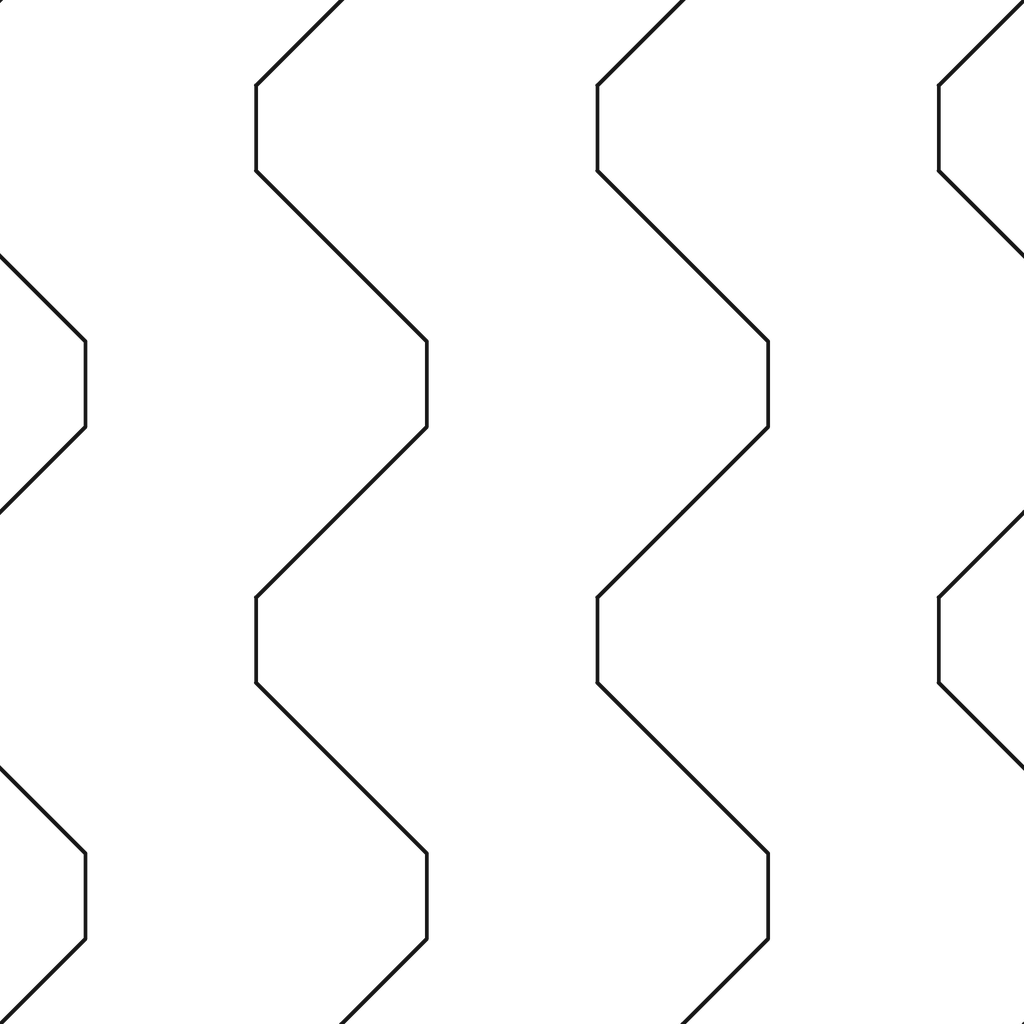
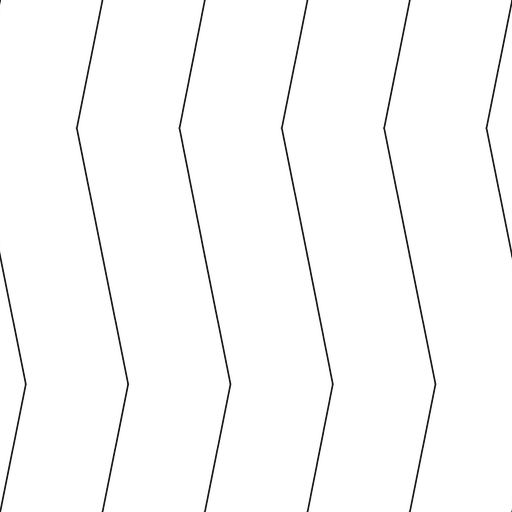
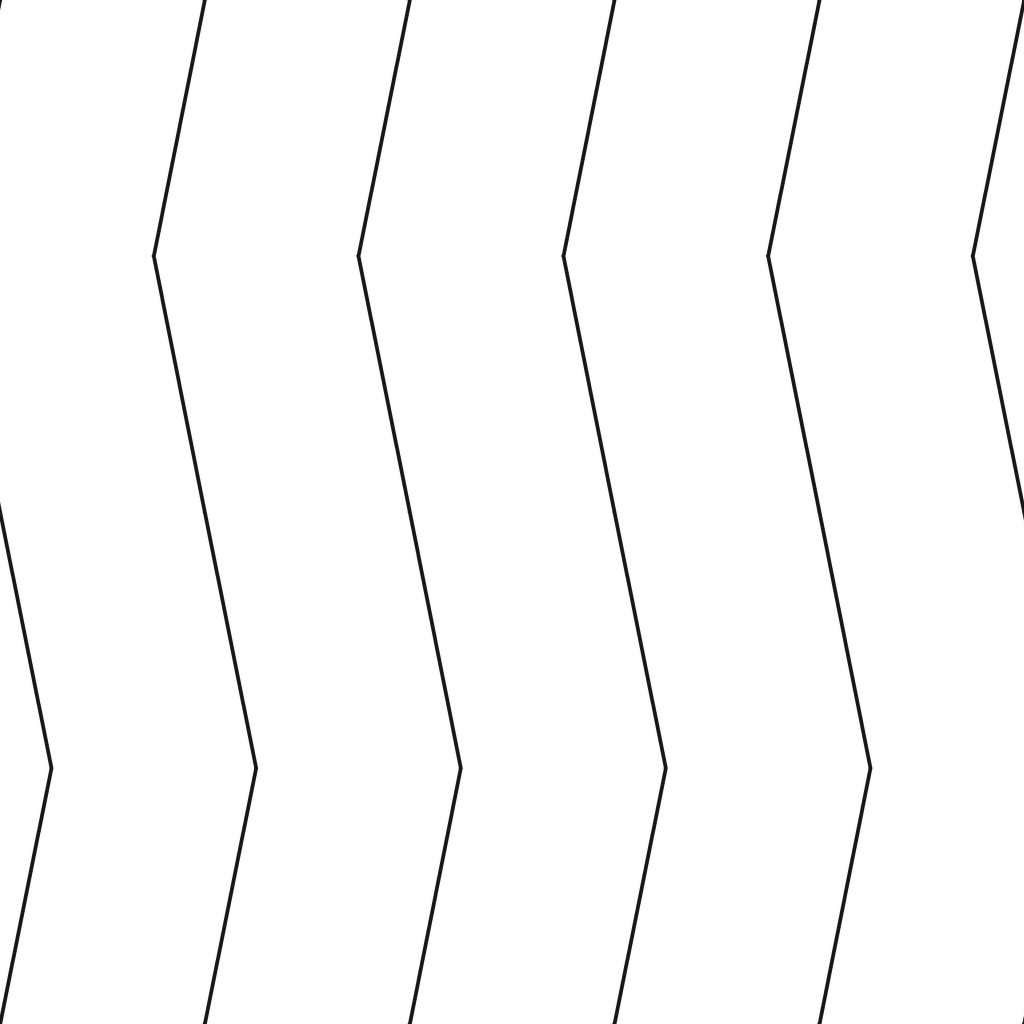
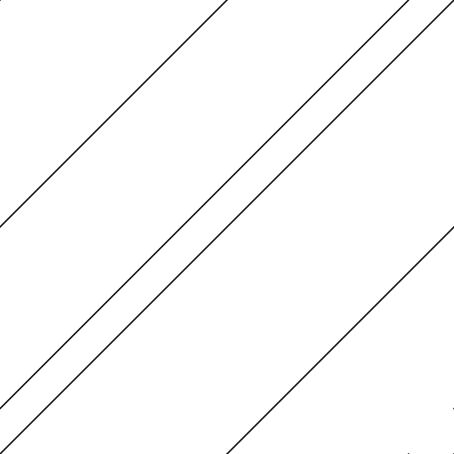
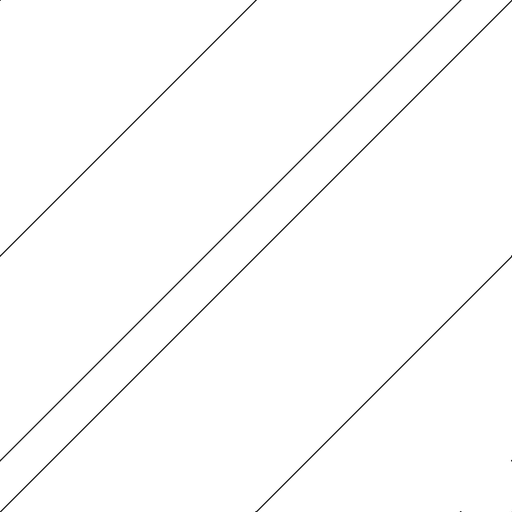
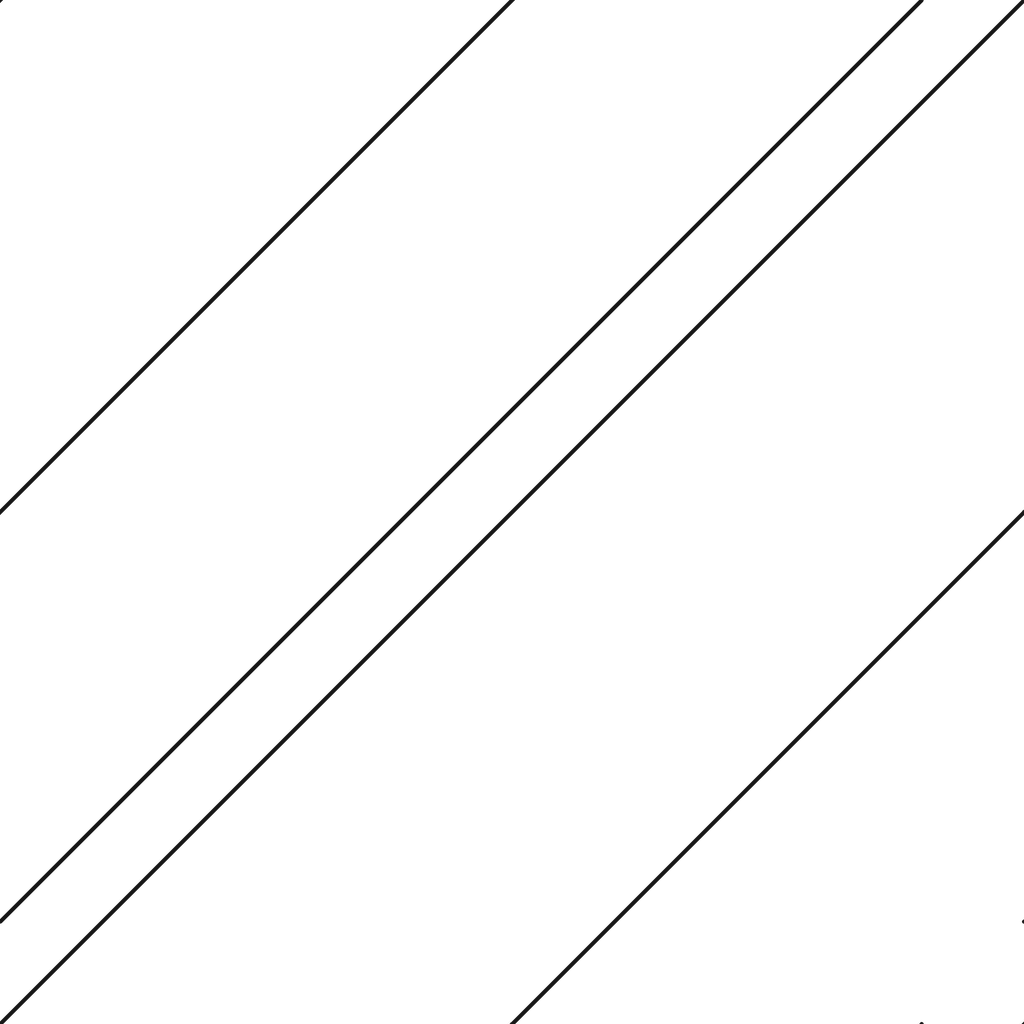
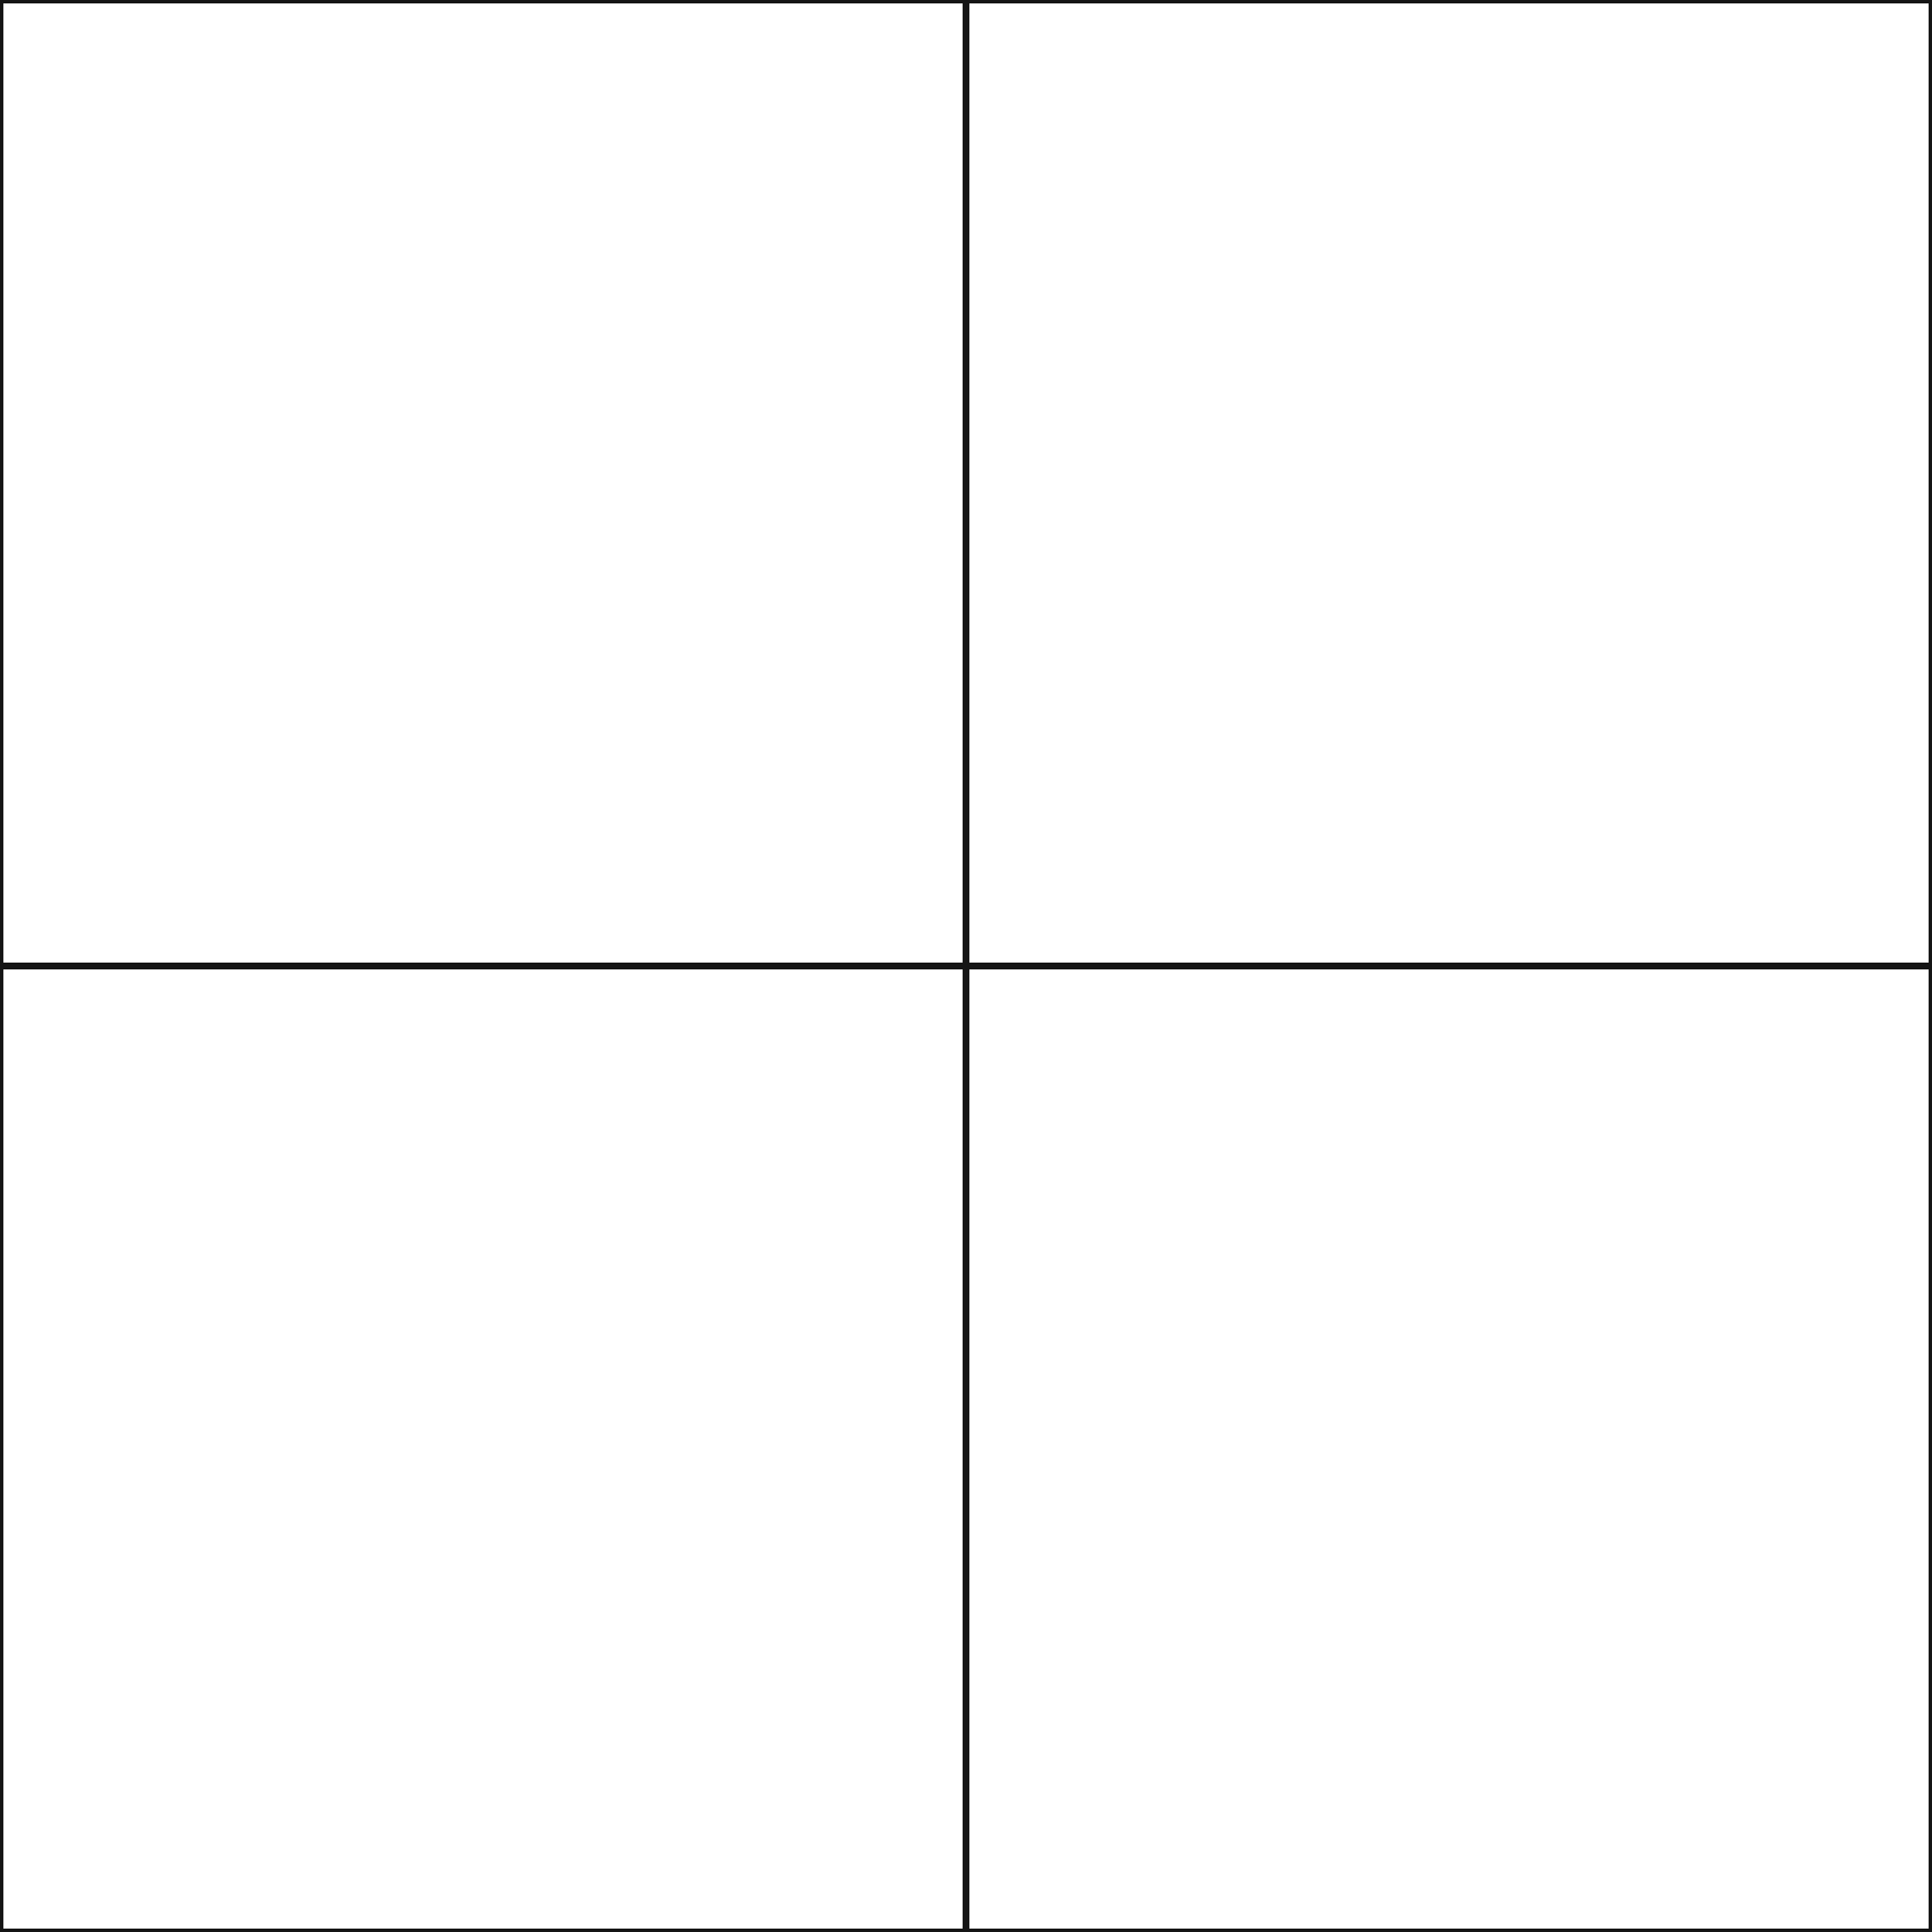
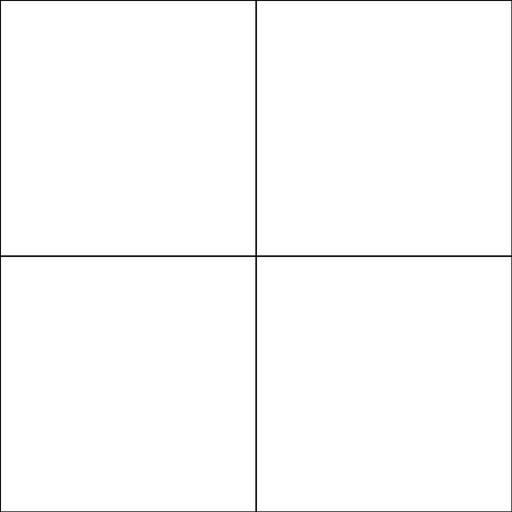
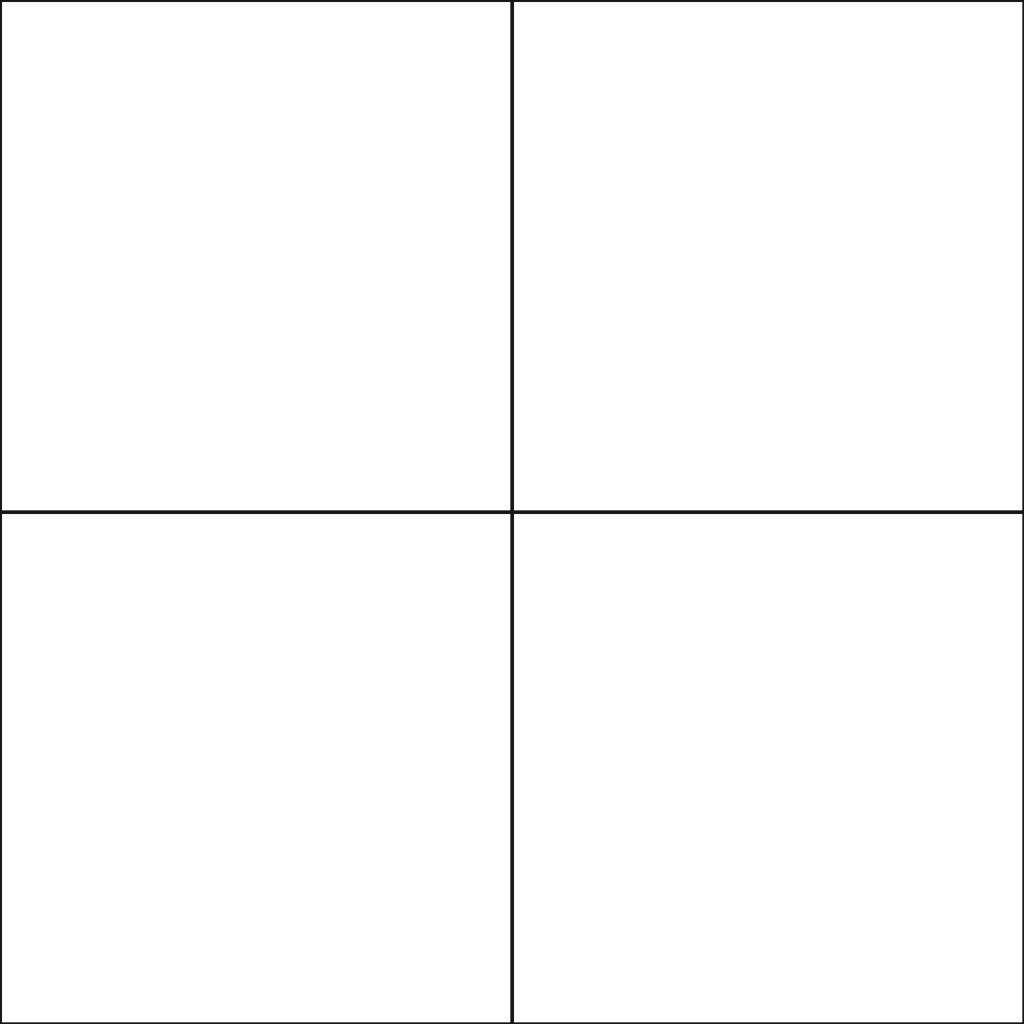
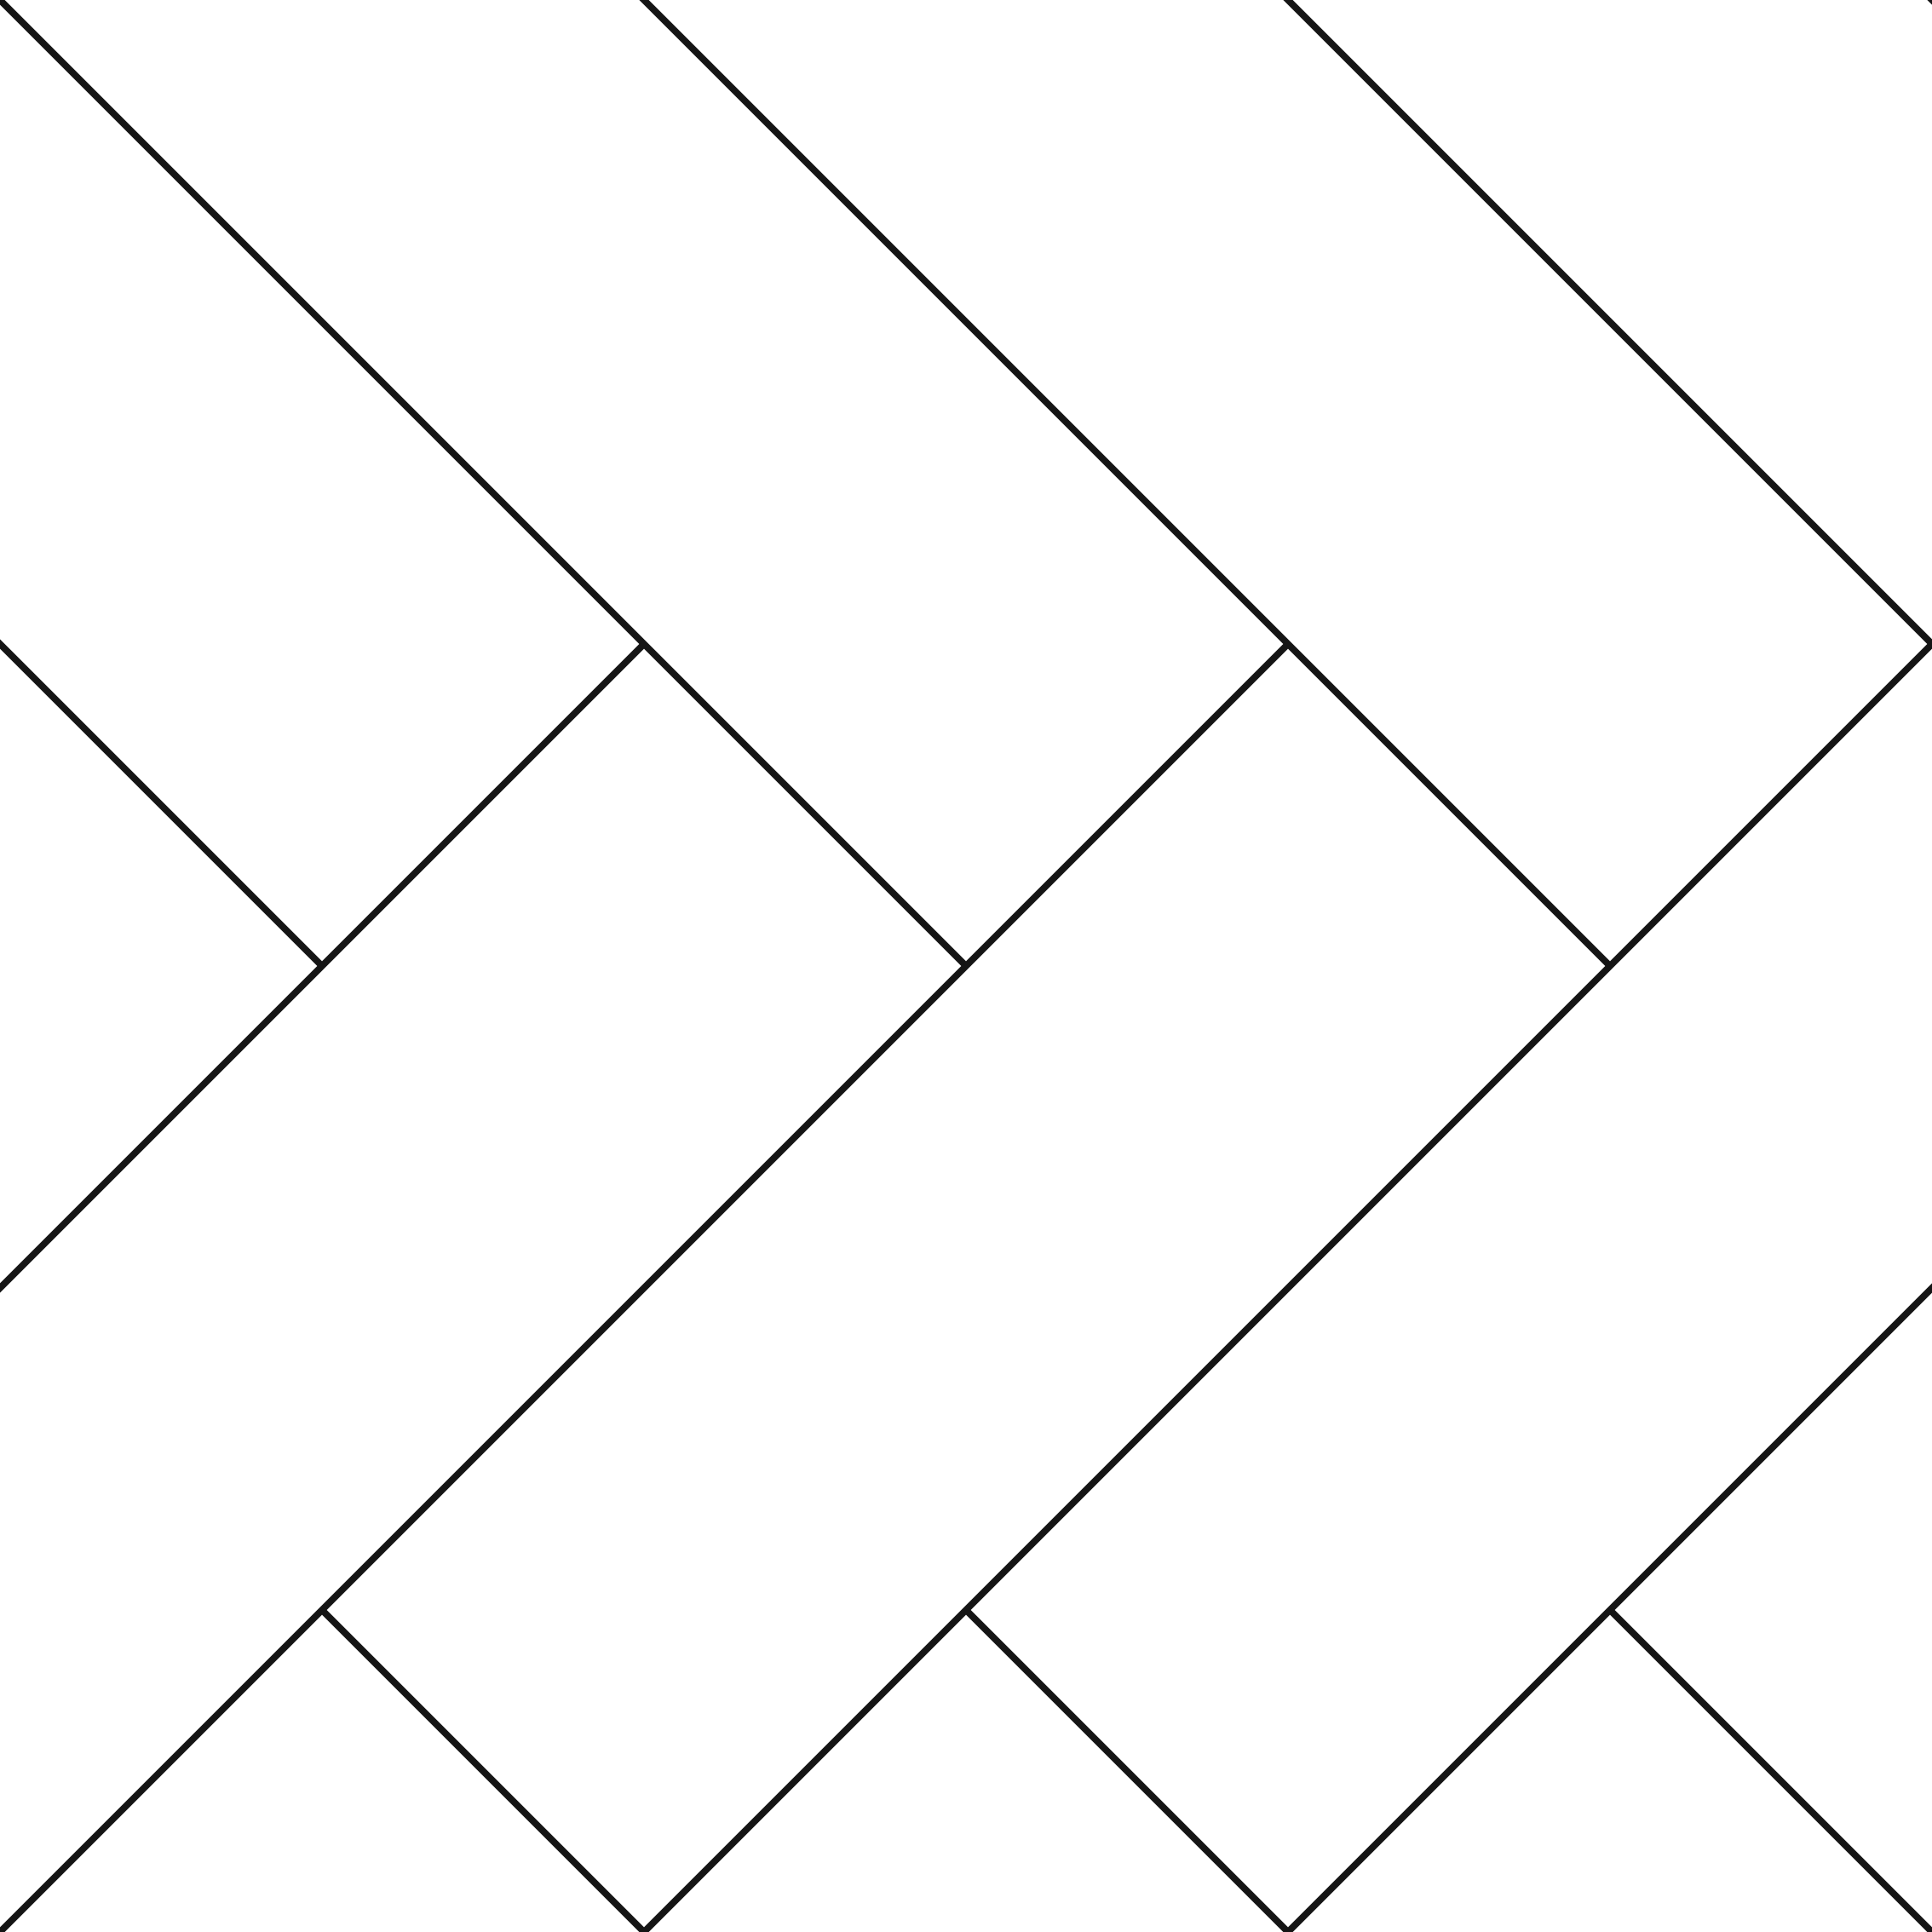
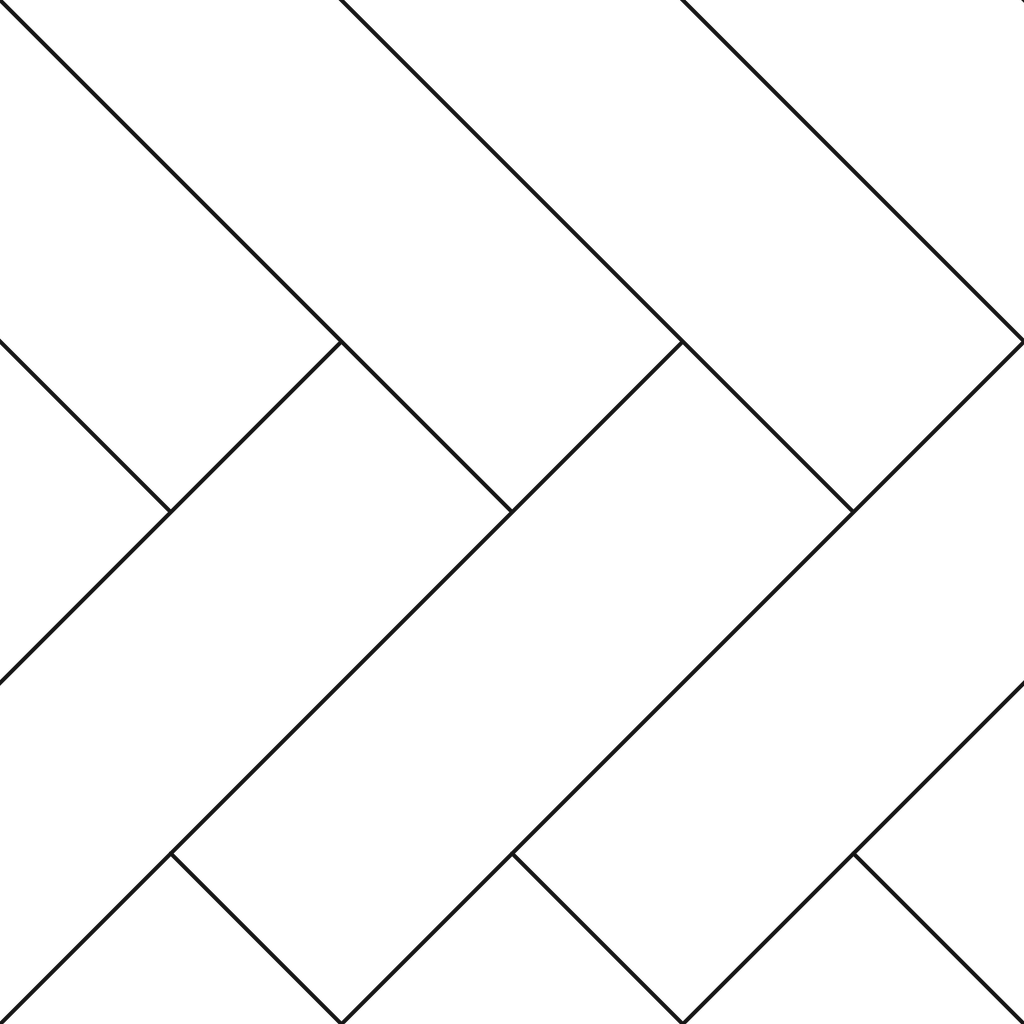
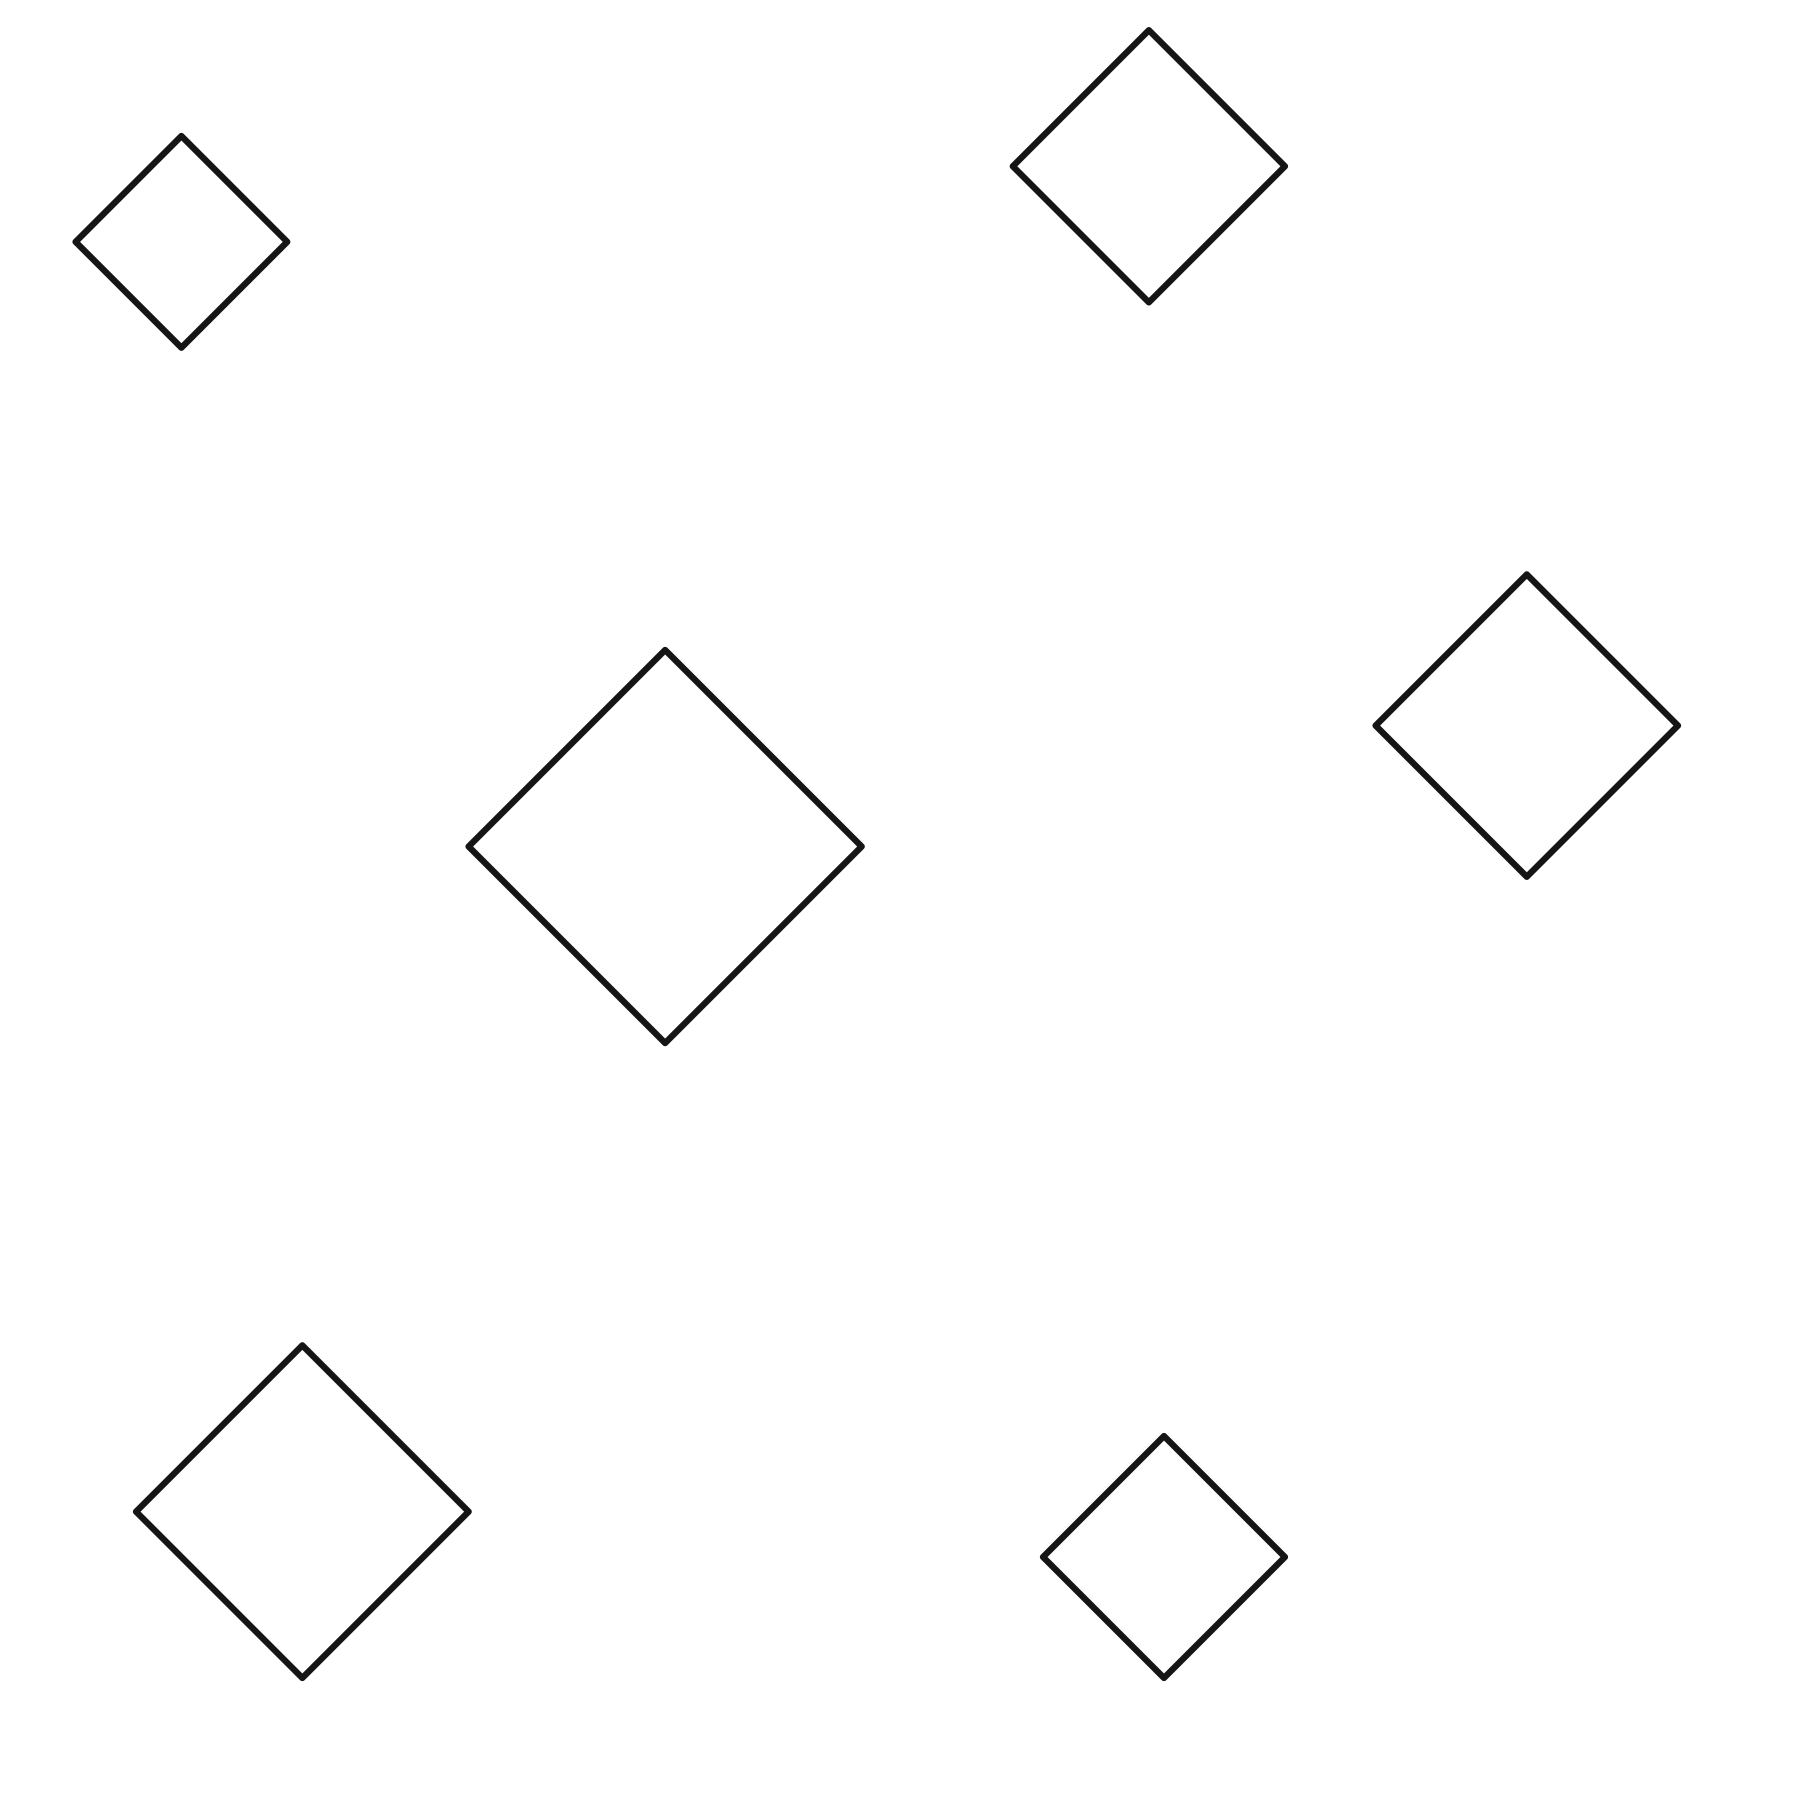
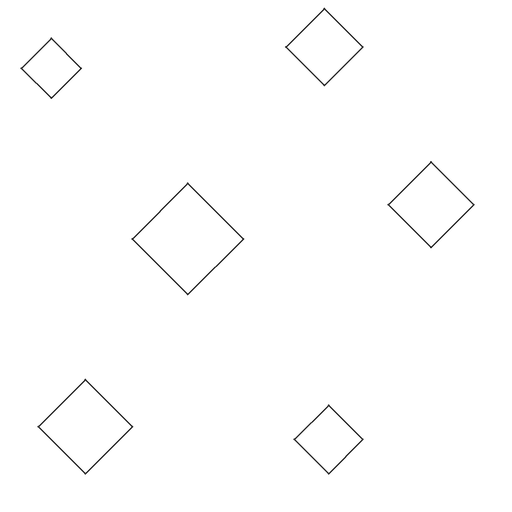
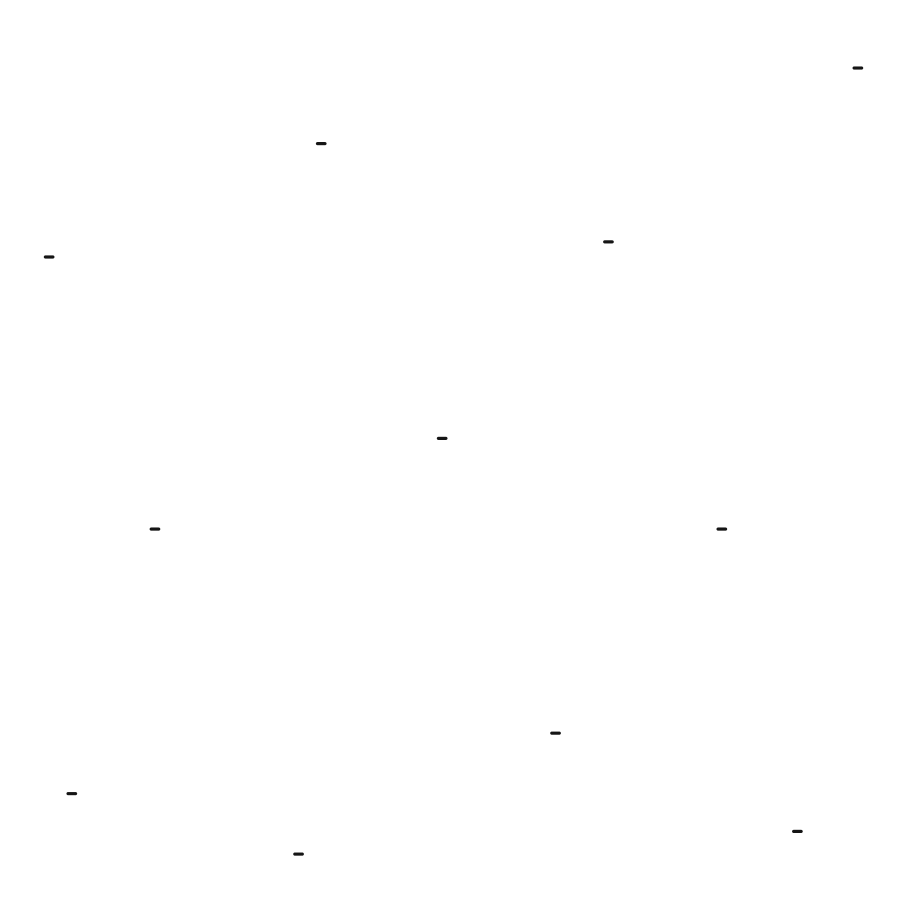
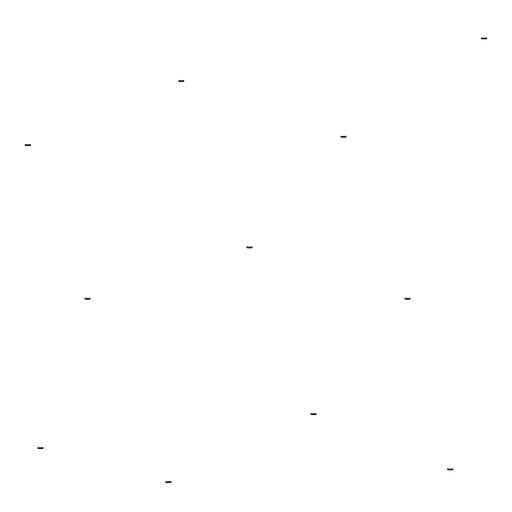
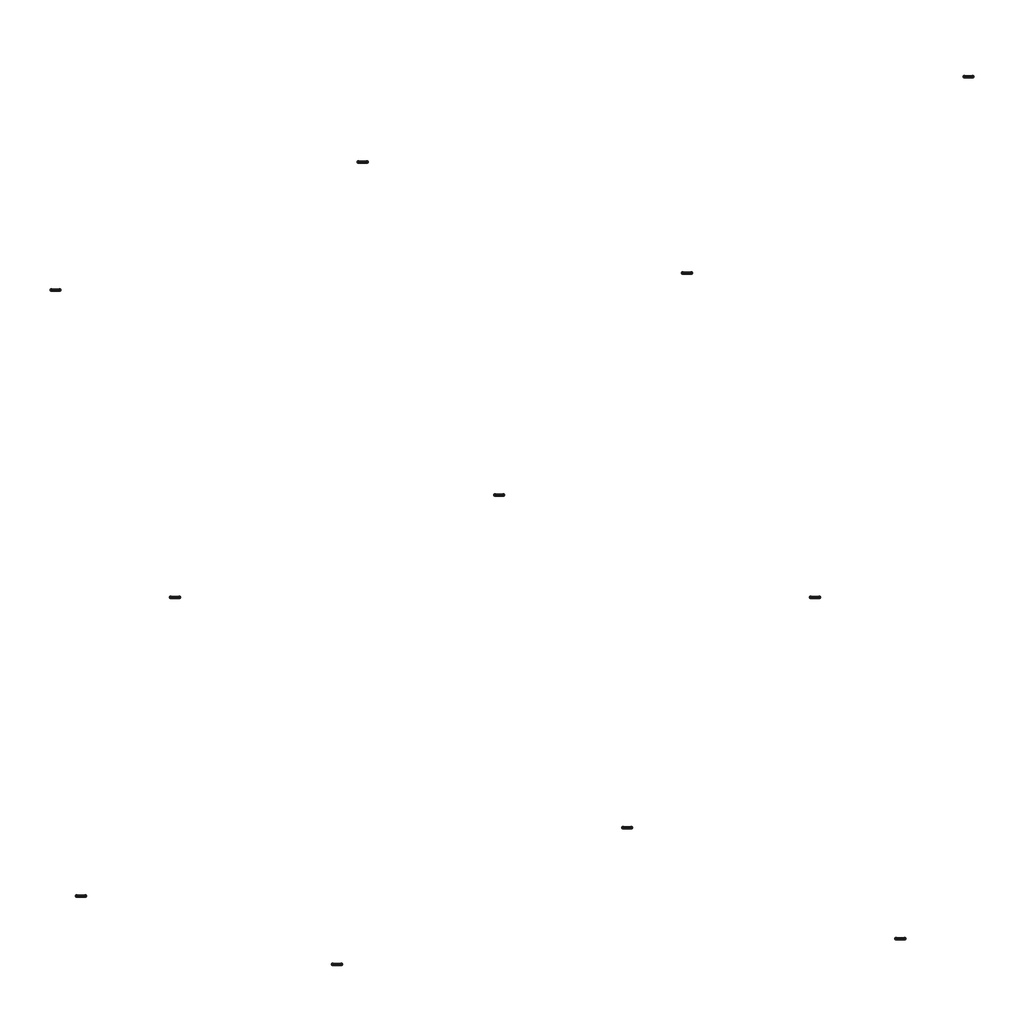
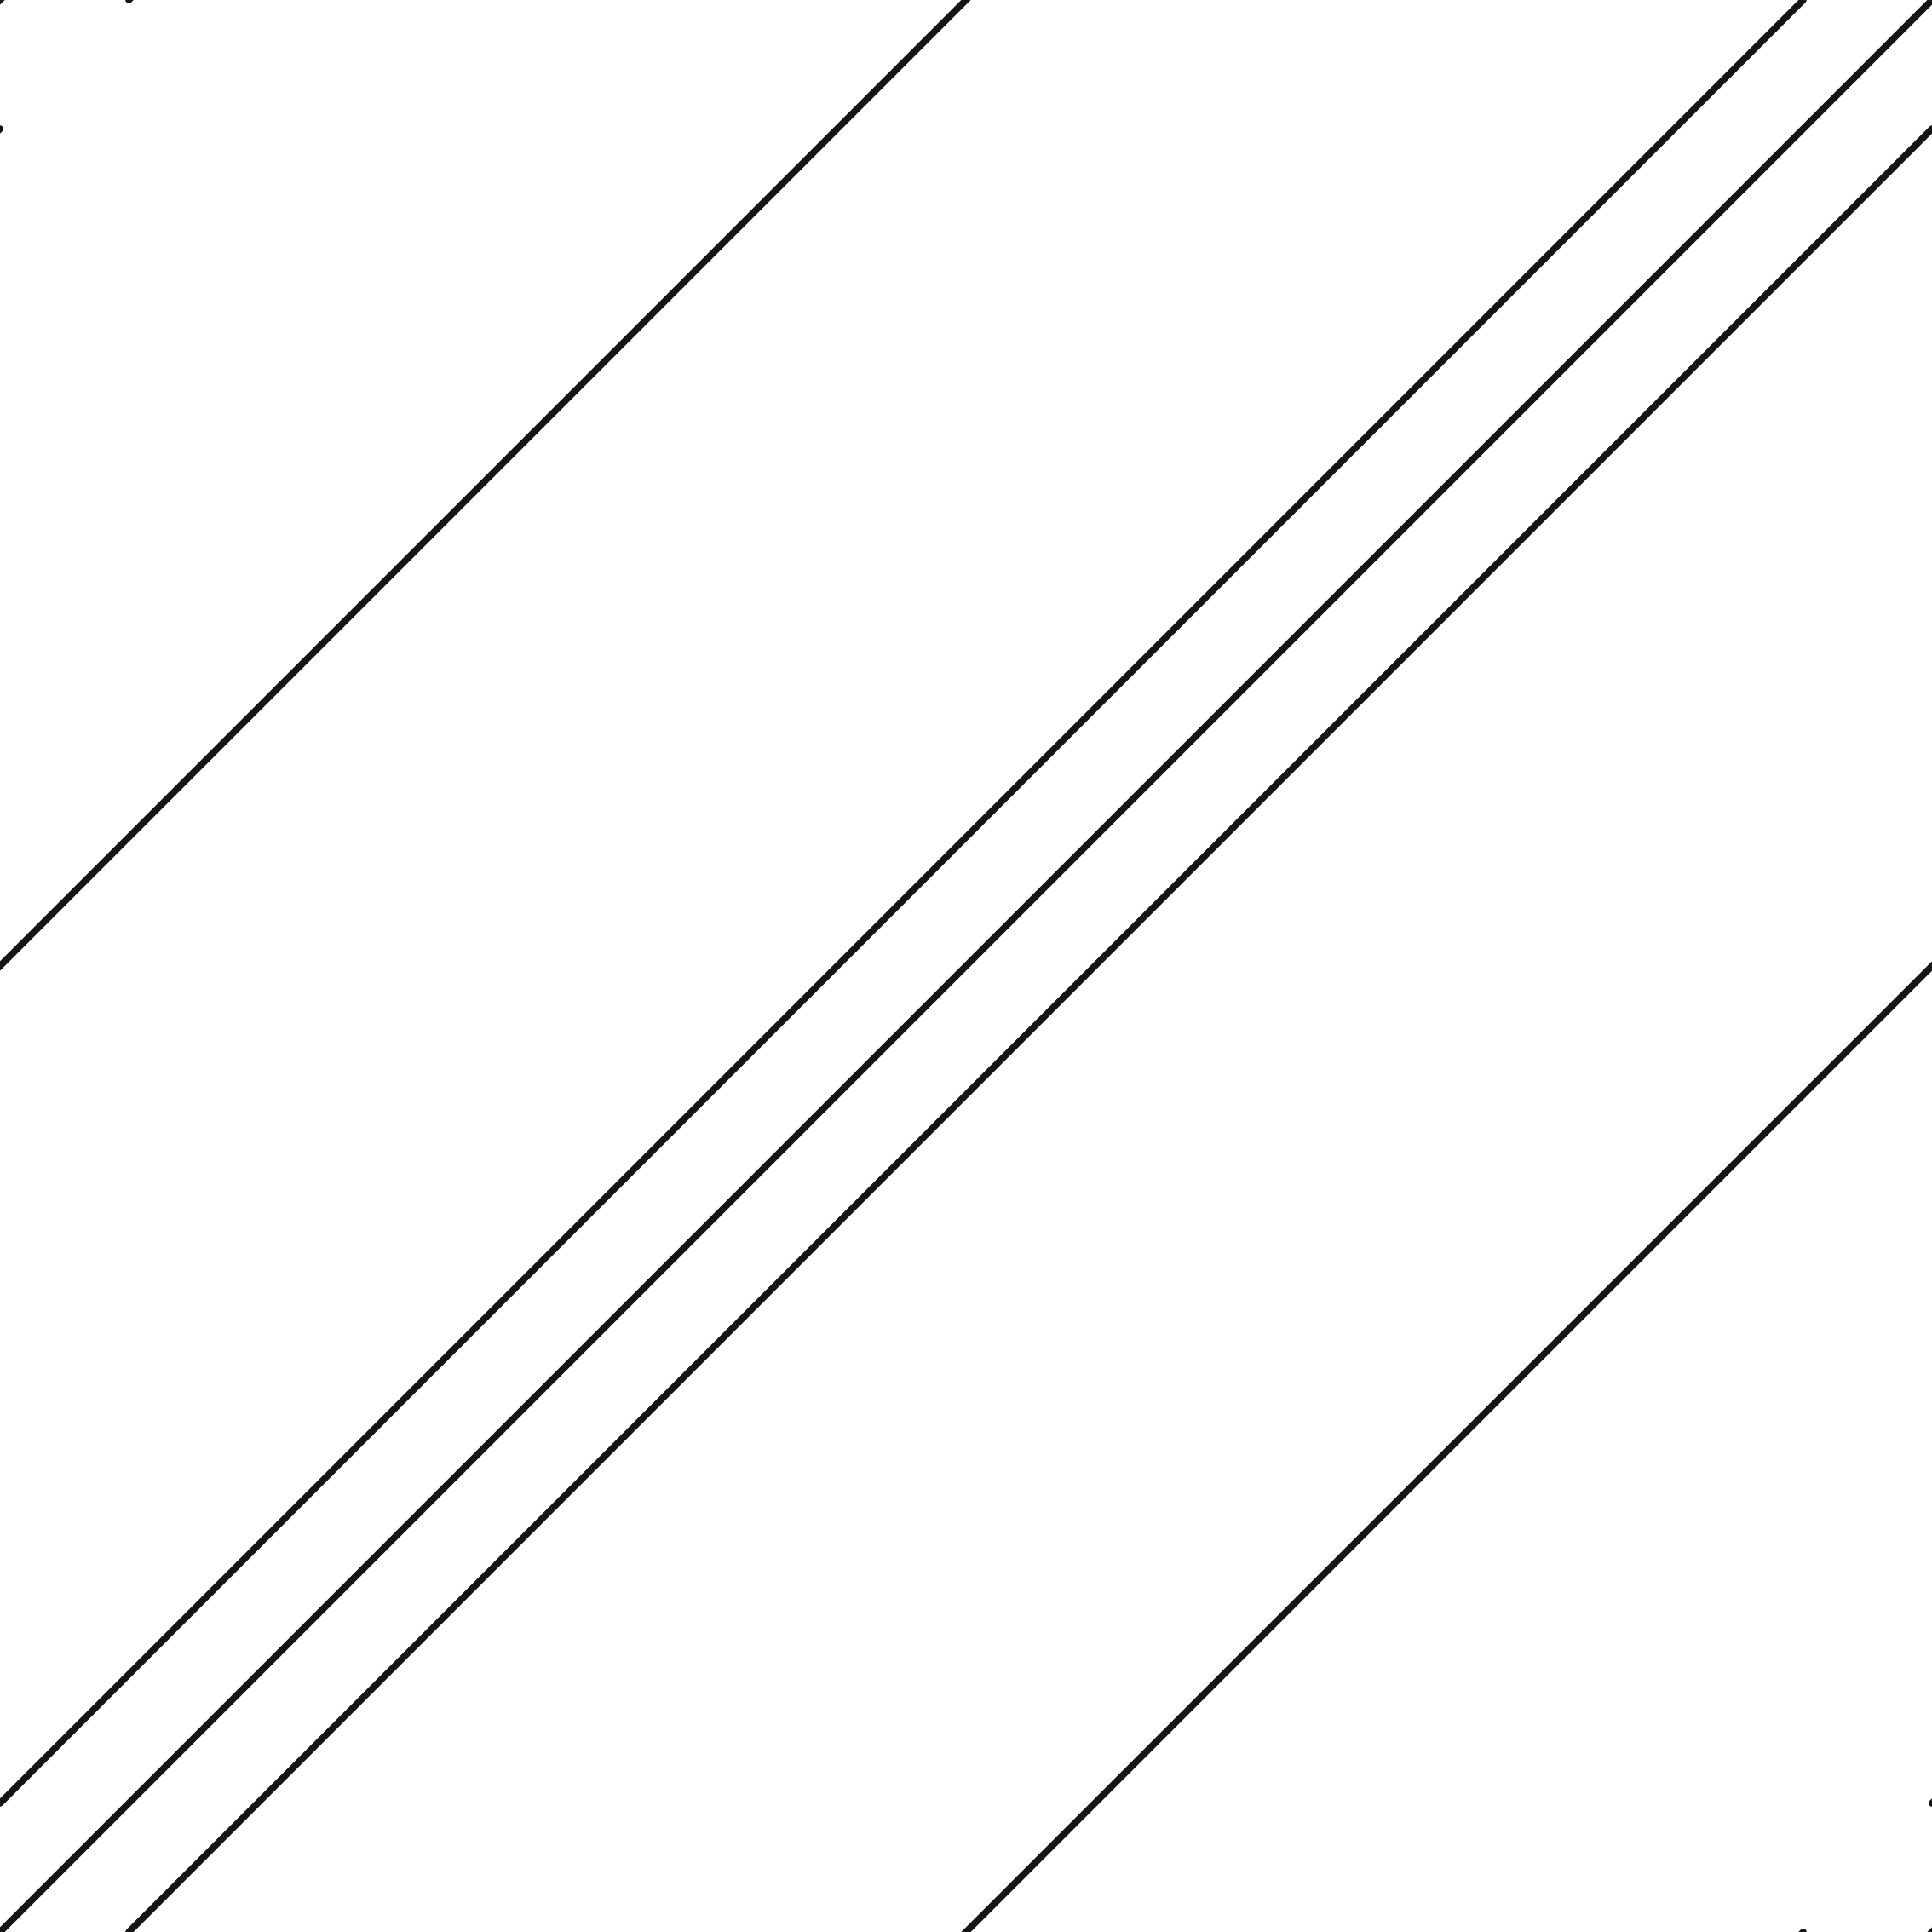
Use SVG when you need scalable line work in a layout. Repeat the full tile without a gap or crop. The transparent PNG files give you the same motif at 512 and 1024 pixels; set their placed size in your receiving application. A pale swatch background is only a preview. You can use the files in personal and commercial drawings, with no redistribution as a pattern pack.
FAQ
Are these free AutoCAD hatch patterns for commercial use?
Yes, you can use and edit them for personal and commercial drawings. You cannot redistribute the files as a pattern pack.
What is a PAT file?
A PAT file is a text definition of repeating line families. Each family records its angle, origin, spacing, shift and any drawn strokes or gaps.
Which Revit file should I download?
Use Revit model for a pattern with dimensions in the model, such as surface tile joints. Use Revit drafting for a material symbol that retains its paper spacing across view scales.
How do I scale an insulation hatch in AutoCAD?
Check your drawing units, then adjust the hatch scale until the insulation symbol fits the layer you are showing. Set its line weight separately and check a printed crop before using it across a sheet.
Do the SVG and PNG tiles match the PAT files?
Yes, the tile renderer reads the exported PAT geometry. Repeat each complete tile without added padding to keep the edges aligned.
Keep up with Skiaform
Occasional notes about drawing tools and templates.